Introduction
Are you craving a tender and flavorful London Broil but short on time? Look no further than your electric pressure cooker. This kitchen gadget is a game-changer when it comes to cooking delicious meals in a fraction of the time. With the right technique and a few key ingredients, you can easily fix a succulent London Broil that will impress your family and guests.
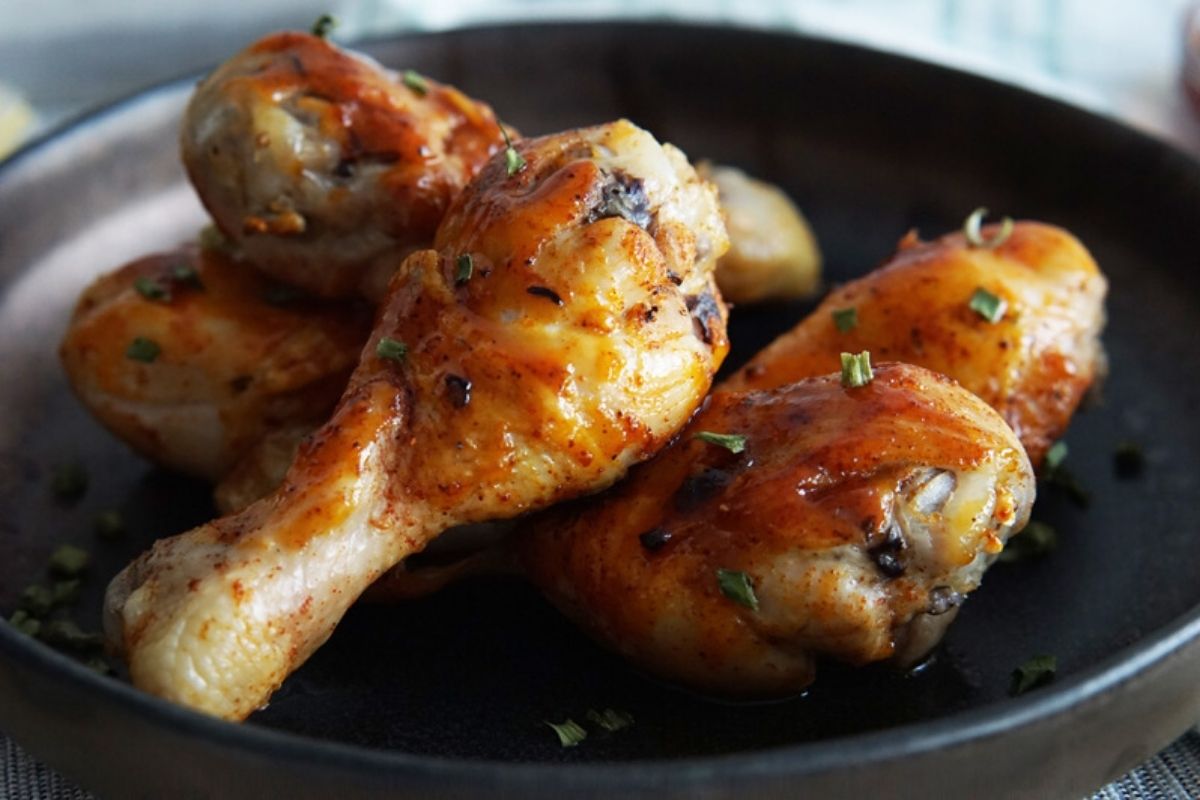
London Broil is a popular cut of beef that, when cooked properly, boasts juicy and tender results. Traditionally, it is a marinated flank steak that is broiled or grilled to perfection. However, with an electric pressure cooker, you can achieve similar results in a fraction of the time without sacrificing the flavor.
In this article, we will guide you through the steps to fix London Broil in an electric pressure cooker. From preparing the meat to adding the perfect flavors and achieving the desired level of tenderness, we’ll cover everything you need to know. Whether you’re a seasoned chef or a novice in the kitchen, this method is simple and beginner-friendly.
Before we dive into the steps, let’s start by gathering the necessary ingredients and ensuring you have the right equipment for the job.
Ingredients
Before you start cooking, make sure you have the following ingredients on hand:
- 2 pounds of London Broil
- 2 tablespoons of olive oil
- 1 teaspoon of salt
- 1 teaspoon of black pepper
- 1 teaspoon of garlic powder
- 1 teaspoon of paprika
- 1 teaspoon of dried thyme
- 1 cup of beef broth
- Optional: 1 tablespoon of Worcestershire sauce
These ingredients will help create a delicious and well-seasoned London Broil. Feel free to adjust the seasonings based on your personal preference. You can also add additional herbs and spices to customize the flavor profile of the dish.
For the best results, choose a high-quality cut of London Broil from your local butcher or grocery store. Look for well-marbled meat with a deep red color. This will ensure that your final dish is tender and full of flavor.
Once you have gathered all the ingredients, it’s time to gather the necessary equipment to make your electric pressure cooker experience a success.
Equipment
To fix London Broil in an electric pressure cooker, you will need the following equipment:
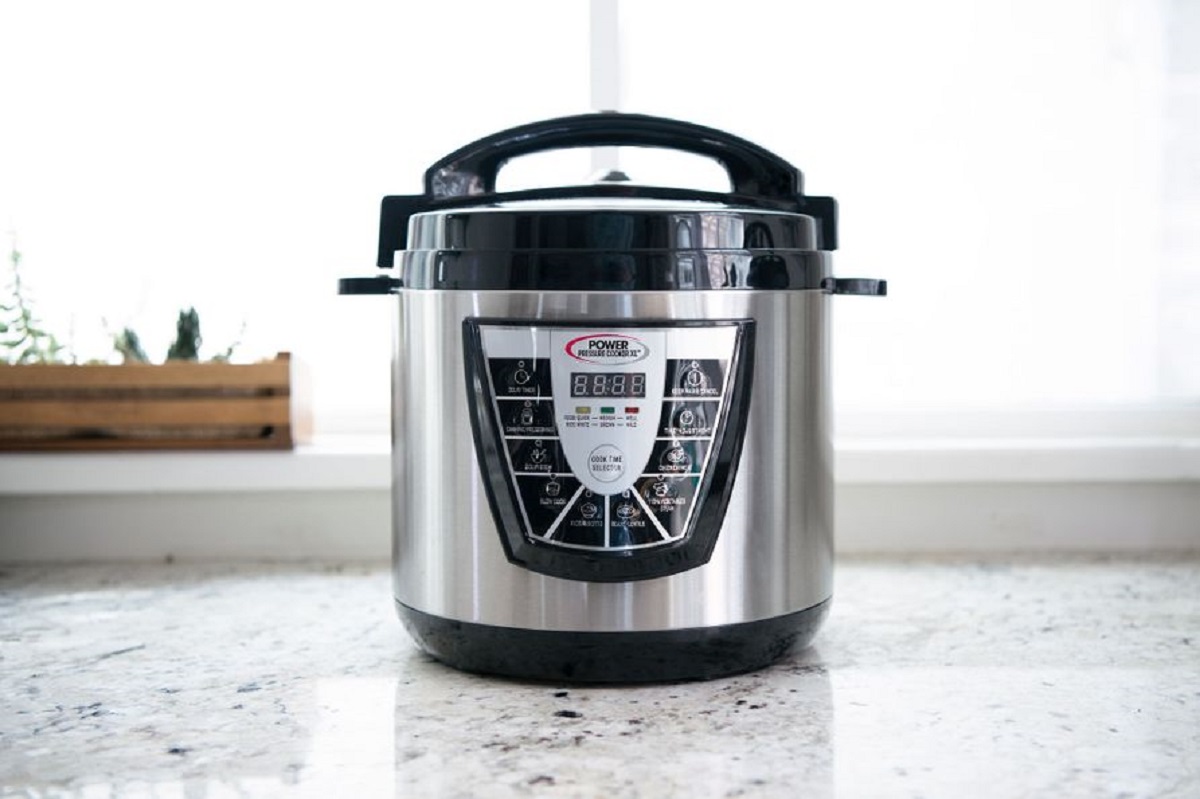
- Electric pressure cooker: Make sure you have a reliable electric pressure cooker with a secure locking lid. This will ensure safe and efficient cooking.
- Meat thermometer: Having a meat thermometer on hand is crucial to ensure that the London Broil is cooked to your desired level of doneness. This will help you achieve perfectly cooked meat every time.
- Tongs: Tongs are essential for handling the hot meat and flipping it during the searing process. Opt for a sturdy pair of tongs that provide a firm grip.
- Measuring spoons: Accurate measurements are key to achieving the perfect balance of flavors. Make sure you have a set of measuring spoons to measure out the spices and seasonings.
- Cutting board: You’ll need a clean and spacious cutting board to rest the cooked London Broil and to slice it into serving portions.
- Sharp knife: A sharp knife is essential for slicing the London Broil into thin, juicy pieces. Make sure your knife is sharp and suitable for cutting through meat.
Having these essential tools and equipment will make the entire cooking process much smoother and easier. Make sure you have everything prepared and readily available before you start cooking.
Now that you have your ingredients and equipment ready, it’s time to dive into the step-by-step process of fixing London Broil in an electric pressure cooker.
Step 1: Preparing the London Broil
Before you start cooking, it’s essential to properly prepare the London Broil. Follow these steps to ensure the meat is ready for the pressure cooker:
- Remove the London Broil from its packaging and pat it dry with paper towels. This will help remove any excess moisture and improve the searing process.
- If there are any large areas of fat on the meat, trim them off with a sharp knife. Leaving a thin layer of fat can add flavor and moisture to the final dish.
- Season the London Broil with salt, pepper, garlic powder, paprika, and dried thyme. Rub the spices into the meat, ensuring even coverage on all sides.
- Allow the meat to sit at room temperature for about 20 minutes. This will help it cook more evenly and ensure the best results.
By following these steps, you’ll ensure that your London Broil is well-seasoned and ready to be cooked. Properly seasoning and preparing the meat will enhance the overall flavor and tenderness of the final dish.
Now that the London Broil is prepared, it’s time to move on to the next step – searing the meat.
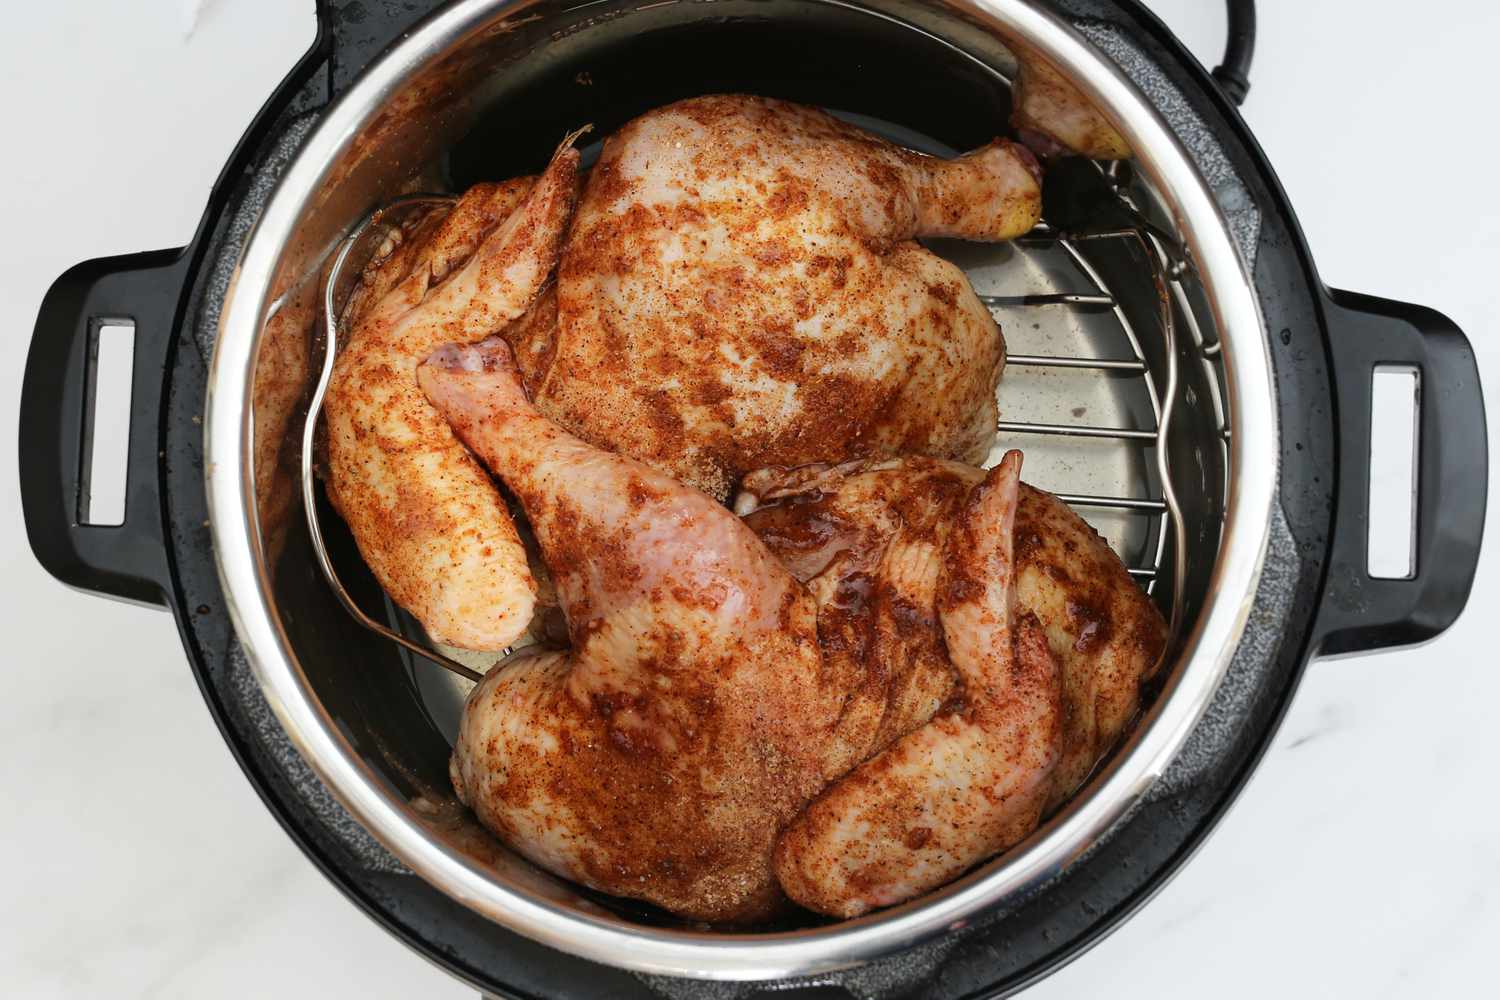
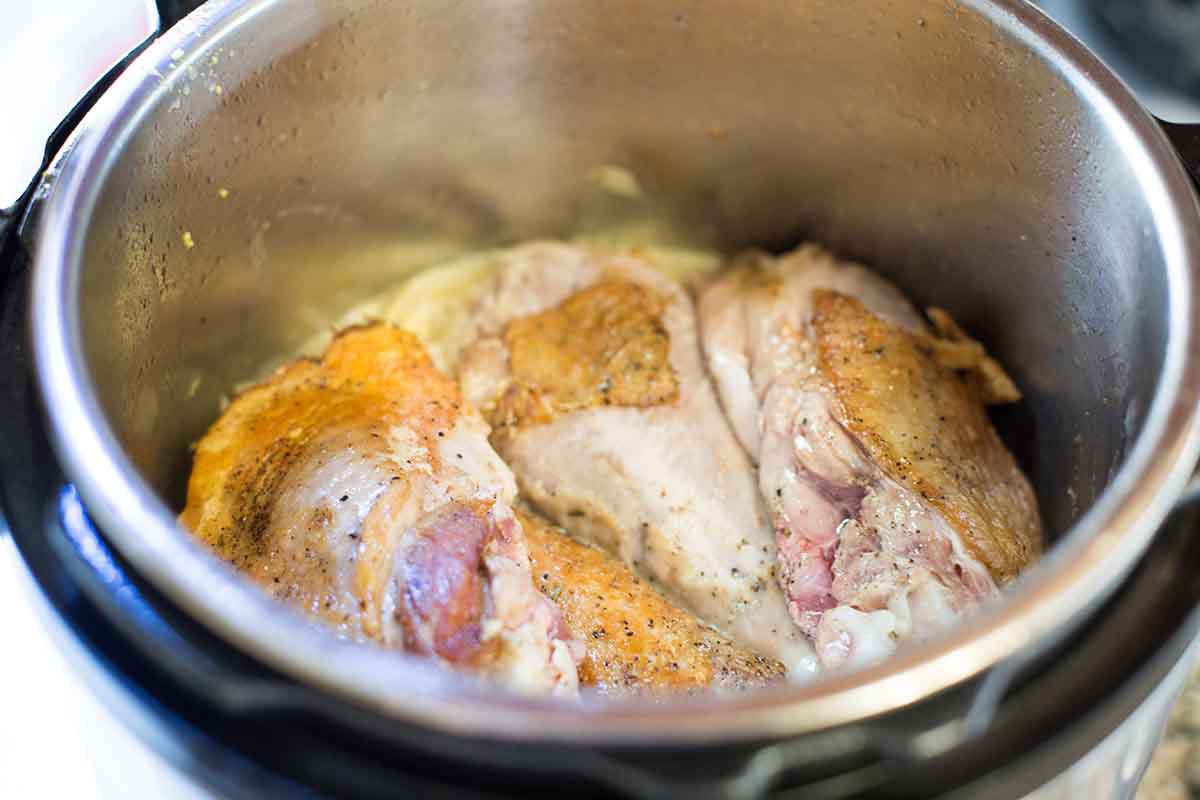
Step 2: Searing the Meat
Searing the London Broil before pressure cooking is crucial for developing a rich and flavorful crust on the meat. Follow these steps to achieve a beautifully browned exterior:
- Set your electric pressure cooker to the sauté function and heat the olive oil.
- Once the oil is hot, carefully place the seasoned London Broil in the cooker.
- Sear the meat for 2-3 minutes on each side, or until a golden-brown crust forms.
- Using tongs, carefully flip the London Broil and sear the other side for an additional 2-3 minutes.
- Once both sides are seared, use the tongs to transfer the meat to a plate or cutting board.
Searing the London Broil adds depth of flavor and creates a delicious caramelized crust. This step is essential for achieving a restaurant-quality result. It’s important to note that the goal of searing is to brown the meat and not to fully cook it. The pressure cooker will take care of the cooking process.
With the meat seared, it’s time to move on to the next step – adding the flavors.
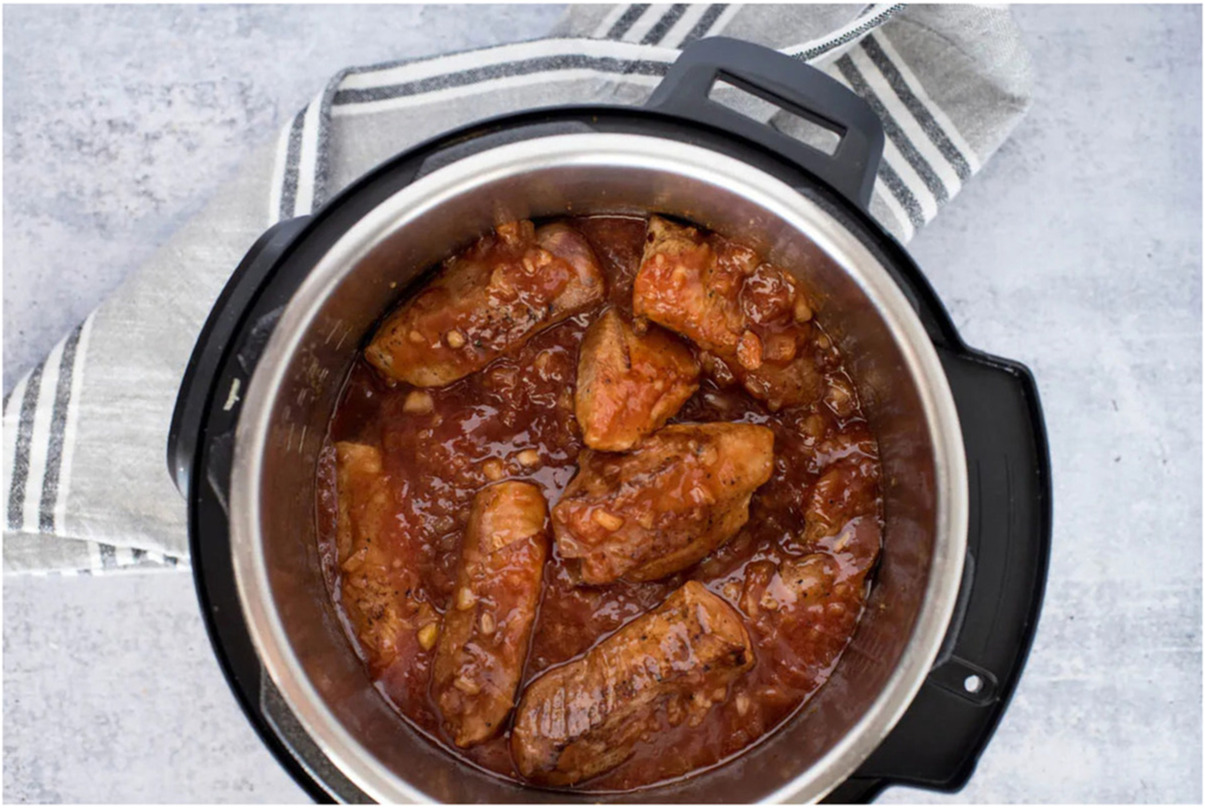
Step 3: Adding the Flavors
Adding the right flavors to your London Broil will elevate its taste and make it even more mouthwatering. Follow these steps to infuse the meat with delicious flavors:
- Pour the beef broth into the electric pressure cooker. This will provide the necessary moisture for cooking and enhance the beefy flavor.
- If desired, add a tablespoon of Worcestershire sauce to the broth. This will add a tangy and savory note to the meat.
- Place the seared London Broil back into the pressure cooker. Ensure that the meat is fully submerged in the liquid.
- Secure the lid of the pressure cooker according to the manufacturer’s instructions.
Adding the beef broth and Worcestershire sauce will create a flavorful cooking liquid that will infuse the meat as it cooks under pressure. The combination of these ingredients will enhance the natural richness of the London Broil.
Now that the flavors are added, it’s time to move on to the next step – pressure cooking the meat.
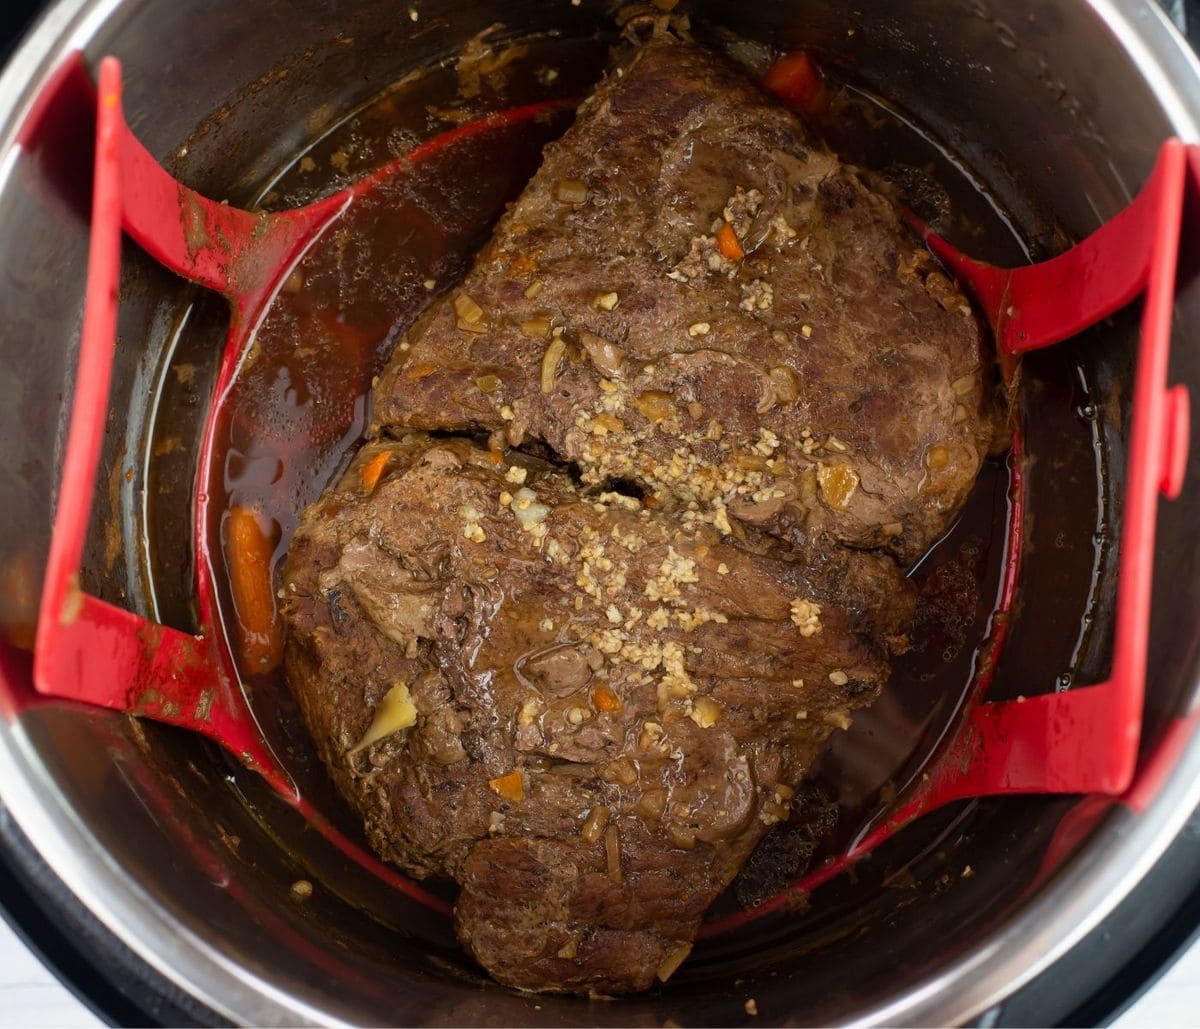
Step 4: Pressure Cooking
Now that the London Broil is prepared and the flavors are added, it’s time to use the pressure cooker to cook the meat to perfection. Follow these steps for optimal results:
- Set the electric pressure cooker to the “Meat” or “Pressure Cook” setting. Adjust the cooking time according to the weight and thickness of your London Broil. As a general guideline, 20 minutes of cooking time per pound should suffice.
- Once the desired cooking time is set, close the lid and ensure it’s properly sealed.
- Allow the pressure cooker to come to pressure. This may take several minutes, depending on your specific model.
- Once the pressure is reached, the cooking process will begin. The heat and steam will work together to tenderize the London Broil, resulting in a moist and juicy meat.
- Let the pressure cooker do its magic and cook the London Broil for the designated time.
During the pressure cooking process, the flavors from the broth and seasoning will infuse the London Broil, creating a delectable taste experience. The high pressure and steam in the cooker will help break down the connective tissues in the meat, resulting in a tender and flavorful outcome.
Now that the London Broil is cooking under pressure, it’s time to learn about the next step – natural release or quick release.
Step 5: Natural Release or Quick Release
After the pressure cooking time is complete, there are two methods to release the pressure from the electric pressure cooker: natural release and quick release. Here’s what you need to know about each method:
- Natural Release: With this method, you allow the pressure in the cooker to release naturally over time. Simply turn off the heat and let the pressure cooker sit undisturbed for about 10-15 minutes. As the pressure subsides, the float valve on the lid will drop, indicating that it’s safe to open. Natural release is ideal for delicate cuts of meat like London Broil, as it allows the meat to gently relax and retain its juices.
- Quick Release: If you’re short on time and eager to dig into the mouthwatering London Broil, you can opt for a quick release. Using oven mitts or tongs, carefully move the pressure release valve to the “Venting” position. This will release the steam and pressure from the cooker rapidly. Be cautious of the hot steam while performing a quick release. Once the pressure is fully released and the float valve drops, it’s safe to open the pressure cooker.
Choose the release method that best suits your needs and schedule. Keep in mind that with natural release, the meat will continue cooking gently as it naturally releases pressure. This may impact the overall doneness of the meat, so adjust cooking times accordingly.
Once the pressure is released, it’s time to move on to the next step – resting the meat.
Step 6: Resting the Meat
Resting the London Broil after cooking is a crucial step to ensure that the meat remains tender and juicy. Follow these steps to properly rest the meat:
- Once you have released the pressure and opened the lid of the electric pressure cooker, carefully remove the London Broil from the cooking liquid using tongs.
- Transfer the cooked meat to a clean cutting board or a plate.
- Cover the London Broil loosely with aluminum foil or a clean kitchen towel. This will help retain the heat and allow the meat to rest without drying out.
- Let the London Broil rest for about 5-10 minutes. This resting period allows the juices within the meat to redistribute, resulting in a more tender and flavorful final preparation.
During the resting period, the residual heat in the London Broil will continue to cook the meat slightly. The resting time also enables the fibers in the meat to relax, making it easier to slice and ensuring a juicy and succulent bite.
While the London Broil is resting, it’s a good time to prepare your side dishes or garnishes to serve alongside the meat. Once the resting period is complete, it’s time to move on to the final step – slicing and serving the delicious London Broil.
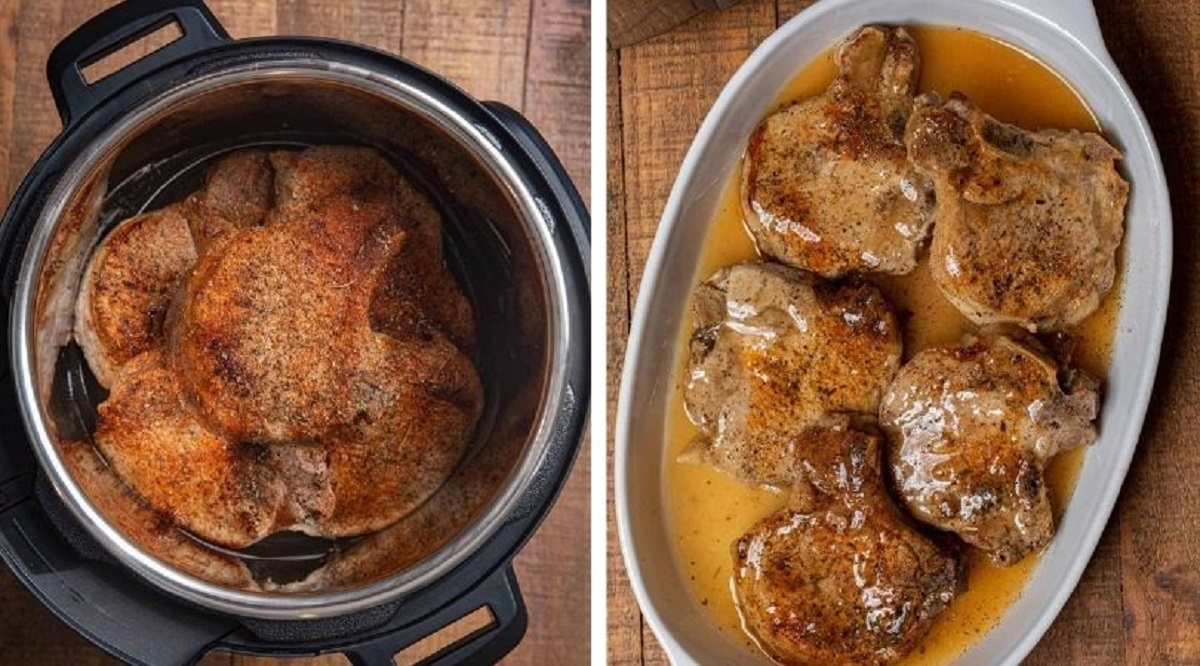
Step 7: Slicing and Serving
Once the London Broil has rested, it’s time to slice and serve the deliciously tender meat. Follow these steps for the final presentation:
- Using a sharp knife, slice the London Broil against the grain. This means cutting perpendicular to the direction of the meat fibers. Slicing against the grain helps ensure that each bite is tender and easy to chew.
- Cut the meat into thin slices, aiming for a thickness of about ¼ to ½ inch. This allows for optimal tenderness and helps showcase the beautiful texture of the London Broil.
- Arrange the sliced London Broil on a serving platter or individual plates.
- You can drizzle some of the cooking liquid or juices from the pressure cooker over the sliced meat for added moisture and flavor.
- Additionally, you can garnish the London Broil with fresh herbs, such as parsley or rosemary, or serve it alongside some horseradish cream sauce or chimichurri sauce for a burst of flavor.
Once you have sliced and plated the London Broil, it’s ready to be served and enjoyed. Whether you’re serving it as the main course for a family dinner or as part of a larger meal, this tender and flavorful dish is sure to impress your guests.
Now that you’ve mastered the art of fixing London Broil in an electric pressure cooker, feel free to experiment with different seasonings and side dishes to create your own signature version. Let your creativity shine and enjoy the delicious results!
Tips and Variations
When it comes to fixing London Broil in an electric pressure cooker, here are some helpful tips and variations to elevate your cooking experience:
- Marinate the London Broil: For even more flavor, consider marinating the London Broil before cooking. You can use a simple marinade of olive oil, soy sauce, garlic, and your choice of herbs and spices. Marinate the meat for at least 2 hours or overnight in the refrigerator before proceeding with the pressure cooking process.
- Add vegetables: To make it a complete meal, you can add vegetables like onions, carrots, and potatoes to the pressure cooker along with the London Broil. These vegetables will cook alongside the meat, absorbing the flavors and creating a well-rounded dish.
- Experiment with seasonings: Feel free to get creative with the seasonings in the recipe. You can try different combinations of spices like cumin, smoked paprika, or even a touch of chili powder for a spicier kick. Adjust the seasonings to suit your personal taste preferences.
- Cooking time adjustments: The cooking time may vary depending on the size and thickness of the London Broil. If you have a larger or thicker cut, you may need to increase the cooking time slightly. Use a meat thermometer to check for doneness. The internal temperature should reach around 135°F for medium-rare or 145°F for medium doneness.
- Make a flavorful sauce: If you prefer a saucier London Broil, you can strain the cooking liquid from the pressure cooker and reduce it on the stovetop to create a flavorful sauce. You can also thicken the sauce with a cornstarch slurry for a silky texture.
- Try different cuts of beef: While London Broil is traditionally made from flank steak, you can experiment with other cuts of beef like top round or bottom round. Just adjust the cooking time accordingly as different cuts may require slightly longer cooking times.
These tips and variations allow you to customize the recipe to your liking and explore different flavors and textures. Don’t be afraid to get creative and make this dish your own.
With these suggestions in mind, you’re well-equipped to fix a mouthwatering London Broil in your electric pressure cooker. So, gather your ingredients, fire up the pressure cooker, and get ready to enjoy a tender and flavorful meal.
Conclusion
Fixing London Broil in an electric pressure cooker is a convenient and efficient way to achieve tender and flavorful results in a fraction of the time compared to traditional cooking methods. By following the step-by-step process outlined in this guide, you can create a mouthwatering dish that will impress your family and guests.
From preparing the London Broil with the right seasonings to searing the meat to develop that perfect crust, each step plays a crucial role in achieving a delicious outcome. The electric pressure cooker tenderizes the meat while infusing it with the flavors of the broth and seasonings, resulting in a juicy and flavorful London Broil.
Remember to let the meat rest after cooking to allow the juices to redistribute, ensuring maximum tenderness. Slicing the London Broil against the grain and serving it with your favorite garnishes and sauces will enhance the overall taste and presentation.
As you become more confident with this cooking method, don’t hesitate to experiment with different marinades, seasonings, and side dishes to make the recipe your own. Adjust cooking times based on the size and thickness of the meat, and always use a meat thermometer to ensure the desired level of doneness.
Whether you are hosting a special occasion or simply preparing a delicious family meal, fixing London Broil in an electric pressure cooker is a fantastic option. So, don’t be afraid to dive into the world of pressure cooking and enjoy the tender, flavorful, and satisfying experience that awaits you!