Introduction
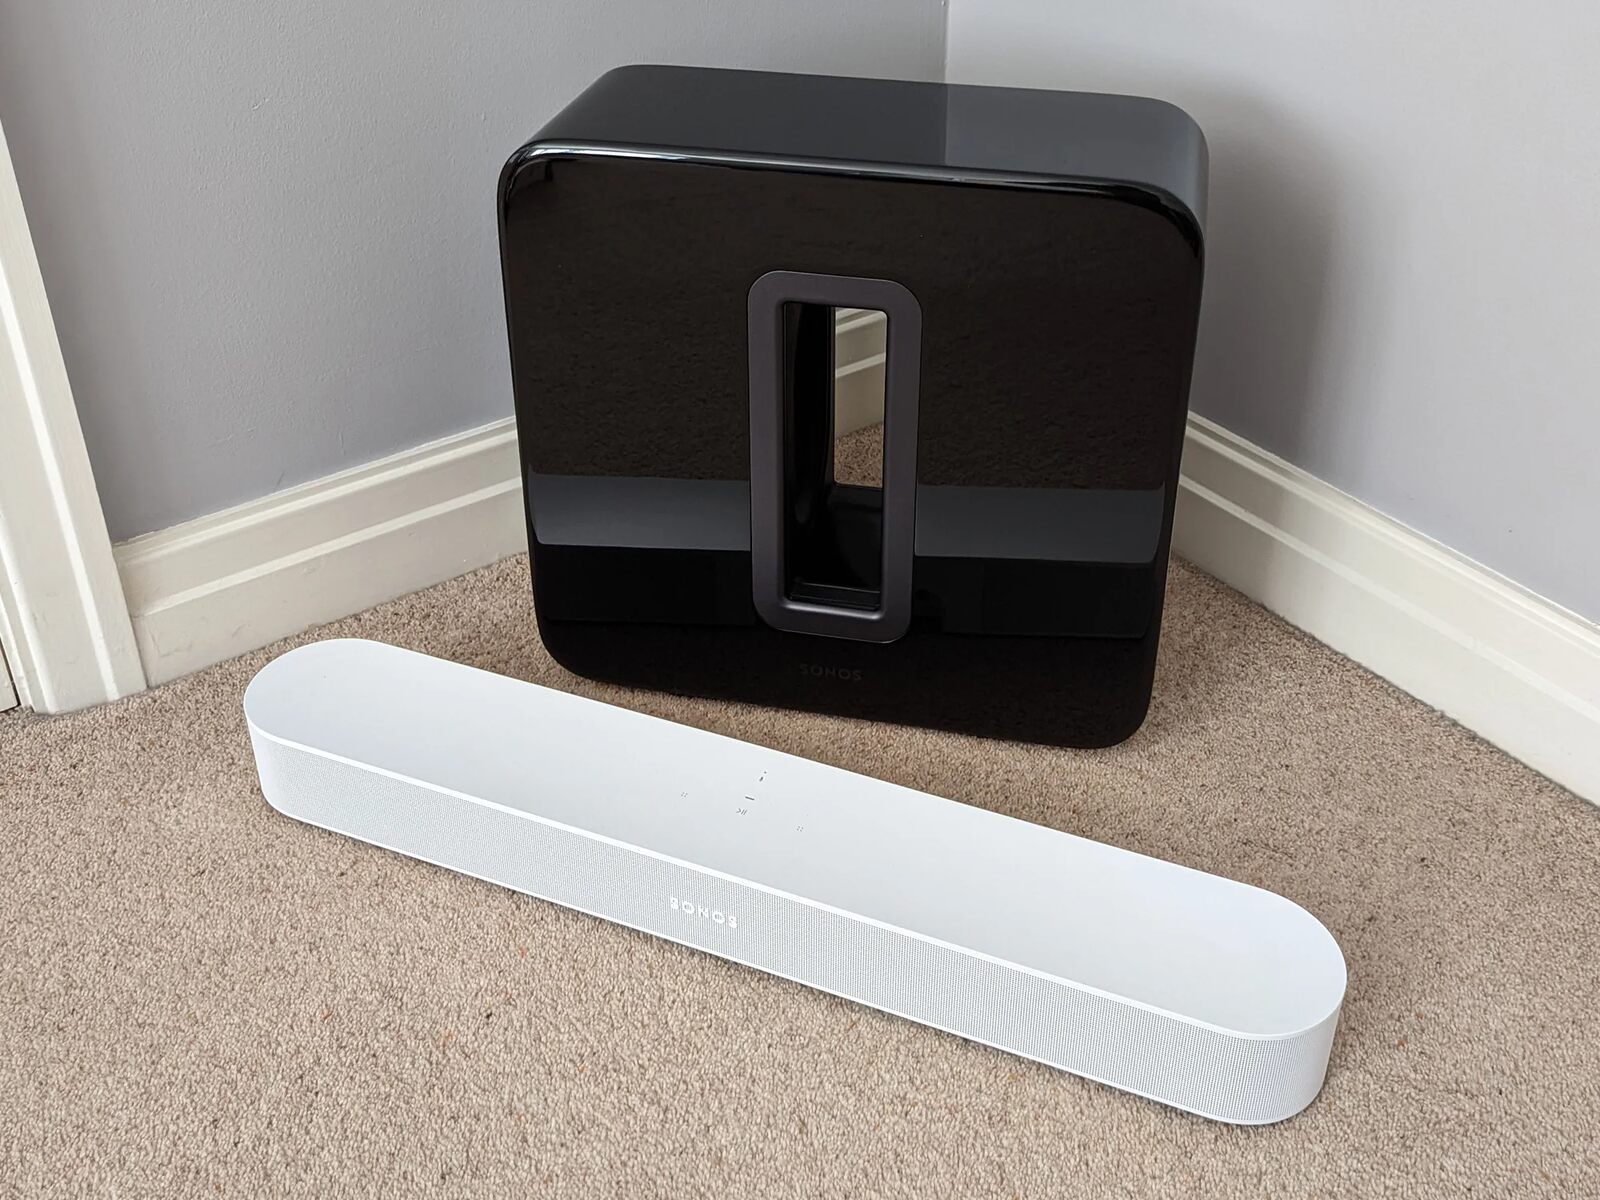
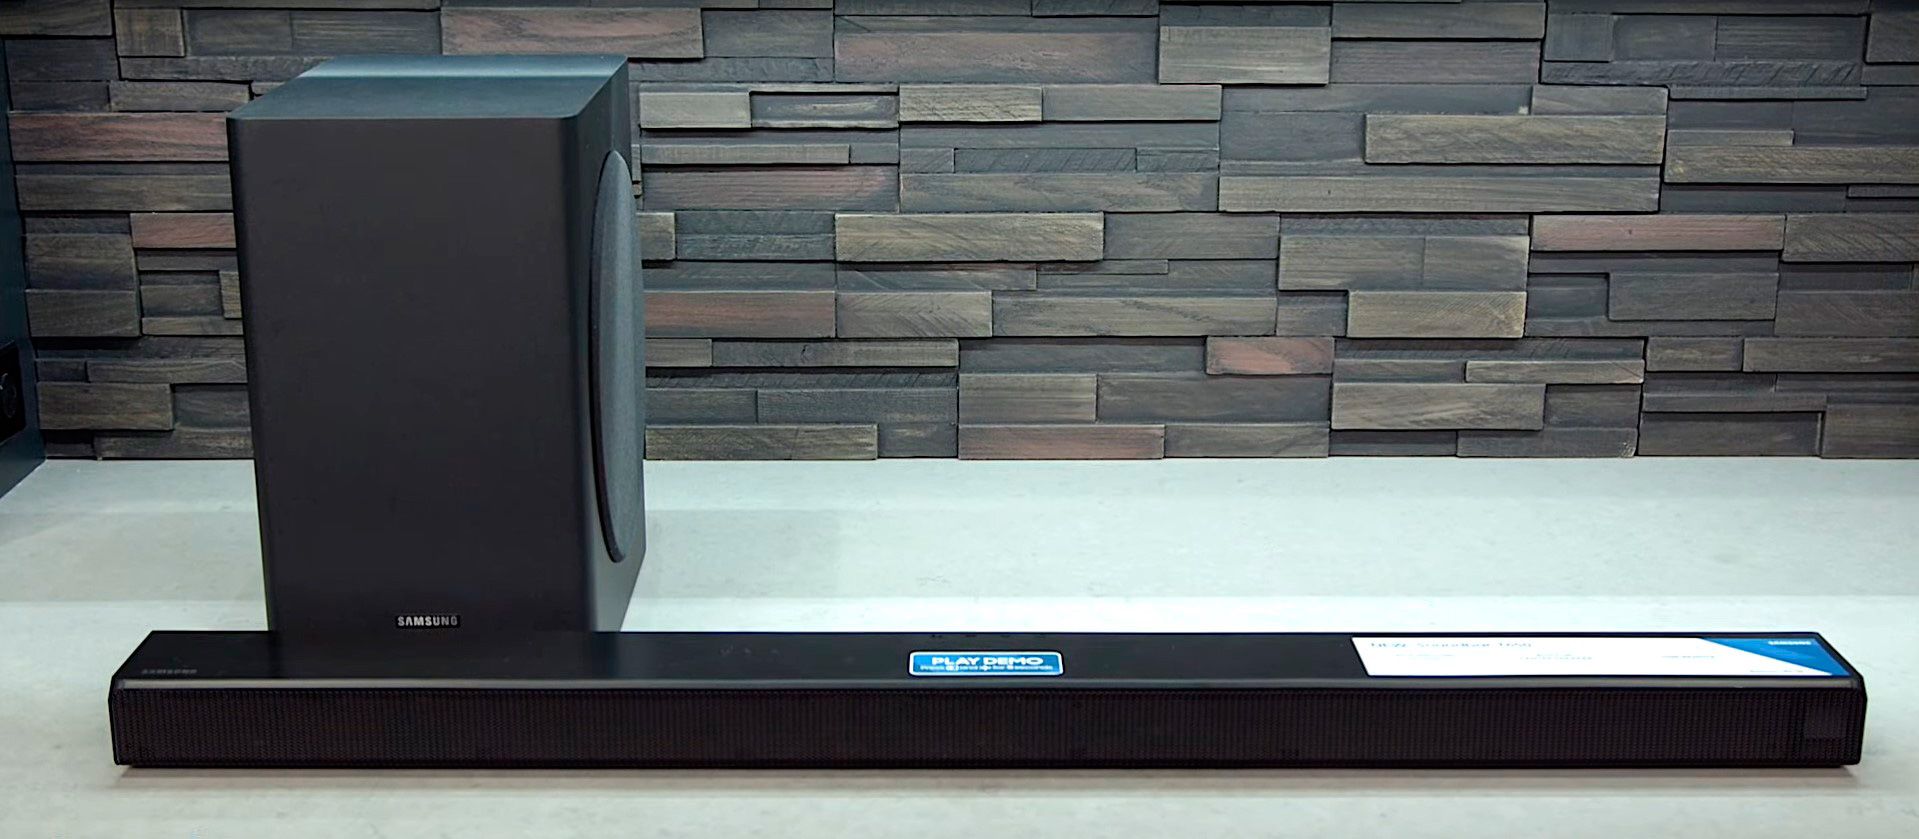
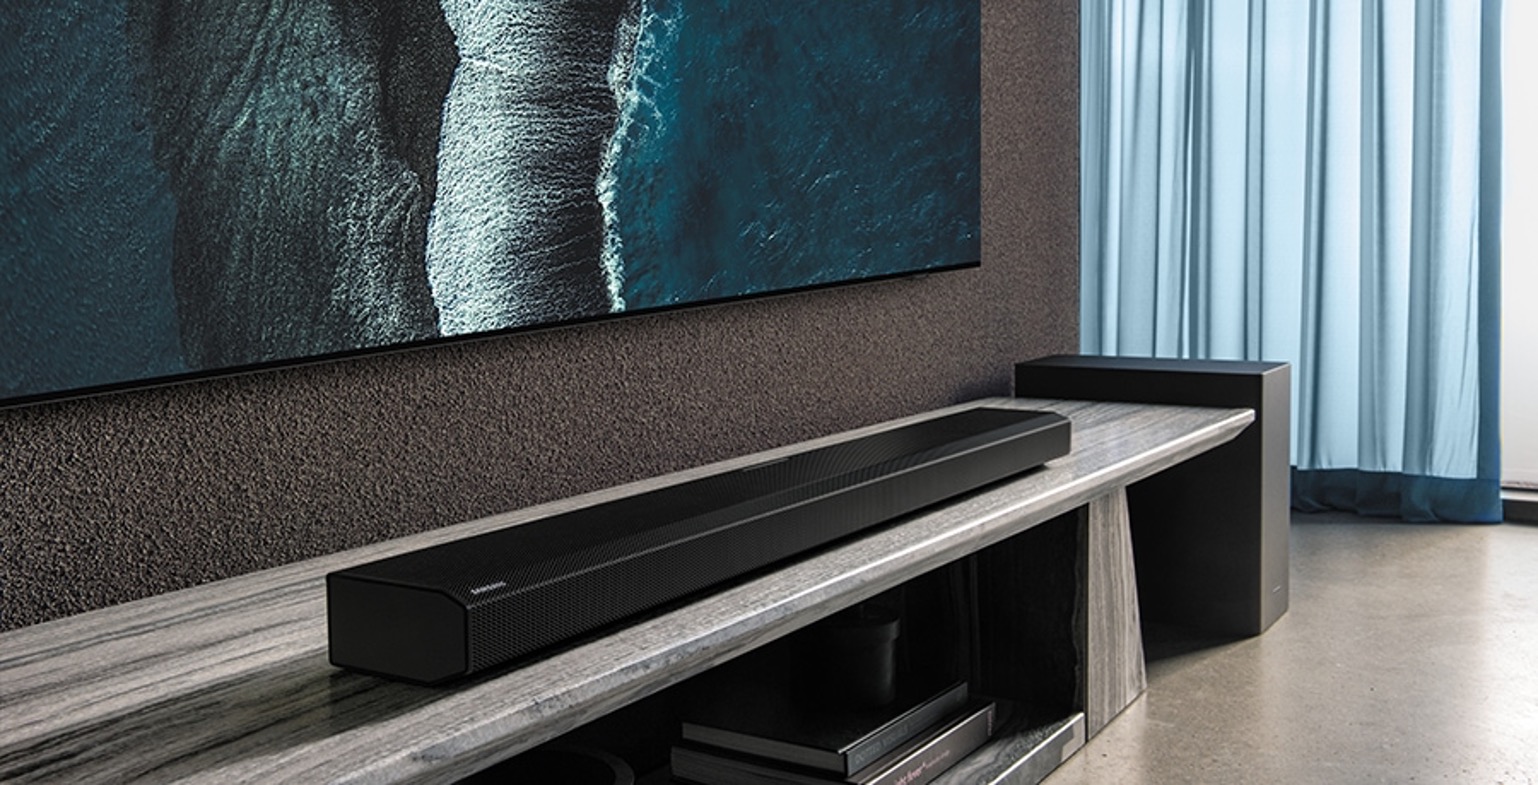
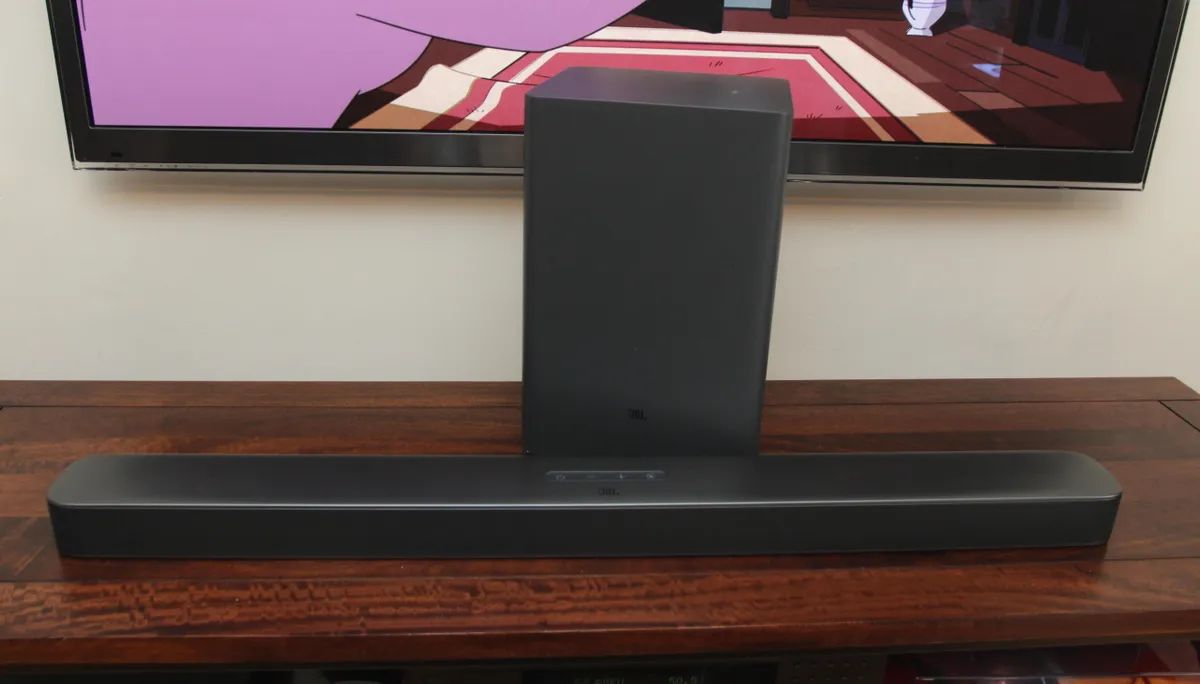
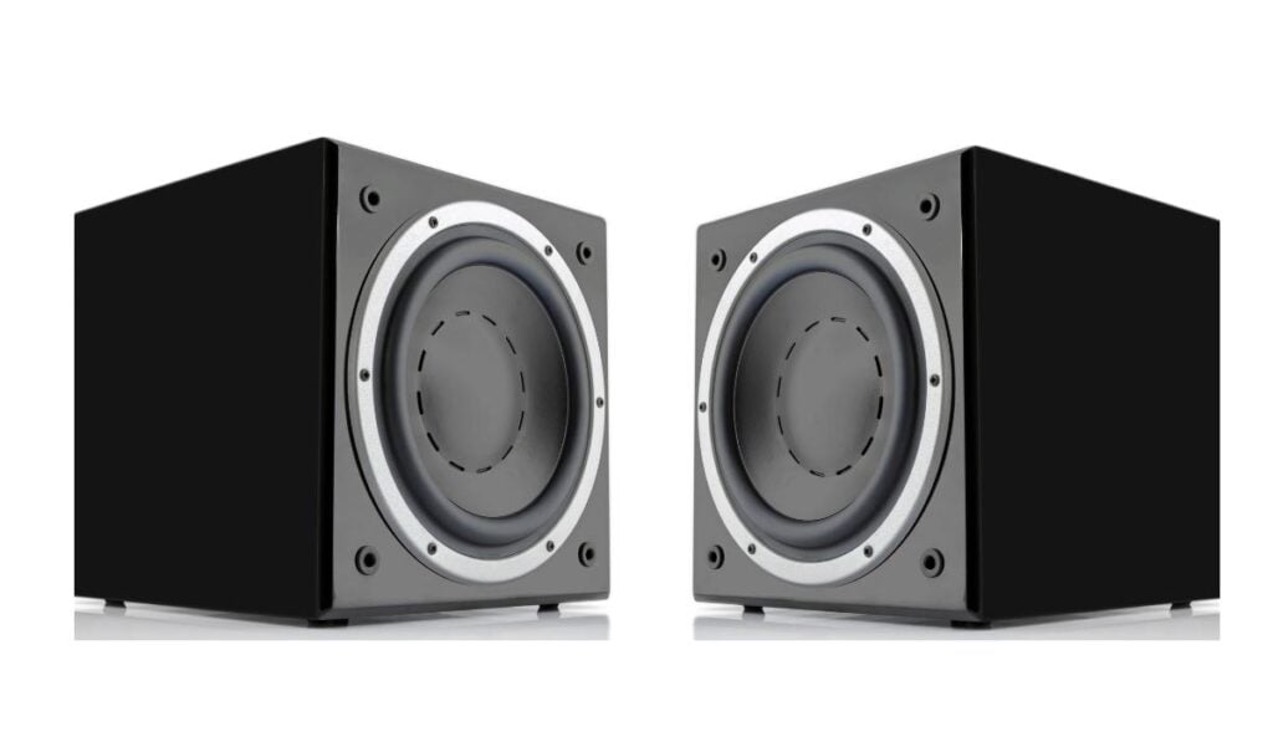
Welcome to our guide on how to connect a wireless subwoofer to a soundbar. A subwoofer is a vital component of a home theater setup, and when paired with a soundbar, it can enhance the audio experience by delivering deep and powerful bass. The convenience of a wireless subwoofer allows you to place it anywhere in your room without the hassle of running cables.
Before diving into the steps, it’s important to note that not all soundbars and subwoofers are compatible with each other. It’s essential to check the manufacturer’s specifications and ensure that your soundbar supports a wireless subwoofer connection. Usually, the soundbar and subwoofer come in a package, designed to work seamlessly together. However, if you have purchased them separately, compatibility is a crucial consideration.
In this guide, we will walk you through the process of connecting a wireless subwoofer to a soundbar. We understand that every system may have slight variations, so be sure to consult the user manuals provided by the manufacturers for specific instructions.
Now, let’s proceed to the step-by-step process of connecting your wireless subwoofer to your soundbar for an immersive audio experience.
Step 1: Check the compatibility of your wireless subwoofer and soundbar
Before you can connect your wireless subwoofer to your soundbar, it’s crucial to ensure that they are compatible with each other. While most soundbars come with a dedicated wireless subwoofer, some may require an additional purchase. Here’s how you can check the compatibility:
- Refer to the user manual: Start by referring to the user manual provided with your soundbar. Look for information regarding wireless subwoofer compatibility. The manual will usually mention if the soundbar can connect to a wireless subwoofer and any specific requirements it may have.
- Check for wireless connectivity options: Examine the back panel of your soundbar for any wireless connectivity options. Look for labels such as “wireless subwoofer,” “subwoofer out,” or “SW out.” If your soundbar has these options, it’s likely compatible with a wireless subwoofer.
- Identify the subwoofer pairing method: Determine the pairing method supported by your soundbar and wireless subwoofer. In most cases, it involves a wireless pairing process that allows the soundbar and subwoofer to establish a connection without the need for additional cables.
- Manufacturer’s website: If you’re still unsure about the compatibility, visit the manufacturer’s website and search for your specific soundbar model. Look for information regarding wireless subwoofer compatibility or a list of recommended subwoofers for your soundbar.
By checking the compatibility of your wireless subwoofer and soundbar beforehand, you can ensure a smooth and seamless connection process. If your soundbar and subwoofer are not compatible, you may need to consider alternative options or seek the help of a professional to find a suitable solution.
Step 2: Power on your soundbar and wireless subwoofer
Now that you have verified the compatibility, it’s time to power on your soundbar and wireless subwoofer. Follow these steps:
- Locate the power buttons: On both the soundbar and the wireless subwoofer, locate the power buttons. The power button on the soundbar is usually located on the front or side panel, while the subwoofer may have its power button at the rear or bottom.
- Connect the power cords: Plug in the power cords of both the soundbar and the wireless subwoofer to electrical outlets. Ensure that the power cords are securely connected and that the outlets are functioning properly.
- Switch on the soundbar: Press the power button on the soundbar to turn it on. Some soundbars may have an indicator light that will illuminate when it’s powered on, indicating that it’s ready for pairing.
- Switch on the subwoofer: Press the power button on the wireless subwoofer to turn it on. Similar to the soundbar, some subwoofers may have an LED indicator that lights up when it’s powered on.
Once you have powered on both the soundbar and wireless subwoofer, they will begin the initialization process. During this time, the soundbar and subwoofer may establish a connection automatically, or you may need to manually initiate the pairing process. Refer to the user manuals provided with your devices for specific instructions on how to proceed.
With the soundbar and subwoofer powered on, you’re one step closer to enjoying an immersive audio experience. Now let’s move on to the next step and activate the pairing mode on your wireless subwoofer.
Step 3: Activate the pairing mode on your wireless subwoofer
In this step, we will guide you through the process of activating the pairing mode on your wireless subwoofer. This step is crucial as it allows the subwoofer to search for and establish a connection with the soundbar. Follow these instructions:
- Locate the pairing button: On the wireless subwoofer, locate the pairing button. It is usually labeled as “PAIR,” “CONNECT,” or “WIRELESS.” The button may be located on the rear or bottom panel of the subwoofer.
- Press and hold the pairing button: Press and hold the pairing button on the wireless subwoofer for a few seconds until you see the LED indicator start flashing or hear a beep sound. This indicates that the subwoofer has entered the pairing mode.
- Wait for the pairing process: Once in pairing mode, the subwoofer will start searching for the soundbar signal. The LED indicator may keep flashing or change color to indicate that it is actively searching.
- Monitor the subwoofer’s LED indicator: Keep an eye on the subwoofer’s LED indicator. Once the pairing process is successful, the LED will either remain solid, change color, or stop flashing. This indicates that the subwoofer has established a connection with the soundbar.
Note: The exact process of activating the pairing mode may vary depending on the model and brand of your wireless subwoofer. Refer to the user manual provided with your subwoofer for specific instructions.
By activating the pairing mode on your wireless subwoofer, you are allowing it to search for and establish a connection with the soundbar. Now that the subwoofer is ready for pairing, let’s proceed to the next step and activate the pairing mode on your soundbar.
Step 4: Activate the pairing mode on your soundbar
Now that you have activated the pairing mode on your wireless subwoofer, it’s time to do the same for your soundbar. Activating the pairing mode allows the soundbar to search for and connect to the wireless subwoofer. Here’s how you can activate the pairing mode on your soundbar:
- Review the soundbar controls: Take a moment to familiarize yourself with the controls on your soundbar. Locate the buttons or menu options that are specifically related to pairing and wireless connectivity. These buttons or options may be labeled as “PAIR,” “CONNECT,” or “WIRELESS.”
- Press the pairing button or access the menu: Depending on your soundbar model, you will either press a physical pairing button on the soundbar itself or access the pairing option through the menu using the soundbar’s remote control.
- Initiate the pairing process: Press and hold the pairing button or navigate to the pairing menu option on the soundbar. The soundbar will then start searching for the wireless subwoofer signal to establish a connection.
- Wait for pairing confirmation: Monitor the soundbar’s display or LED indicators for any pairing confirmation. Once the soundbar successfully detects the wireless subwoofer and establishes a connection, it will indicate the successful pairing through visual cues, such as a solid LED light or an on-screen notification.
It’s important to note that the exact process of activating the pairing mode may differ based on the model and brand of your soundbar. If you’re unsure about how to activate the pairing mode, refer to the user manual provided with your soundbar for specific instructions.
Now that you’ve successfully activated the pairing mode on your soundbar, you’re ready to proceed to the next step and establish the connection between the wireless subwoofer and the soundbar. Hang in there, you’re almost done!
Step 5: Pair the wireless subwoofer with the soundbar
Now that the pairing modes on both your wireless subwoofer and soundbar are activated, it’s time to pair them together. Pairing establishes a secure wireless connection between the subwoofer and the soundbar. Follow these steps to pair your devices:
- Initiate the pairing process on the soundbar: Using the soundbar’s remote control or the buttons on the device itself, select the option to search for available devices or initiate the pairing process.
- Wait for the soundbar to detect the subwoofer: The soundbar will start searching for the wireless subwoofer signal. This may take a few moments. Keep an eye on the soundbar’s display or LED indicators for any progress or confirmation.
- Establish the connection: Once the soundbar detects the wireless subwoofer, it will automatically establish a connection. You may see a confirmation message on the soundbar’s display or notice the LED indicators change to indicate a successful connection.
- Verify the connection: After the pairing process is complete, test the connection by playing audio content through your soundbar. You should now experience the enhanced bass response provided by the wireless subwoofer.
It’s important to note that each soundbar model may have slight variations in the pairing process. Consult the user manual provided with your soundbar for specific instructions tailored to your device.
Once you have successfully paired the wireless subwoofer with the soundbar, you can enjoy the immersive audio experience that comes with enhanced bass and deep rumbling tones. However, if you encounter any issues during the pairing process or face difficulties with audio playback, refer to the troubleshooting section in your user manual for possible solutions.
Congratulations! You’ve successfully paired your wireless subwoofer with your soundbar. Now, let’s move on to the final step and make some adjustments and settings to optimize your audio setup.
Step 6: Test the connection and adjust the settings
After pairing the wireless subwoofer with your soundbar, it’s important to test the connection and make any necessary adjustments to optimize your audio setup. Follow these steps to ensure everything is working as expected:
- Play audio content: Start by playing your favorite music, movie, or TV show that showcases a wide range of sound frequencies. This will help you assess the overall audio performance and observe the impact of the wireless subwoofer on the bass response.
- Adjust the subwoofer volume: Depending on your personal preference and the acoustics of your room, you may want to adjust the volume level of the subwoofer. Most soundbars provide an option to control the subwoofer’s volume either through the soundbar itself or its accompanying remote control.
- Fine-tune the settings: Explore the soundbar’s settings menu to access additional audio customization options. You may find settings such as equalizer presets, surround sound modes, or dialogue enhancement features. Experiment with these settings to find the optimal audio configuration that suits your preferences and content type.
- Positioning of the subwoofer: If you feel that the bass response is not optimal, try different placements for your wireless subwoofer. Moving it closer to a corner or wall can enhance the low-frequency performance. Experiment with different positions and observe the impact on the overall audio quality.
- Perform periodic checks: Over time, it’s important to periodically check the connection between the wireless subwoofer and the soundbar. Ensure that there is no interference from other wireless devices in your home that may disrupt the connection. Additionally, check for any firmware updates for your soundbar and subwoofer, as these updates can often provide performance improvements.
By testing the connection and adjusting the settings, you can fine-tune your audio setup to suit your preferences and achieve the best possible audio quality from your wireless subwoofer and soundbar combination.
Now that you have completed all the necessary steps and made the required adjustments, sit back, relax, and enjoy the immersive audio experience delivered by your wireless subwoofer and soundbar.
Conclusion
Connecting a wireless subwoofer to your soundbar can elevate your audio experience to new heights. With deep and powerful bass, you can enjoy immersive sound while watching movies, listening to music, or playing games. By following the steps outlined in this guide, you can successfully connect your wireless subwoofer to your soundbar and create a dynamic audio setup.
Start by checking the compatibility of your wireless subwoofer and soundbar to ensure they can work together seamlessly. Power on both devices and activate the pairing mode on your subwoofer and soundbar. By pairing them, you establish a wireless connection that allows them to communicate and deliver synchronized audio.
Once the connection is established, take the time to test the audio and make necessary adjustments. Fine-tune the subwoofer volume, explore the soundbar’s settings, and experiment with different subwoofer placements to optimize the bass response. Regularly check for firmware updates and ensure there are no external interferences that may affect the connection.
Remember to consult the user manuals provided by the manufacturers for specific instructions tailored to your devices. Each soundbar and wireless subwoofer may have slight variations in the pairing process, so it’s essential to follow the guidelines provided by the manufacturers.
Now that you have successfully connected your wireless subwoofer to your soundbar, you can immerse yourself in an enhanced audio experience. Feel the rumbling bass, the depth of sound, and enjoy a cinematic feel right in the comfort of your own home.
So, go ahead, turn up the volume, and enjoy the incredible audio quality brought to you by your wireless subwoofer and soundbar combination. Sit back, relax, and let the audio magic unfold!


