Introduction
Connecting to Wi-Fi on your iPhone allows you to access the internet, stream movies and music, communicate with friends and family, and much more. Wi-Fi is a convenient and reliable way to stay connected, whether you’re at home, at work, or on the go.
In this step-by-step guide, we will walk you through the process of connecting to Wi-Fi on your iPhone. Whether you’re setting up a new device or joining a new network, these instructions will help you get connected quickly and easily.
Before we dive into the steps, it is important to note that the process of connecting to Wi-Fi may vary slightly depending on the iOS version running on your iPhone. However, the overall steps and concepts remain the same across different versions, so you should be able to follow along regardless of the specific iOS version.
So, without further ado, let’s get started and learn how to connect to Wi-Fi on your iPhone.
Step 1: Open the Settings app
The first step to connect to Wi-Fi on your iPhone is to open the Settings app. The Settings app is where you can customize various settings on your device, including Wi-Fi, cellular data, notifications, and more.
To open the Settings app, locate the app icon on your iPhone’s home screen. It looks like a gear or cogwheel. Tap on it to launch the app.
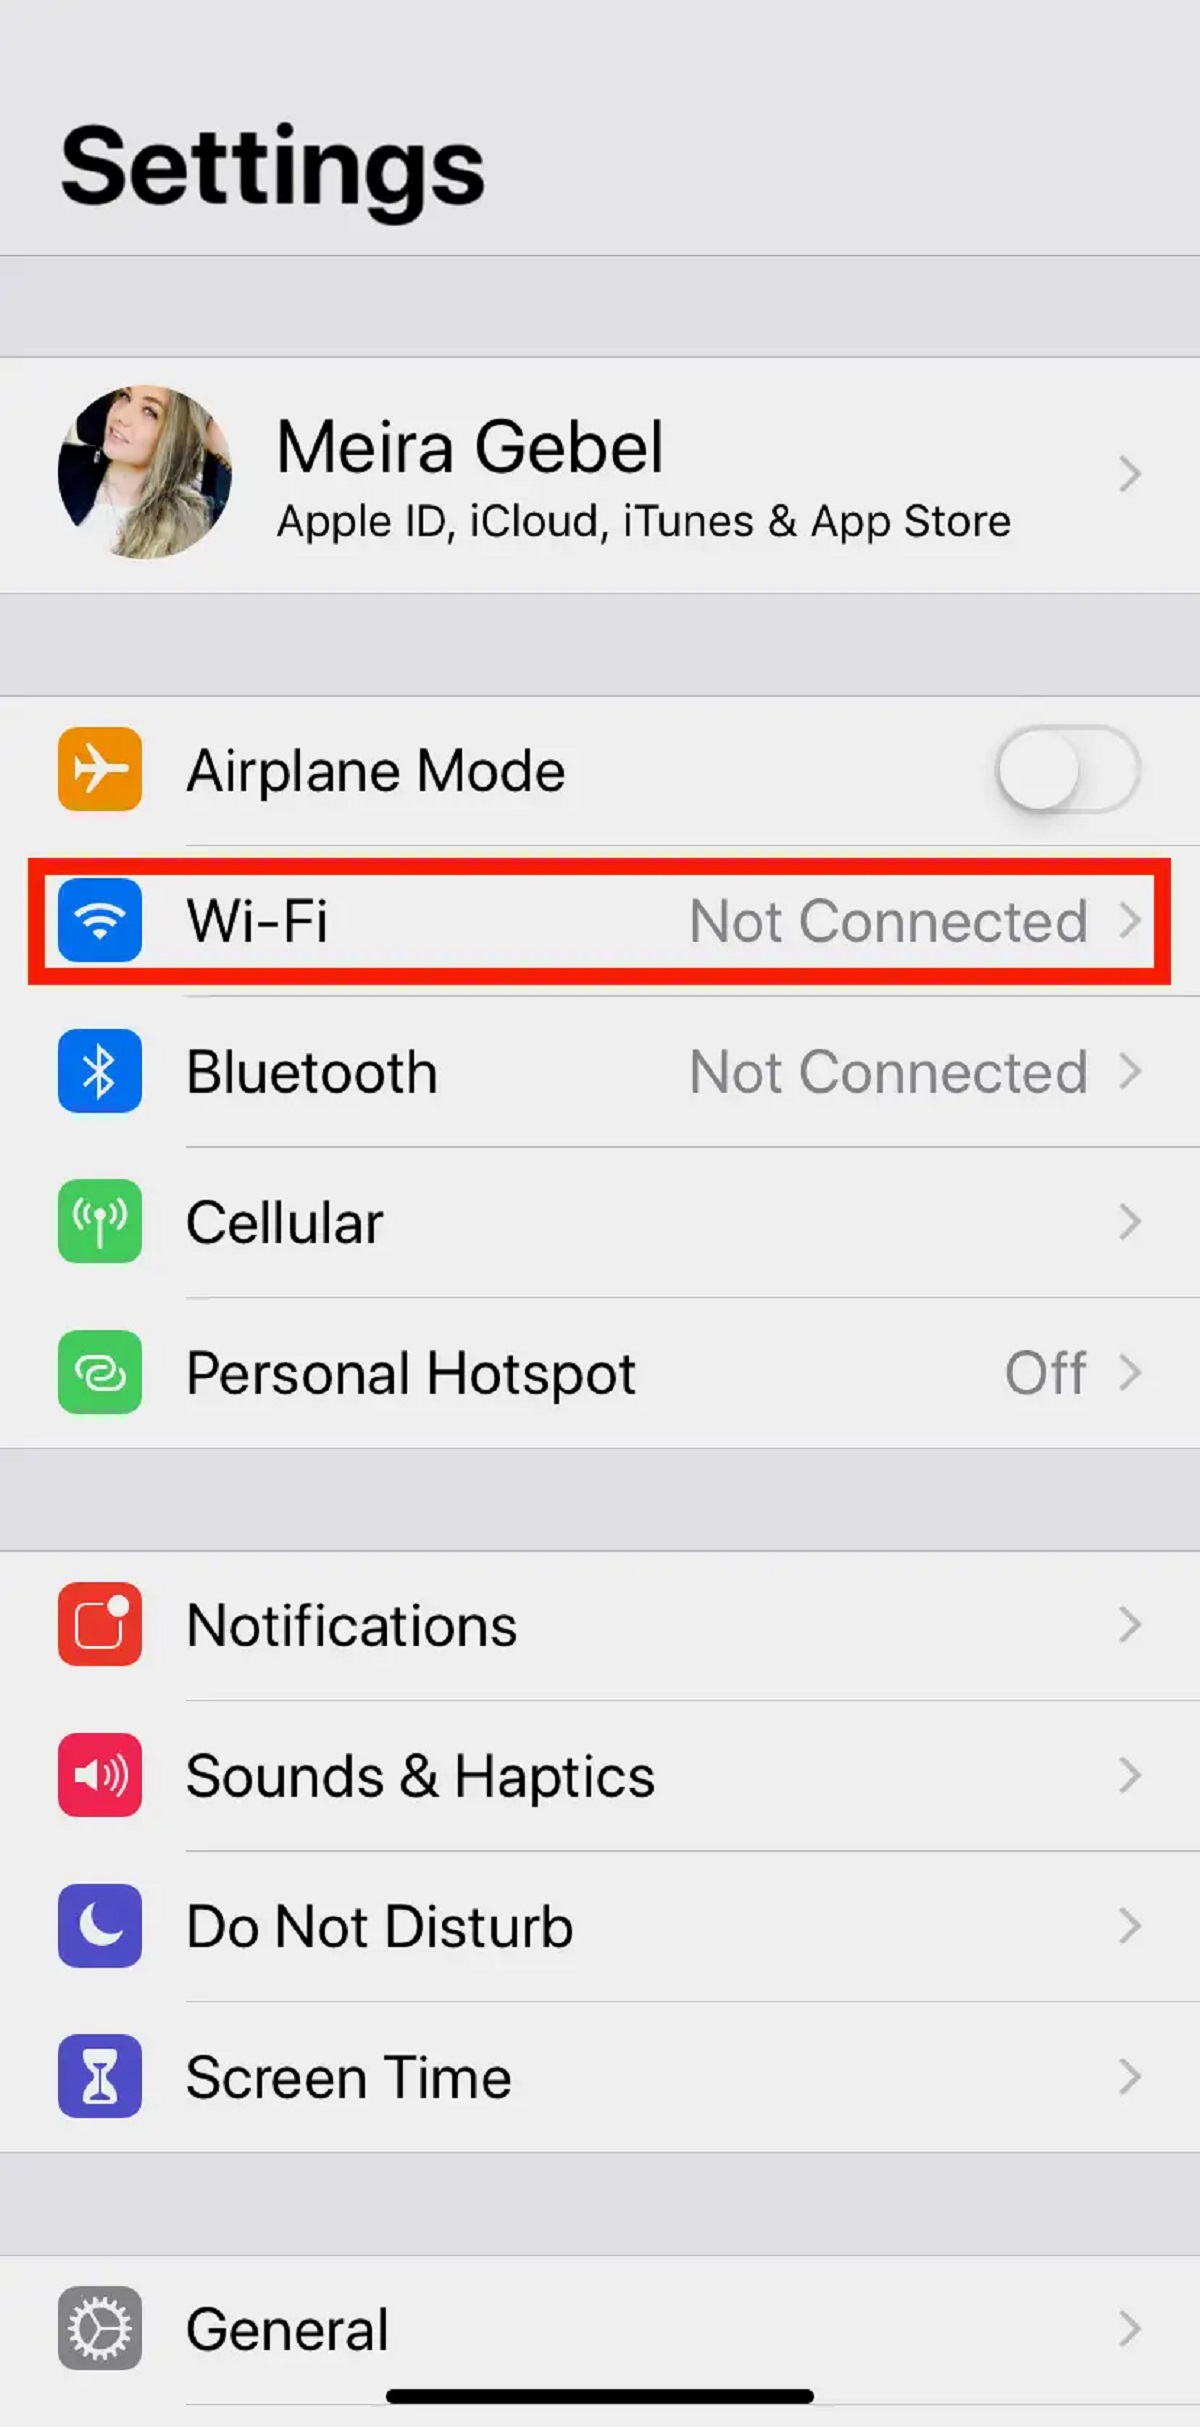
Once you have opened the Settings app, you will see a list of different options and categories. Scroll down or swipe up to navigate through the available options until you find the “Wi-Fi” option.
The Wi-Fi option is usually located near the top of the list, just below the Airplane Mode and Cellular Data options. It is represented by a Wi-Fi symbol. Tap on the “Wi-Fi” option to proceed to the next step.
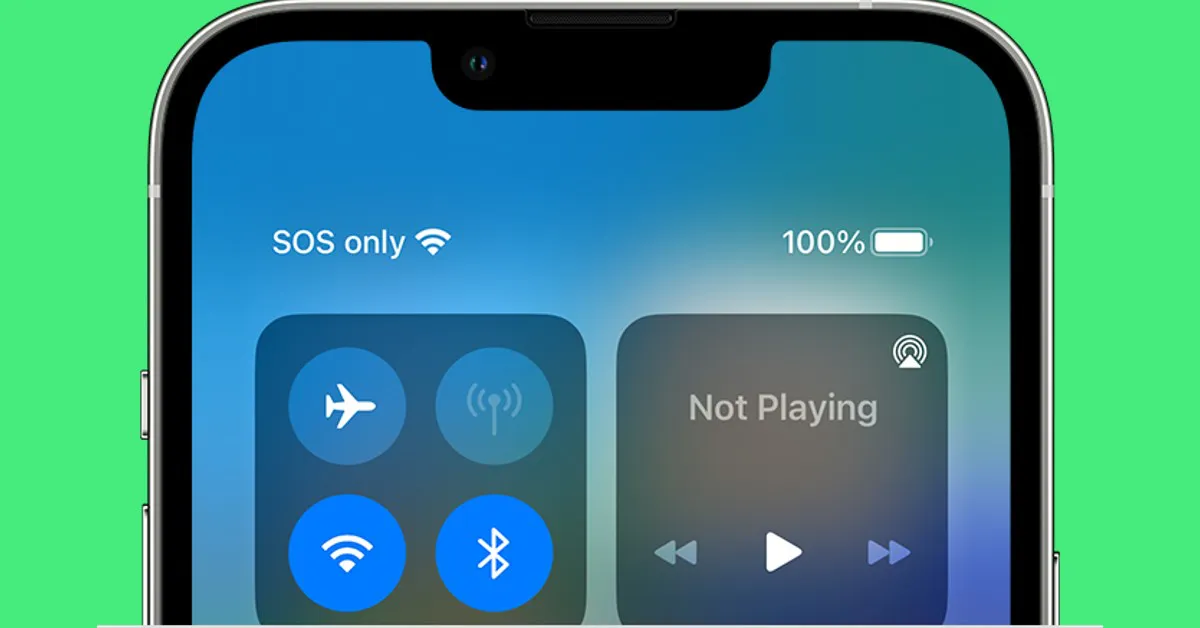
Alternatively, you can also access the Wi-Fi settings by swiping down from the top-right corner of your iPhone’s screen to open the Control Center. From there, long-press or force-touch the Wi-Fi icon to open the Wi-Fi settings directly.
Once you have successfully opened the Wi-Fi settings, you can move on to the next step to find and connect to a Wi-Fi network.
Step 2: Tap on Wi-Fi
After opening the Settings app, the next step is to tap on the Wi-Fi option. This will allow you to access the Wi-Fi network settings on your iPhone.
Once you’ve tapped on the Wi-Fi option, you will be taken to a screen that displays the available Wi-Fi networks in your vicinity. The screen will show a list of networks with their names, signal strengths, and lock icons (if they are password-protected).
At the top of the screen, you will see an on/off toggle switch for Wi-Fi. Make sure that the toggle switch is turned on, indicated by the green color. This ensures that your iPhone is ready to connect to a Wi-Fi network.
To view more Wi-Fi networks, you can scroll through the list using your finger. The networks that appear at the top of the list are the ones with the strongest signal in your vicinity, making them more likely to provide a stable and fast connection.
If you have previously connected to a Wi-Fi network, it may appear under the “My Networks” section. This section displays your saved Wi-Fi networks, allowing you to connect to them automatically without entering any passwords again.
Keep in mind that public Wi-Fi networks, such as those available in coffee shops or airports, may require additional authentication or terms and conditions acceptance before you can connect to them. If this is the case, a pop-up window will appear, and you may need to follow the on-screen instructions to proceed.
To connect to a specific Wi-Fi network, simply tap on its name in the list. If the network is password-protected, a prompt will appear asking you to enter the Wi-Fi password. We will cover this step in the next section.
Once you have tapped on a Wi-Fi network and provided the necessary credentials (if required), your iPhone will attempt to connect to the network. You will see the Wi-Fi indicator at the top of your iPhone’s screen, indicating that it is actively connecting.
Congratulations! You have completed step 2 and successfully accessed the Wi-Fi network settings on your iPhone. In the next step, we will guide you through the process of finding your Wi-Fi network.
Step 3: Find your Wi-Fi network
Once you have tapped on the Wi-Fi option in the Settings app, you will need to find and select your desired Wi-Fi network from the list of available networks. This step will help you identify and choose the network you want to connect to.
On the Wi-Fi settings screen, you will see a list of Wi-Fi networks that your iPhone has detected in the surrounding area. These networks will be displayed with their names, signal strengths, and security lock icons if they are password protected.
Scroll through the list to locate your Wi-Fi network. Keep in mind that networks with stronger signal strengths will typically appear at the top of the list, making them easier to find and connect to.
If you are attempting to connect to a network that you have connected to in the past, it may appear under the “My Networks” section. This section conveniently displays your saved Wi-Fi networks, allowing you to connect to them automatically without needing to re-enter any passwords.
If the desired Wi-Fi network does not appear on the list, make sure that the network is within range and broadcasting its SSID (Service Set Identifier). Some networks may be hidden and require manual entry of the network name to connect.
If you are connecting to a public Wi-Fi network, such as one found at a coffee shop or airport, the network may require additional steps for authentication or acceptance of terms and conditions. In such cases, a pop-up window will appear, and you will need to follow the on-screen instructions to proceed with the connection.
Take your time to carefully identify and select the correct Wi-Fi network to avoid connecting to unintended or insecure networks. Read the network names and signal strengths to ensure you are connecting to the desired network.
Once you have located your Wi-Fi network, proceed to the next step to connect to it and establish a wireless connection with your iPhone.
Step 4: Connect to the Wi-Fi network
After you have found your desired Wi-Fi network in the list of available networks, it’s time to connect to it. This step will guide you through the process of connecting your iPhone to the selected Wi-Fi network.
To connect to the Wi-Fi network, simply tap on its name in the list. If the network is password-protected, a prompt will appear asking you to enter the Wi-Fi password.
If you are connecting to a public Wi-Fi network that does not require a password, your iPhone will automatically connect to it once you tap on its name.
When prompted for the Wi-Fi password, carefully type in the correct password for the network. Make sure to double-check the password to avoid any errors. The Wi-Fi password is case-sensitive, so ensure that you enter the uppercase and lowercase letters correctly.
If you don’t have the password for the network you want to connect to, you will need to obtain it from the network administrator or the individual who manages the Wi-Fi network.
Once you have entered the Wi-Fi password, tap on the “Join” or “Connect” button. Your iPhone will then attempt to establish a connection with the selected Wi-Fi network.
If the entered password is correct and the signal strength is sufficient, your iPhone will successfully connect to the Wi-Fi network. You will see the Wi-Fi indicator appear at the top of your iPhone’s screen, indicating that you are now connected to the network.
Take note that some networks may have additional security measures, such as MAC address filtering or network access control, which may require further authentication or configuration. If you encounter any issues connecting to the network, consult the network administrator or the Wi-Fi network’s documentation for further assistance.
Congratulations! You have now connected your iPhone to the selected Wi-Fi network. In the next step, we will discuss what to do while the connection is being established.
Step 5: Enter the Wi-Fi password (if required)
When connecting to a Wi-Fi network that is password-protected, you will need to enter the correct Wi-Fi password to establish the connection. This step will guide you through the process of entering the Wi-Fi password on your iPhone.
After selecting the Wi-Fi network you want to connect to from the list, if it is password-protected, a prompt will appear asking you to enter the Wi-Fi password.
Tap on the password field to bring up the keyboard on your iPhone screen. Carefully type in the correct Wi-Fi password. It’s important to note that the Wi-Fi password is case-sensitive, so be sure to enter uppercase and lowercase letters accurately.
If you’re unsure about the password, reach out to the network administrator or the individual managing the Wi-Fi network to obtain the correct password.
Take your time to enter the password accurately, ensuring there are no typos or errors. If you make a mistake, you can tap the delete key on the keyboard to remove characters one by one.
Once you have entered the Wi-Fi password, tap the “Join” or “Connect” button to proceed with connecting to the network. Your iPhone will then attempt to establish a connection with the Wi-Fi network.
If the entered password is correct and matches the network’s set password, your iPhone will successfully connect to the Wi-Fi network. The Wi-Fi indicator will appear at the top of your iPhone screen, indicating that you are now connected.
In case the password you entered is incorrect, a message will appear notifying you of the authentication failure. Double-check the password and try entering it again.
It’s worth noting that some Wi-Fi networks have passwords that change periodically or have time-limited access. If you are having trouble connecting or maintaining a stable connection, reach out to the network administrator for assistance.
With the correct Wi-Fi password entered, you have successfully completed the step of entering the Wi-Fi password on your iPhone. In the next step, we will discuss what to do while your iPhone establishes a connection with the Wi-Fi network.
Step 6: Wait for the connection to establish
After entering the Wi-Fi password, you will need to wait for your iPhone to establish a connection with the selected Wi-Fi network. This step will guide you through the process of patiently awaiting the connection to be established.
Once you have entered the Wi-Fi password and tapped the “Join” or “Connect” button, your iPhone will begin the process of connecting to the Wi-Fi network. This may take a few moments, especially if the network signal is weak or if there are multiple devices connecting to the network simultaneously.
During this time, your iPhone will display a message such as “Connecting” or “Obtaining IP address.” Additionally, the Wi-Fi indicator at the top of your iPhone screen will be animated, indicating that a connection is being established.
It’s important to be patient and allow your iPhone some time to complete the connection process. Avoid interrupting the connection attempt or navigating away from the Wi-Fi settings screen.
If the connection is successful, your iPhone will display a message such as “Connected” or “Wi-Fi Connected.” The animated Wi-Fi indicator will be replaced with the standard Wi-Fi signal icon, indicating that you have established a stable wireless connection with the network.
However, if the connection fails, your iPhone may display a message indicating that the connection was unsuccessful. In such cases, make sure you have entered the correct Wi-Fi password and try again. If the problem persists, you may need to troubleshoot further or seek assistance from the network administrator.
Once your iPhone has successfully established a Wi-Fi connection, you can begin using the internet, accessing online services, and enjoying the benefits of being connected to the network.
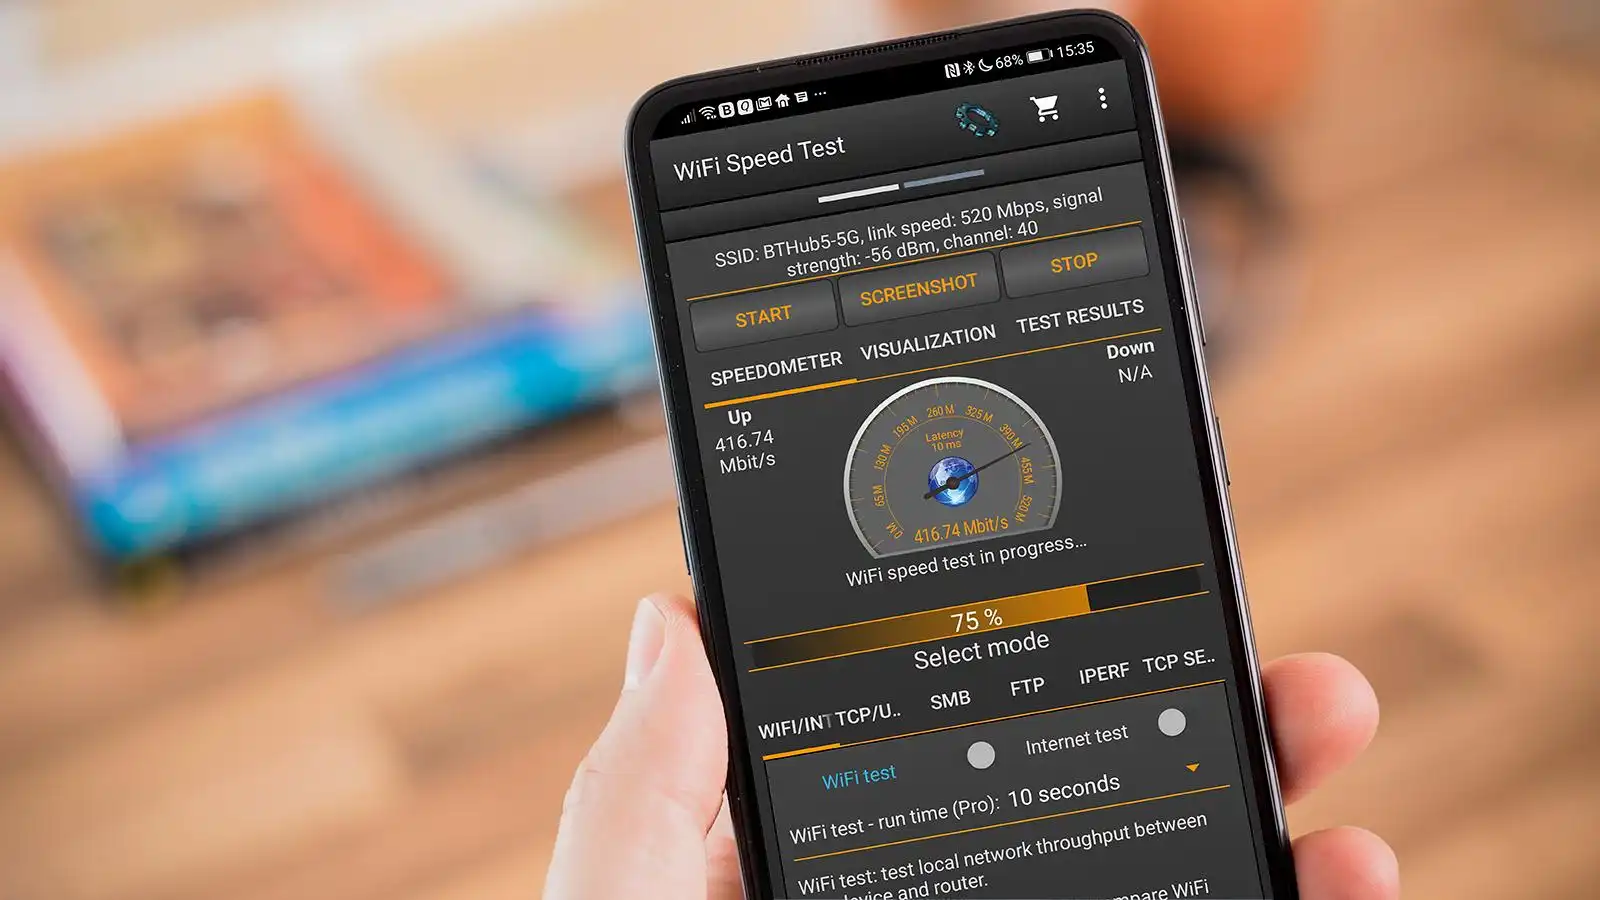
Remember to periodically check your Wi-Fi connection and ensure that it remains stable. In case you experience any connectivity issues or slow internet speeds, you may need to troubleshoot your Wi-Fi network or contact your internet service provider for assistance.
Now that you have patiently waited for your iPhone to establish a connection, you are ready to enjoy the benefits of being connected to your chosen Wi-Fi network.
Troubleshooting Wi-Fi Connection Issues
While connecting to Wi-Fi on your iPhone is usually a straightforward process, there may be times when you encounter issues or experience difficulties in establishing a stable connection. This section will provide you with some troubleshooting tips to help address common Wi-Fi connection issues on your iPhone.
1. Check the Wi-Fi signal: Ensure that you are within range of the Wi-Fi network and that the signal strength is strong enough to establish a stable connection. If the signal is weak, try moving closer to the Wi-Fi router.
2. Restart your iPhone: Sometimes a simple restart can help resolve temporary software glitches that may be affecting your Wi-Fi connection. Press and hold the power button on your iPhone, and then slide to power off. Wait a few seconds and then power your iPhone back on.
3. Restart your Wi-Fi router: Unplug the power cable from your Wi-Fi router, wait for about 30 seconds, and then plug it back in. This can often help to refresh the connection and resolve any issues with the router.
4. Forget and reconnect to the Wi-Fi network: Open the Wi-Fi settings on your iPhone, tap on the Wi-Fi network you’re having trouble with, and select “Forget This Network.” Then, reconnect to the network by selecting it from the available networks and entering the password, if required.
5. Reset network settings: If you’re experiencing persistent Wi-Fi connection issues, you can try resetting your network settings. Go to Settings > General > Reset > Reset Network Settings. Keep in mind that this will remove all saved Wi-Fi networks, so you will need to re-enter their passwords.
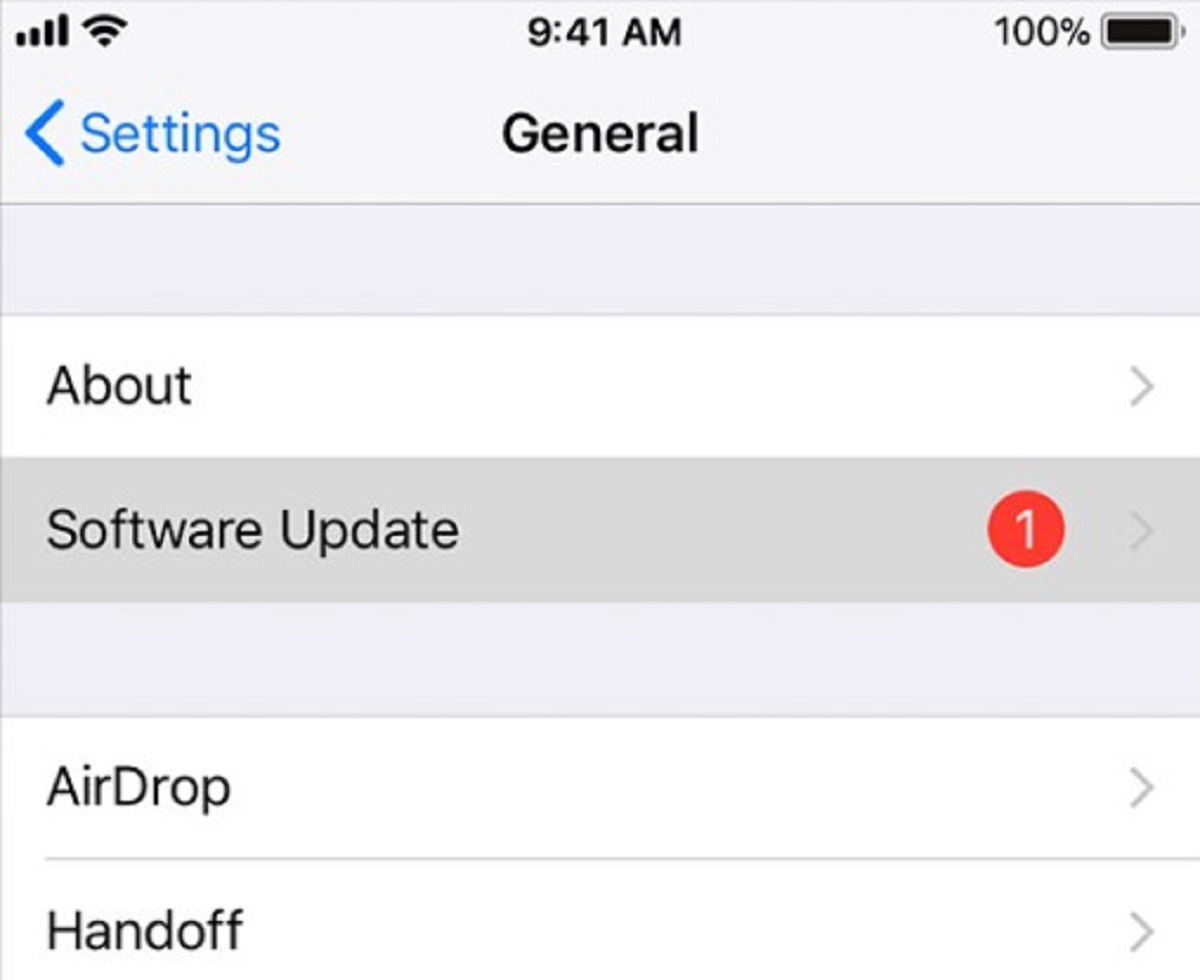
6. Update iOS: Outdated software can sometimes cause connectivity issues. Ensure that your iPhone is running the latest version of iOS by going to Settings > General > Software Update. If an update is available, follow the on-screen instructions to install it.
7. Contact your internet service provider: If none of the above troubleshooting steps work, it may be worth contacting your internet service provider (ISP) to check for any network outages or potential issues with the Wi-Fi connection.
Remember that Wi-Fi connectivity issues can vary depending on the specific circumstances and network setup. It’s always a good idea to consult the network administrator or seek technical support if you continue to experience difficulties with your Wi-Fi connection.
By following these troubleshooting tips, you can resolve common Wi-Fi connection issues on your iPhone and enjoy a stable and reliable wireless connection.
Conclusion
Connecting to Wi-Fi on your iPhone is a crucial step in accessing the internet, staying connected with others, and enjoying various online services. By following the simple steps outlined in this guide, you can easily connect to Wi-Fi networks and gain access to the online world.
We started by opening the Settings app and tapping on the Wi-Fi option, which allowed us to access the Wi-Fi settings on the iPhone. We then moved on to finding and selecting our desired Wi-Fi network from the available list. Next, we connected to the network by entering the correct Wi-Fi password, if required, and waiting for the connection to establish.
In the event that you encounter any issues with your Wi-Fi connection, we also provided troubleshooting tips to help resolve common connectivity problems. These tips included checking the Wi-Fi signal, restarting your iPhone and Wi-Fi router, forgetting and reconnecting to the network, resetting network settings, updating iOS, and contacting your internet service provider if needed.
Remember, the process of connecting to Wi-Fi may vary slightly depending on your iPhone’s iOS version. However, the fundamental steps and concepts remain the same, allowing you to connect to Wi-Fi networks on any iOS version.
Now that you are familiar with the steps and troubleshooting techniques, you can confidently connect to Wi-Fi on your iPhone and enjoy seamless internet access wherever you go. Stay connected, explore the online world, and make the most of your iPhone’s capabilities.