Introduction
When it comes to maximizing the performance of your PC, connecting a powerful graphics card like the RTX 4090 to a reliable power supply is essential. The RTX 4090 is a top-of-the-line graphics card that demands a robust power supply to deliver its full potential.
In this guide, we will walk you through the process of connecting your RTX 4090 to your power supply unit (PSU) efficiently and securely. By following these steps, you can ensure that your graphics card receives the necessary power to function optimally without any issues.
Before we delve into the details, it’s important to note that working with your PSU and graphics card requires a basic understanding of PC hardware and the ability to handle delicate components. If you are not confident in your abilities, we recommend seeking the assistance of a professional.
Now, let’s get started on preparing the PSU for the RTX 4090 connection!
Preparing the PSU
Before connecting the RTX 4090 to your PSU, it’s important to make sure that the power supply unit is ready for the task at hand. This involves a few essential steps to ensure a smooth and safe installation process:
- Power Off and Unplug: Start by turning off your computer and unplugging it from the power source. This is crucial to avoid any electrical mishaps or damage to your components.
- Cleaning and Dusting: Use a can of compressed air to remove any dust or debris that may have accumulated in and around the PSU. This will help improve overall airflow and prevent overheating.
- Verify Compatibility: Check the power supply rating and confirm that it meets the minimum requirements for the RTX 4090. Ensure that you have enough available power connectors and sufficient wattage to support the graphics card’s power demands.
- Inspect Cables and Connectors: Take a close look at the cables and connectors on your PSU. Ensure that they are in good condition and free from any signs of damage or wear. If necessary, replace any faulty cables to prevent potential issues in the future.
- Plan Cable Routing: Consider the cable routing options within your computer case. It’s crucial to have a clear path for the necessary power cables to reach the RTX 4090 without obstructing other components. Take note of the available cable management options and plan accordingly.
By properly preparing your PSU, you’ll ensure that it is in optimal condition and ready to provide a reliable power source for your RTX 4090. With this groundwork complete, we can move on to gathering the necessary cables and adapters for the connection process.
Gathering the Necessary Cables and Adapters
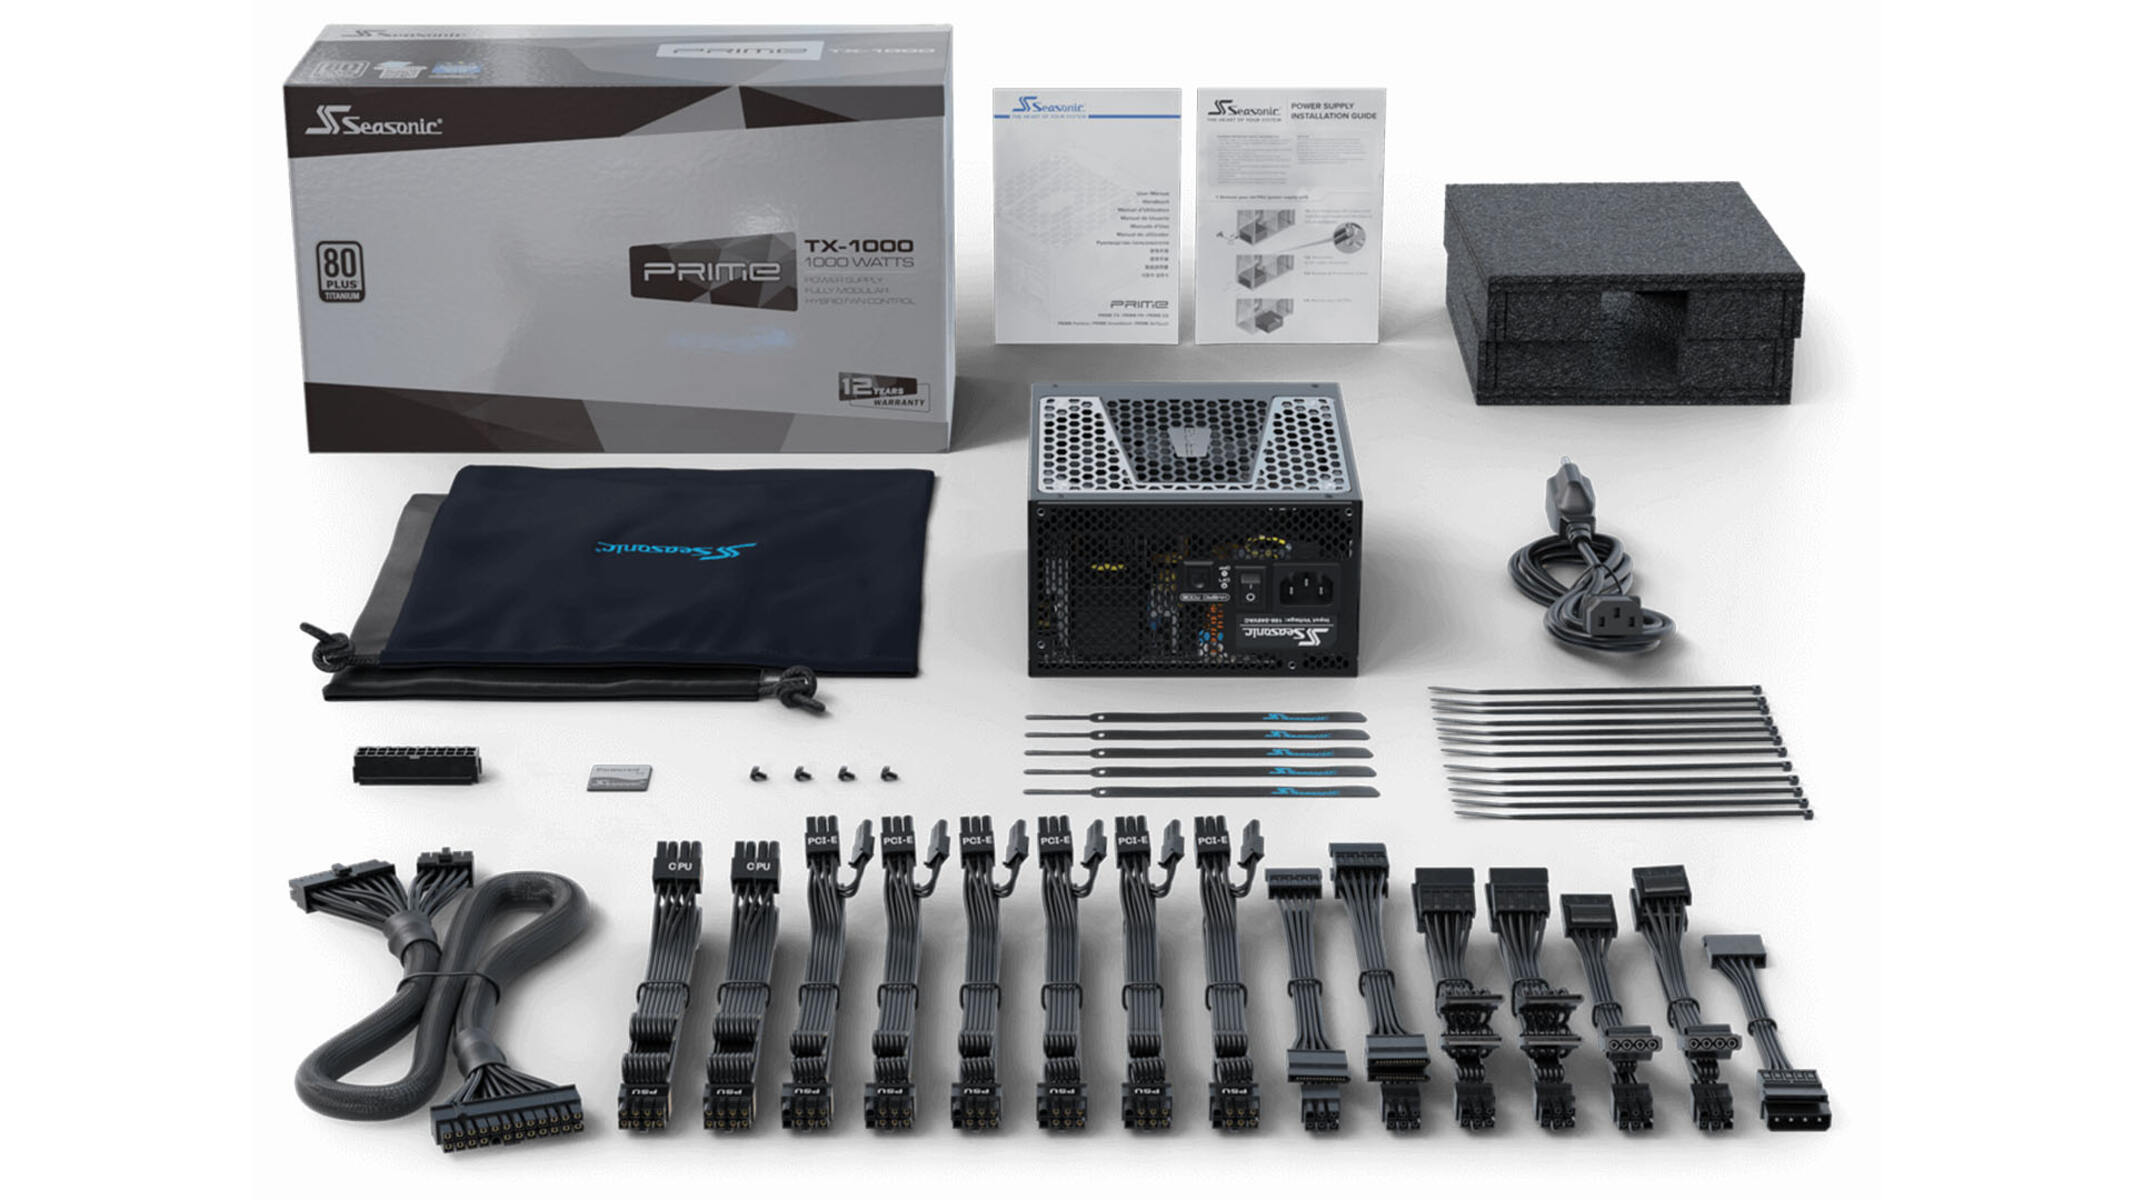
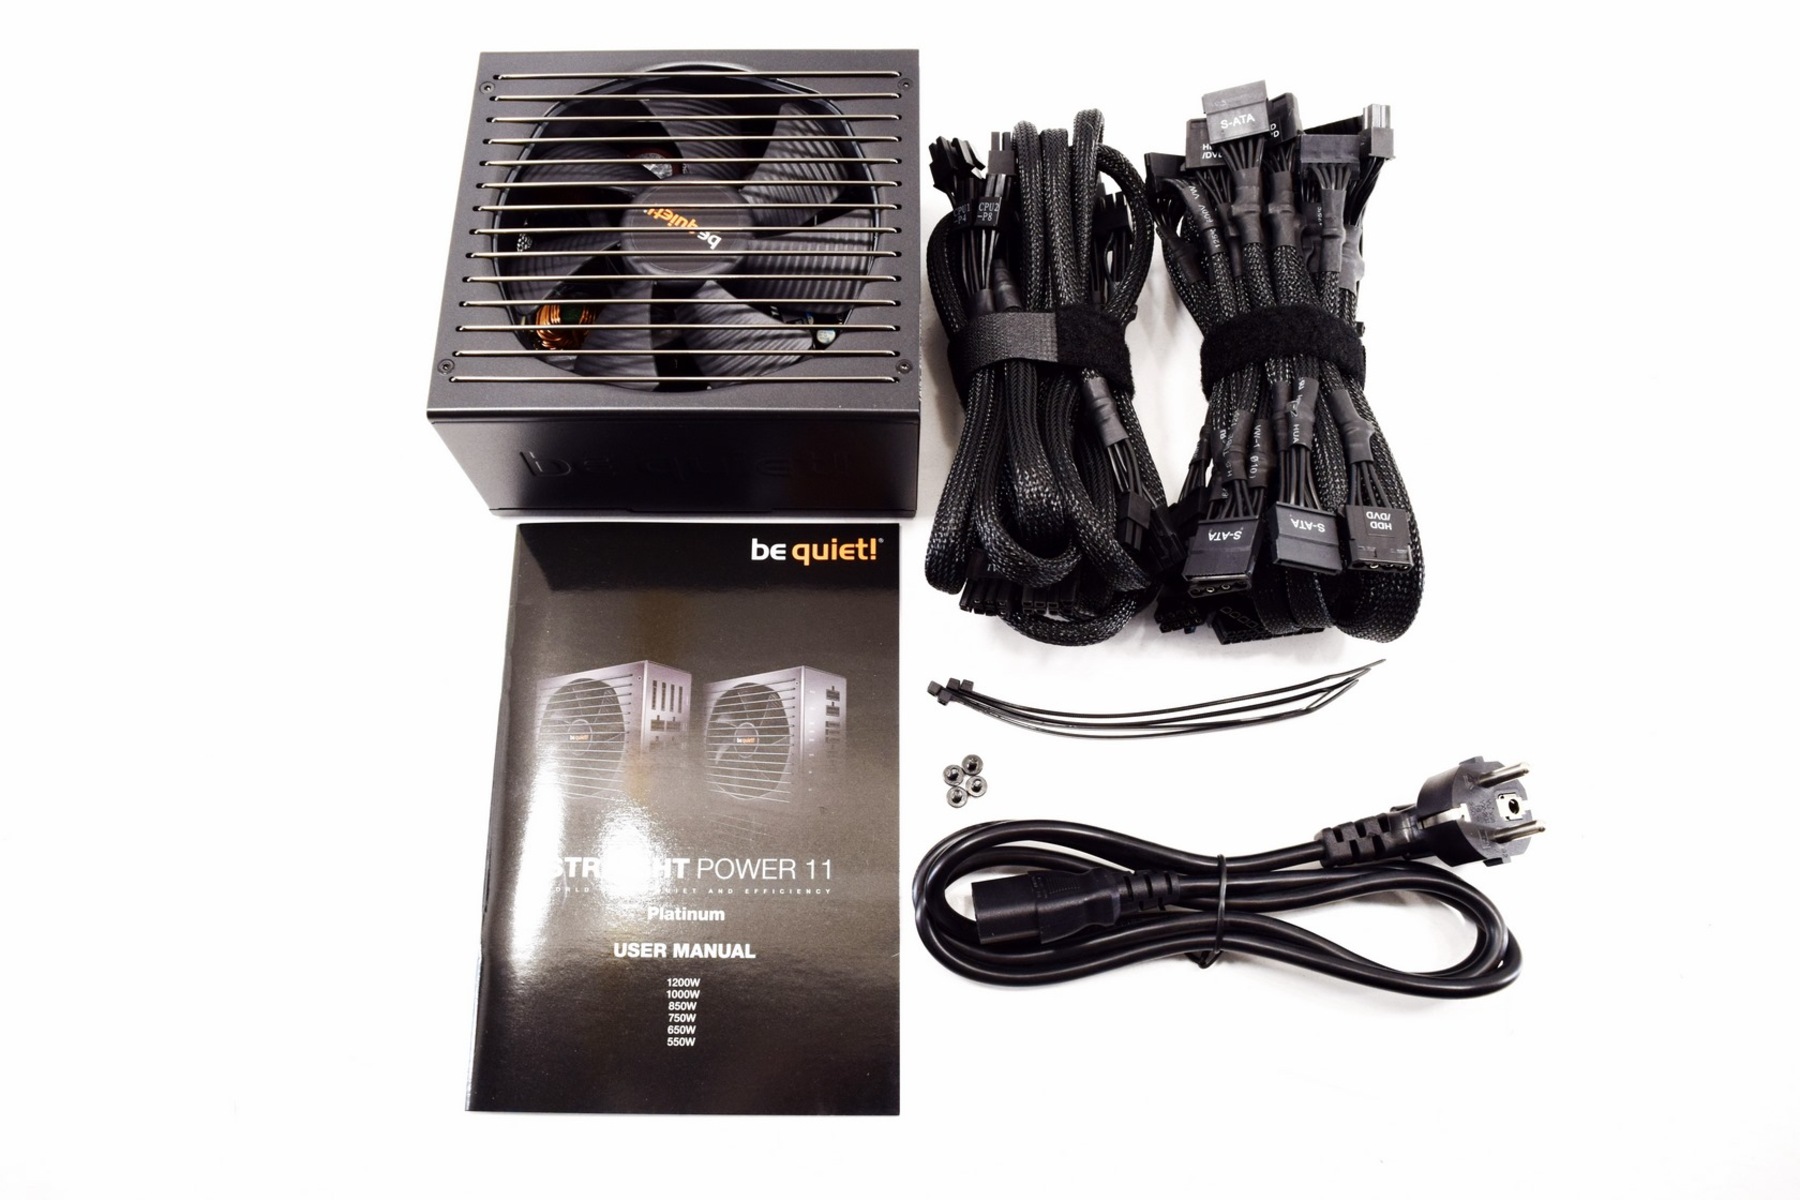
Before you can connect the RTX 4090 to your PSU, you’ll need to gather the appropriate cables and adapters. The specific cables required may vary depending on the PSU and graphics card you are using, so it’s important to check the manufacturer’s guidelines and specifications. However, in most cases, you’ll typically need the following:
- PCIe Power Cables: The RTX 4090 usually requires one or more PCIe power cables to provide the necessary power. These cables typically have 6-pin or 8-pin connectors on one end, which plug into the graphics card, and either a 6-pin or 8-pin PCIe connector on the other end, which plugs into the PSU.
- Adapters: Depending on your PSU and the graphics card’s power requirements, you may need to use adapters to convert existing cables or connectors. For example, if your PSU only has 6-pin PCIe connectors, but the RTX 4090 requires 8-pin connectors, you may need to use a 6-pin to 8-pin adapter.
- Power Splitters: In some cases, if your PSU does not have enough available PCIe power connectors, you may need to use power splitters to split a single PCIe power connector into multiple connectors. This allows you to connect multiple graphics cards or devices to a single power source.
- Cable Extensions: If the stock PSU cables are not long enough to reach the RTX 4090 or easily route within your PC case, you may need to purchase cable extensions. These extensions provide extra length and flexibility, allowing you to position and connect your graphics card more conveniently.
Make sure to acquire high-quality cables and adapters that are recommended by reputable manufacturers. This will ensure reliability, minimize power delivery issues, and reduce the risk of damage to your components. Double-check the compatibility of the cables and adapters with your specific PSU and graphics card before proceeding.
With all the necessary cables and adapters in hand, we can now move on to the next step, which involves connecting the PSU to the RTX 4090.
Connecting the PSU to the RTX 4090
Now that you have gathered the required cables and adapters, it’s time to connect the PSU to the RTX 4090. Follow these steps to ensure a proper and secure connection:
- Locate PCIe Power Connectors: Identify the PCIe power connectors on your PSU. These are typically labeled as PCIe or graphics card connectors. They may be 6-pin, 8-pin, or a combination of both.
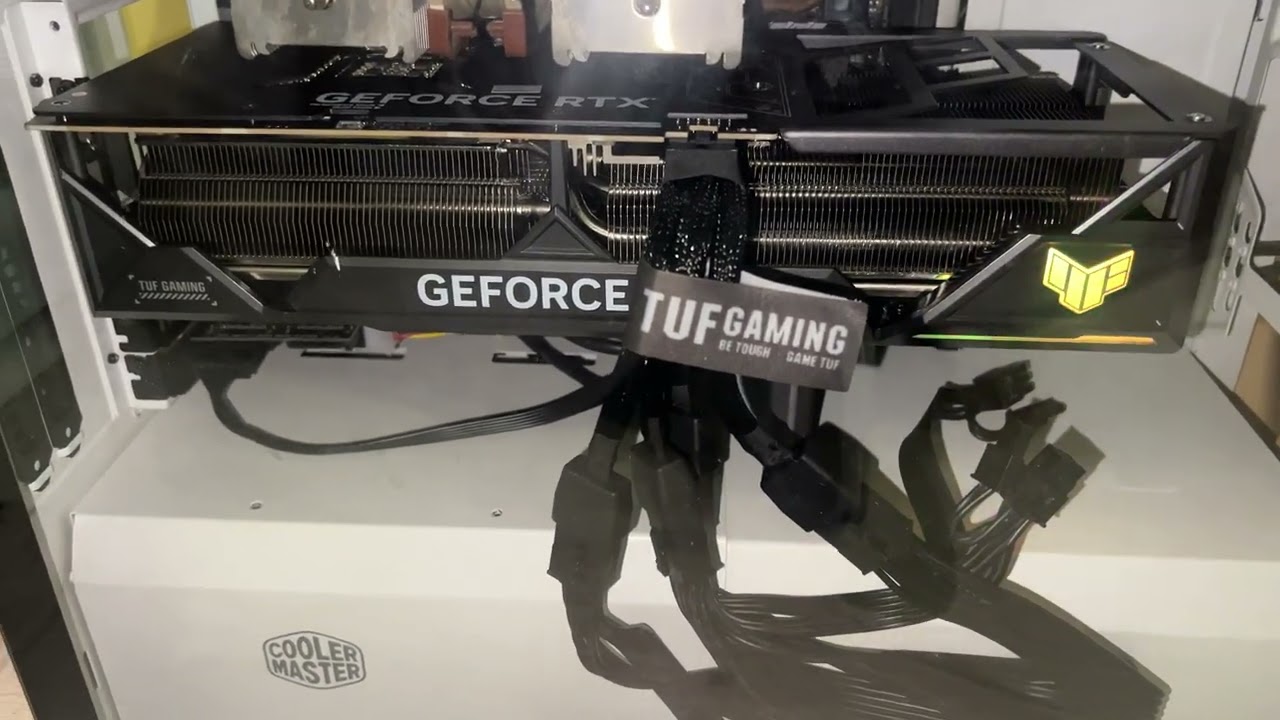
- Plug in the PCIe Power Cables: Connect the appropriate PCIe power cables to the corresponding connectors on the RTX 4090. Firmly insert the connectors into the graphics card’s power ports until they click into place.
- Double-Check the Orientation: Ensure that the connectors are oriented correctly and aligned with the corresponding ports on the graphics card. Improperly inserted connectors can cause power delivery issues and potentially damage your hardware.
- Secure the Connections: Once the cables are properly connected, gently tug on the cables to ensure they are securely attached. A loose connection can lead to intermittent power supply or other performance problems.
- Route the Cables Appropriately: Carefully route the cables within your PC case, following the planned cable routing you established during the preparation process. Make sure the cables do not obstruct other components, impede airflow, or get tangled.
Take your time and be patient while connecting the cables. It’s crucial to establish clean and secure connections to ensure proper power delivery to the RTX 4090. Remember, a well-connected graphics card will function optimally and provide the best performance.
With the PSU successfully connected to the RTX 4090, it’s time to move on to the next step—securing the connections to prevent any accidental disconnections.
Securing the Connections
After connecting the PSU to the RTX 4090, it’s essential to secure the connections to prevent any accidental disconnections or disruptions. Follow these steps to ensure a stable and reliable setup:
- Cable Management: Organize and manage the cables within your PC case. Use cable ties, Velcro straps, or cable management clips to secure the cables and keep them neatly organized. This helps prevent tugs or pulls on the cables which could loosen the connections over time.
- Check for Clearance: Ensure that there is sufficient clearance around the PSU and graphics card. Make sure the cables are not being squeezed or pressed against other components, as this can cause strain on the connectors and lead to connection issues.
- Inspect for Loose Connectors: Take a final look at the connections between the PSU and the RTX 4090. Check for any loose or partially disconnected connectors. If you find any, reseat them firmly to ensure a secure connection.
- Secure External Cables: If there are any external cables (such as power cords or USB cables) connected to the RTX 4090, secure them to prevent accidental tugs or pulls. Avoid placing stress on the connections by positioning the cables in a way that minimizes strain.
- Close the PC Case: Once you have secured all the connections, carefully close the PC case. Ensure that it is properly aligned and securely fastened, using the appropriate screws or latches. This helps protect the components and maintains a clean and organized setup.
By taking the time to secure the connections, you can minimize the risk of disruptions or potential damage to your graphics card and PSU. A stable and secure setup ensures that your RTX 4090 will receive a consistent power supply and operate optimally.
With the connections now secured, we can move on to the final step—powering on the setup and testing it to ensure everything is functioning correctly.
Powering On and Testing the Setup
Now that you have successfully connected and secured the PSU to the RTX 4090, it’s time to power on your PC and test the setup. Follow these steps to ensure everything is functioning correctly:
- Double-Check Connections: Before powering on the PC, quickly double-check all the connections. Ensure that the cables are firmly plugged in, the PSU switch is turned on, and all other components are properly connected.
- Power On the PC: Press the power button on your PC case to turn it on. As the PC starts up, listen for any abnormal noises or beeping sounds. If you hear anything unusual, immediately power off the PC and investigate the issue.
- Monitor Display: Once the PC is powered on, check your monitor or displays to ensure they are receiving a signal from the RTX 4090. If you are not getting any display, make sure the cable from the monitor is securely connected to the graphics card.
- Check Device Recognition: Open your operating system’s device manager or NVIDIA control panel (depending on your setup) to verify that the RTX 4090 is recognized and drivers are installed correctly. This ensures that the graphics card is working and communicating with the system.
- Run Stress Tests: To further ensure the stability of your RTX 4090, consider running stress tests or benchmarking software. These tests can help evaluate the GPU’s performance and identify any potential issues. Monitor the temperatures and performance metrics to ensure they are within acceptable ranges.
If everything is functioning properly, you can now enjoy the full power and capabilities of your RTX 4090. However, if you experience any issues or encounter errors during the testing process, double-check the connections, drivers, and system settings. If the problem persists, consult the manufacturer or seek professional assistance.
With the setup successfully powered on and tested, you have completed the process of connecting the RTX 4090 to your PSU. Enjoy your enhanced gaming or design experience with the remarkable performance provided by this powerful graphics card!
Conclusion
Connecting the RTX 4090 to your power supply unit (PSU) is a crucial step in unleashing the full potential of this high-performance graphics card. By following the steps outlined in this guide, you can ensure a secure and efficient connection, providing the necessary power for optimal performance.
Beginning with the preparation of the PSU, ensuring its cleanliness, compatibility, and cable inspection, you set a solid foundation for a successful installation. Gathering the necessary cables and adapters specific to your PSU and graphics card is essential to ensure the proper power delivery required by the RTX 4090.
Connectivity is paramount when it comes to securing the connections between the PSU and the graphics card. By carefully plugging in the PCIe power cables, double-checking their orientation, and ensuring a firm connection, you minimize the risk of power delivery issues or hardware damage.
Once the connections are established, it is crucial to secure them properly. Organizing and managing the cables, checking for clearance, and inspecting for any loose connectors will help maintain a stable and reliable setup, reducing the chance of accidental disconnections.
After securing the connections, it’s time to power on and test the setup. Double-checking the connections, powering on the system, checking the display and device recognition, and running stress tests help ensure that everything is functioning correctly and the RTX 4090 is performing as expected.
In conclusion, the process of connecting the RTX 4090 to the PSU may require careful attention to detail and a basic understanding of PC hardware. By following the steps outlined in this guide, you can confidently connect your RTX 4090 to the PSU, harnessing its incredible power and unlocking a world of unparalleled graphics performance for your gaming or design needs.