Introduction
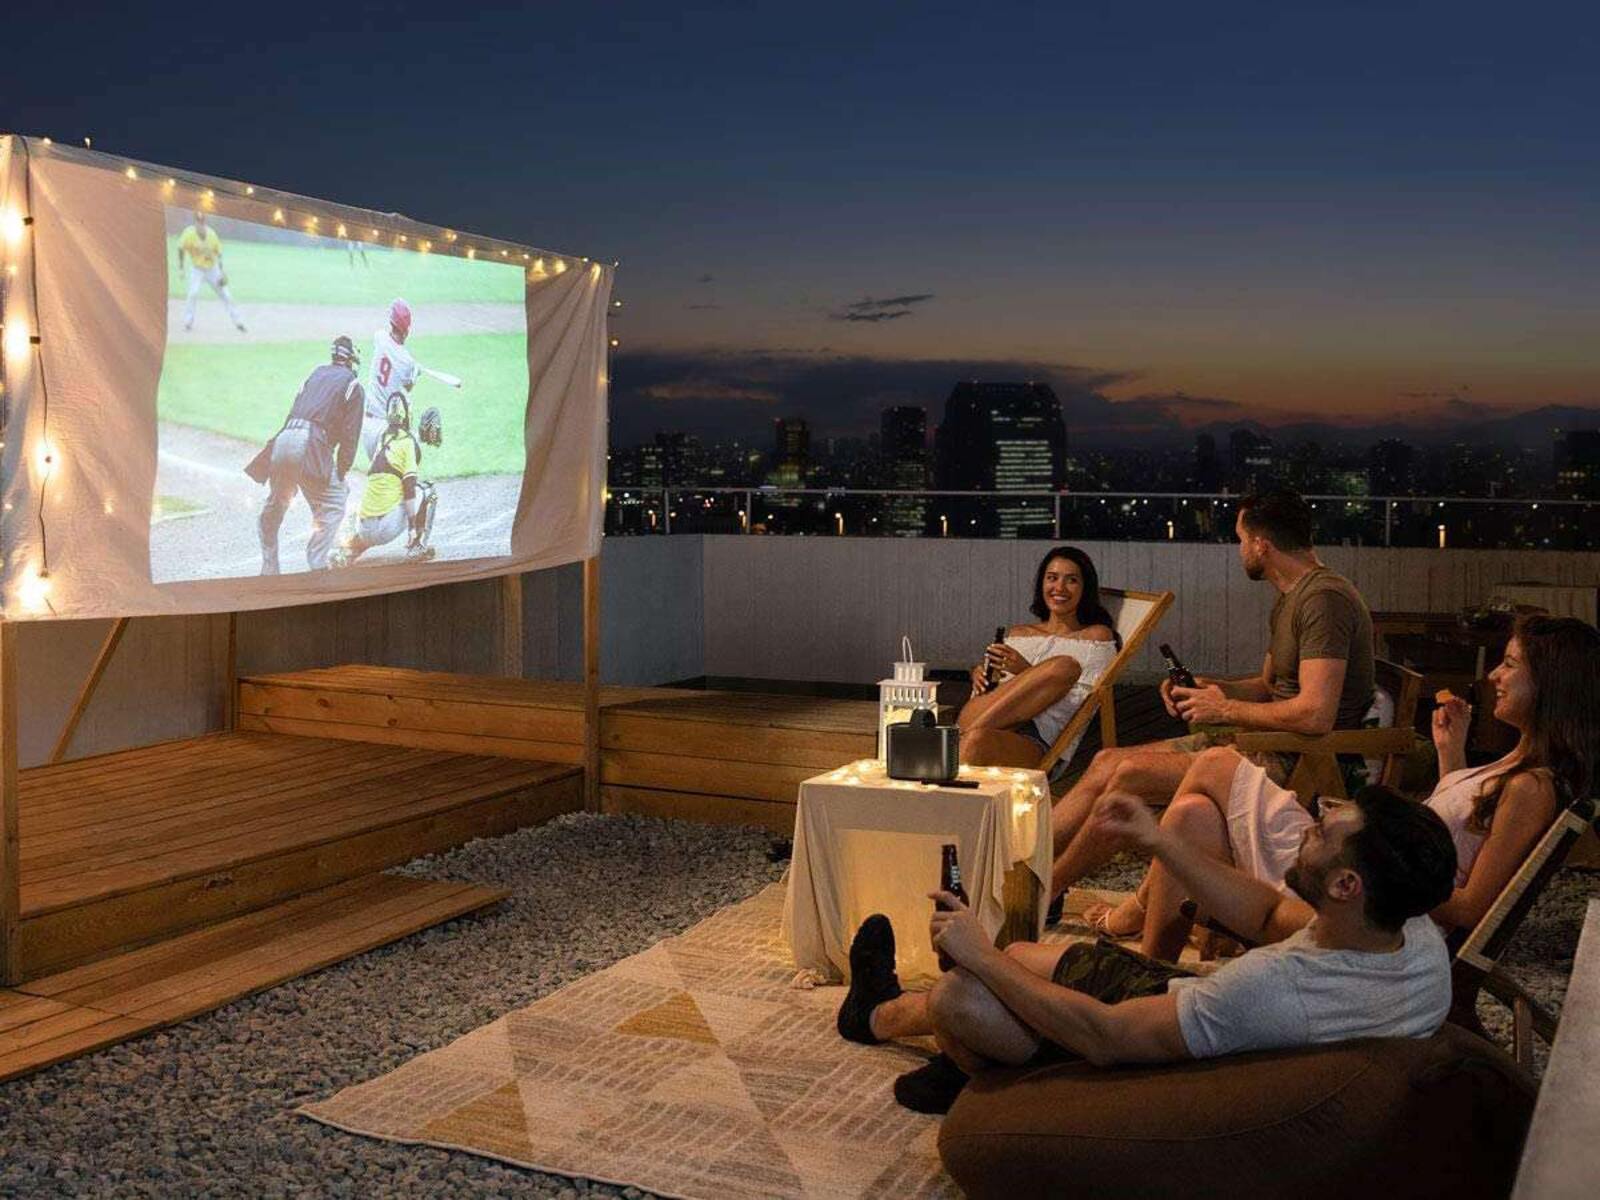
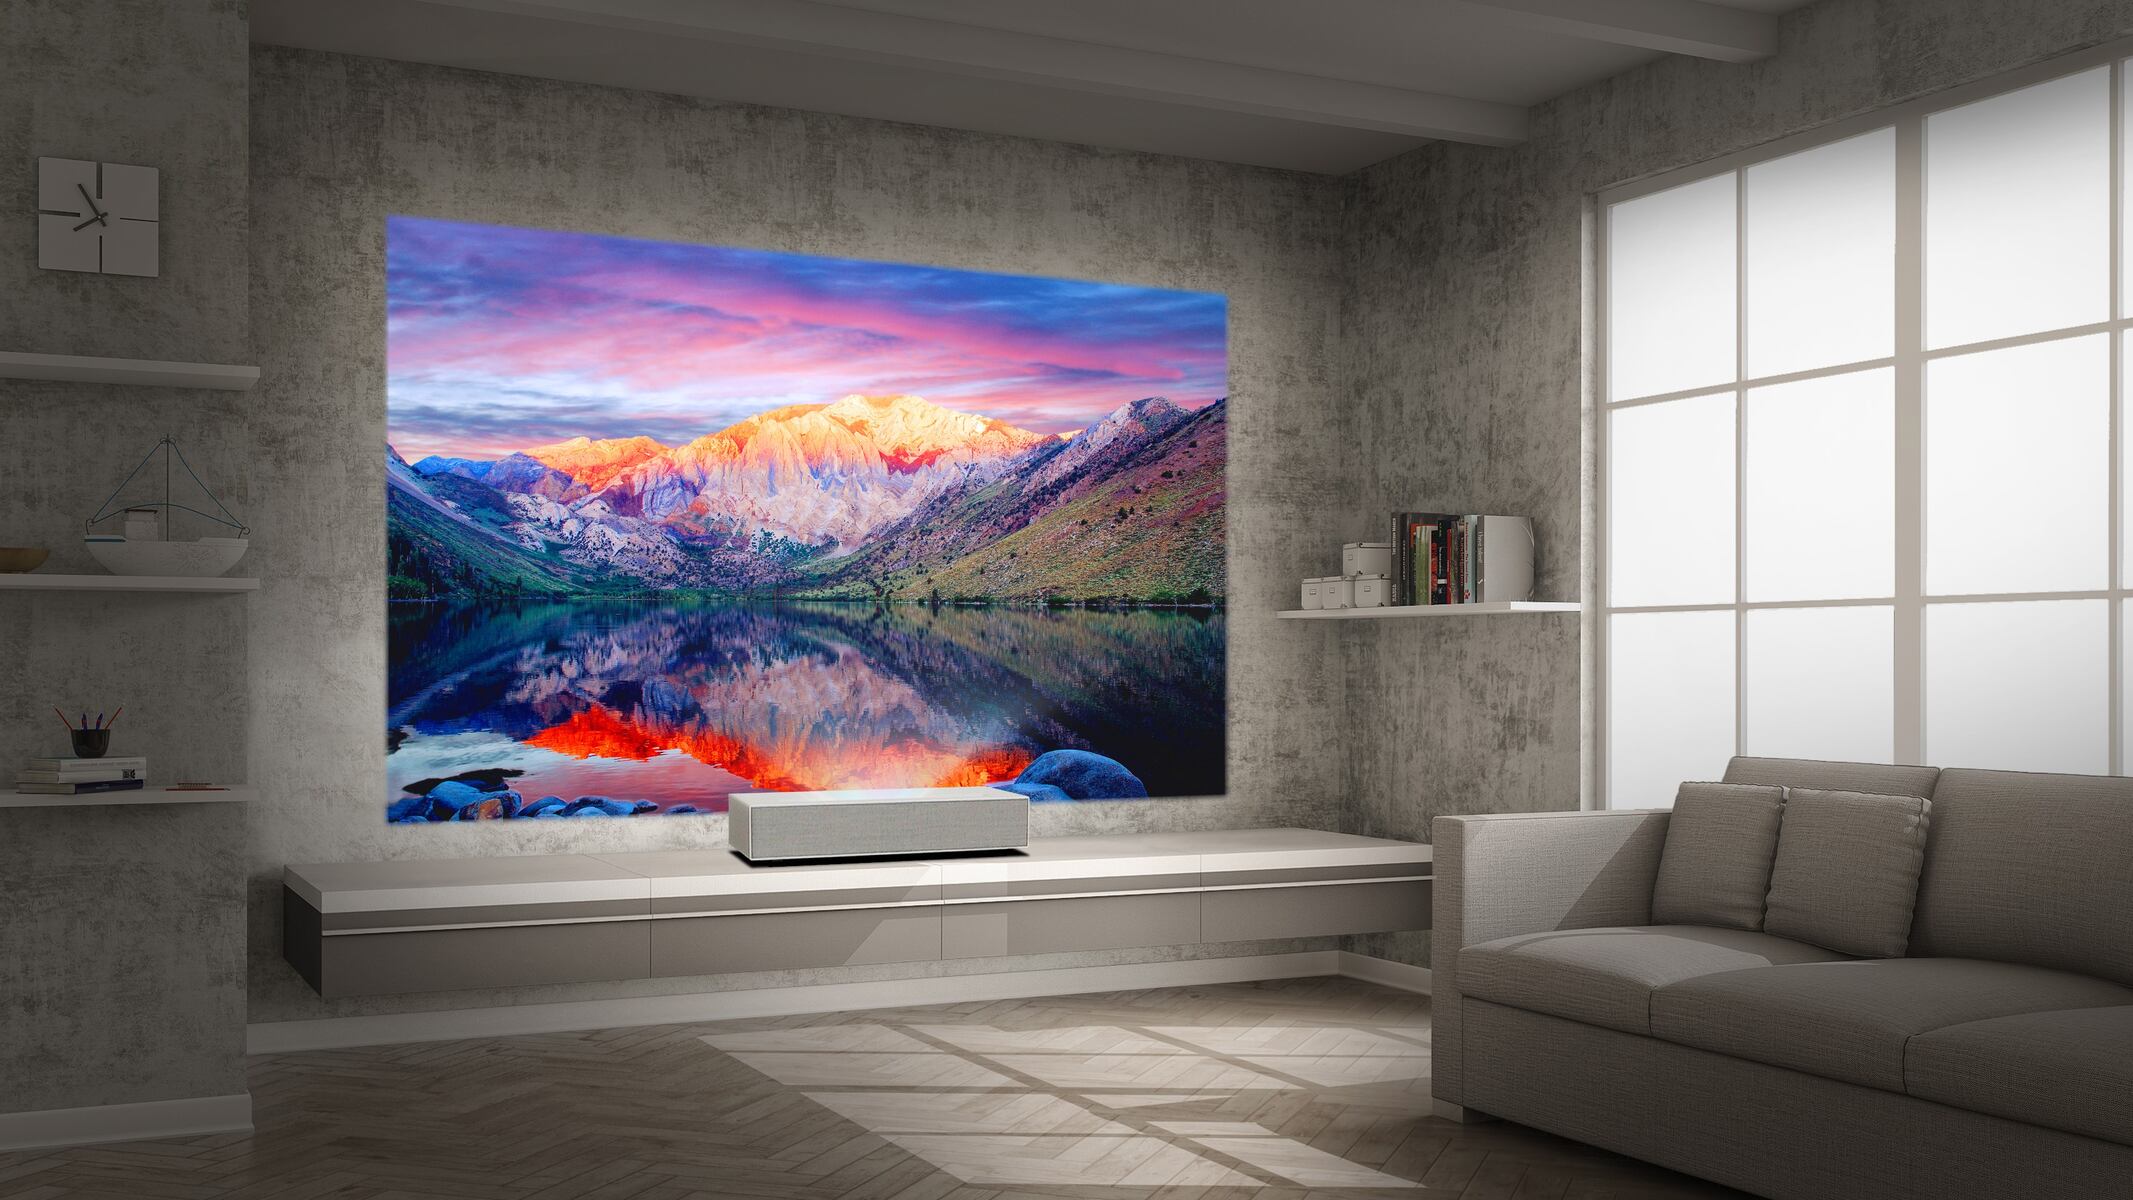
Welcome to the world of audio-visual bliss! If you’re looking to take your home entertainment experience to the next level, connecting your projector to your TV is a fantastic option. By doing so, you can enjoy larger-than-life visuals and immerse yourself in a cinematic experience right in the comfort of your own home.
Connecting a projector to your TV may seem like a daunting task, but fear not! In this guide, we’ll walk you through the step-by-step process to ensure a seamless setup. Whether you want to watch movies, play video games, or simply display presentations on a bigger screen, we’ve got you covered.
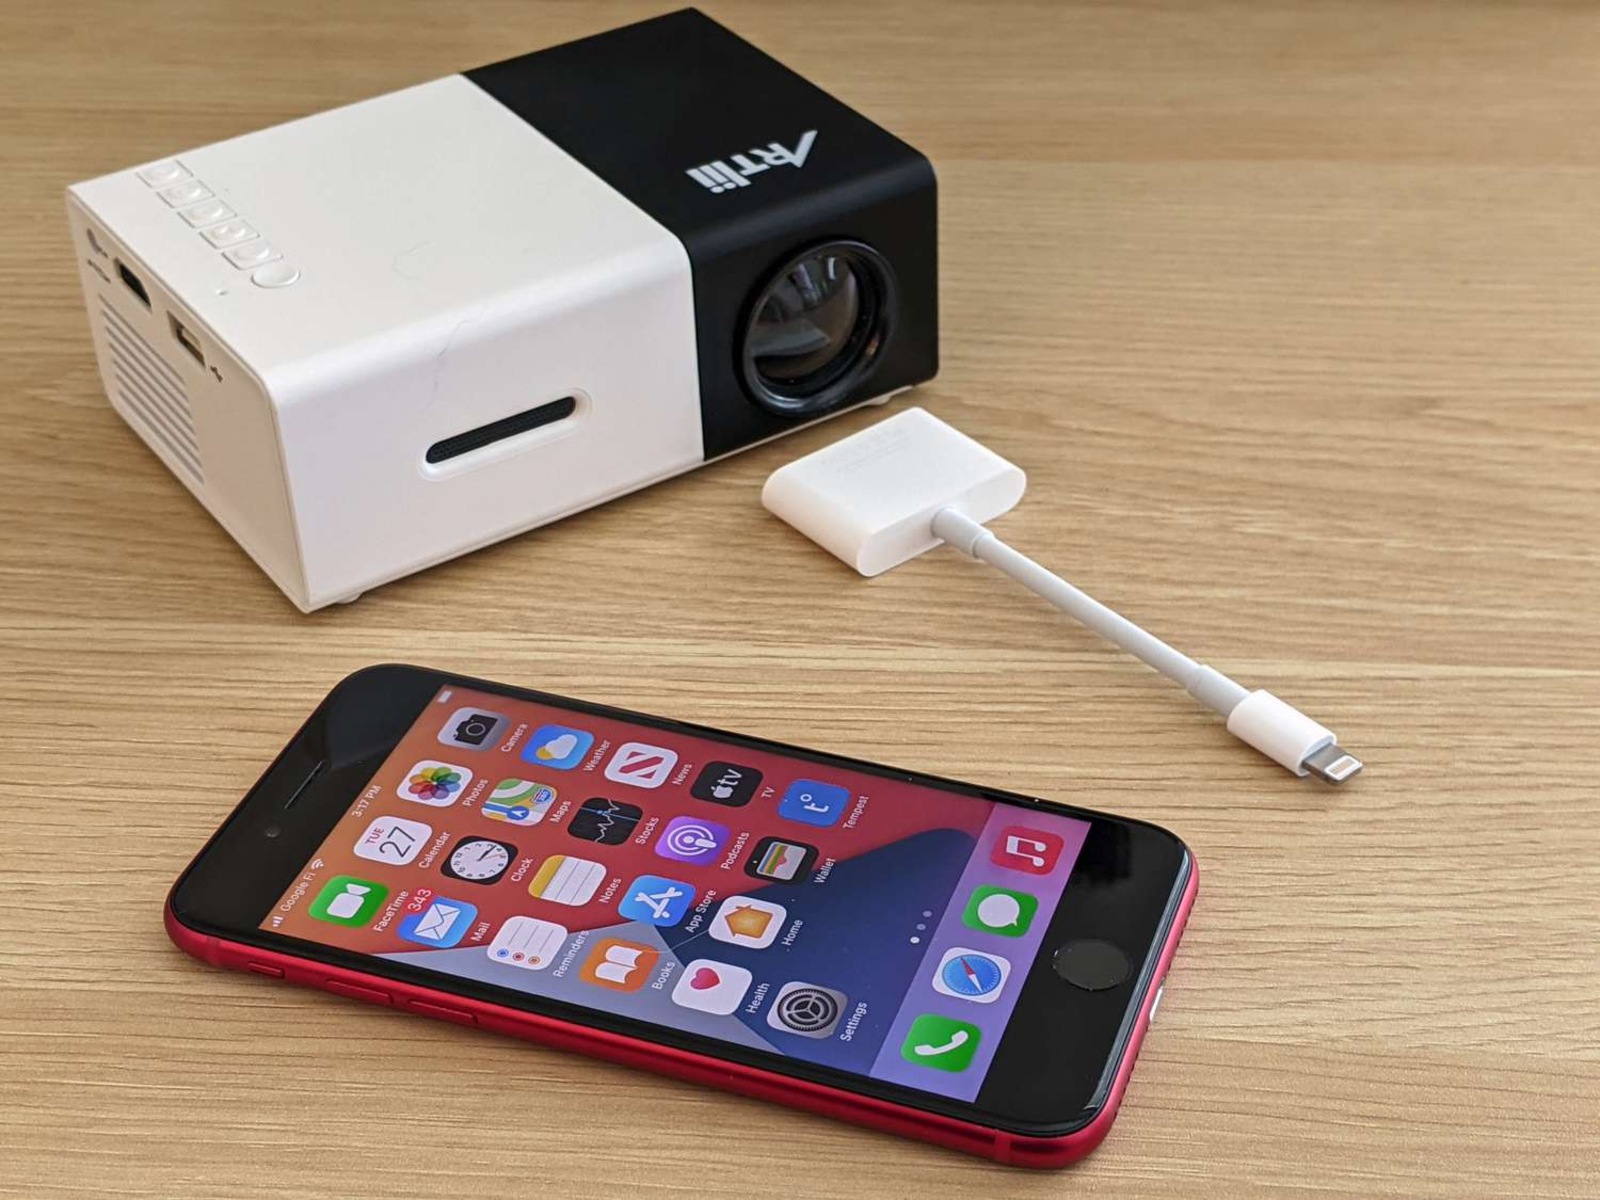
Before we dive into the details, it’s important to understand that the key to a successful connection lies in choosing the right cable. Different projectors and TVs may have varying input and output ports, so it’s crucial to match them up correctly. Once you’ve got the right cable, the process becomes a breeze.
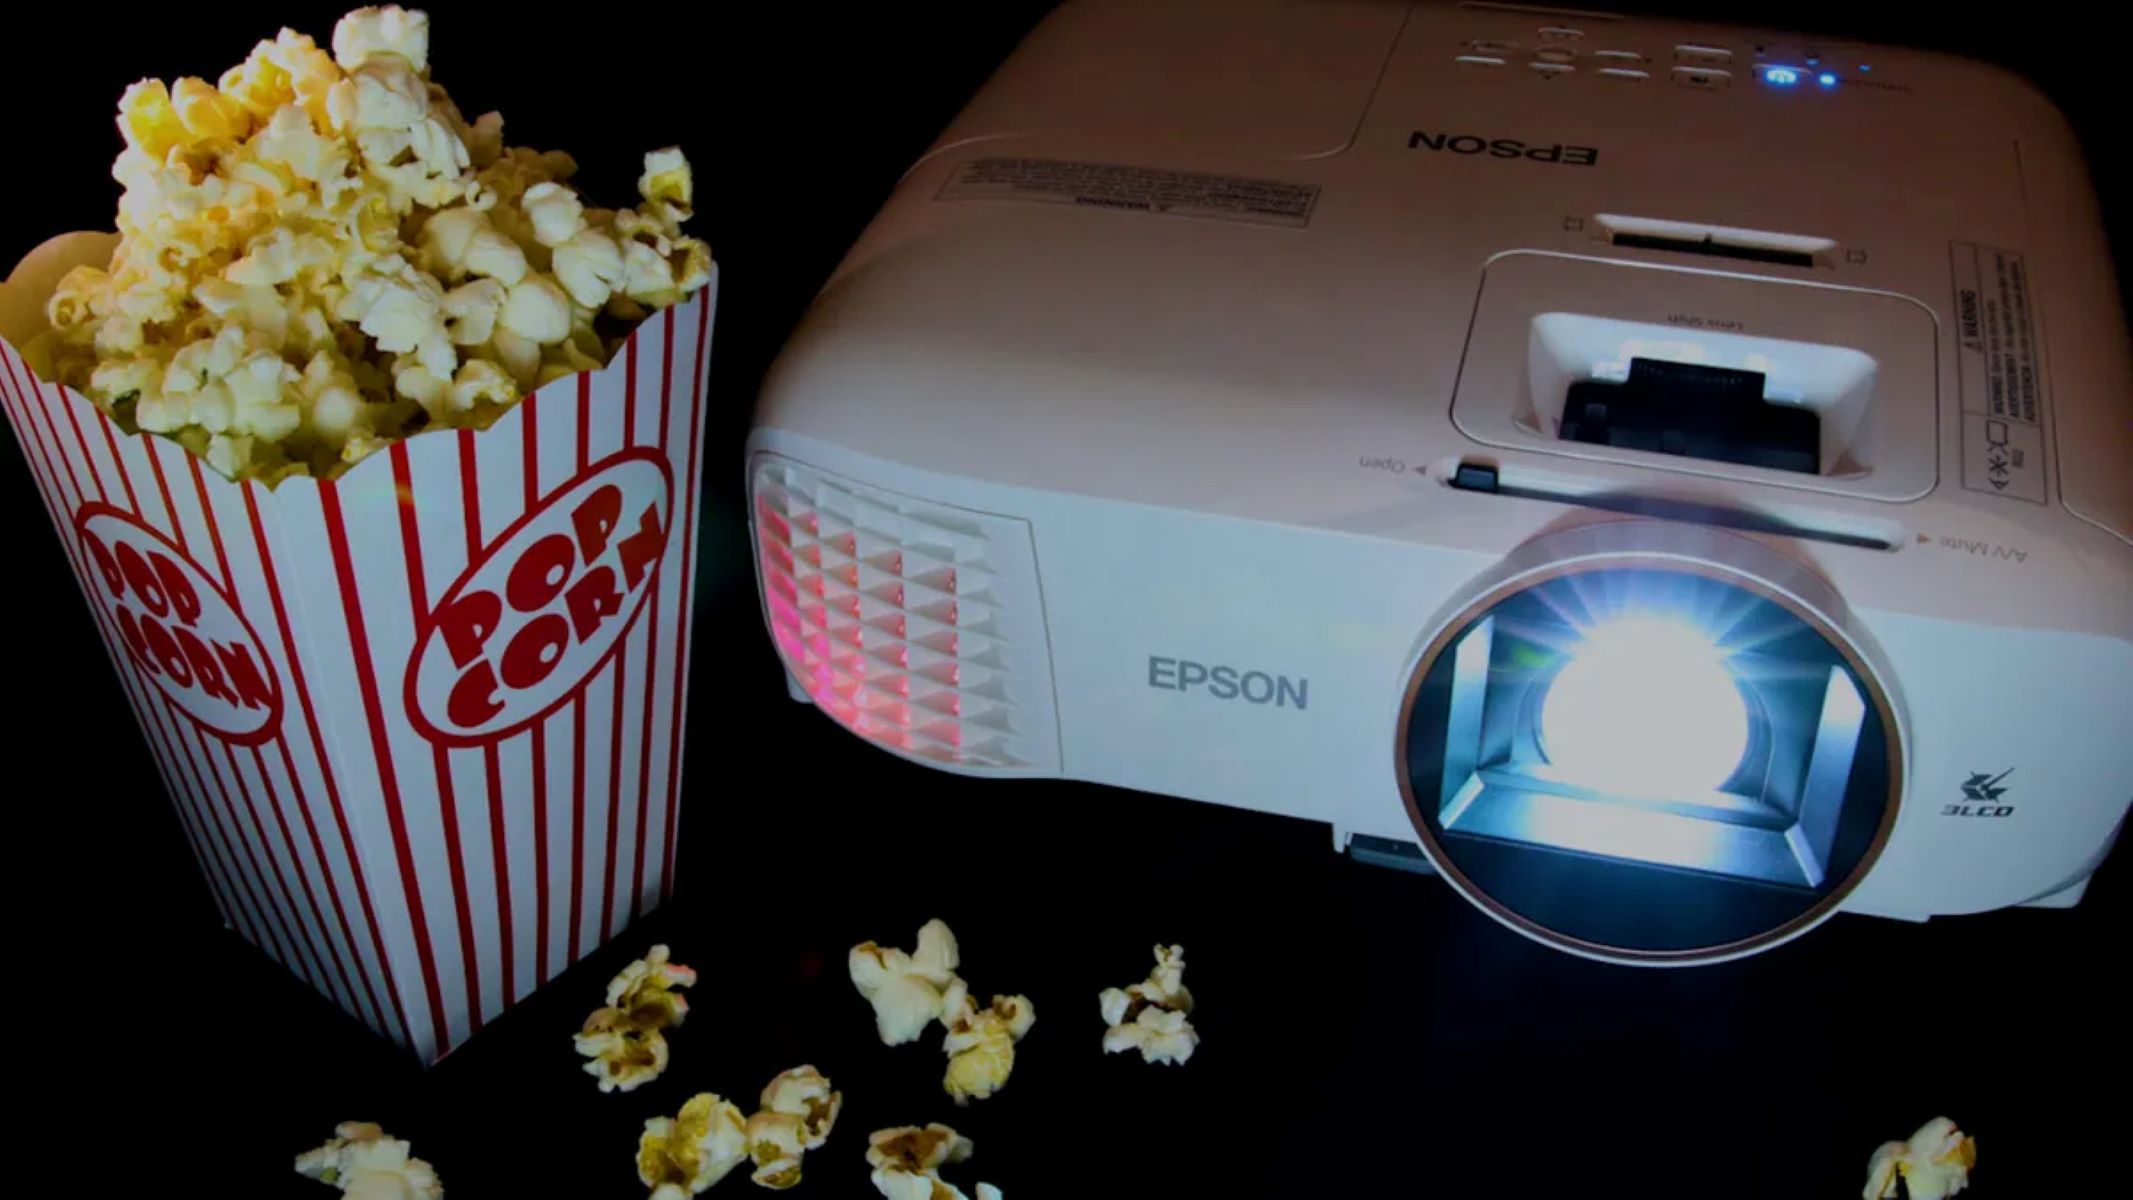
So, without further ado, let’s get started on this exciting journey of connecting your projector to your TV. Grab your popcorn, sit back, and let’s make your living room the hottest ticket in town!
Choosing the Right Cable
When it comes to connecting your projector to your TV, selecting the appropriate cable is crucial. The cable you choose will depend on the ports available on both your projector and TV. Here are some common cable options you can consider:
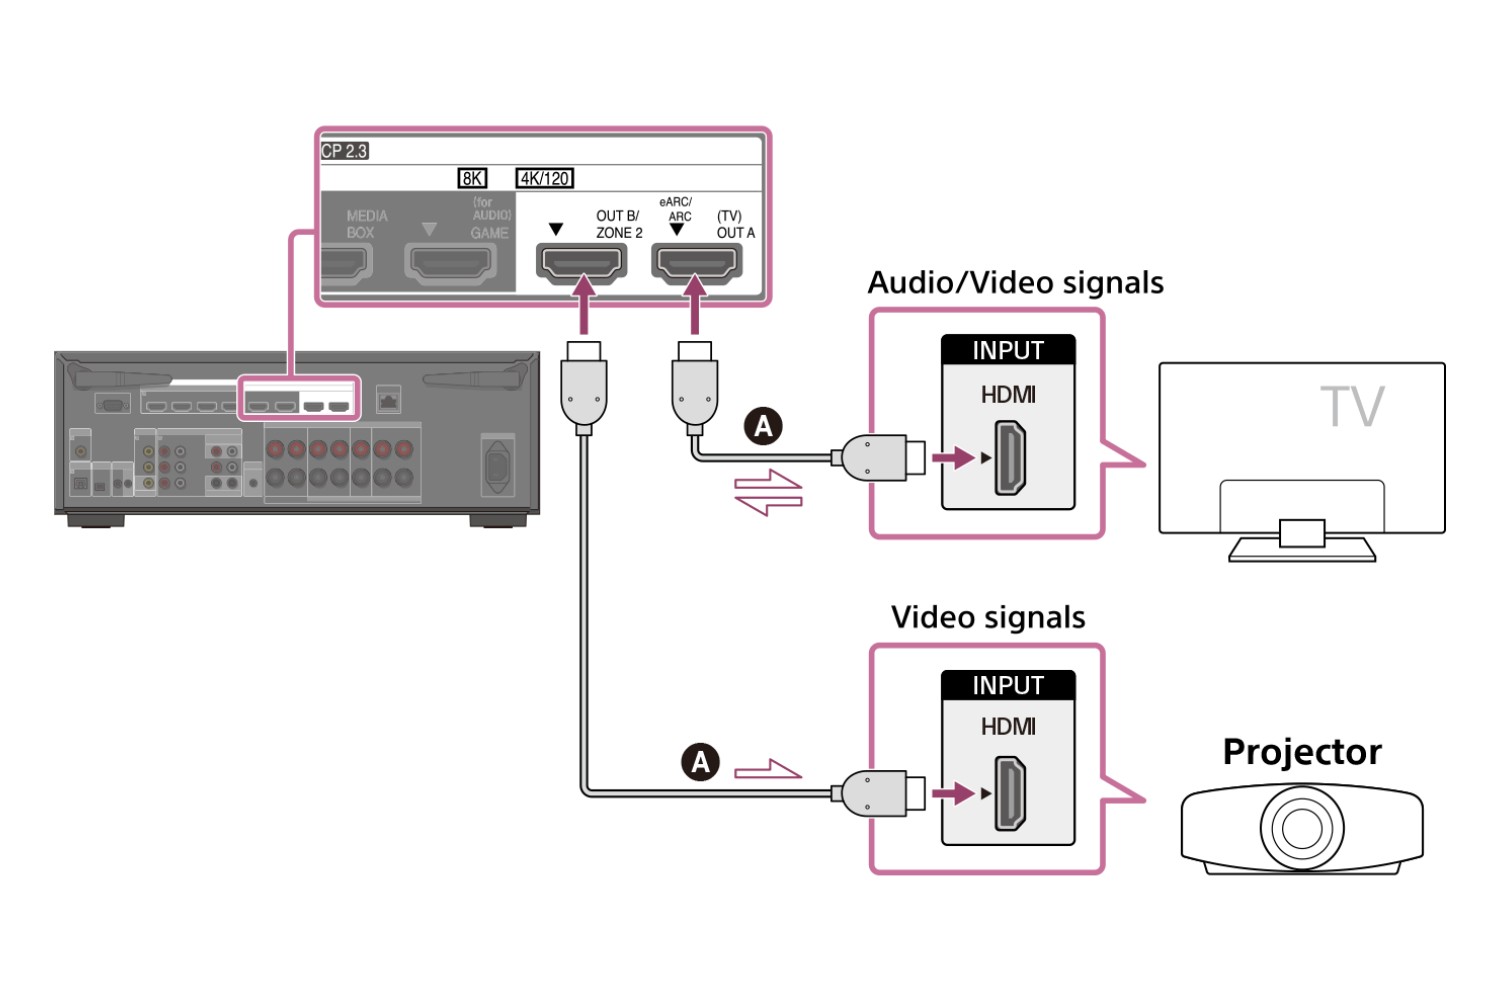
- HDMI cable: This is one of the most common and versatile cables available. It carries high-definition video and audio signals, making it ideal for connecting modern projectors and TVs. Both devices should have HDMI ports for this cable to work.
- VGA cable: Although VGA is an older technology, it is still widely used in many projectors and TVs. This cable carries analog video signals, so make sure your equipment has VGA ports before opting for this connection.
- DisplayPort cable: If you have a modern projector and TV that support DisplayPort, this cable can deliver excellent video and audio quality. It is especially common in gaming setups and high-resolution displays.
- DVI cable: DVI (Digital Visual Interface) cables are commonly used in older projectors and TVs. They transmit digital video signals, but do not carry audio. If your devices have DVI ports, you can use a separate audio cable to transmit sound.
Before purchasing a cable, double-check the available ports on your projector and TV. Look for labels such as “HDMI”, “VGA”, “DisplayPort”, or “DVI”. It’s also important to consider the length of the cable. Measure the distance between the projector and TV to ensure you get a cable that is long enough to reach.
If your projector and TV have different types of ports (e.g., HDMI on the projector and VGA on the TV), you may need an adapter or converter to bridge the gap. These devices allow you to connect cables with different connectors, ensuring compatibility between your projector and TV.
Once you’ve chosen the right cable, you’re ready to move on to the next step – connecting your projector to your TV. Exciting times await as you prepare to immerse yourself in an incredible visual experience!
Connecting the Projector to the TV
Now that you have the right cable in hand, it’s time to connect your projector to your TV. Follow these steps to ensure a successful connection:
- Power off both the projector and the TV before you begin. This will prevent any potential damage or malfunction.
- Locate the appropriate ports on your projector and TV. Depending on the cable you are using, plug one end into the corresponding port on the projector and the other end into the matching port on the TV.
- Ensure that the cables are securely connected. Give them a gentle tug to confirm that they are properly inserted and won’t come loose during use.
- Power on both the projector and the TV.
- Using your TV’s remote or on-screen menu, select the correct input source. This will vary depending on the brand and model of your TV. Look for options like “HDMI”, “VGA”, or “DVI” to choose the input source that matches the cable you are using.
- Adjust the settings on the projector. Depending on the projector model, you may have to manually switch the input source or select the appropriate HDMI/VGA channel.
- If everything is connected correctly, you should now see the display from your TV on the projector. Adjust the positioning and focus of the projector image as needed.
It’s important to note that some projectors have built-in speakers, while others do not. If your projector does not have speakers or you prefer better audio quality, you can connect external speakers to either the projector or the TV using the appropriate audio cables.
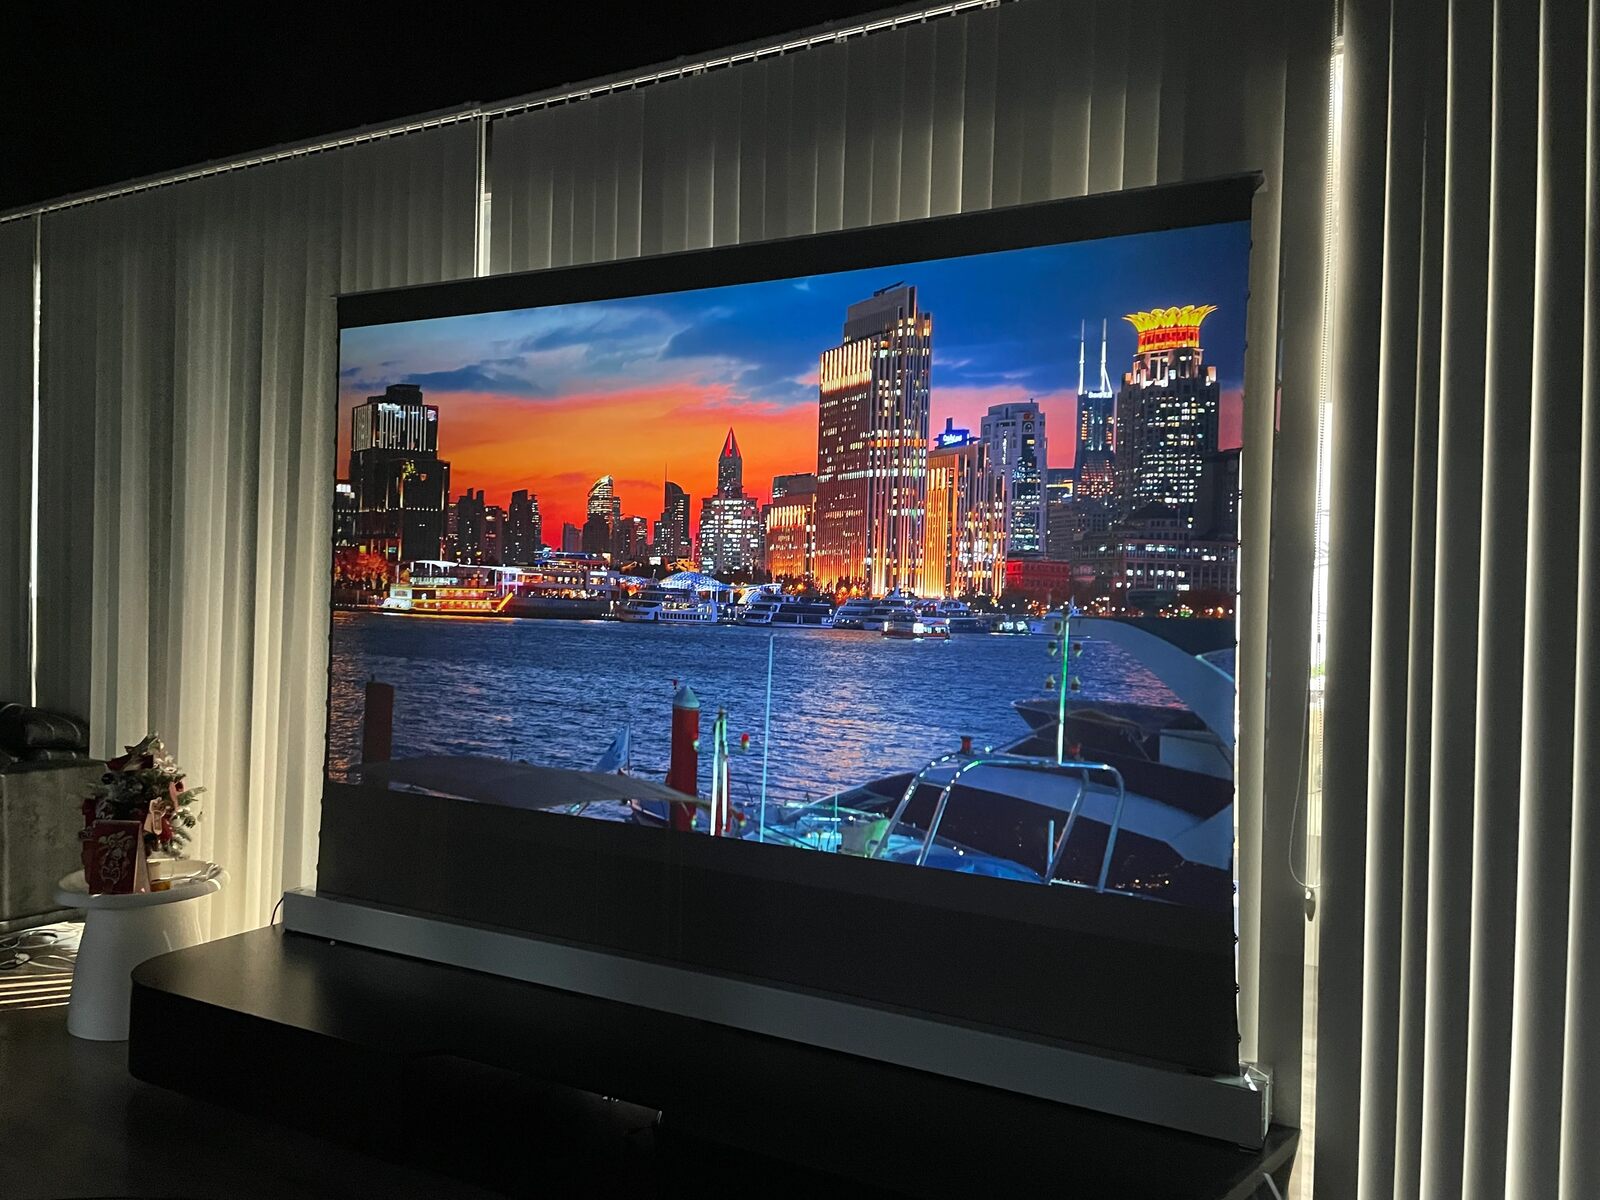
Congratulations! You have successfully connected your projector to your TV. Now, sit back, relax, and enjoy your favorite movies, games, or presentations in larger-than-life glory!
Adjusting the Display Settings
After successfully connecting your projector to your TV, you may need to make some adjustments to ensure the best possible display quality. Here are a few key settings you should consider:
- Aspect Ratio: The aspect ratio determines the proportion of the width to the height of the image. Check the aspect ratio settings on your TV and projector to ensure they match. Common aspect ratios include 4:3 (standard), 16:9 (widescreen), and 21:9 (ultrawide).
- Resolution: Set the resolution of the projector to match the native resolution of your TV. This will ensure that the content is displayed at its optimal quality. You can adjust the resolution settings in the display or video options on your projector.
- Brightness and Contrast: These settings affect the overall image quality. Use the projector’s on-screen menu or remote control to adjust the brightness and contrast levels to your preference. Aim for a balance that provides clear, vibrant visuals without sacrificing detail.
- Keystone Correction: Keystone correction helps to eliminate the distorted or skewed image that may occur when the projector is not perfectly aligned with the screen. Most projectors offer vertical and horizontal keystone correction options. Access the keystone correction settings and adjust them until the projected image appears straight and undistorted.
- Color Calibration: If available, use the color calibration settings to fine-tune the color accuracy and temperature of the projected image. This will ensure that the colors displayed on your TV through the projector are true to life.
- Audio Settings: If you’re using the projector’s built-in speakers or external speakers connected to the projector or TV, you may need to adjust the audio settings to optimize the sound quality. Use the on-screen menu or remote control to adjust volume levels and audio presets as needed.
Remember to refer to the user manual or manufacturer’s instructions for specific guidance on adjusting display settings for your particular model of projector and TV.
By taking the time to fine-tune these settings, you can achieve a visually stunning and immersive experience that will enhance your enjoyment of movies, games, and other content on the big screen.
Troubleshooting Common Issues
While connecting and setting up your projector to your TV is usually a straightforward process, you may encounter some common issues along the way. Here are a few troubleshooting tips to help you overcome any hiccups:
- No Display on the Projector: If you’re not getting any image on the projector, double-check the cable connections. Make sure they are securely plugged into both the projector and TV. Try using a different cable or port if possible. Also, ensure that both the projector and TV are powered on and set to the correct input source.
- Poor Image Quality: If the image quality on the projector is not up to par, check the resolution settings. Ensure that the resolution is set to match the native resolution of your TV. Adjust the brightness, contrast, and color calibration settings as mentioned earlier to improve the picture quality.
- Audio Issues: If you’re not getting any sound from the projector, confirm that the audio cable is properly connected. Check the audio settings on both the projector and TV and make sure they are not set to mute. If using external speakers, ensure they are connected correctly and turned on.
- Keystone Distortion: If you’re noticing a skewed or distorted image on the projector, adjust the keystone correction settings. Use the vertical and horizontal keystone correction options to straighten and align the image properly. Aim to achieve a balanced and undistorted projection.
- Incompatible Ports: In rare cases, you may find that the ports on your projector and TV are not compatible despite using the correct cable. In such situations, you may need to use an adapter or converter to bridge the gap between the different port types.
If you’ve tried these troubleshooting tips and are still experiencing difficulties, consult the user manual of your projector and TV for specific troubleshooting instructions. You can also reach out to the manufacturer’s customer support for further assistance.
Remember, patience is key when troubleshooting. With a little persistence, you’ll be able to address any issues and enjoy a seamless and immersive viewing experience on your projector and TV setup.
Conclusion
Connecting your projector to your TV opens up a world of possibilities for immersive home entertainment and multimedia experiences. By choosing the right cable, making the proper connections, adjusting the display settings, and troubleshooting common issues, you can enjoy the cinematic magic of a big-screen experience right in the comfort of your own home.
Remember to carefully select the cable that matches the ports of your projector and TV. Double-check the connections, power on both devices, and select the correct input source on your TV. Adjust the display settings such as aspect ratio, resolution, brightness, and color calibration to optimize the visual quality. Troubleshoot any common issues that may arise, such as no display, poor image quality, audio problems, keystone distortion, or incompatible ports.
With patience and perseverance, you can overcome any hurdles and create a home theater setup that rivals the movie theater experience. So, grab your popcorn, dim the lights, and prepare to be captivated by the larger-than-life visuals and immersive sound that your projector and TV combo can deliver.
Now that you have all the knowledge and guidance, it’s time to take the plunge and elevate your home entertainment setup. Sit back, relax, and let your imagination come alive on the big screen.