Introduction
Welcome to the world of gaming, where you can immerse yourself in action-packed adventures, thrilling battles, and engaging storytelling. If you’re looking to take your gaming experience to the next level, connecting your PlayStation to a projector is a fantastic choice. Playing games on a larger screen not only elevates the visual experience but also brings a sense of cinematic immersion.
In this guide, we will walk you through the step-by-step process of connecting your PlayStation console to a projector. Whether you’re a gaming enthusiast or just starting to explore the gaming world, we’ve got you covered. Get ready to transform your gaming setup and enjoy larger-than-life gameplay.
Before we dive into the process, let’s go over the equipment you’ll need:
- A PlayStation console (such as PlayStation 4 or PlayStation 5)
- A projector
- An HDMI cable
- An audio cable (optional)
- Speakers or a sound system (optional)
Once you have these essentials, you’re ready to embark on the journey of connecting your PlayStation to the projector. The setup process may vary slightly depending on the model of your PlayStation and the type of projector you’re using, but we’ll cover the general steps that apply to most setups.
Before we begin, note that this guide assumes you have already set up your projector and have it positioned correctly for optimal viewing. If you need assistance with setting up your projector, consult the user manual or contact the manufacturer for guidance.
Required Equipment
Before you can connect your PlayStation to a projector, make sure you have the following equipment ready:
- PlayStation Console: This guide is applicable to various PlayStation models, such as the PlayStation 4 or PlayStation 5. Ensure that you have your console and controllers handy.
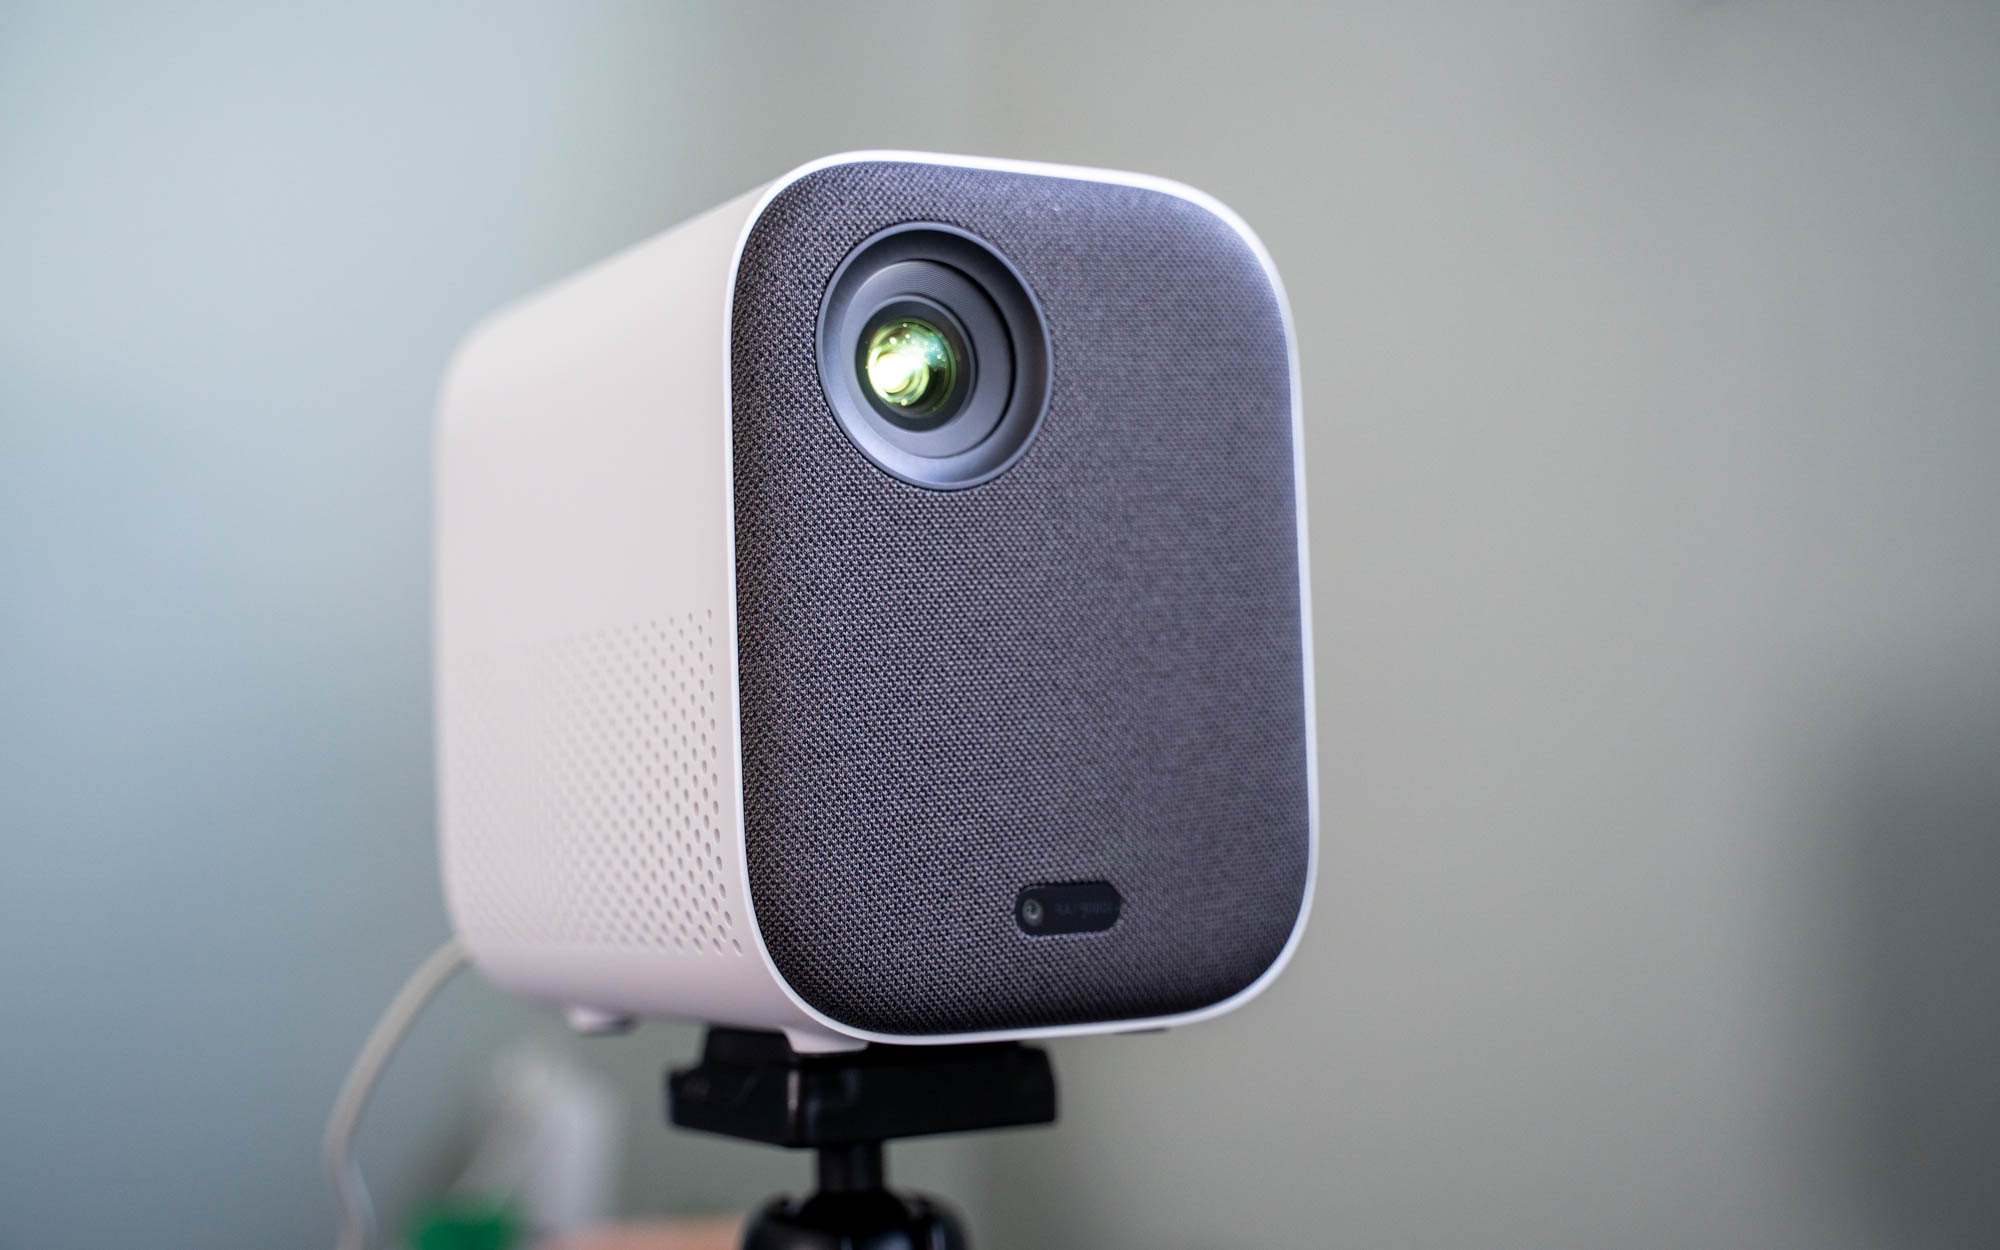
- Projector: Choose a projector that suits your needs and budget. Look for a projector with HDMI input, as it offers better compatibility with gaming consoles.
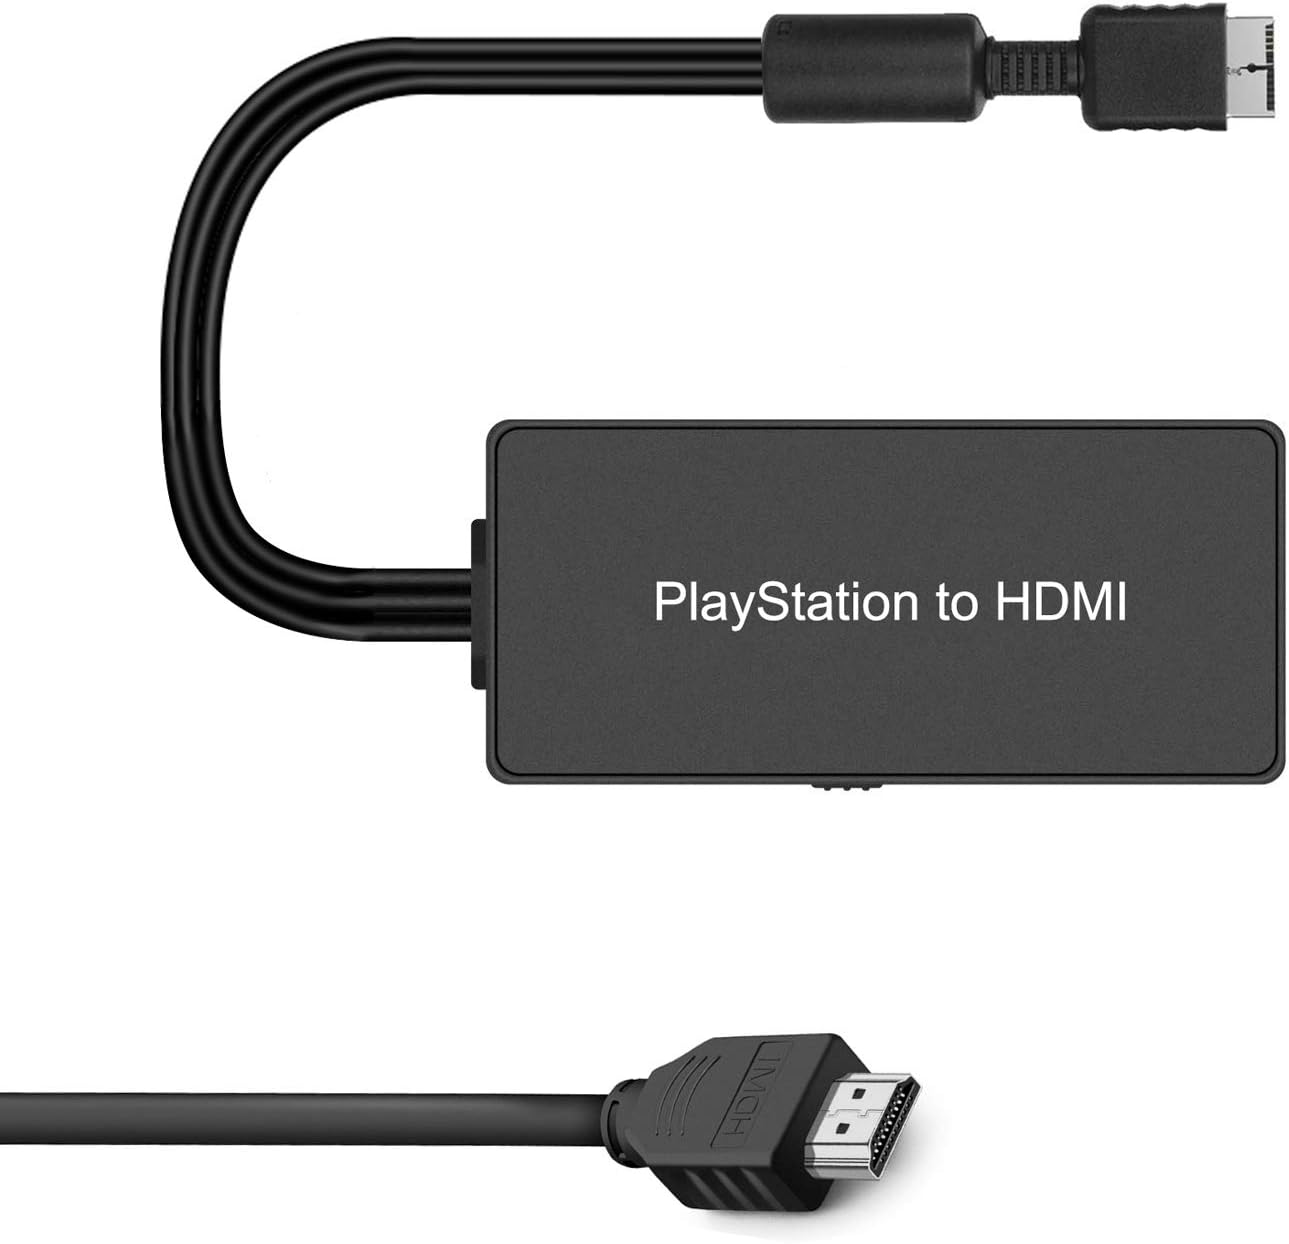
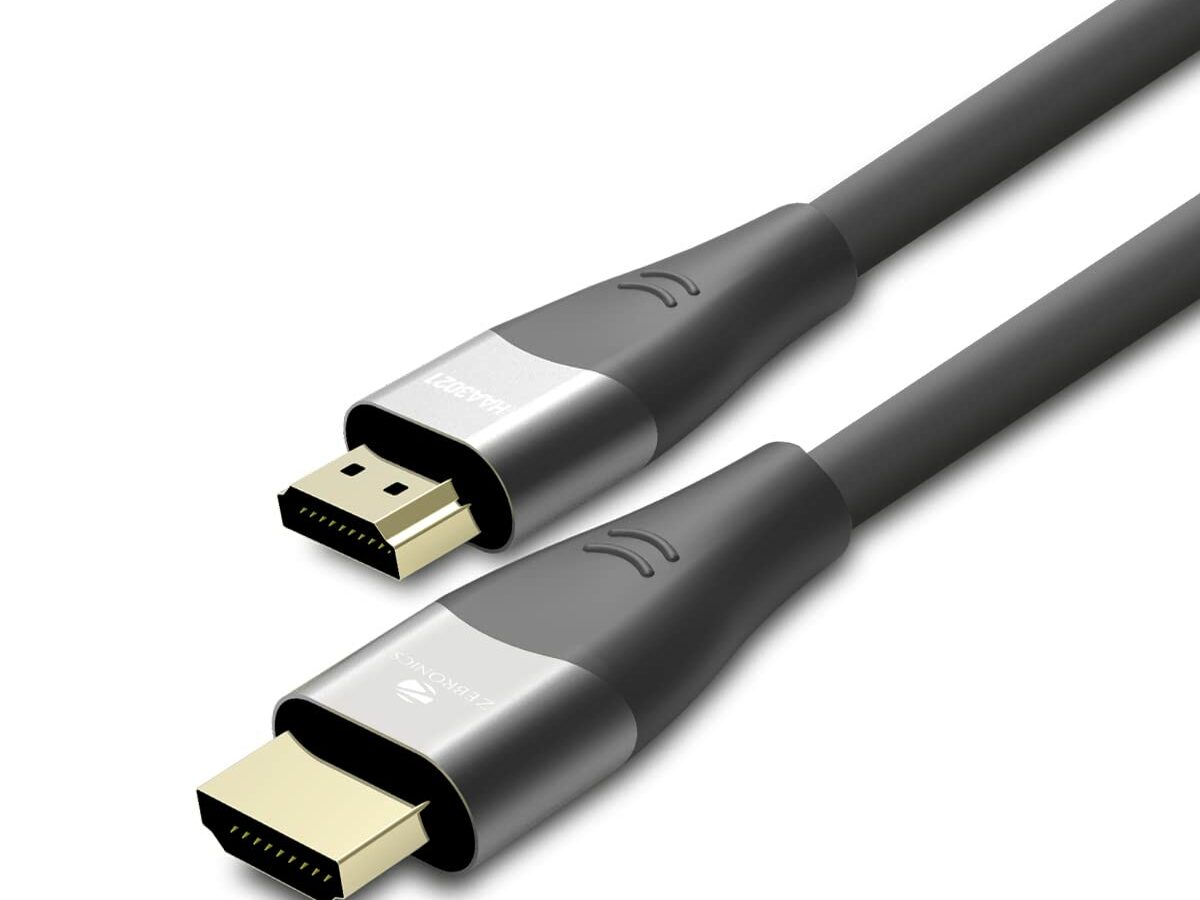
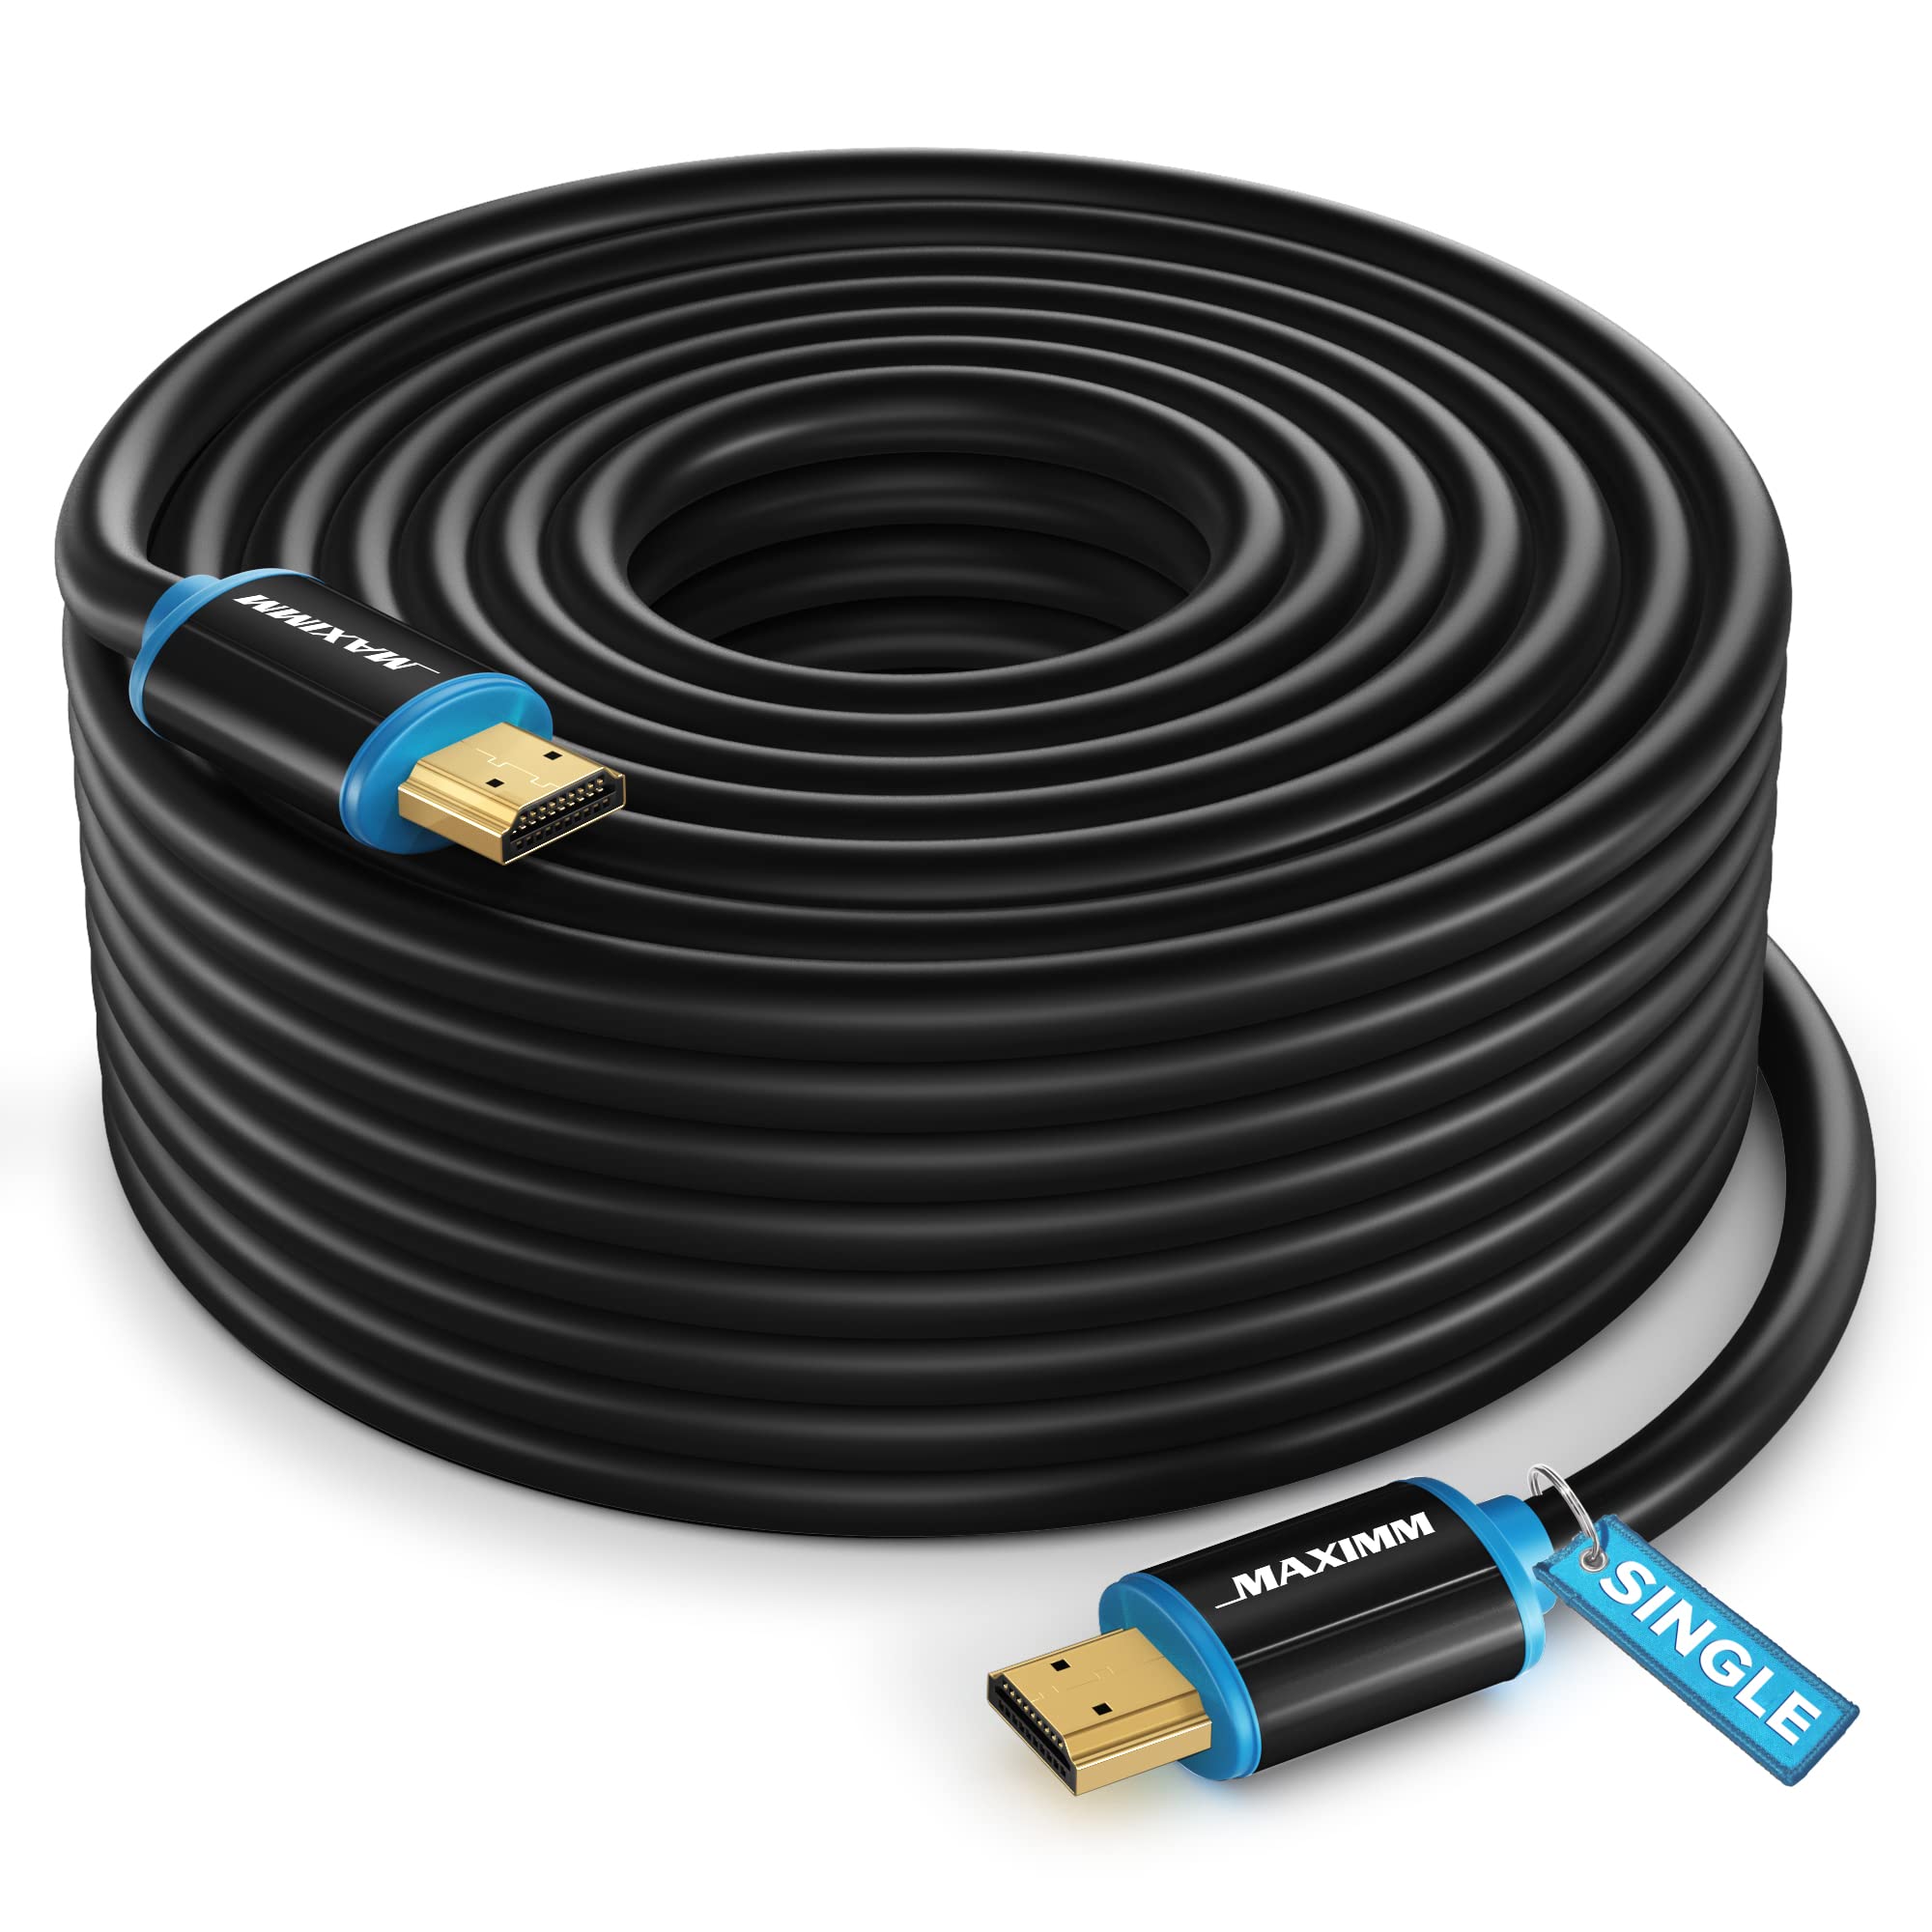
- HDMI Cable: You will need an HDMI cable to establish the connection between the PlayStation console and the projector. Make sure it is long enough to reach from the console to the projector.
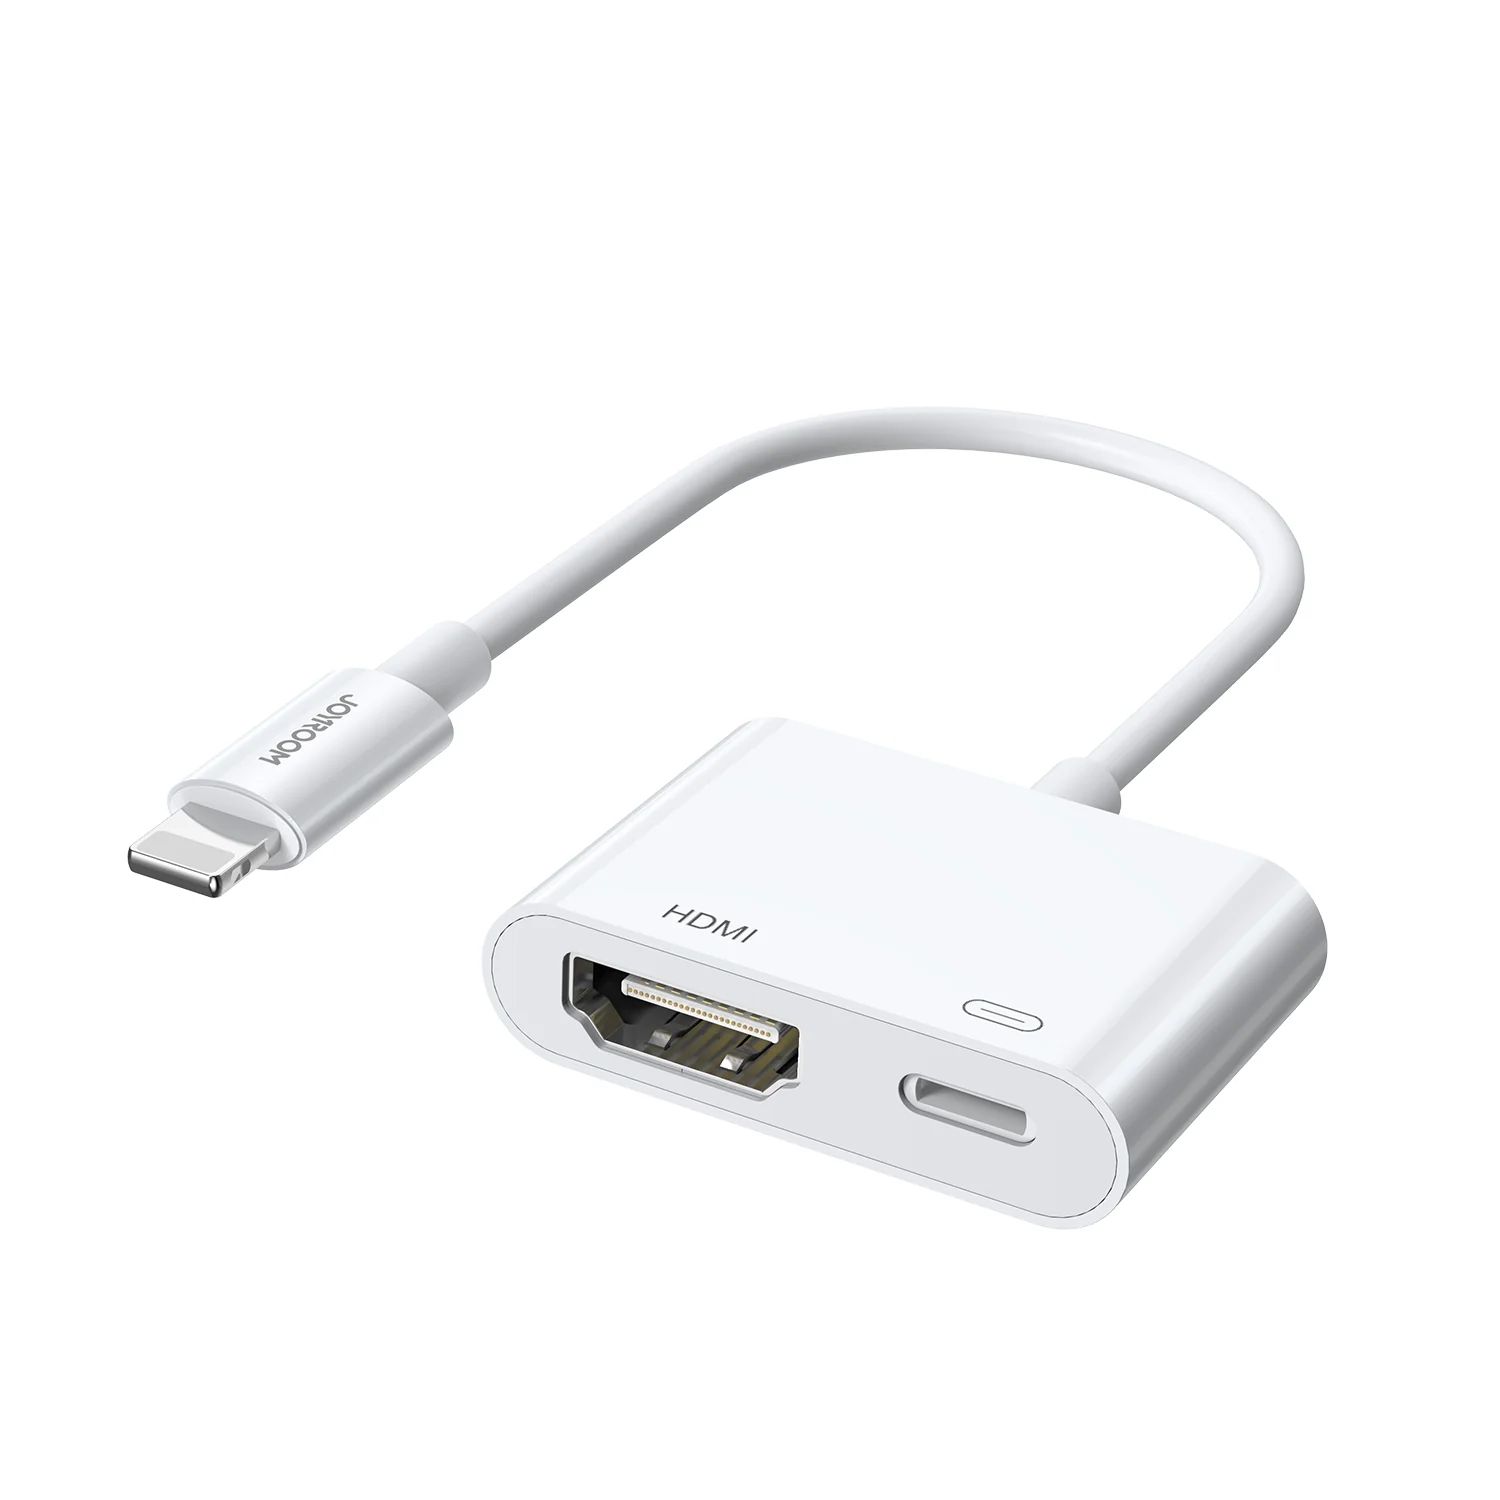
- Audio Cable (optional): While HDMI cables transmit both video and audio signals, some projectors may require a separate audio connection. Check your projector’s specifications to determine if you need an audio cable.
- Speakers or Sound System (optional): If you prefer enhanced audio quality, consider connecting external speakers or a sound system to the projector. This will provide a more immersive gaming experience.
With these essential components in place, you’re ready to proceed with setting up the projector and connecting it to your PlayStation console. Ensure that all the cables are in good condition and securely connected before moving on to the next steps.
Step 1: Set up the Projector
Before connecting your PlayStation to the projector, it’s essential to properly set up the projector itself. Follow these steps:
- Positioning: Find a suitable location for the projector. Ensure it is placed on a stable surface and positioned at a distance that allows the projected image to fill the screen or desired surface evenly.
- Connection Ports: Identify the connection ports on the projector. Look for an HDMI input port, which is the most common method of connecting gaming consoles.
- Power on the Projector: Plug in the power cord of the projector and turn it on. Most projectors have a power button or switch located either on the top or side of the device.
- Adjust the Projector Settings: Access the projector’s settings menu through the on-screen display. Consult the user manual to adjust settings such as brightness, contrast, and aspect ratio for optimal image quality.
- Focusing the Image: Use the projector’s focus adjustment wheel or digital controls to ensure a sharp and clear image. Adjust the focus until the projected image appears crisp.
- Screen Alignment: If you are projecting onto a screen, make sure it is properly aligned and tensioned for a flat and smooth surface. If you are projecting onto a wall, ensure it is clean and suitable for projection.
- Test Projection: Display a test image or pattern to evaluate the positioning and alignment of the projector. Make any necessary adjustments to achieve the desired image size and clarity.
Once you have completed these steps, the projector should be set up and ready to receive the input from your PlayStation console. Now, let’s move on to the next step of connecting the two devices.
Step 2: Connect the PlayStation to the Projector
Now that you have set up the projector, it’s time to connect your PlayStation console. Follow these steps to establish the connection:
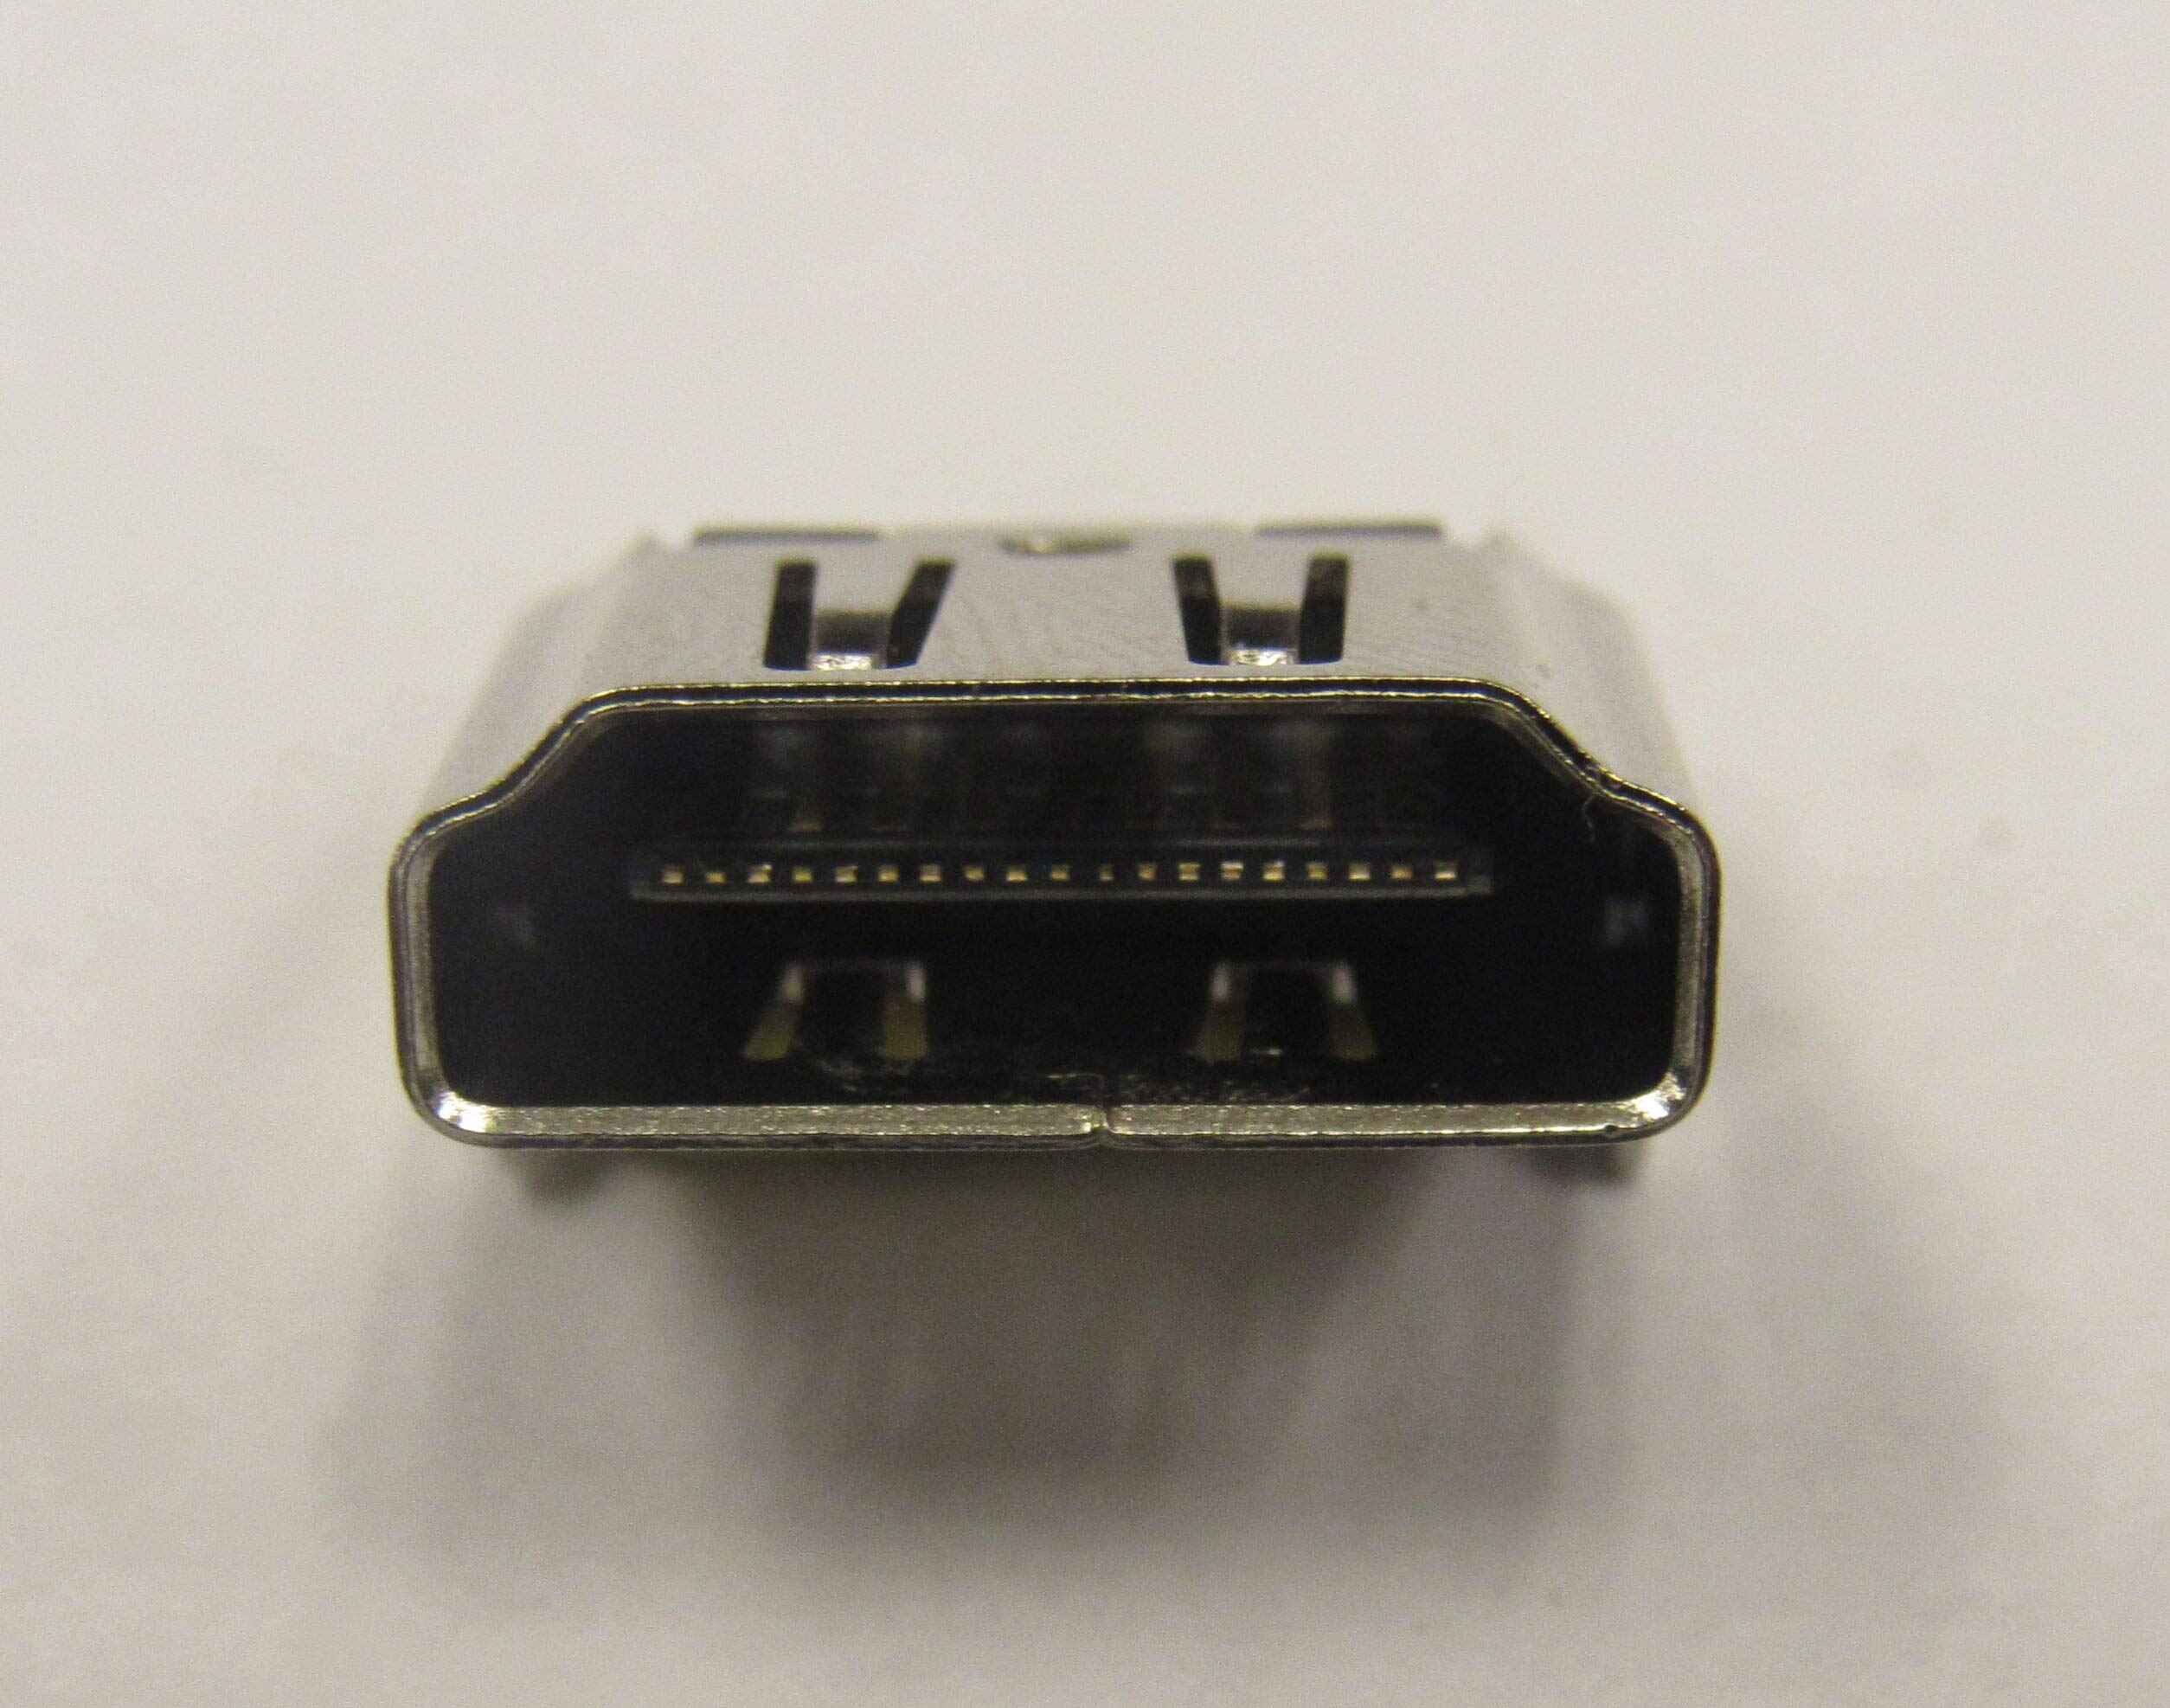
- Locate the HDMI Ports: On your PlayStation console, locate the HDMI output port and the HDMI input port on the projector. These ports are usually labeled “HDMI”.
- Plug in the HDMI Cable: Take one end of the HDMI cable and insert it into the HDMI output port on the PlayStation console. Make sure it is inserted securely.
- Connect the Other End to the Projector: Take the other end of the HDMI cable and plug it into the HDMI input port on the projector. Again, ensure a secure connection.
- Optional: Connect the Audio Cable: If your projector requires a separate audio connection, locate the audio output port on the PlayStation console and connect one end of the audio cable to it. Plug the other end of the audio cable into the audio input port on the projector.
- Power on the PlayStation and the Projector: Turn on both the PlayStation console and the projector. Allow them a few moments to establish a connection.
- Select the Input Source: On the projector’s remote or control panel, select the corresponding HDMI input source that you connected your PlayStation to. This will display the PlayStation’s output on the projector screen.
Congratulations! You have successfully connected your PlayStation console to the projector. You should now be able to see the PlayStation’s interface and gameplay on the projected screen. If the connection is not working, double-check the cable connections and ensure that both devices are powered on.
Note that some projectors may have multiple HDMI input ports. If you experience any issues with the connection, try using a different HDMI input port on the projector and adjust the input source accordingly.
In the next step, we will configure the settings to optimize the output and ensure the best gaming experience.
Step 3: Configure the Settings
After connecting your PlayStation to the projector, it’s important to configure the settings to ensure optimal display and performance. Follow these steps to fine-tune the settings:
- Display Resolution: On your PlayStation console, navigate to the “Settings” menu and select “Sound and Screen”. Choose “Video Output Settings” and then “Resolution”. Set the resolution to match the native resolution of your projector for the best image quality.
- Aspect Ratio: Adjust the aspect ratio settings to match the native aspect ratio of your projector or desired display format. Common aspect ratios include 16:9 (widescreen) and 4:3 (standard).
- Screen Size and Overscan: Use the PlayStation’s calibration tools to adjust the screen size and overscan. This ensures that the entire image is visible on the projection surface without any cropping or stretching.
- Audio Settings: If you connected an audio cable from the PlayStation to the projector, check the audio settings to ensure that the audio is routed through the projector. If using external speakers or a sound system, adjust the audio output accordingly.
- HDR and Color Settings: If your PlayStation and projector support High Dynamic Range (HDR), navigate to the “Video Output Settings” menu and enable HDR. Adjust the color settings, such as brightness, contrast, and color balance, to your preference.
- Input Lag: Some projectors may introduce input lag, causing a delay between your actions and the on-screen response. Check if your projector has a gaming mode or low latency option to reduce input lag.
- Test and Adjust: Launch a game or application on your PlayStation and evaluate the visual and audio output on the projector. Make any necessary adjustments to the settings to achieve the desired gaming experience.
By configuring these settings, you can ensure that the gameplay visuals are optimized for the projector and that you have the best possible gaming experience.
Keep in mind that the specific settings and options may vary depending on the PlayStation model and the projector you are using. Consult the user manuals for detailed instructions and explore the various settings available to customize your gaming setup.
Next, it’s time to put the connection and settings to the test. Let’s move on to the next step and test the connection between the PlayStation and the projector.
Step 4: Test the Connection
After setting up and configuring the connection between your PlayStation and the projector, it’s crucial to test the connection to ensure everything is working correctly. Follow these steps to perform a quick test:
- Power on the Projector and PlayStation: Ensure that both the projector and PlayStation console are turned on and ready for use.
- Select the Input Source: On the projector’s remote or control panel, choose the input source that you connected your PlayStation to. This should be the HDMI input source.
- Check the Projected Image: Look at the projected screen or surface and verify that the PlayStation’s interface is displayed correctly. You should see the PlayStation’s home screen or any other desired content.
- Launch a Game or Application: Start a game or application on the PlayStation to verify that the gameplay and visuals are projected accurately. Pay attention to any lag, flickering, or other issues that may affect the gaming experience.
- Test the Audio: If you connected the audio cable from the PlayStation to the projector, ensure that the audio is coming through the projector’s speakers. If you’re using external speakers or a sound system, check if the audio output is routed through them correctly.
- Play and Evaluate: Spend some time playing the game or navigating through applications to evaluate the overall performance and experience. Check for any visual or audio issues and make adjustments to the settings if necessary.
If everything looks and sounds good during the test, congratulations! You have successfully connected and tested your PlayStation with the projector. Now you can enjoy an immersive gaming experience on a larger screen.
If you encounter any issues during the test, double-check the cable connections, verify the settings, and ensure that both the projector and PlayStation are updated with the latest firmware. Consult the user manuals for troubleshooting steps or reach out to the manufacturer’s support for further assistance.
Now that you have tested the connection, you’re ready to dive into hours of gaming enjoyment on the big screen. Remember to adjust the lighting in the room, position your seating for optimal viewing, and have fun exploring the vast world of games and entertainment.
Troubleshooting Tips
While setting up and connecting your PlayStation to a projector can be a straightforward process, occasional issues may arise. Here are some troubleshooting tips to help you overcome common problems:
- No Picture or Signal: If you’re not seeing any picture or signal on the projected screen, double-check the HDMI cable connections. Ensure they are securely plugged into both the PlayStation and the projector. If using an audio cable, ensure it is also connected properly.
- Check Power and Settings: Verify that both the projector and the PlayStation console are powered on. Sometimes a simple power cycle of both devices can resolve any temporary glitches. Additionally, revisit the settings on both the projector and the PlayStation to ensure compatibility and proper input/output configuration.
- Poor Image Quality: If the projected image appears blurry, dim, or distorted, check the projector’s focus adjustment and ensure it is properly focused. Additionally, verify that the resolution and aspect ratio settings on the PlayStation are correctly set to match the native capabilities of the projector.
- No Sound or Audio Issues: If you’re not hearing any sound or experiencing audio issues, first check if the audio cable is properly connected. Ensure the volume settings are not muted or turned down on both the PlayStation and the projector. If using external speakers or a sound system, double-check the connections and settings on those devices as well.
- Input Lag or Delayed Response: If you notice a lag or delayed response between your actions and the on-screen display, check if your projector has a gaming mode or low latency option. Enabling this setting can help minimize input lag and provide a more responsive gaming experience.
- Software and Firmware Updates: Regularly check for software or firmware updates for your PlayStation console and projector. Keeping both devices updated can often resolve compatibility issues and ensure optimal performance.
If you have tried these troubleshooting tips and are still experiencing difficulties, consult the user manuals of your PlayStation console and projector for specific troubleshooting instructions. Alternatively, reach out to the manufacturer’s support for guidance and assistance tailored to your specific setup.
Remember that patience and persistence are key when troubleshooting. Don’t get discouraged, as most issues can be resolved with the right troubleshooting steps and assistance.
Now that you’re equipped with these troubleshooting tips, you can confidently tackle any challenges that may arise during the setup and connection process.
Conclusion
Connecting your PlayStation to a projector opens up a whole new world of gaming possibilities, allowing you to enjoy immersive gameplay on a larger screen. By following the step-by-step guide outlined in this article, you should now be well-equipped with the knowledge and understanding to set up and connect your PlayStation to a projector.
We started by discussing the required equipment, including the PlayStation console, the projector, HDMI cables, and optional audio equipment. We then walked through the process of setting up the projector, connecting the PlayStation, configuring the settings, and performing a test to ensure everything is working as intended.
In addition, we provided troubleshooting tips to help you overcome common issues that may arise during the setup process. Remember to double-check cable connections, power settings, and audio configurations if you encounter any problems.
Now, it’s time to unleash your gaming potential on a larger screen. Immerse yourself in thrilling worlds, engage in epic battles, and embark on incredible adventures, all enhanced by the visual immersion of the projector.
Keep in mind that each PlayStation console and projector may have slight variations in terms of settings and connectivity options. Refer to the user manuals of your specific devices for more detailed instructions and specifications.
With your PlayStation connected to the projector, prepare to take your gaming experience to new heights. Enjoy the stunning visuals, immersive sound, and captivating gameplay as you delve into the virtual worlds of your favorite games.
Now, grab your controller, power up your PlayStation, and let the gaming adventures begin on the big screen!