Introduction
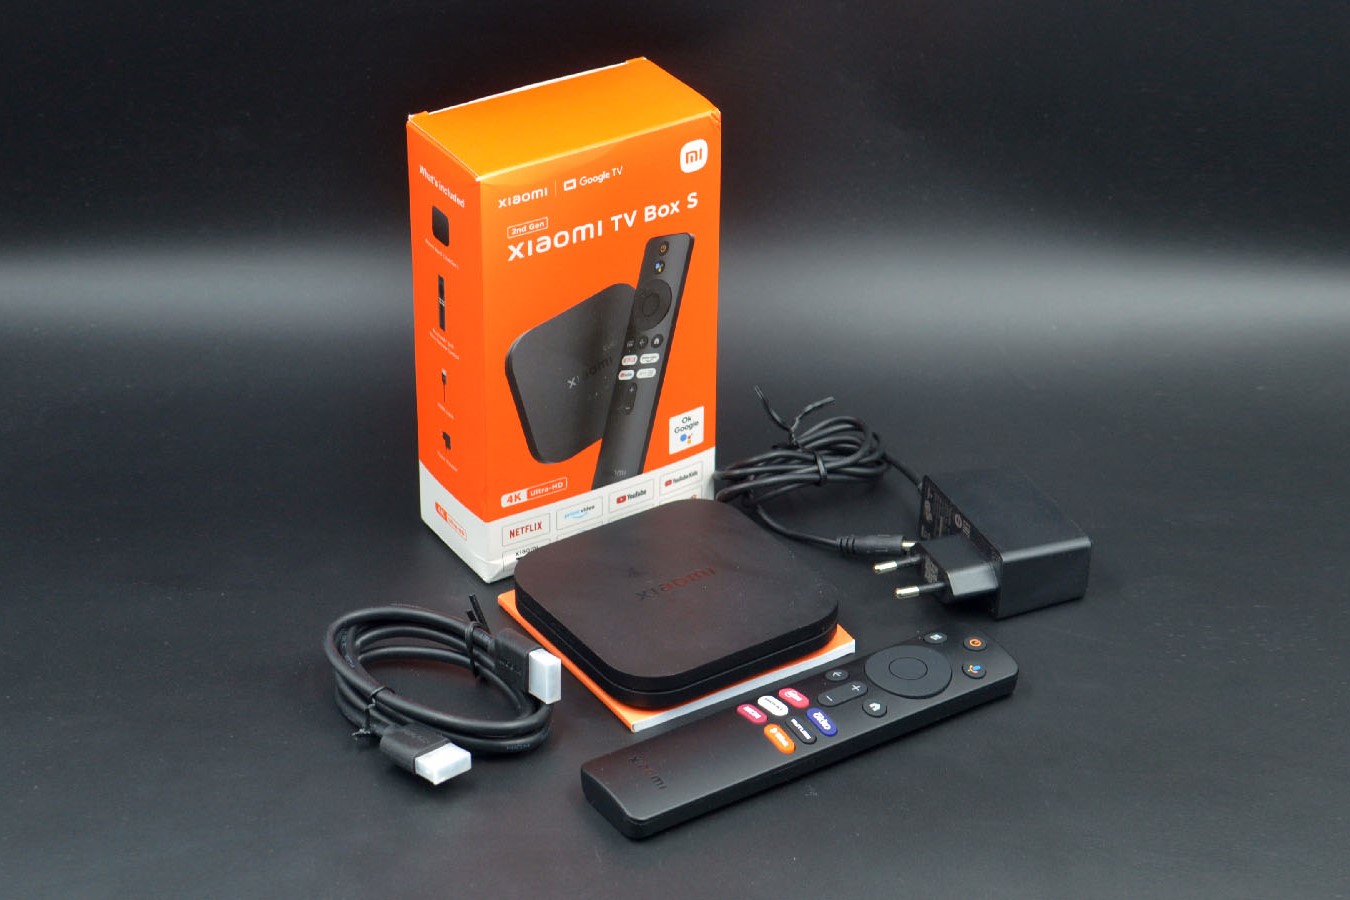
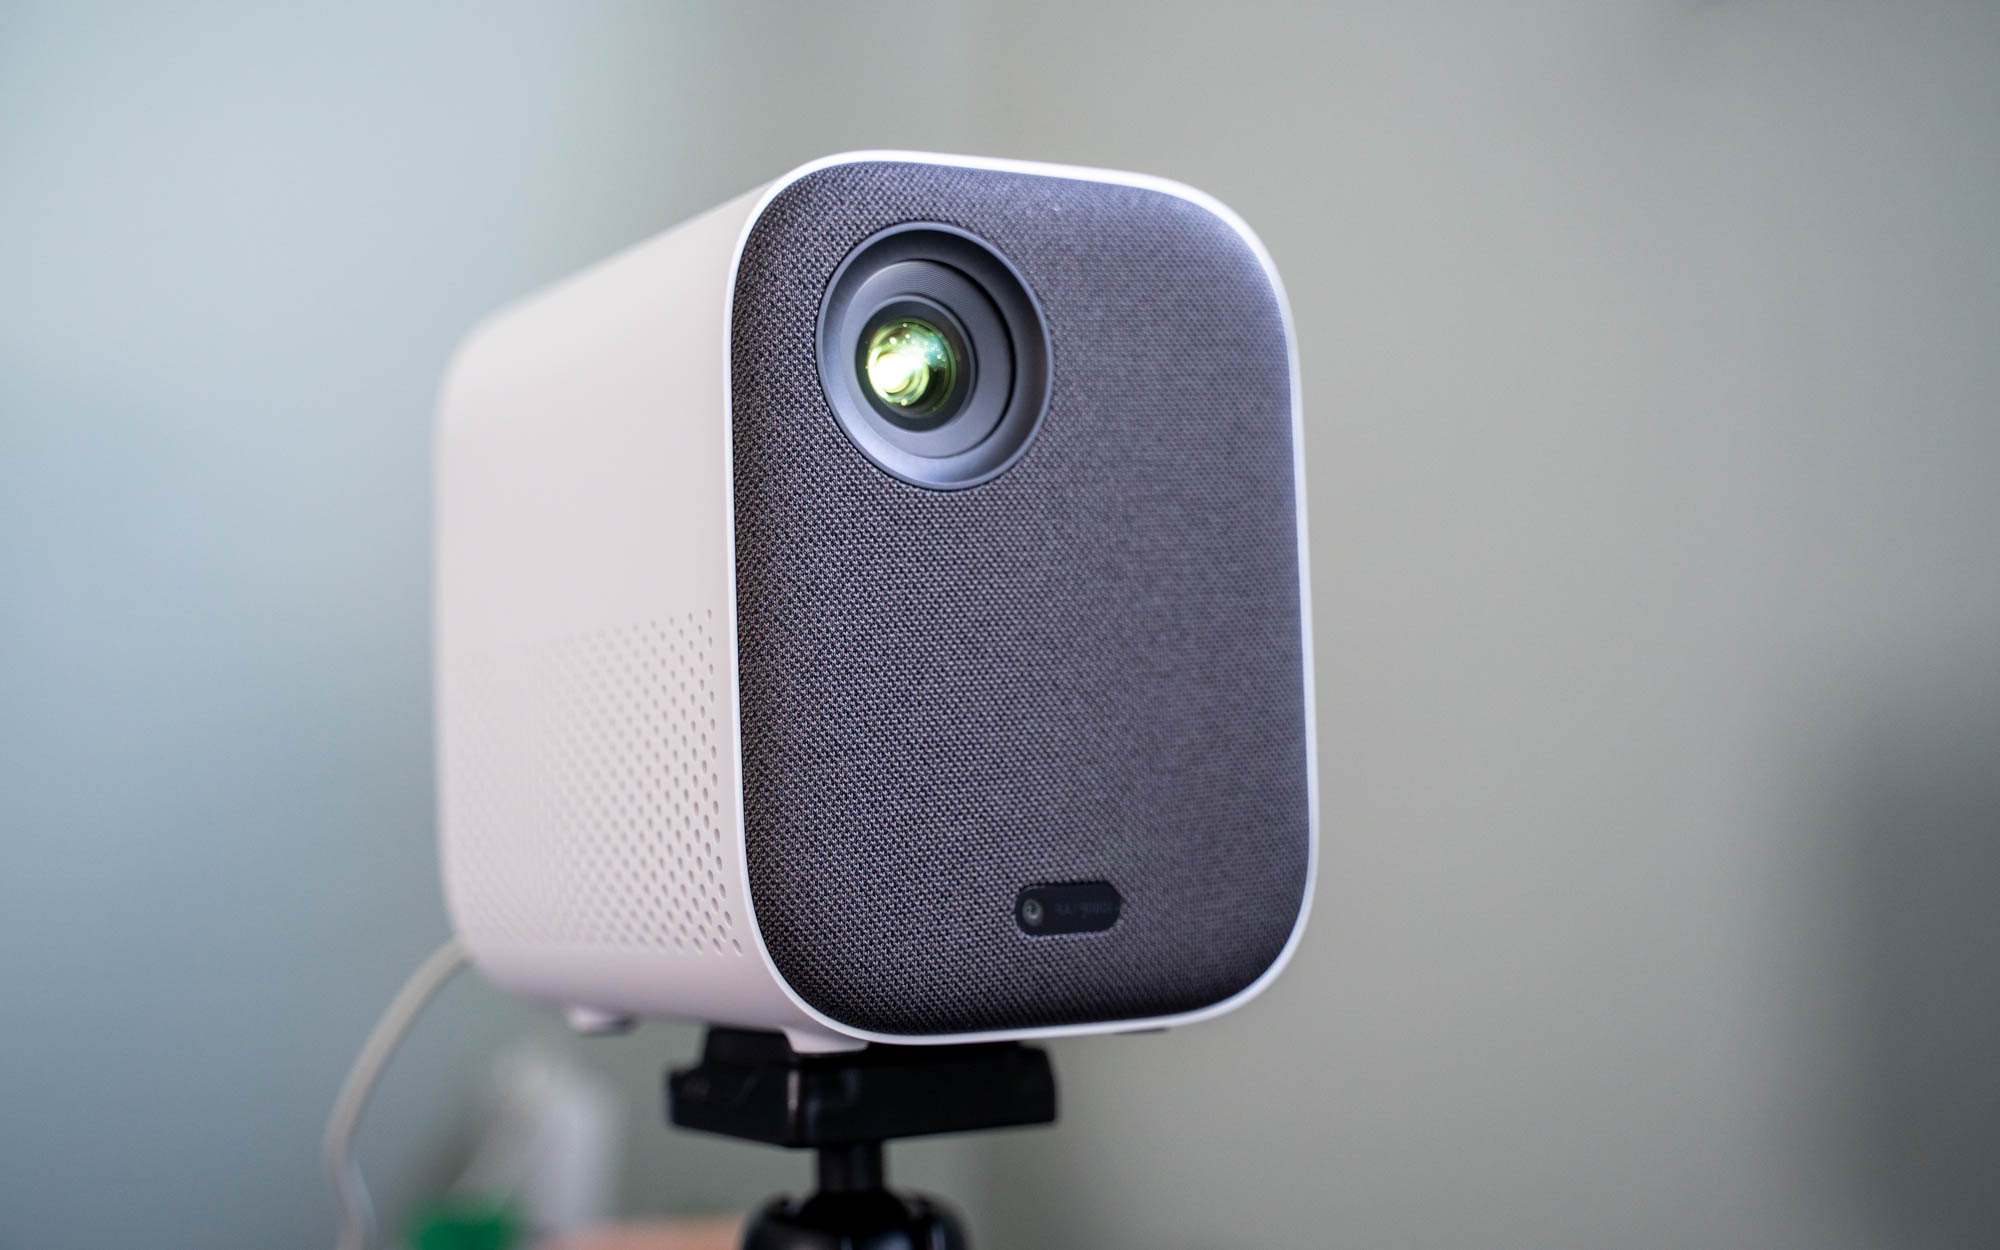
Welcome to the world of Xiaomi projectors, where innovation meets entertainment. Xiaomi projectors are renowned for their cutting-edge technology, sleek design, and user-friendly interface. Whether you're a movie buff, a gaming enthusiast, or a professional presenter, Xiaomi projectors offer a seamless and immersive viewing experience.
In this article, we will delve into the process of changing the input name on your Xiaomi projector. This simple yet impactful customization allows you to personalize the input source names, making it easier to identify and switch between different devices connected to your projector.
By following the quick steps outlined in this guide, you'll gain the ability to rename the input sources to match the connected devices, such as gaming consoles, streaming devices, laptops, and more. This not only adds a personal touch to your viewing experience but also streamlines the process of selecting the desired input source.
So, whether you're looking to enhance your home theater setup, optimize your gaming experience, or elevate your professional presentations, customizing the input names on your Xiaomi projector is a small but significant step towards a more tailored and convenient entertainment or work environment.
Now, let's embark on this journey to unlock the full potential of your Xiaomi projector by customizing the input names with ease. Let's dive into the step-by-step process and make the most of your viewing and presentation experiences.
Step 1: Accessing the Xiaomi Projector Settings
Accessing the settings of your Xiaomi projector is the first step towards customizing the input names. This process is designed to be intuitive and user-friendly, ensuring that you can easily navigate the menus and make the desired changes. Here's a detailed walkthrough of how to access the settings on your Xiaomi projector:
-
Power On: Begin by powering on your Xiaomi projector. Whether you're setting up your home theater for a movie night or preparing for a professional presentation, ensure that the projector is powered up and ready for customization.
-
Navigate to the Home Screen: Once the projector is powered on, you'll be greeted by the home screen, which serves as the central hub for accessing various functions and settings. Use the remote control or the built-in navigation buttons to reach the home screen.
-
Locate the Settings Icon: On the home screen, look for the settings icon, which is typically represented by a gear or cogwheel symbol. This icon serves as the gateway to the projector's configuration options, allowing you to fine-tune various aspects of its functionality.
-
Enter the Settings Menu: With the settings icon highlighted, press the designated button on the remote control or use the navigation keys to enter the settings menu. This action will open up a range of customization options, including display settings, audio preferences, network configuration, and more.
-
Select the Input Name Customization: Within the settings menu, navigate to the section related to input sources or input settings. This is where you'll find the option to customize the input names, enabling you to assign personalized labels to the connected devices.
By following these steps, you'll successfully access the settings of your Xiaomi projector, paving the way for seamless customization of the input names. With the settings menu at your fingertips, you're now ready to proceed to the next step and embark on the process of changing the input names to suit your specific devices and preferences.
Now that you've gained access to the settings, let's move on to the next step and delve into the process of changing the input names on your Xiaomi projector. This will empower you to personalize the input sources and enhance the overall user experience, whether you're indulging in entertainment or delivering impactful presentations.
Step 2: Changing the Input Name
Now that you've successfully accessed the settings of your Xiaomi projector, it's time to embark on the exciting process of changing the input names. This customization feature allows you to assign personalized labels to the input sources, making it easier to identify and select the connected devices. Whether you want to rename the HDMI input to "Gaming Console," the USB input to "Media Player," or the VGA input to "Laptop," the flexibility is in your hands. Here's a detailed guide on how to change the input names on your Xiaomi projector:
-
Select the Input Source: Begin by selecting the input source for which you want to change the name. This could be HDMI, USB, VGA, or any other input option available on your Xiaomi projector.
-
Access the Input Name Settings: Once the desired input source is selected, navigate to the input settings or input name customization section within the projector's settings menu. This is where you'll find the option to modify the input names to align with your specific devices.
-
Edit the Input Name: Upon entering the input name customization section, you'll be presented with the existing input names or placeholders. Use the remote control or the on-screen keyboard to edit the input name according to your preferences. For instance, if you're customizing the HDMI input, you can rename it to "PlayStation" or "Blu-ray Player" based on the connected device.
-
Save the Changes: After customizing the input name, ensure to save the changes to apply the new labels to the input sources. This typically involves selecting a "Save" or "Apply" option within the input name customization interface.
-
Verify the Changes: Once the input names are modified and saved, verify the changes by navigating back to the home screen and accessing the input sources. The updated input names should now be displayed, reflecting the personalized labels you've assigned.
By following these steps, you can seamlessly change the input names on your Xiaomi projector, tailoring the viewing and presentation experience to align with your specific devices and preferences. This level of customization not only adds a personal touch to your entertainment or professional setup but also streamlines the process of selecting the desired input sources with ease.
With the input names now customized to your liking, you're ready to move on to the next step and ensure that the changes are saved effectively, allowing you to enjoy a more personalized and convenient experience with your Xiaomi projector.
Step 3: Saving the Changes
After customizing the input names on your Xiaomi projector, it's crucial to ensure that the changes are saved effectively to reflect the personalized labels you've assigned. Saving the changes is the final step in the process of customizing the input names, and it ensures that your preferred input source names are retained for future use. Here's a detailed guide on how to save the changes after modifying the input names:
-
Navigate to the Save Option: Once you've edited the input names to align with your specific devices, navigate to the save or apply option within the input name customization interface. This option is typically located at the bottom of the screen or within the input settings menu. Use the remote control or the navigation keys to highlight the save option.
-
Confirm the Changes: Before saving the changes, take a moment to review the customized input names to ensure they accurately reflect the connected devices. This verification step allows you to make any last-minute adjustments if needed, ensuring that the input names are precisely tailored to your preferences.
-
Select the Save or Apply Option: With the customized input names confirmed, select the save or apply option using the remote control or the designated button on the projector interface. This action triggers the saving process, applying the modified input names to the respective input sources.
-
Wait for Confirmation: Upon selecting the save or apply option, the projector may display a confirmation message indicating that the changes have been successfully saved. This confirmation serves as reassurance that the customized input names are now in effect and will be displayed when accessing the input sources.
-
Return to the Home Screen: After saving the changes, navigate back to the home screen to verify that the modified input names are reflected accurately. Access the input sources to ensure that the personalized labels you've assigned are prominently displayed, indicating that the changes have been successfully saved.
By following these steps, you can effectively save the changes after customizing the input names on your Xiaomi projector. This ensures that the personalized input source names remain in place, allowing for a seamless and tailored viewing or presentation experience. With the changes saved, you can confidently switch between input sources, knowing that the input names are aligned with your specific devices and preferences.
Now that you've completed the process of saving the changes, you're all set to enjoy a more personalized and convenient experience with your Xiaomi projector. Whether you're immersing yourself in captivating visuals, engaging in gaming adventures, or delivering impactful presentations, the customized input names add a touch of personalization to your overall experience.
Conclusion
Congratulations! By following the quick and straightforward steps outlined in this guide, you've successfully customized the input names on your Xiaomi projector, adding a personalized touch to your viewing and presentation experiences. This simple yet impactful customization empowers you to tailor the input source names to match your specific devices, making it easier than ever to identify and switch between connected devices.
With the input names now reflecting your personalized labels, you've unlocked a new level of convenience and customization within your Xiaomi projector setup. Whether you're indulging in movie nights with your favorite streaming device, immersing yourself in gaming adventures, or delivering professional presentations, the customized input names streamline the process of selecting the desired input sources, enhancing your overall user experience.
Furthermore, the ability to customize input names on your Xiaomi projector adds a touch of personalization to your entertainment or work environment. It allows you to create a seamless and tailored setup that aligns with your preferences and specific devices, ultimately enhancing the enjoyment and efficiency of your projector usage.
As you navigate through the input sources on your Xiaomi projector, the personalized input names serve as a reminder of the seamless customization you've implemented, reflecting your unique preferences and device connections. This level of personalization not only simplifies the process of selecting input sources but also adds a sense of ownership and individuality to your projector setup.
In essence, the process of customizing input names on your Xiaomi projector is a small yet significant step towards optimizing your viewing and presentation experiences. It exemplifies the user-centric design and flexibility of Xiaomi projectors, allowing you to tailor the functionality to suit your specific needs and preferences.
So, whether you're enjoying immersive movie nights, engaging in thrilling gaming sessions, or delivering impactful presentations, the customized input names on your Xiaomi projector are a testament to your ability to personalize and enhance your entertainment or work environment.
With the input names now reflecting your personalized labels, you're all set to embark on a seamless and tailored viewing and presentation journey with your Xiaomi projector. Enjoy the convenience, personalization, and enhanced user experience that comes with customizing the input names, and make the most of your entertainment and professional endeavors.