Introduction
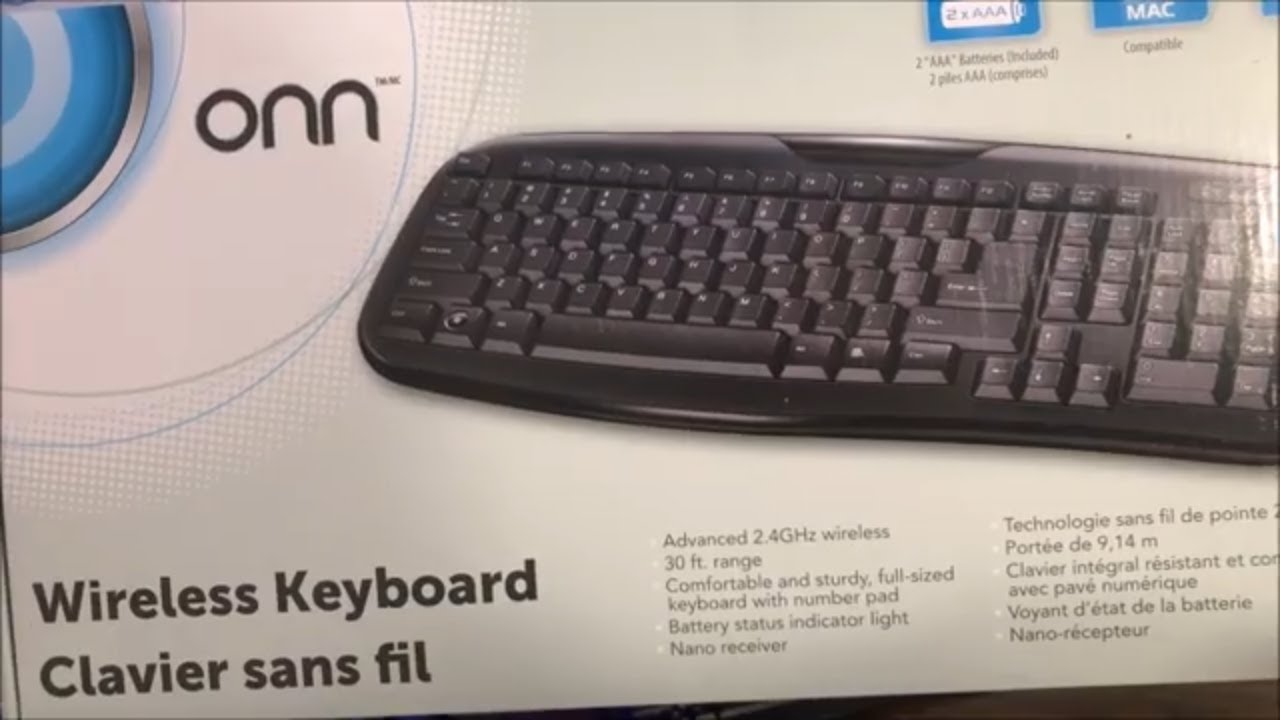
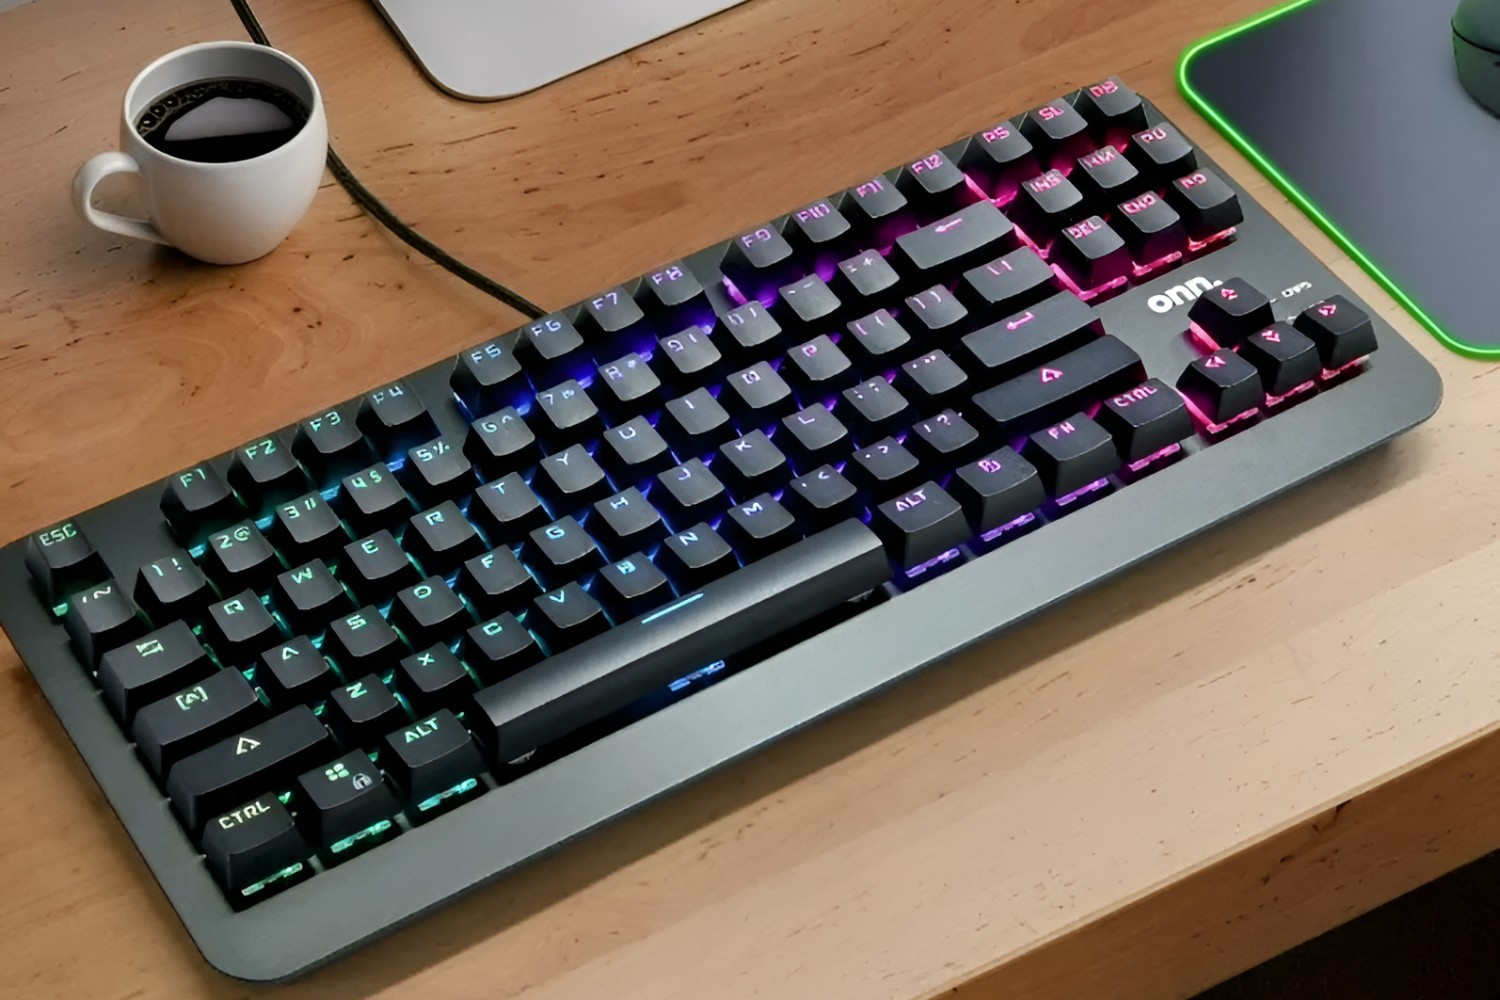
Gone are the days of being tied down by wires when it comes to keyboards. With the advent of wireless technology, you can now enjoy the freedom and convenience of using a wireless keyboard. The Onn Wireless Keyboard is a popular choice among users due to its functionality and user-friendly design. Whether you’re a student, professional, or just someone who enjoys typing on a sleek and portable keyboard, connecting the Onn Wireless Keyboard to your device is a breeze.
In this article, we will guide you through the step-by-step process of connecting your Onn Wireless Keyboard to your device. Whether you’re using a computer, laptop, tablet, or smartphone, these instructions will help you establish a seamless connection in no time.
Before we dive into the details, it’s important to note that the instructions may vary slightly depending on the operating system of your device. However, the overall process remains relatively consistent across different platforms. So, let’s get started and get your Onn Wireless Keyboard connected!
Step 1: Check the package contents
Before you start the process of connecting your Onn Wireless Keyboard, it’s essential to ensure that you have all the necessary components. When you first purchase the keyboard, it comes in a neatly sealed package. Open the package carefully and check for the following items:
1. Onn Wireless Keyboard: This is the main component of the package, and it should be a sleek and slim keyboard that offers a comfortable typing experience.
2. User Manual: The user manual contains valuable information about the keyboard’s features, specifications, and instructions for connecting it to various devices. Make sure you keep this manual handy for reference throughout the process.
3. Batteries: Most Onn Wireless Keyboards require batteries to function. Check if the package includes the required batteries. If not, make sure you have the appropriate batteries on hand before proceeding with the connection process.
By double-checking the package contents, you ensure that you have everything you need to successfully connect your Onn Wireless Keyboard to your device. If any item is missing or damaged, contact the seller or manufacturer to resolve the issue before proceeding further.
Step 2: Prepare the keyboard for connection
Now that you have confirmed all the package contents, it’s time to prepare the Onn Wireless Keyboard for connection. Follow these steps to ensure a smooth setup process:
1. Remove the battery cover: Locate the battery cover on the back of the keyboard. Slide or lift the cover to open it and reveal the battery compartment.
2. Insert batteries: Insert the batteries into the battery compartment, following the correct polarity indicated by the markings. Make sure the batteries are securely placed before closing the battery cover.
3. Power on the keyboard: Look for the power switch or button on the keyboard. Toggle the switch or press the button to turn on the keyboard. Some keyboards have an indicator light that turns on to indicate that the keyboard is powered on.
4. Check the Bluetooth status: On the keyboard, there may be a Bluetooth button or indicator light. Press the Bluetooth button or check if the Bluetooth light is blinking. This indicates that the keyboard is ready to pair with a Bluetooth-enabled device.
By preparing the keyboard for connection, you ensure that it is powered on and in the appropriate mode to establish a Bluetooth connection. Once you have completed these steps, you are now ready to move on to the next step of the connection process.
Step 3: Turn on the keyboard
With your Onn Wireless Keyboard prepared, it’s time to turn it on and get ready for the connection process. Follow these steps to turn on the keyboard:
1. Locate the power switch: Look for the power switch on the keyboard. It is usually located on the side or the top of the keyboard. Slide or toggle the switch to the “on” position. In some cases, there may be a button instead of a switch. Press the button to power on the keyboard.
2. Check for the power indicator: Once the keyboard is turned on, you may see a power indicator light. The light may be located on the keyboard itself or in the vicinity of the power switch or button. The indicator light will typically illuminate to indicate that the keyboard is powered on and ready to be connected.
3. Ensure sufficient battery power: It’s important to make sure that your Onn Wireless Keyboard has enough battery power. If the power indicator light is dim or not lit, it may be an indication that the batteries are running low. In such cases, replace the batteries with new ones to ensure optimal performance.
Once you have turned on the keyboard and confirmed that it has sufficient battery power, you are now ready to proceed to the next step of enabling Bluetooth on your device. Turning on the keyboard is a crucial step in establishing a successful connection, so make sure to double-check the power status before moving forward.
Step 4: Enable Bluetooth on your device
Before you can connect your Onn Wireless Keyboard, you need to ensure that the Bluetooth feature on your device is enabled. Bluetooth allows for wireless communication between your keyboard and the device you want to connect it to. Follow these steps to enable Bluetooth on your device:
1. Open the settings: Depending on the device you are using, the settings app may be located on your home screen or in the app drawer. Look for the settings icon and tap on it to open the settings menu.
2. Locate the Bluetooth option: In the settings menu, scroll down or search for the “Bluetooth” option. It is usually represented by an icon that resembles a stylized “B.”
3. Enable Bluetooth: Tap on the Bluetooth option to access the Bluetooth settings. Toggle the Bluetooth switch to the “on” position. Once enabled, your device will start scanning for available Bluetooth devices in the vicinity.
4. Wait for the device to detect the keyboard: Give your device a few moments to scan for available Bluetooth devices. During this time, your Onn Wireless Keyboard should appear in the list of available devices on your device’s screen. The name of the keyboard might be displayed as “Onn Wireless Keyboard” or a similar identifier.
Enabling Bluetooth on your device is a crucial step in the connection process. Ensure that Bluetooth is enabled and that your device is actively scanning for available devices. Once your device has detected the Onn Wireless Keyboard in the Bluetooth settings, you are ready to move on to the next step: discovering the keyboard on your device.
Step 5: Discover the keyboard on your device
After enabling Bluetooth on your device, the next step is to discover the Onn Wireless Keyboard. This process allows your device to detect and establish a connection with the keyboard. Follow these steps to discover the keyboard:
1. Open the Bluetooth settings: Navigate back to the Bluetooth settings on your device. This is the same menu where you enabled Bluetooth in the previous step.
2. Start the discovery process: Look for an option such as “Scan” or “Discover” within the Bluetooth settings. Tap on this option to initiate the discovery process. Your device will now scan for nearby Bluetooth devices, including the Onn Wireless Keyboard.
3. Wait for the keyboard to appear: Allow your device some time to scan for available devices. The Onn Wireless Keyboard should appear in the list of discovered devices. It might be displayed as “Onn Wireless Keyboard” or a similar name.
4. Select the keyboard for connection: Once the keyboard appears in the list, tap on it to select it for connection. Your device will establish a connection with the keyboard and prompt you to pair the two devices.
By discovering the Onn Wireless Keyboard on your device, you are ensuring that your device recognizes and establishes a connection with the keyboard. Once you have selected the keyboard for connection, you are ready to proceed to the next step: pairing the keyboard with your device.
Step 6: Pair the keyboard with your device
After discovering the Onn Wireless Keyboard on your device, the next step is to pair the keyboard with your device. Pairing is the process of establishing a secure connection between the keyboard and your device. Follow these steps to pair the keyboard:
1. Confirm the pairing code: When you select the Onn Wireless Keyboard for connection, your device will display a pairing code on the screen. Check the keyboard’s user manual or packaging for the correct pairing code. Enter the pairing code on your device to initiate the pairing process.
2. Press the pairing button: Some keyboards require you to press a specific button on the keyboard to complete the pairing process. Check the instructions in the user manual or on the keyboard itself. Press the designated pairing button to establish the connection between the keyboard and your device.
3. Wait for the pairing confirmation: Once you have entered the correct pairing code and pressed the pairing button, your device will attempt to establish a connection with the Onn Wireless Keyboard. Wait for a moment as the devices communicate and finalize the pairing process.
4. Pairing successful: If the pairing process is successful, your device will display a confirmation message indicating that the keyboard is successfully paired. You can now start using the Onn Wireless Keyboard to type and interact with your device.
Note: If the pairing fails, double-check the pairing code, make sure the keyboard is in pairing mode, and try again. You may need to repeat the discovery and pairing process to establish a successful connection.
By following these steps, you can successfully pair the Onn Wireless Keyboard with your device. Once the pairing is complete, you can enjoy the freedom of wireless typing and enhance your productivity and convenience.
Step 7: Test the connection
Once you have successfully paired the Onn Wireless Keyboard with your device, it’s essential to test the connection to ensure it is functioning correctly. Testing the connection allows you to verify that the keyboard is working as expected and that the communication between the keyboard and your device is seamless. Follow these steps to test the connection:
1. Open a text editor or application: Launch a text editor or any application where you can input text, such as a word processor, note-taking app, or messaging app. This will allow you to type and see if the keystrokes are registered correctly.
2. Start typing: Begin typing on the Onn Wireless Keyboard. Type a few sentences or paragraphs to test the responsiveness and accuracy of the keystrokes. Pay attention to the characters appearing on the screen as you type to ensure they match your keyboard input.
3. Test additional keys and functions: Along with regular typing, test any additional keys and functions on the keyboard. This includes special keys like function keys, media control keys, and any other specialized keys that your keyboard may have. Ensure that these keys are working as intended and that they perform the expected actions on your device.
4. Check for lag or latency: While testing the connection, be mindful of any lag or latency in the keyboard’s response. Ideally, there should be minimal to no delay between your keystrokes and their appearance on the screen. If you notice significant lag or delays, it may indicate a connectivity issue or potential interference. Troubleshooting steps may be required to address this problem.
By thoroughly testing the connection, you can confirm that the Onn Wireless Keyboard is properly connected to your device and functioning as expected. If any issues or inconsistencies arise during testing, refer to the keyboard’s user manual or reach out to customer support for further assistance.
Conclusion
Connecting the Onn Wireless Keyboard to your device allows for a more convenient and flexible typing experience. By following the step-by-step process outlined in this article, you can successfully establish a wireless connection between the keyboard and your device.
Throughout the process, it’s important to ensure that you have all the necessary components, power on the keyboard, enable Bluetooth on your device, discover the keyboard, pair it with your device using the correct pairing code, and test the connection to verify its functionality.
Remember, the specific instructions may vary depending on the operating system of your device, so it’s always a good idea to consult the keyboard’s user manual for any device-specific guidance.
With the Onn Wireless Keyboard successfully connected, you can enjoy the freedom of typing without being tethered by wires. Whether you’re working, studying, or simply browsing the web, the convenience and portability of the wireless keyboard enhance your productivity and comfort.
If you encounter any issues during the connection process or experience difficulties with the keyboard’s functionality, don’t hesitate to refer to the user manual or get in touch with customer support for further assistance.
Now that you have the knowledge to connect your Onn Wireless Keyboard to your device, it’s time to start exploring the world of wireless typing and enjoy the benefits it brings to your daily tasks.


