Introduction
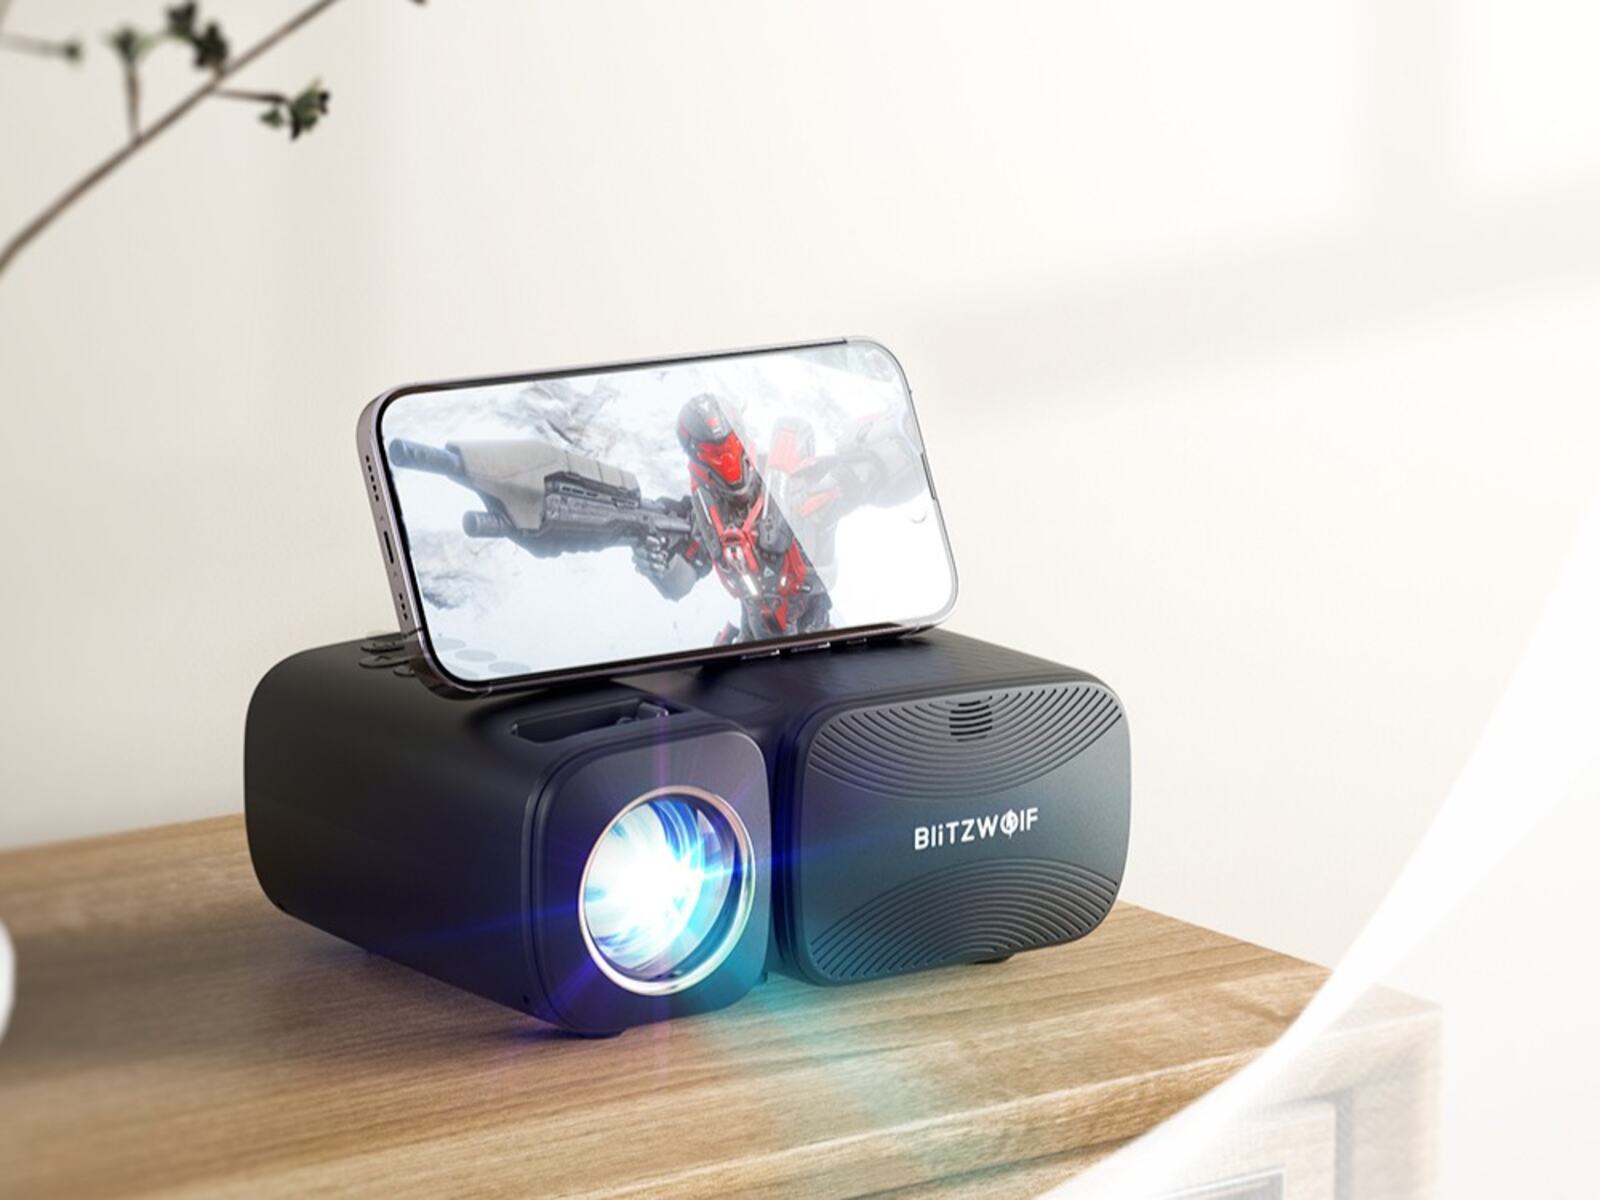
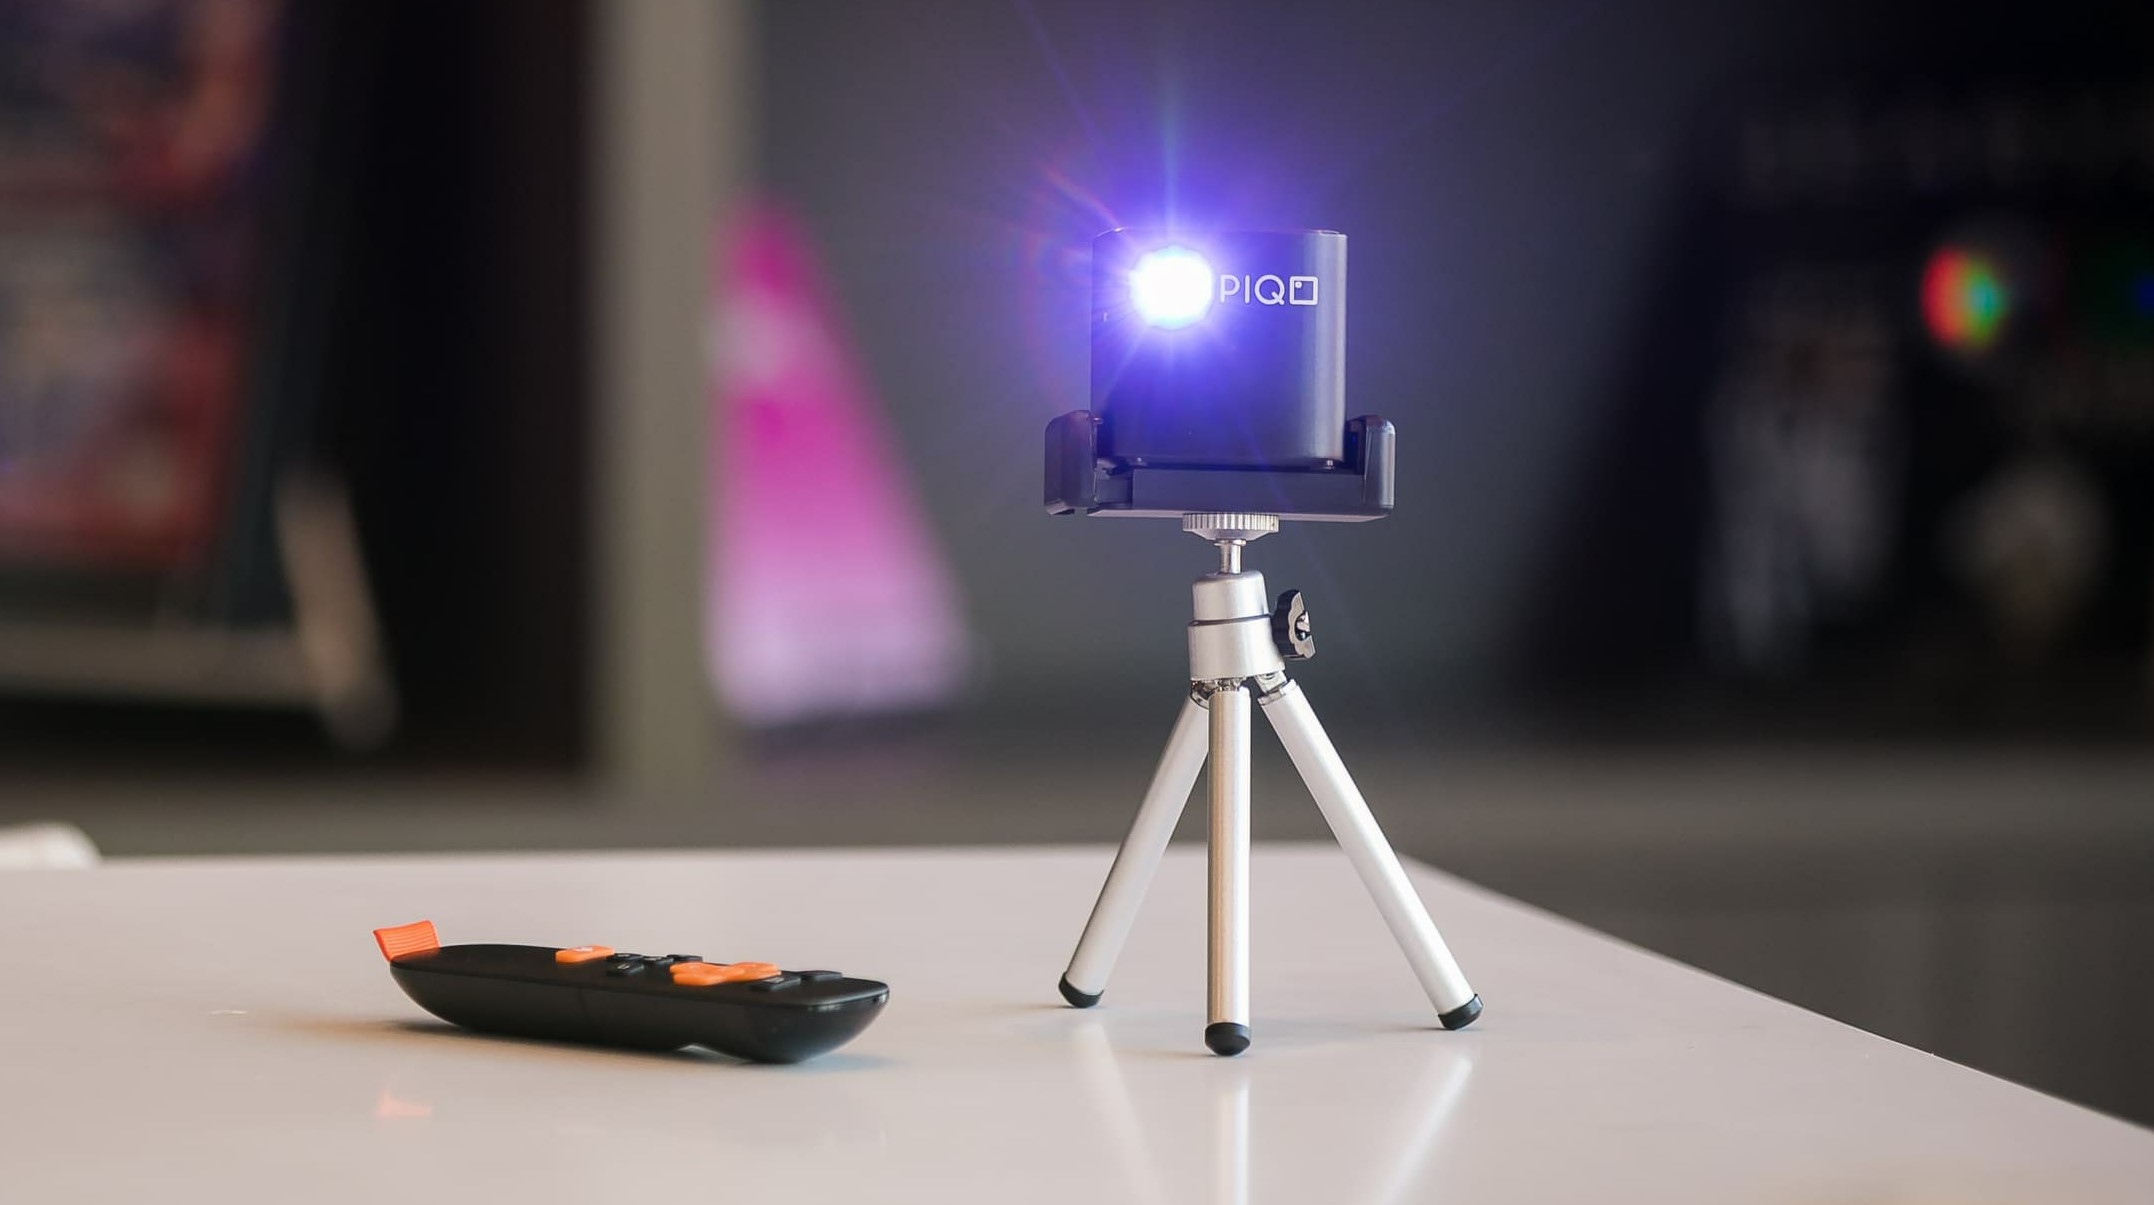
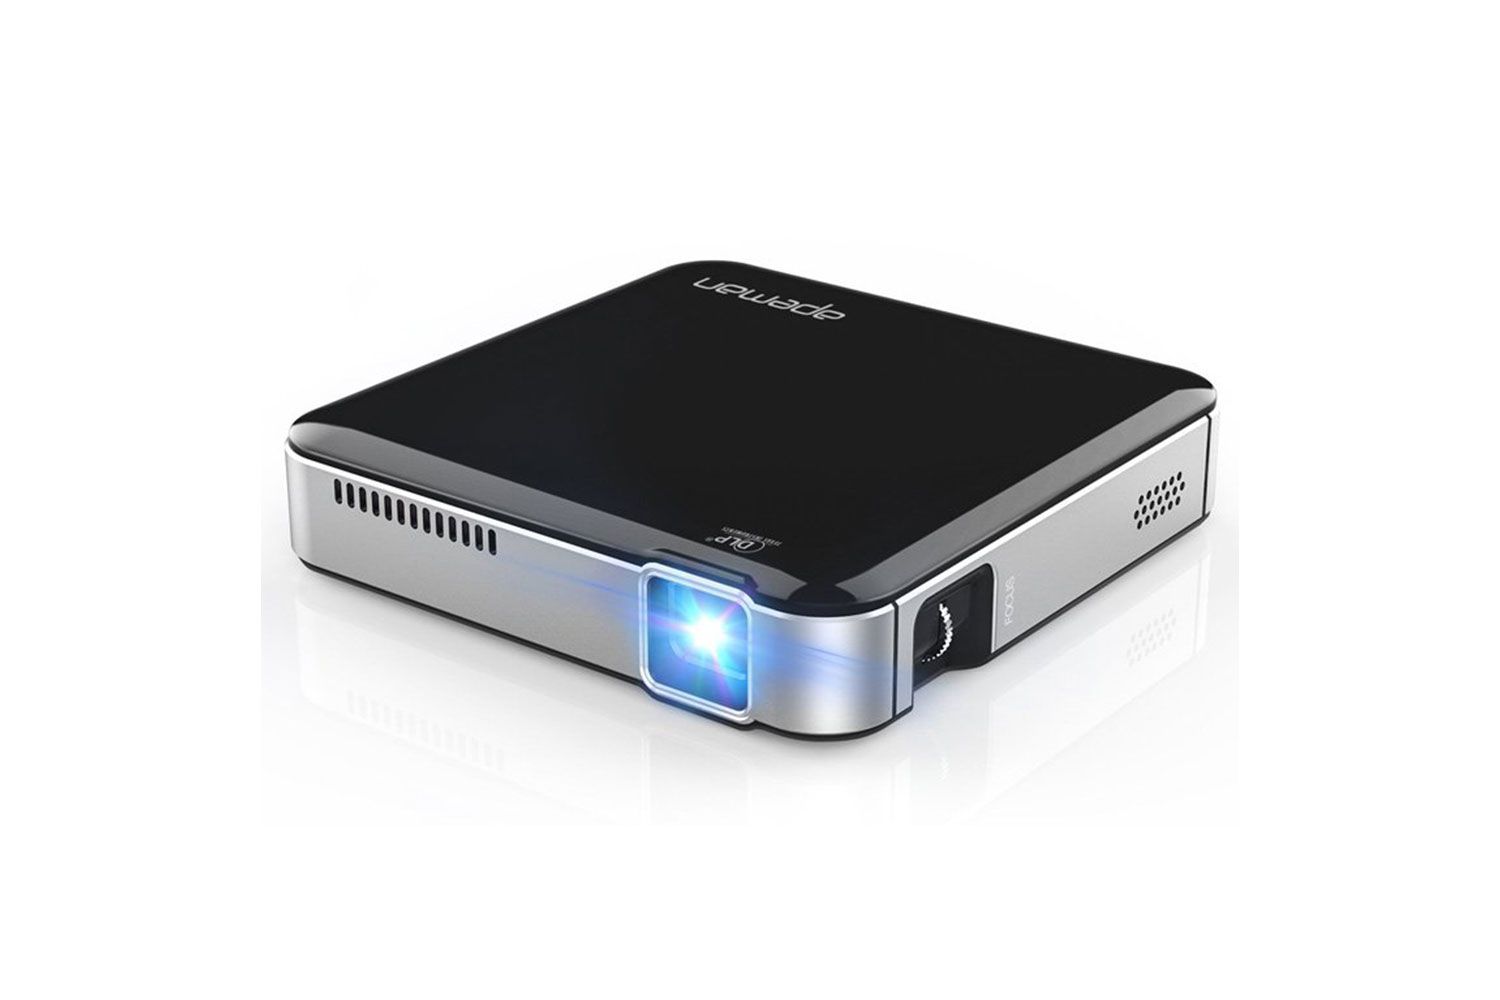
Connecting a mini LED projector to your iPhone opens up a whole new world of entertainment and convenience. Whether you want to watch movies, share presentations, or enjoy your favorite videos on a larger screen, this simple process allows you to do so with ease. By connecting your iPhone to the projector, you can project your device’s screen onto a wall or projection screen, delivering a larger and more immersive visual experience.
Before diving into the steps, it’s important to note that not all mini LED projectors are compatible with iPhones. Therefore, it’s essential to check the specifications of your projector to ensure it supports iPhone connectivity. Some projectors offer wireless connection options, while others require a wired connection via an adapter. By making sure your projector supports connectivity with your iPhone, you can proceed confidently with the setup.
In this guide, we will walk you through the process of connecting a mini LED projector to your iPhone. We will provide step-by-step instructions and helpful tips to ensure a smooth and successful connection. So, grab your projector, iPhone, and let’s get started on this exciting journey of creating a larger than life viewing experience!
Step 1: Check the compatibility
Before connecting your mini LED projector to your iPhone, it’s important to check the compatibility of both devices. Not all projectors are compatible with iPhones, so it’s crucial to ensure that your specific projector model supports iPhone connectivity.
Start by referring to the user manual or specifications of your projector. Look for information regarding iPhone compatibility or supported devices. It may specify whether the projector supports wired or wireless connection with iPhones, or if you need any additional adapters or accessories.
If you can’t find this information in the manual, you can try visiting the manufacturer’s website or reaching out to their customer support for assistance. They will be able to provide you with the necessary information regarding compatibility with iPhones.
It’s also important to determine the type of connection required. Some projectors may support Wi-Fi connection, allowing you to wirelessly stream content from your iPhone. Others may require a wired connection using an adapter, such as an HDMI or a Lightning to HDMI adapter. Make sure you have the necessary cables or adapters available if required.
Checking the compatibility beforehand ensures that you won’t encounter any unexpected surprises or difficulties during the setup process. If your projector is not compatible with iPhones, you may need to consider alternative options or explore other methods of connecting your iPhone to a larger screen.
Once you have confirmed the compatibility of your mini LED projector with your iPhone, you can proceed to the next steps for a seamless and enjoyable experience.
Step 2: Gather required materials
Before connecting your iPhone to the mini LED projector, it’s essential to gather all the necessary materials. Having everything ready beforehand will make the setup process much smoother and more efficient.
Here are the materials you will need:
- iPhone: Ensure that your iPhone is fully charged or has enough battery life to sustain the connection and playback.
- Mini LED projector: Make sure you have the projector that is compatible with iPhones, as determined in the previous step.
- Power source: Check if the projector requires a power source and ensure it is connected to a power outlet or has sufficient battery life.
- Connecting cable or adapter: Depending on the connectivity options of your projector, you may need a cable or adapter. This could be an HDMI or a Lightning to HDMI adapter.
- Projector screen or suitable wall surface: Decide if you want to project the image onto a dedicated projection screen or a suitable wall surface. Ensure it is clean and blank, free from any distractions or obstructions.
- Adequate lighting: Consider the lighting conditions in the room where you plan to set up the projector. Dimming the lights or creating a dark environment will enhance the projection quality and overall viewing experience.
By ensuring you have all these materials readily available, you eliminate any delays or interruptions during the setup process. It’s important to set up a designated space where you can assemble the projector and connect it to your iPhone without any distractions.
Once you have gathered all the required materials, you are now ready to move on to the next step and connect your mini LED projector to your iPhone.
Step 3: Connect the projector to power source
Now that you have all the necessary materials ready, it’s time to connect your mini LED projector to a power source. This step ensures that the projector has sufficient power to function and project the images or videos from your iPhone.
Follow these steps to connect the projector to a power source:
- Locate the power input port on your projector. It is typically located on the back or side of the device.
- Plug one end of the power cable into the power input port of the projector.
- Plug the other end of the power cable into a power outlet or power strip.
- If your projector has a built-in battery, ensure that it is charged before connecting it to a power source.
- Once connected, turn on the power switch of the projector. The power indicator light should illuminate, indicating that the projector is receiving power.
It’s important to note that some mini LED projectors may have different power requirements or come with specific power adapters. Consult the user manual or manufacturer’s instructions to ensure you are using the correct power supply for your projector.
Furthermore, if your projector has a remote control, ensure that the batteries are properly inserted and functioning. This will allow you to control the projector conveniently from a distance.
By connecting the projector to a power source, you are now ready to move on to the next step of connecting your iPhone to the projector.
Step 4: Connect the iPhone to the projector
With the projector powered on and ready, it’s time to connect your iPhone to the mini LED projector. This step establishes the connection between the two devices and allows you to project the content from your iPhone onto a larger screen.
Follow these steps to connect your iPhone to the projector:
- Identify the port on the projector that supports iPhone connectivity. It can be an HDMI port or a specific iPhone port, depending on the projector model.
- If your projector uses an HDMI port, connect one end of the HDMI cable to the HDMI port on the projector.
- If your projector uses a specific iPhone port, such as a Lightning port, connect one end of the compatible cable (such as a Lightning to HDMI adapter cable) to the designated iPhone port on the projector.
- Connect the other end of the cable to your iPhone’s corresponding port. For example, if you’re using an HDMI cable, connect it to an HDMI adapter that is compatible with your iPhone, and then connect the adapter to your iPhone’s Lightning port.
- Ensure that the cable or adapter is securely plugged into both the projector and your iPhone.
As you establish the physical connection between the two devices, your iPhone may prompt you to trust the connected device. Follow the on-screen instructions on your iPhone to grant permission and establish a secure connection.
Depending on your projector, you may also have the option to connect your iPhone wirelessly. This requires both devices to be on the same Wi-Fi network and may involve additional steps such as installing an app on your iPhone or enabling certain settings on the projector. Consult the user manual or manufacturer’s instructions for your specific projector to learn more about wireless connectivity options.
By connecting your iPhone to the projector, you are now ready to move on to the next steps and adjust the settings on both your iPhone and the projector for optimal display and viewing experience.
Step 5: Adjust the settings on the iPhone
After connecting your iPhone to the mini LED projector, it’s important to adjust the settings on your iPhone to ensure the best display and viewing experience. By making a few adjustments, you can optimize the projection quality and customize the settings according to your preferences.
Follow these steps to adjust the settings on your iPhone:
- Unlock your iPhone and navigate to the “Settings” app.
- Select “Display & Brightness” from the list of options.
- Adjust the brightness level of your iPhone’s screen. Increasing the brightness can enhance the visibility of the projected content, especially in environments with ambient lighting. However, avoid setting the brightness too high as it may affect the overall image quality.
- Return to the main settings menu and select “General.”
- In the “General” menu, scroll down and select “Accessibility.”
- Under the “Accessibility” menu, you may find display options like “Bold Text” or “Larger Text.” These settings can help improve legibility and readability of the projected content.
- Additionally, you can enable “Guided Access” if you want to restrict access to certain features or apps on your iPhone during the projection. This can be useful, for example, when presenting slideshows or giving presentations.
- Once you have adjusted the necessary settings, exit the “Settings” app.
These adjustments will help tailor the display settings on your iPhone to complement the projector and optimize the visual quality of the projected content. However, it’s important to note that the specific settings available may vary depending on your iPhone model and iOS version.
Now that you have adjusted the settings on your iPhone, it’s time to move on to the next step and make adjustments on the projector itself for a seamless and enjoyable viewing experience.
Step 6: Adjust the settings on the projector
Once you’ve connected your iPhone to the mini LED projector and adjusted the settings on your iPhone, the next step is to fine-tune the settings on the projector itself. This will ensure optimal image quality, clarity, and alignment with your desired projection surface.
Follow these steps to adjust the settings on the projector:
- Using the remote control or the control buttons on the projector, navigate to the menu or settings options.
- Look for the “Display” or “Picture” settings. This section will allow you to adjust various visual settings for better image quality.
- Adjust the brightness, contrast, and color settings based on your personal preference and the lighting conditions in the room. Experiment with these settings to find the perfect balance for the projected content.
- If your projector supports keystone correction, locate the keystone adjustment options. Keystone correction helps correct any distortion or misalignment caused by projecting the image at an angle. Use the keystone correction feature to ensure a straight and proper screen alignment.
- Some projectors also offer options for aspect ratio settings. You can choose the aspect ratio that matches the content you’re projecting, such as 16:9 for widescreen videos or 4:3 for standard presentations.
- Explore other available settings, such as picture mode presets (e.g., cinema, dynamic, or standard modes) or noise reduction options, to further enhance the visual quality.
- Make sure to test the projection on your desired surface and make any necessary adjustments to align the image perfectly.
Take your time to experiment with different settings to achieve the best possible projection quality. The specific options and settings available may vary depending on your projector model.
By adjusting the settings on the projector, you can customize the image according to your preferences and ensure a visually pleasing experience for your content.
Conclusion
Connecting your iPhone to a mini LED projector opens up a world of possibilities for enjoying media and sharing content on a larger screen. By following the step-by-step guide provided in this article, you can easily connect your iPhone to the projector and create a captivating viewing experience.
Remember to check the compatibility of your projector with iPhones before starting the setup process. Gathering all the necessary materials and ensuring a secure connection between the devices is crucial for a successful connection. Adjusting the settings on both your iPhone and the projector play a vital role in optimizing the image quality and enhancing your overall viewing experience.
When connecting your devices, take note of whether a wired or wireless connection is required. This will determine the type of cable or adapter needed to establish the connection.
With the connection established, adjust the display settings on your iPhone to enhance the visibility and legibility of the projected content. Additionally, make the necessary adjustments on the projector, such as brightness, contrast, and keystone correction, to ensure a crisp and well-aligned image.
Finally, enjoy the larger-than-life experience of watching movies, sharing presentations, or streaming videos from your iPhone on a bigger screen. Whether you’re hosting a movie night, giving a presentation, or simply indulging in your favorite content, the connection between your iPhone and mini LED projector brings your multimedia to new heights.
Explore the possibilities, experiment with different settings, and immerse yourself in a truly immersive visual experience by connecting your iPhone to a mini LED projector. Start enjoying the benefits of a larger screen and share unforgettable moments with friends, family, or colleagues.
Now that you have all the knowledge and guidance necessary, it’s time to embark on your journey of connecting and experiencing the ultimate projection experience with your iPhone and mini LED projector.


