Introduction
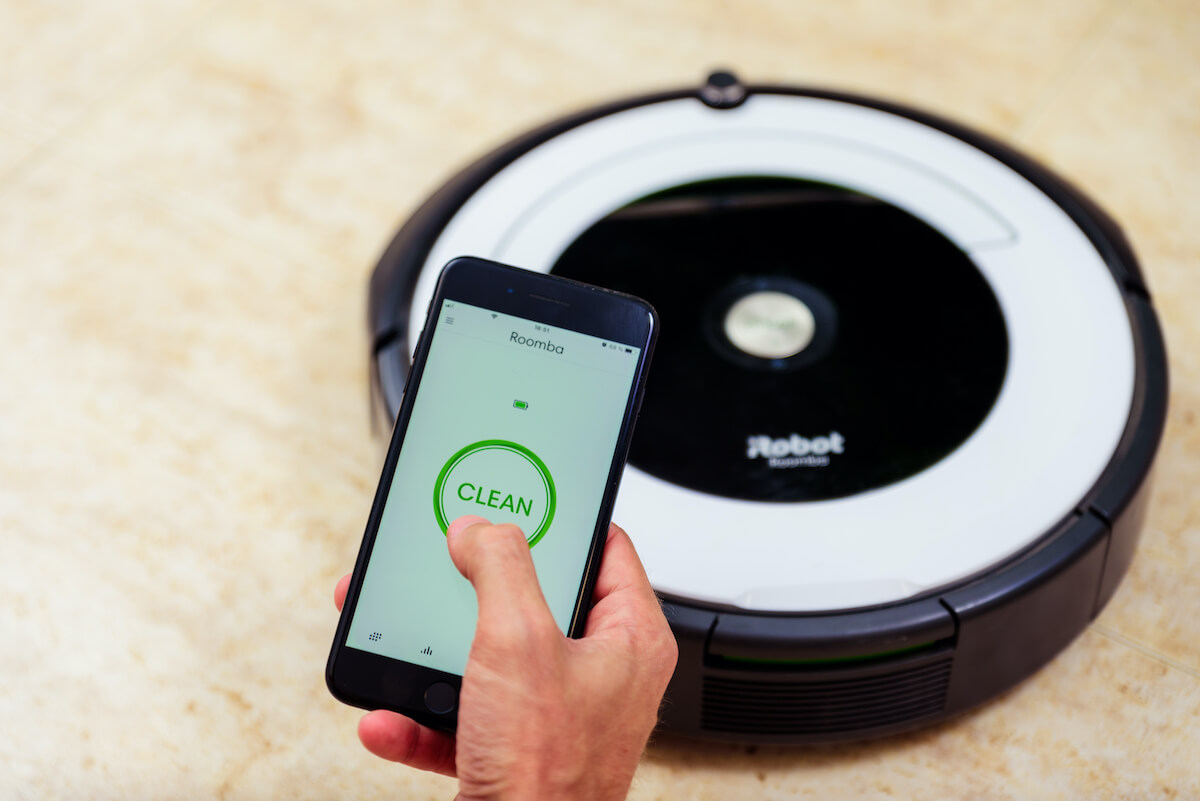
In today’s modern world, technology continues to advance and make our lives easier. One such technology that has revolutionized household chores is the iRobot device. These innovative robots are designed to vacuum and mop floors, ensuring a clean and sparkling living environment with minimal effort. To take full advantage of the features and convenience offered by these devices, it’s essential to connect them to a Wi-Fi network.
Connecting your iRobot device to Wi-Fi enables you to control and monitor the cleaning process remotely, customize cleaning schedules, and even receive notifications on your smartphone or tablet. Whether you’re at work, traveling, or simply relaxing on the couch, having a connected iRobot device allows you to maintain cleanliness and control with ease.
In this guide, we will walk you through the step-by-step process of connecting your iRobot device to Wi-Fi. By following these simple instructions, you’ll have your device up and running in no time, ready to keep your floors spotless and your home looking its best.
Before we dive into the setup process, it’s important to gather the necessary materials. Make sure you have your iRobot device, a power source, and a smartphone or tablet with the iRobot Home app downloaded and ready to go. Once you have everything you need, let’s move on to the first step: connecting the iRobot device to power.
Step 1: Gather the necessary materials
Before you start the process of connecting your iRobot device to Wi-Fi, it’s important to ensure you have all the necessary materials readily available. Here’s a checklist of what you’ll need:
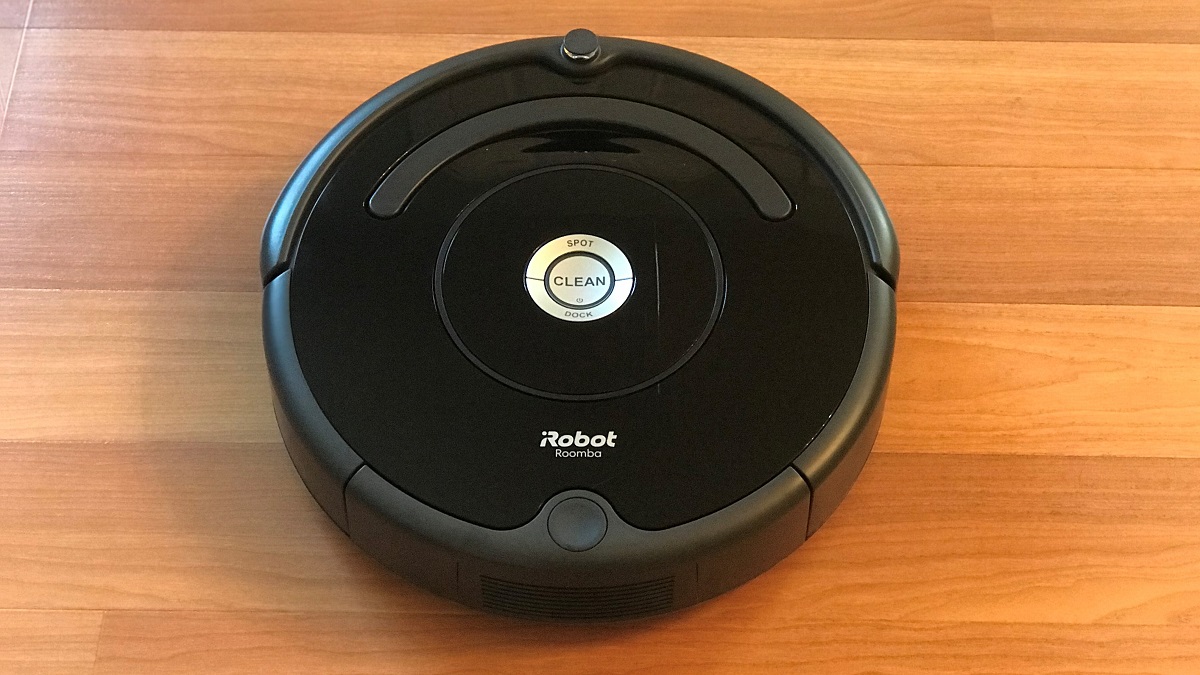
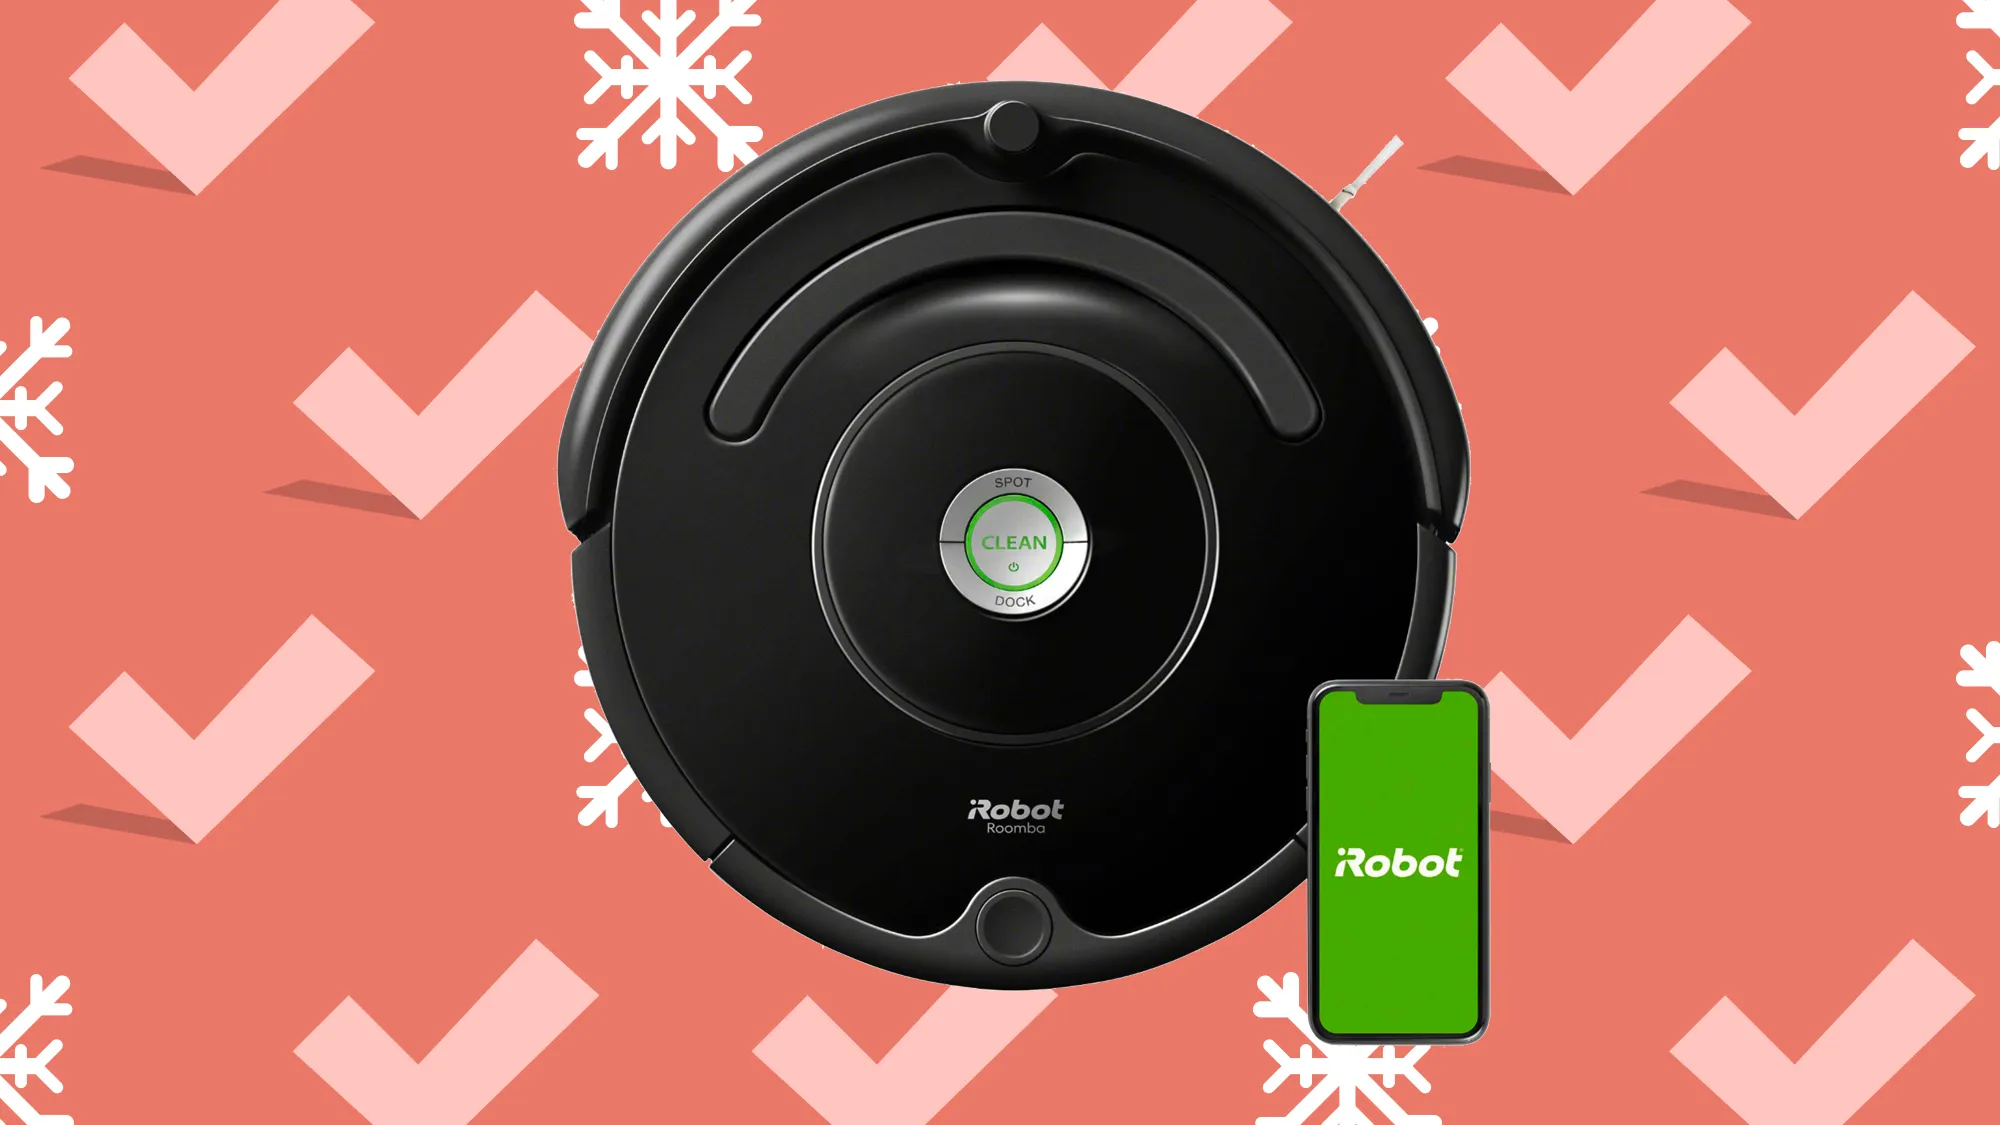
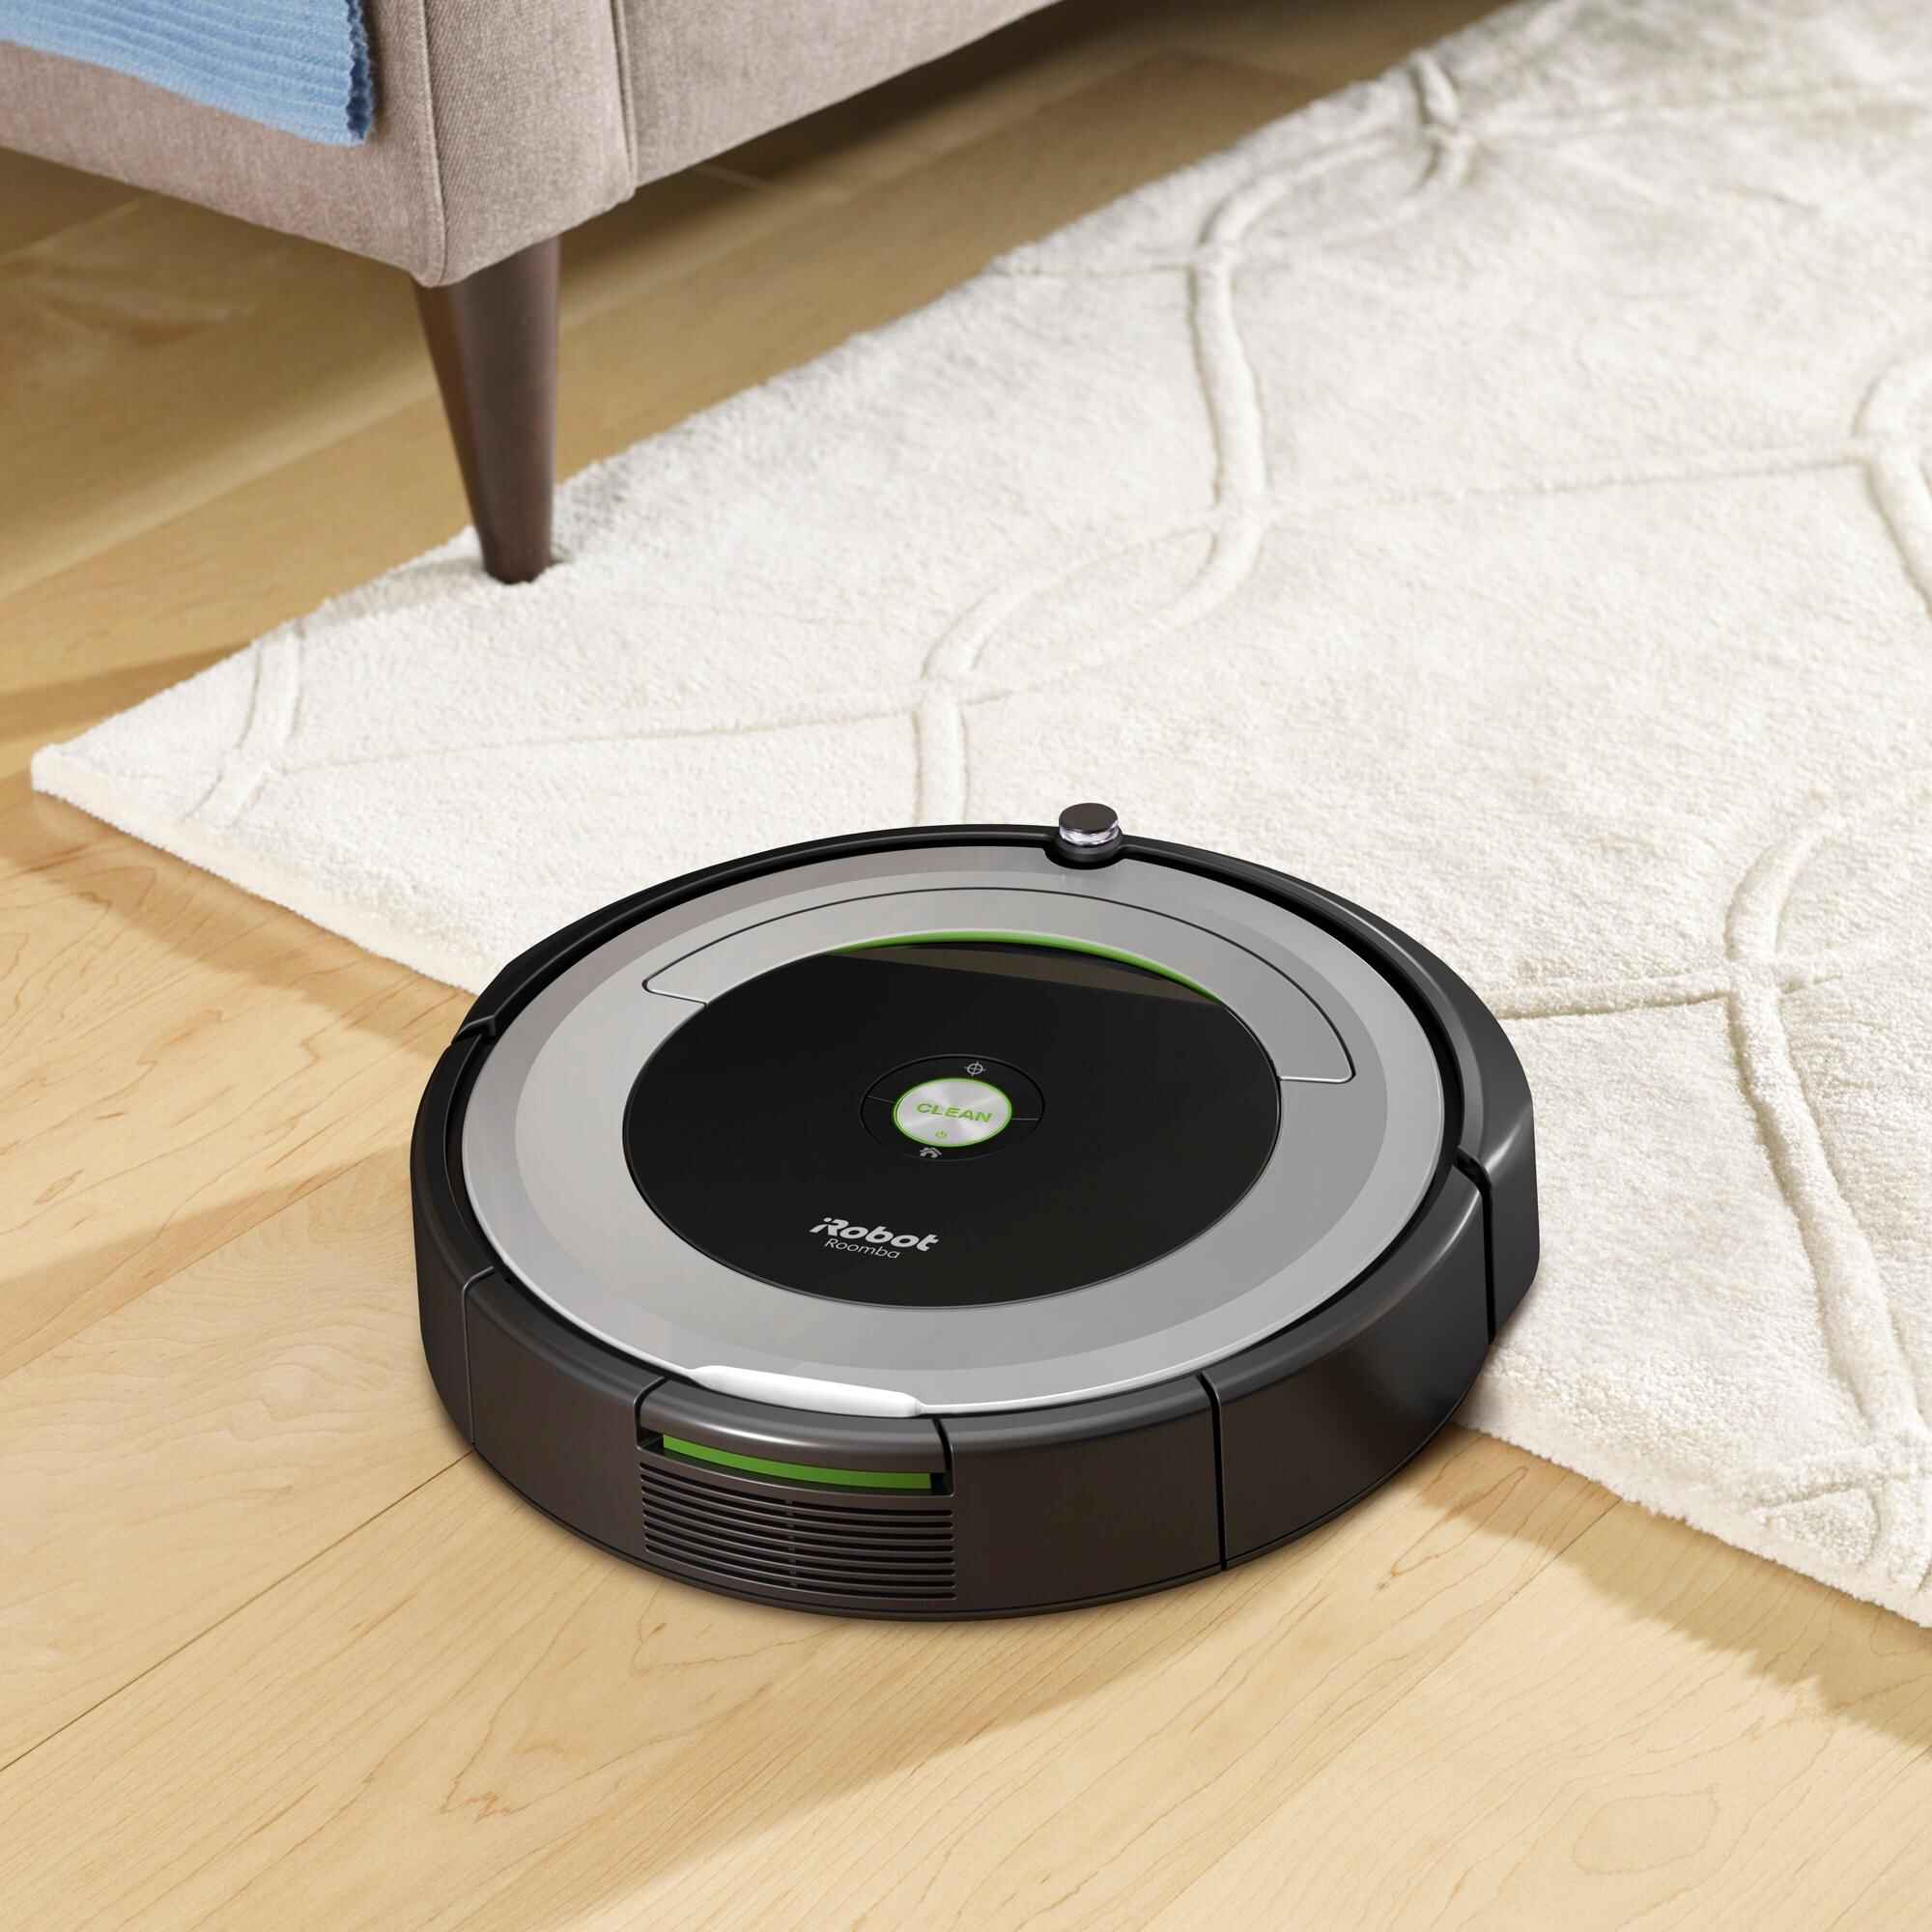
- iRobot device: This can be a Roomba vacuum or Braava mopping robot. Make sure you have the device itself handy.
- Power source: Your iRobot device will need to be connected to power during the setup process. Ensure you have access to a power outlet or have the device’s battery fully charged.
- Smartphone or tablet: You’ll need a compatible device with the iRobot Home app installed. The app is available for both iOS and Android devices, so make sure you have a suitable device ready.
Once you have all these materials gathered, you’ll be ready to move on to the next step: connecting the iRobot device to power. It’s important to have the necessary materials in place to ensure a smooth and hassle-free setup process.
By having your iRobot device, a power source, and a compatible smartphone or tablet prepared, you’ll be one step closer to enjoying the convenience and efficiency of a connected iRobot device. So, check off these items from your checklist and let’s proceed to the next step!
Step 2: Connect the iRobot device to power
Now that you have gathered all the necessary materials, it’s time to connect your iRobot device to power. This step is crucial to ensure that your device has enough battery or is continuously powered throughout the setup process. Follow these simple steps:
- Locate the power cord: Depending on the iRobot model you have, the power cord may be included in the packaging. Find the power cord and unravel it.
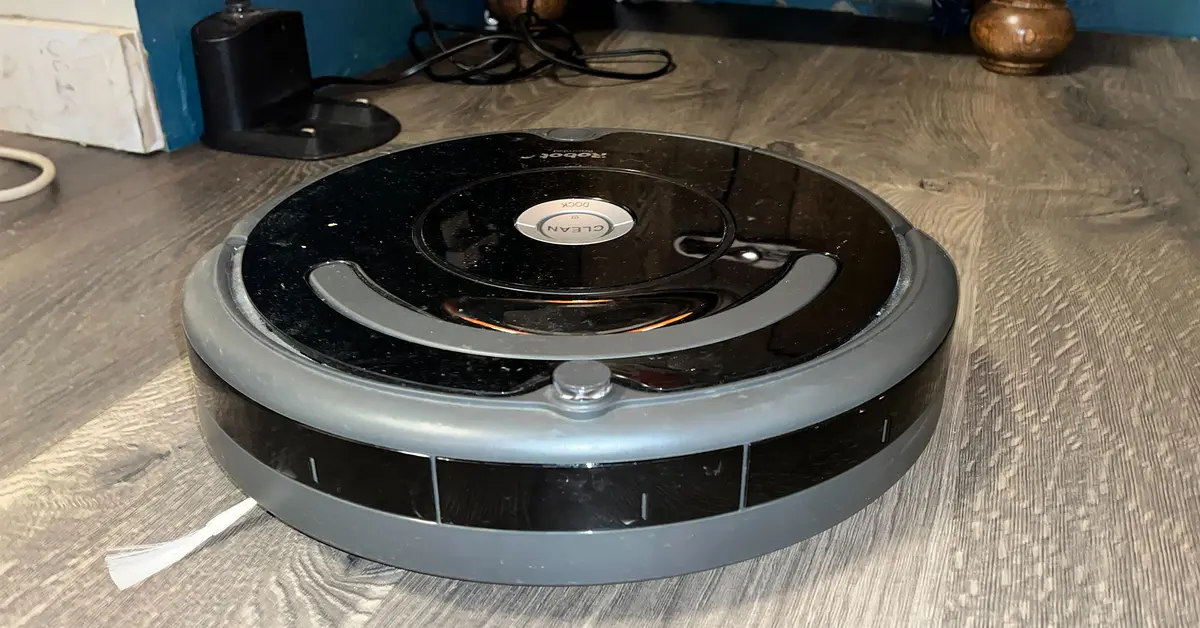
- Identify the charging dock: The charging dock is where your iRobot device will periodically return to recharge its battery. Place the charging dock in a convenient location, preferably near a power outlet.
- Connect the power cord: Plug one end of the power cord into the charging dock and the other end into the power outlet. Ensure that the connection is secure.
- Position the iRobot device: Place your iRobot device on the charging dock, making sure it aligns with the charging contacts at the bottom of the device. You might hear a beep or see a light indicating that the device is properly connected to power.
Once you have connected the iRobot device to power, it will start charging. The device needs to be fully charged or have a sufficient battery level before proceeding with the setup process. It is recommended to allow your iRobot device to charge for a few hours before moving on to the next step.
With your iRobot device securely connected to power, you’re now ready to move on to step 3: downloading the iRobot Home app on your smartphone or tablet. This app will serve as your main interface for connecting your device to Wi-Fi and managing its features. So, let’s head on to the next step and get the app set up!
Step 3: Download the iRobot Home app
Now that you have connected your iRobot device to power, it’s time to download the iRobot Home app on your smartphone or tablet. This app is essential for managing and controlling your device’s settings, schedules, and connectivity. Follow these simple steps to download the app:
- Open the app store: Depending on your device’s operating system, open either the App Store (for iOS) or the Google Play Store (for Android) on your smartphone or tablet.
- Search for the iRobot Home app: In the search bar of the app store, type “iRobot Home” and press enter. Look for the official iRobot Home app developed by iRobot Corporation.
- Select and download the app: Once you have located the iRobot Home app, tap on it to open the app’s information page. Then, click on the “Download” or “Get” button to initiate the app’s download and installation process.
- Wait for the app to install: The app will automatically begin downloading and installing on your device. Wait for the process to complete, which may take a few minutes depending on your internet connection speed.
- Open the iRobot Home app: Once the installation is complete, locate the iRobot Home app on your device’s home screen or app drawer. Tap on the app’s icon to open it.
Great job! You have successfully downloaded the iRobot Home app on your smartphone or tablet. Now that the app is installed and ready to use, you can move on to the next step: opening the app and creating an account. This will allow you to connect your iRobot device to Wi-Fi and access its full range of features and functionalities.
Stay tuned for step 4, where we will guide you through the process of creating an account and getting the app set up for connecting your iRobot device to Wi-Fi!
Step 4: Open the iRobot Home app and create an account
With the iRobot Home app downloaded on your smartphone or tablet, it’s time to open the app and create an account. By creating an account, you’ll have access to all the features and functionalities of the app, including the ability to connect your iRobot device to Wi-Fi. Follow these steps to get started:
- Locate the iRobot Home app: Locate the iRobot Home app icon on your device’s home screen or app drawer. Tap on the icon to open the app.
- Sign up for an account: Upon opening the app for the first time, you’ll be prompted to sign up for an account. Tap on the “Sign Up” or “Create Account” button to proceed.
- Enter your details: Fill in the required information for creating your account, including your email address, password, and any additional details the app requests.
- Agree to the terms and conditions: Review the terms and conditions of the iRobot Home app and services, and then agree to them by checking the box or tapping on the “Agree” button.
- Verify your email: After completing the sign-up process, you may need to verify your email address. Check your inbox for a verification email from iRobot and follow the instructions provided.
- Log in to your account: Once your account is verified, return to the iRobot Home app and log in using your email address and password.
Congratulations! You have successfully opened the iRobot Home app and created an account. This account will serve as your connection to your iRobot device and allow you to control its settings and features remotely. Now that you’re logged in, it’s time to prepare your Wi-Fi network for the connection process.
In the next step, we’ll guide you through the process of connecting your phone or tablet to your home Wi-Fi network. This is an essential step before you can connect your iRobot device to Wi-Fi. So, let’s move on to step 5 and make sure you’re ready for the next phase!
Step 5: Connect your phone or tablet to your home Wi-Fi network
Before you can connect your iRobot device to Wi-Fi, you need to ensure that your phone or tablet is connected to your home Wi-Fi network. This step is crucial as it allows your iRobot device and the app to communicate with each other seamlessly. Follow these steps to connect your phone or tablet to your Wi-Fi network:
- Open the Settings app: Locate the “Settings” app on your phone or tablet. It is usually represented by a gear icon and can be found on your device’s home screen or app drawer.
- Select Wi-Fi: In the Settings menu, scroll down and select “Wi-Fi” to access the Wi-Fi settings on your device.
- Turn on Wi-Fi: If Wi-Fi is currently turned off, toggle the switch to turn it on. Your device will then start scanning for available Wi-Fi networks.
- Select your home Wi-Fi network: Once the list of available networks appears, locate and tap on your home Wi-Fi network. It will be listed with the name you assigned to it during the initial setup.
- Enter your Wi-Fi password (if required): If your home Wi-Fi network is password-protected, a prompt will appear asking you to enter the Wi-Fi password. Carefully type in your password and tap “Connect” or “Join”.
- Wait for the connection: Your device will then attempt to connect to the selected Wi-Fi network. Once connected, you will see a checkmark or a Wi-Fi symbol indicating a successful connection.
Great job! Your phone or tablet is now connected to your home Wi-Fi network. This means that it is ready to communicate with your iRobot device and enable the connection process. With your device connected to Wi-Fi, you’re just a few steps away from having your iRobot device connected as well.
In the next step, we’ll guide you through the process of connecting your iRobot device to Wi-Fi through the app. This connection will allow you to control, customize, and monitor your device’s cleaning activities remotely. So, let’s move on to step 6 and get your iRobot device connected to your Wi-Fi network!
Step 6: Connect the iRobot device to Wi-Fi through the app
Now that your phone or tablet is connected to your home Wi-Fi network, it’s time to connect your iRobot device to Wi-Fi using the iRobot Home app. This step is essential to establish a seamless connection between your device and the app, allowing you to control and manage your iRobot device remotely. Follow these steps to connect your iRobot device to Wi-Fi:
- Open the iRobot Home app: Locate the iRobot Home app on your phone or tablet and tap on it to open the app.
- Log in to your account: If you’re not already logged in, enter your email address and password to log in to your iRobot Home app account.
- Select your iRobot device: Once you’re logged in, the app will display a list of available iRobot devices. Tap on the model of your iRobot device to select it.
- Choose “Connect to Wi-Fi”: Within the device settings, look for an option that says “Connect to Wi-Fi” or something similar. Tap on this option to initiate the Wi-Fi connection process.
- Follow the instructions: The app will guide you through the process of connecting your iRobot device to Wi-Fi. Follow the on-screen instructions carefully and provide the necessary information when prompted.
- Enter your Wi-Fi network details: You will be asked to enter your home Wi-Fi network name (SSID) and password. Make sure to enter the correct information to ensure a successful connection.
- Wait for the connection: The app will attempt to establish a connection between your iRobot device and your home Wi-Fi network. Allow a few moments for the process to complete.
- Confirmation of connection: Once the connection is established, you will receive a confirmation message or notification indicating that your iRobot device is now connected to Wi-Fi.
Well done! You have successfully connected your iRobot device to Wi-Fi through the iRobot Home app. This connection enables you to control your device remotely, set cleaning schedules, receive notifications, and more. Your iRobot device is now ready to be a reliable cleaning companion in your smart home ecosystem.
In the next step, we’ll guide you through the final stages of the setup process to ensure a smooth and hassle-free experience. So, hold on tight and let’s move on to step 7!
Step 7: Complete the setup process
With your iRobot device successfully connected to Wi-Fi, you are now in the final stage of the setup process. Completing this step will ensure that your device is ready to start cleaning and provide you with a hassle-free experience. Follow these steps to complete the setup process:
- Review your device settings: Open the iRobot Home app and navigate to the device settings for your iRobot device. Take a moment to review the settings and ensure everything is to your liking.
- Set up cleaning preferences: Within the app, you can customize your device’s cleaning preferences. You can choose from different cleaning modes, adjust the cleaning schedule, and even create virtual boundaries for your device.
- Explore additional features: The iRobot Home app offers various additional features that you can explore. You can access detailed cleaning history, receive cleaning reports, and even control your device through voice commands if supported.
- Update firmware if available: Check for firmware updates for your iRobot device within the app. If any updates are available, follow the prompts to update your device’s firmware for optimal performance and new features.
- Test the connection: Once you have reviewed and customized your device settings, perform a quick test to ensure that your iRobot device is communicating with the app successfully. Start a cleaning session or send a command to the device and monitor its response.
- Celebrate your setup success: Congratulations, you have completed the setup process! Take a moment to celebrate your achievement and the convenience of having a connected iRobot device that will make your cleaning tasks a breeze.
Now that you have completed the setup process, you can sit back, relax, and let your iRobot device take care of the cleaning for you. Enjoy the convenience of controlling your device remotely, scheduling cleanings to fit your lifestyle, and coming home to clean and fresh floors.
In the next step, we’ll provide some troubleshooting tips for common connection issues you may encounter. While the setup process is typically smooth, it’s always good to know how to address any potential issues that may arise. So, let’s move on to step 8 and ensure you’re well-equipped to tackle any challenges!
Step 8: Troubleshooting common connection issues
While setting up your iRobot device and connecting it to Wi-Fi is usually a straightforward process, you may encounter some common connection issues along the way. Don’t worry – we’ve got you covered with some troubleshooting tips to help you resolve these issues. Here are a few common connection issues and how to address them:
1. Weak Wi-Fi signal:
If your iRobot device is having trouble maintaining a stable Wi-Fi connection, make sure that it is within range of your Wi-Fi router. Try moving the router closer to the device or using a Wi-Fi extender to ensure a stronger signal.
2. Incorrect Wi-Fi credentials:
If you’re experiencing connection issues, double-check that you have entered the correct Wi-Fi network name (SSID) and password during the setup process. Make sure there are no typos or extra spaces in the credentials.
3. Router compatibility:
Ensure that your router supports the necessary Wi-Fi protocols (such as 2.4GHz or 5GHz) for your iRobot device. You may need to adjust your router’s settings or contact your internet service provider for assistance.
4. Router firewall or security settings:
In some cases, the router’s firewall or security settings may interfere with the connection between your iRobot device and the app. Temporarily disable any strict security settings or enable port forwarding for the iRobot device.
5. App or device software updates:
Check for updates for both the iRobot Home app and your iRobot device’s firmware. Keeping the app and device software up to date ensures compatibility and optimal performance.
6. Resetting the device and reconfiguring the connection:
If all else fails, you can try resetting both your iRobot device and the app. Refer to the device’s user manual or the iRobot support website for instructions on how to reset and reconfigure the connection.
If you are still experiencing connection issues, don’t hesitate to reach out to iRobot customer support for further assistance. They are equipped to provide guidance and help you resolve any technical issues you may encounter.
By troubleshooting common connection issues, you can ensure a seamless and reliable connection between your iRobot device and the app. Now that you’re equipped with these troubleshooting tips, you’re ready to enjoy the convenience and efficiency of a connected iRobot device.
In the final step, we’ll conclude our guide, summarizing the key points and encouraging you to make the most of your connected iRobot device. So, let’s move on to step 9 and wrap up this guide!
Step 9: Enjoy the convenience of a connected iRobot device
Congratulations! You have successfully connected your iRobot device to Wi-Fi and completed the setup process. Now, it’s time to sit back, relax, and enjoy the convenience and benefits of having a connected iRobot device in your home.
With your iRobot device connected to Wi-Fi, you now have the power to control and customize your cleaning experience like never before. Here are a few ways you can make the most out of your connected iRobot device:
1. Remote control and scheduling:
Take advantage of the iRobot Home app to remotely control your device. You can start, pause, or stop cleaning sessions from anywhere, customize cleaning schedules to fit your lifestyle, and even set up multiple cleaning preferences for different days of the week.
2. Cleaning reports and notifications:
Stay updated on your device’s cleaning progress by accessing detailed cleaning reports through the iRobot Home app. You can track areas that were cleaned, view cleaning times, and receive notifications when the cleaning is complete or if any issues arise.
3. Voice control and compatibility:
If your iRobot device is compatible with voice assistants like Amazon Alexa or Google Assistant, take advantage of voice commands to control your device. With a simple voice command, you can start or stop cleaning sessions without even lifting a finger.
4. Maintenance and performance monitoring:
The iRobot Home app allows you to monitor the health and performance of your device. You can receive maintenance reminders, view error codes, and access helpful tips and troubleshooting information to ensure your device is running smoothly.
5. Integration with smart home ecosystems:
For a truly connected and automated home cleaning experience, consider integrating your iRobot device with other smart home devices and ecosystems. Some iRobot devices are compatible with smart home platforms, allowing you to control your device alongside other smart devices in your home.
Remember, as technology continues to advance, new features and updates may become available for your iRobot device. Stay informed by regularly checking for app updates and taking advantage of any firmware updates that may be released by iRobot.
By embracing the convenience and power of your connected iRobot device, you can simplify your cleaning routine and enjoy a cleaner, more refreshed living environment.
Thank you for following this guide and setting up your iRobot device to connect to Wi-Fi. We hope this guide has been helpful in assisting you through the process. Now, enjoy the convenience and efficiency of your connected iRobot device!
Conclusion
Congratulations on successfully setting up and connecting your iRobot device to Wi-Fi! You have taken a significant step towards enjoying a cleaner and more convenient living environment. By following the step-by-step instructions in this guide, you have empowered yourself to control and customize your device’s cleaning activities from anywhere, using the iRobot Home app.
Through the process, you learned about gathering the necessary materials, connecting your iRobot device to power, downloading the iRobot Home app, creating an account, connecting your phone or tablet to your home Wi-Fi network, and finally connecting your iRobot device to Wi-Fi through the app. We also explored troubleshooting common connection issues to ensure a seamless experience.
Now that your iRobot device is connected to Wi-Fi, you can enjoy the convenience of remote control, scheduling cleaning sessions, receiving notifications, and accessing cleaning reports. Your iRobot device will efficiently navigate your home, ensuring thoroughly cleaned floors with minimal effort on your part. With the integration of voice assistants and compatibility with other smart home devices, you can truly create a connected and automated home cleaning experience.
Remember to periodically update your iRobot device’s firmware and the iRobot Home app to take advantage of new features and improvements. In case you encounter any technical issues or have questions, the iRobot customer support team is always ready to assist you.
Thank you for choosing iRobot and taking the time to set up your connected iRobot device. Embrace the convenience it brings to your cleaning routine and enjoy a cleaner, more comfortable living space. Sit back, relax, and let your iRobot device take care of the cleaning while you focus on the things that matter most to you.
Happy cleaning!


