Introduction
Welcome to the digital age, where being connected to the internet is essential for both work and leisure. Gone are the days of tangled wires and limited connectivity – now, you can connect your computer to the internet wirelessly, giving you the freedom to browse the web, stream videos, and communicate effortlessly.
In this article, we will guide you through the process of connecting your computer to the wireless internet. Whether you have a laptop or a desktop computer, this step-by-step guide will help you get online without the hassle of cables.
Before we dive into the details, it is important to note that you will need a few pieces of equipment to successfully connect wirelessly. These include a computer with wireless capabilities, a wireless router, and an active internet connection provided by your internet service provider (ISP). With these tools in place, you can set up a wireless network that will allow you to connect to the internet from any corner of your home or office.
Now, let’s begin our journey to wireless connectivity! Follow the steps outlined in this guide, and soon you’ll be enjoying the convenience and freedom of a wireless internet connection.
Equipment needed to connect wireless internet to a computer
Before you can connect your computer to the wireless internet, you need to gather the necessary equipment. Here’s a list of items you will need:
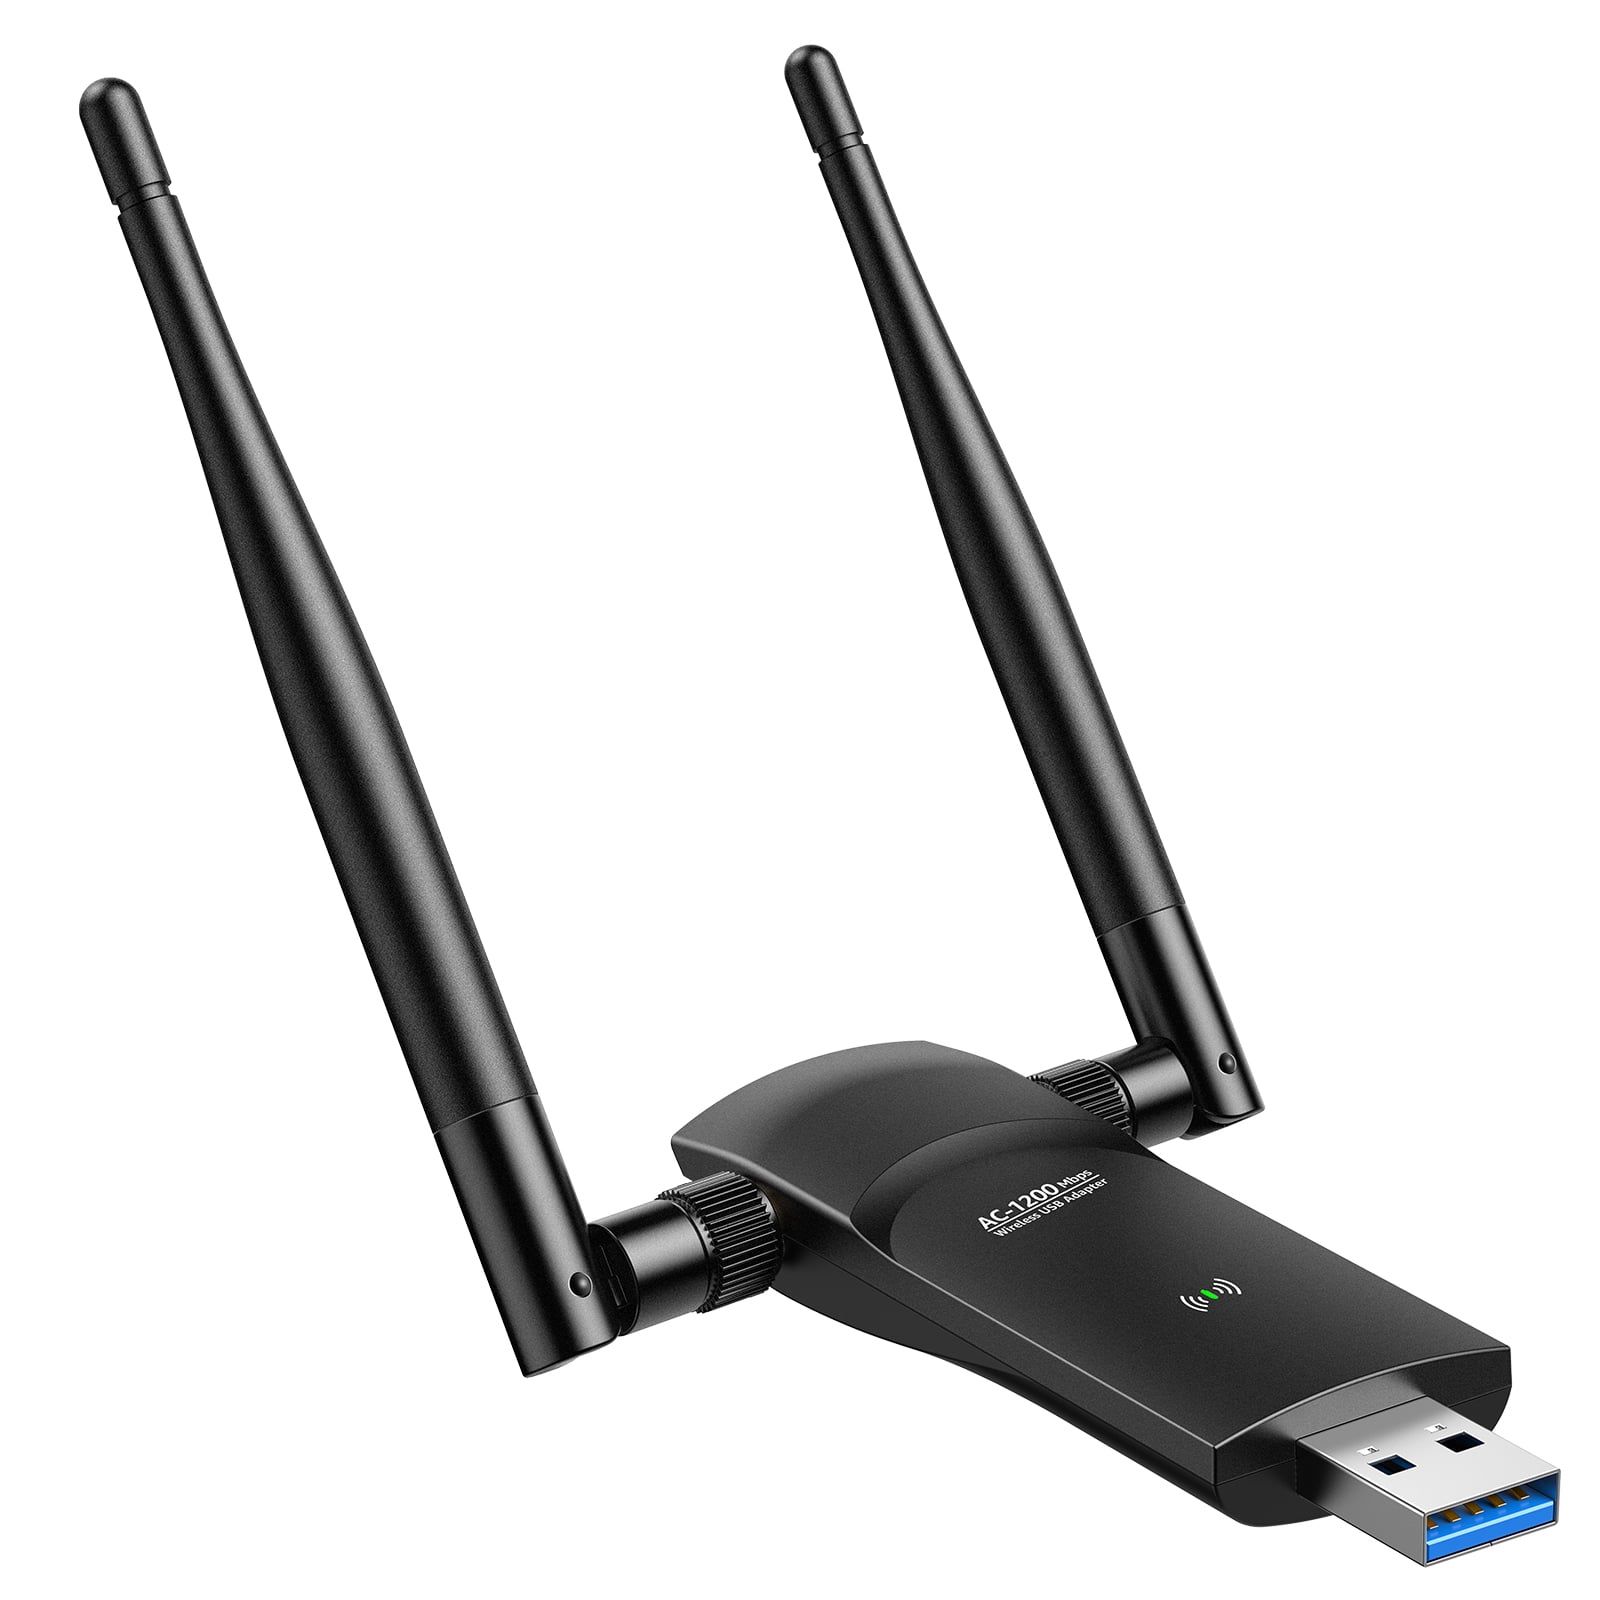
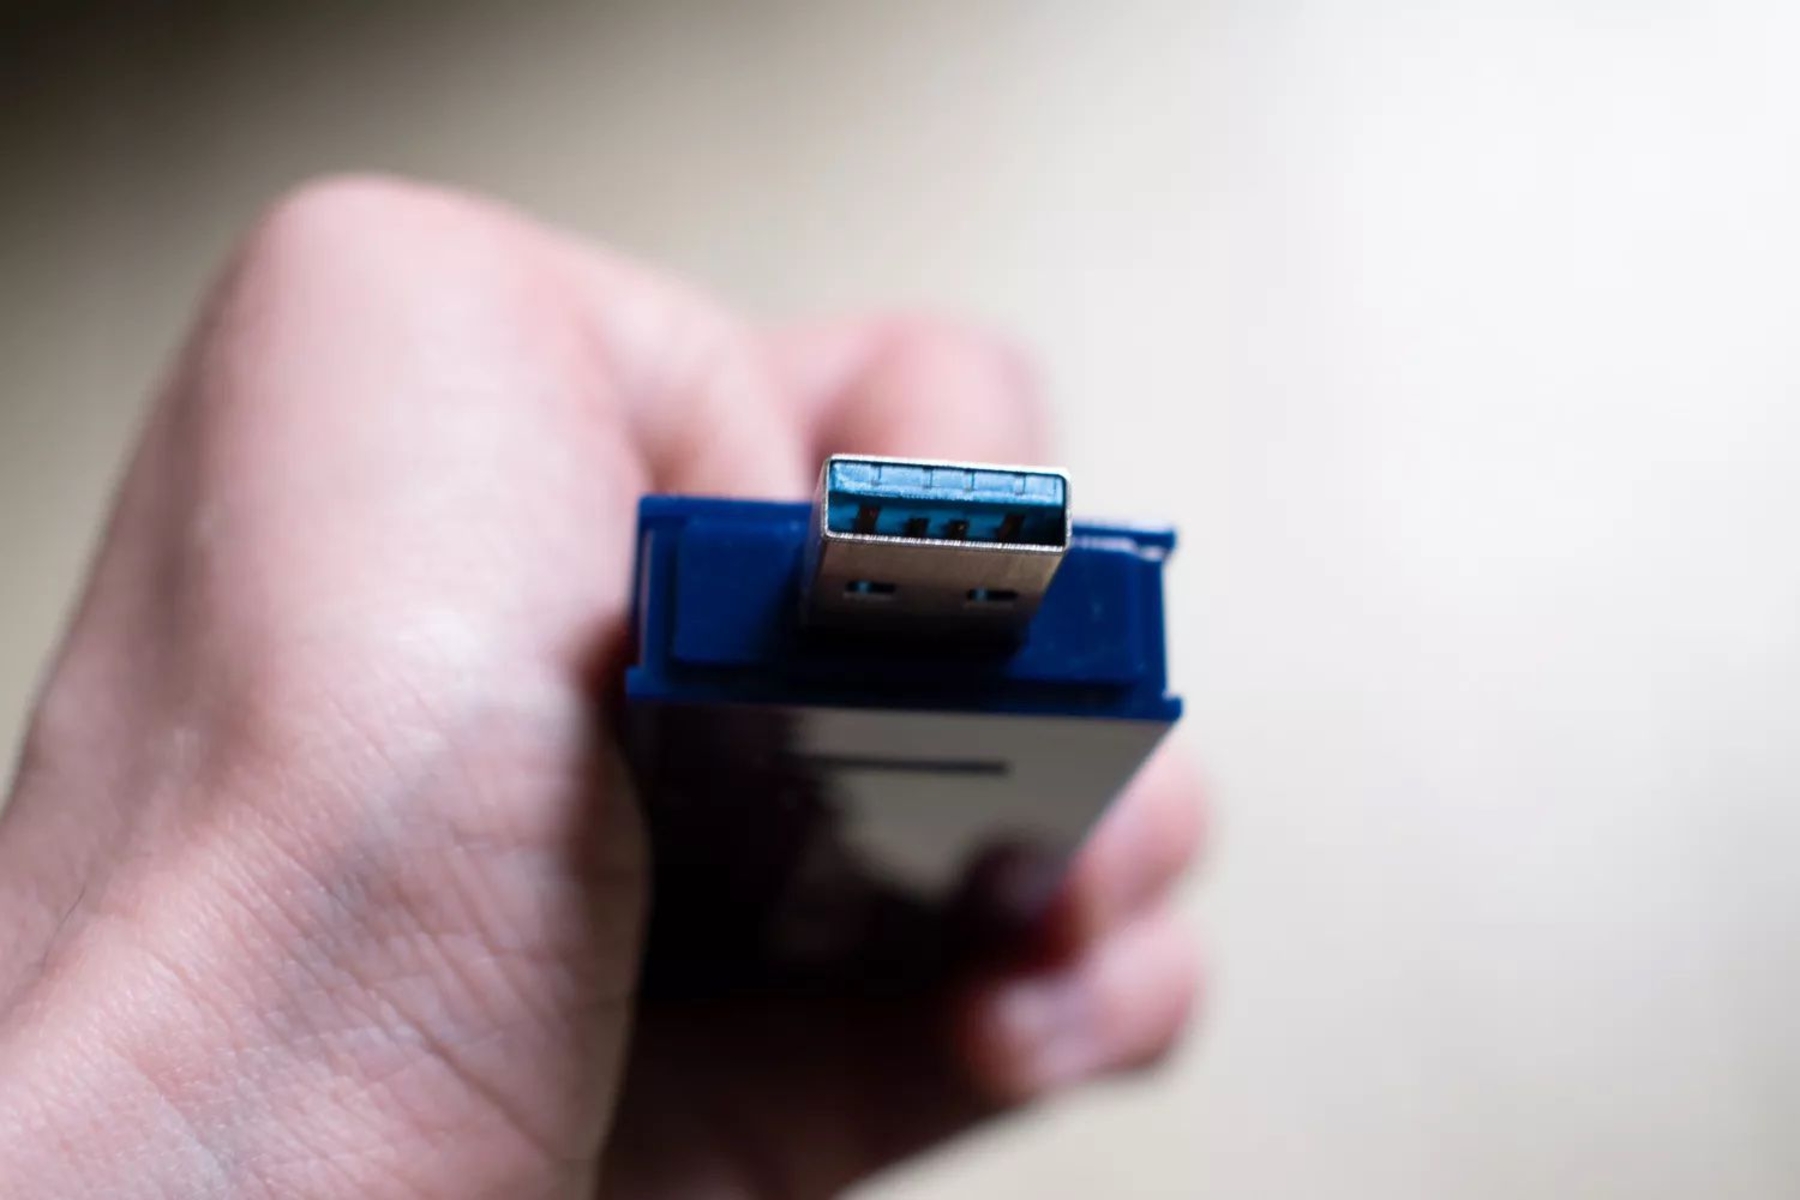
- Computer with wireless capabilities: Most modern laptops come equipped with built-in wireless capabilities. However, if you have a desktop computer, you may need to purchase a wireless network adapter or a USB wireless dongle to enable wireless connectivity.
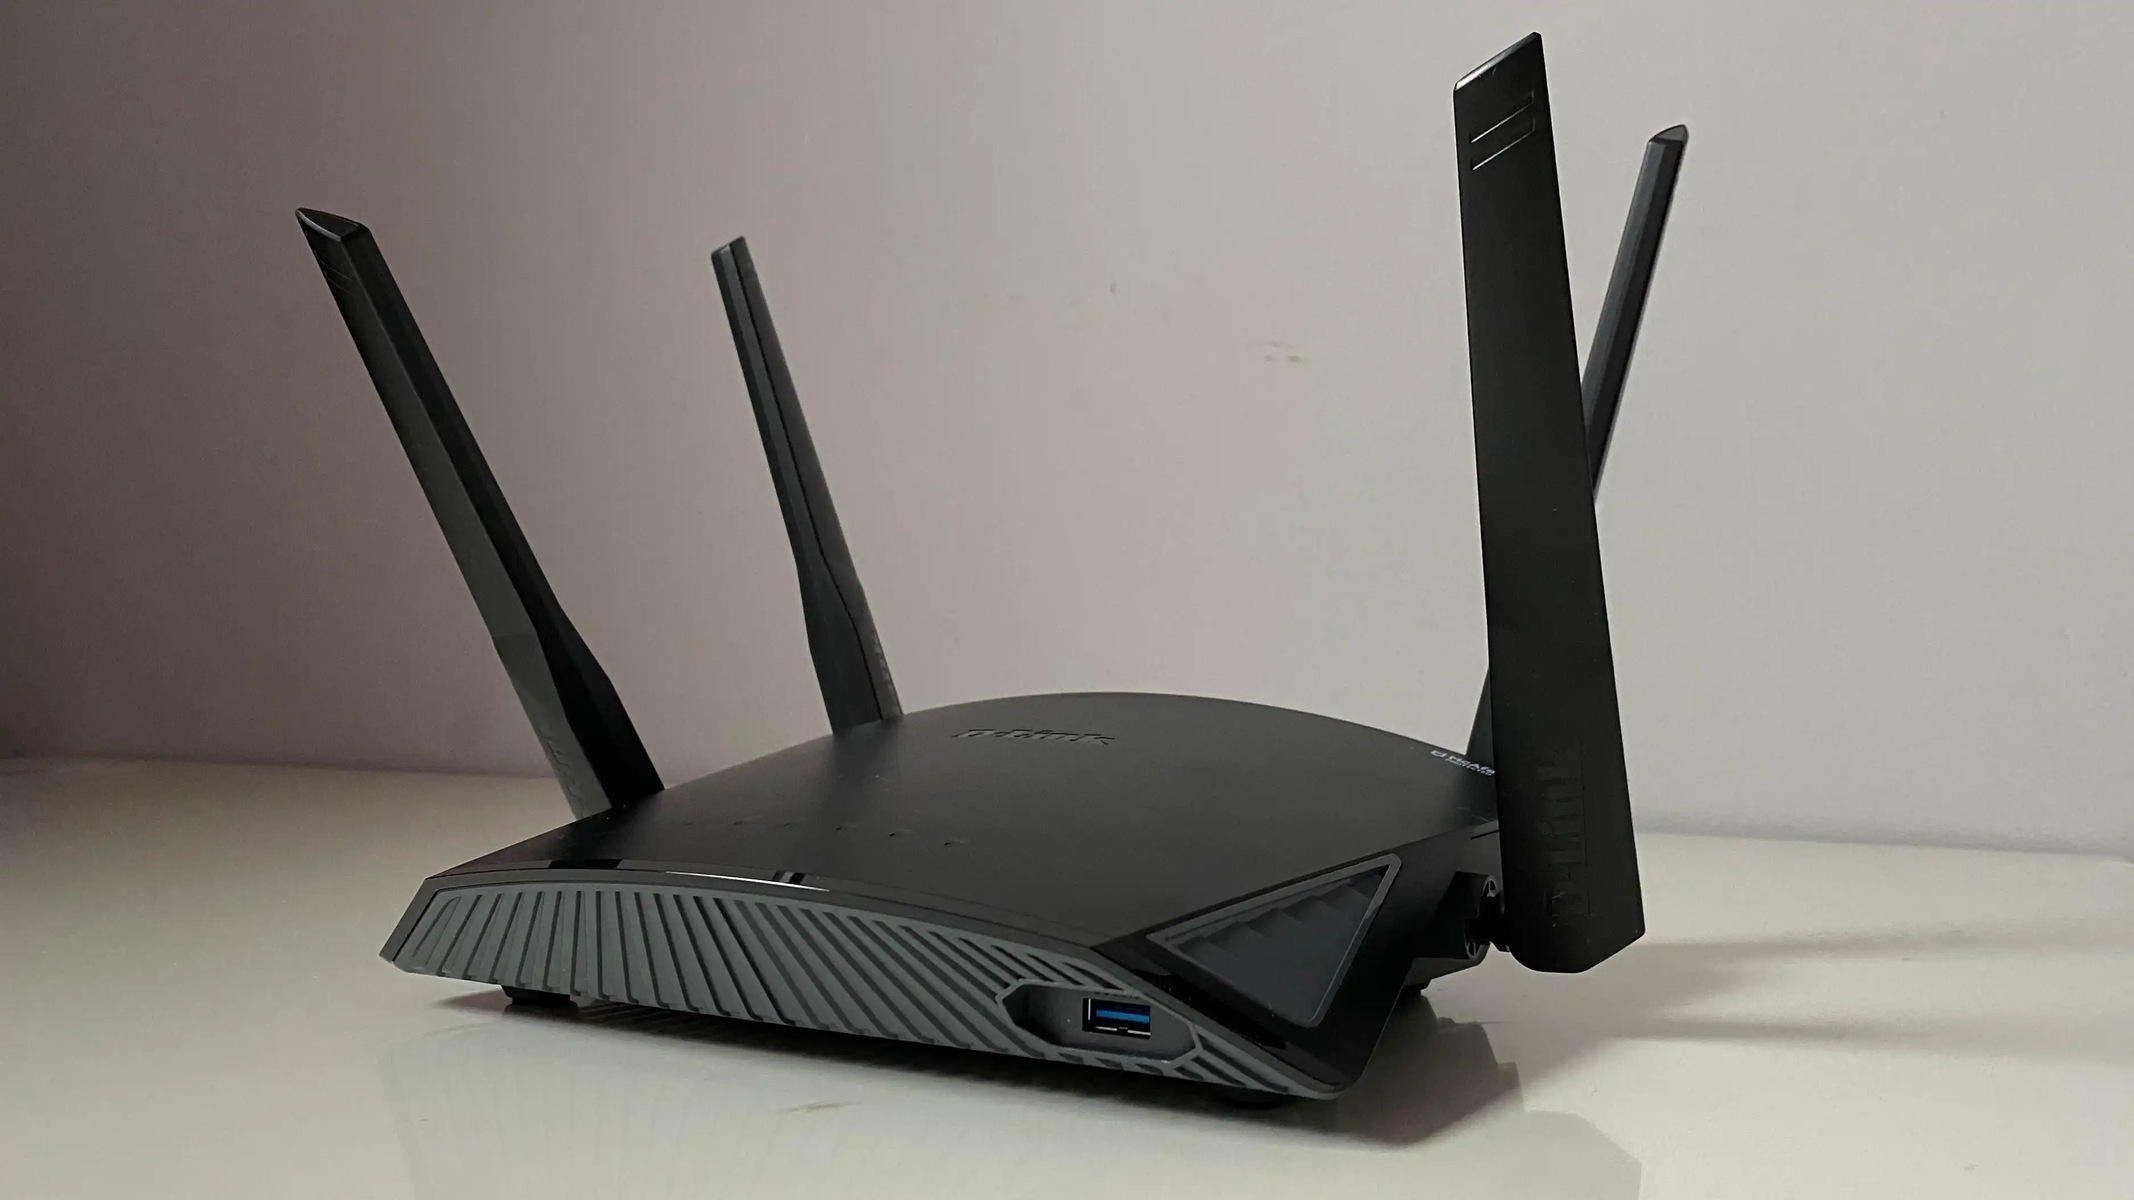
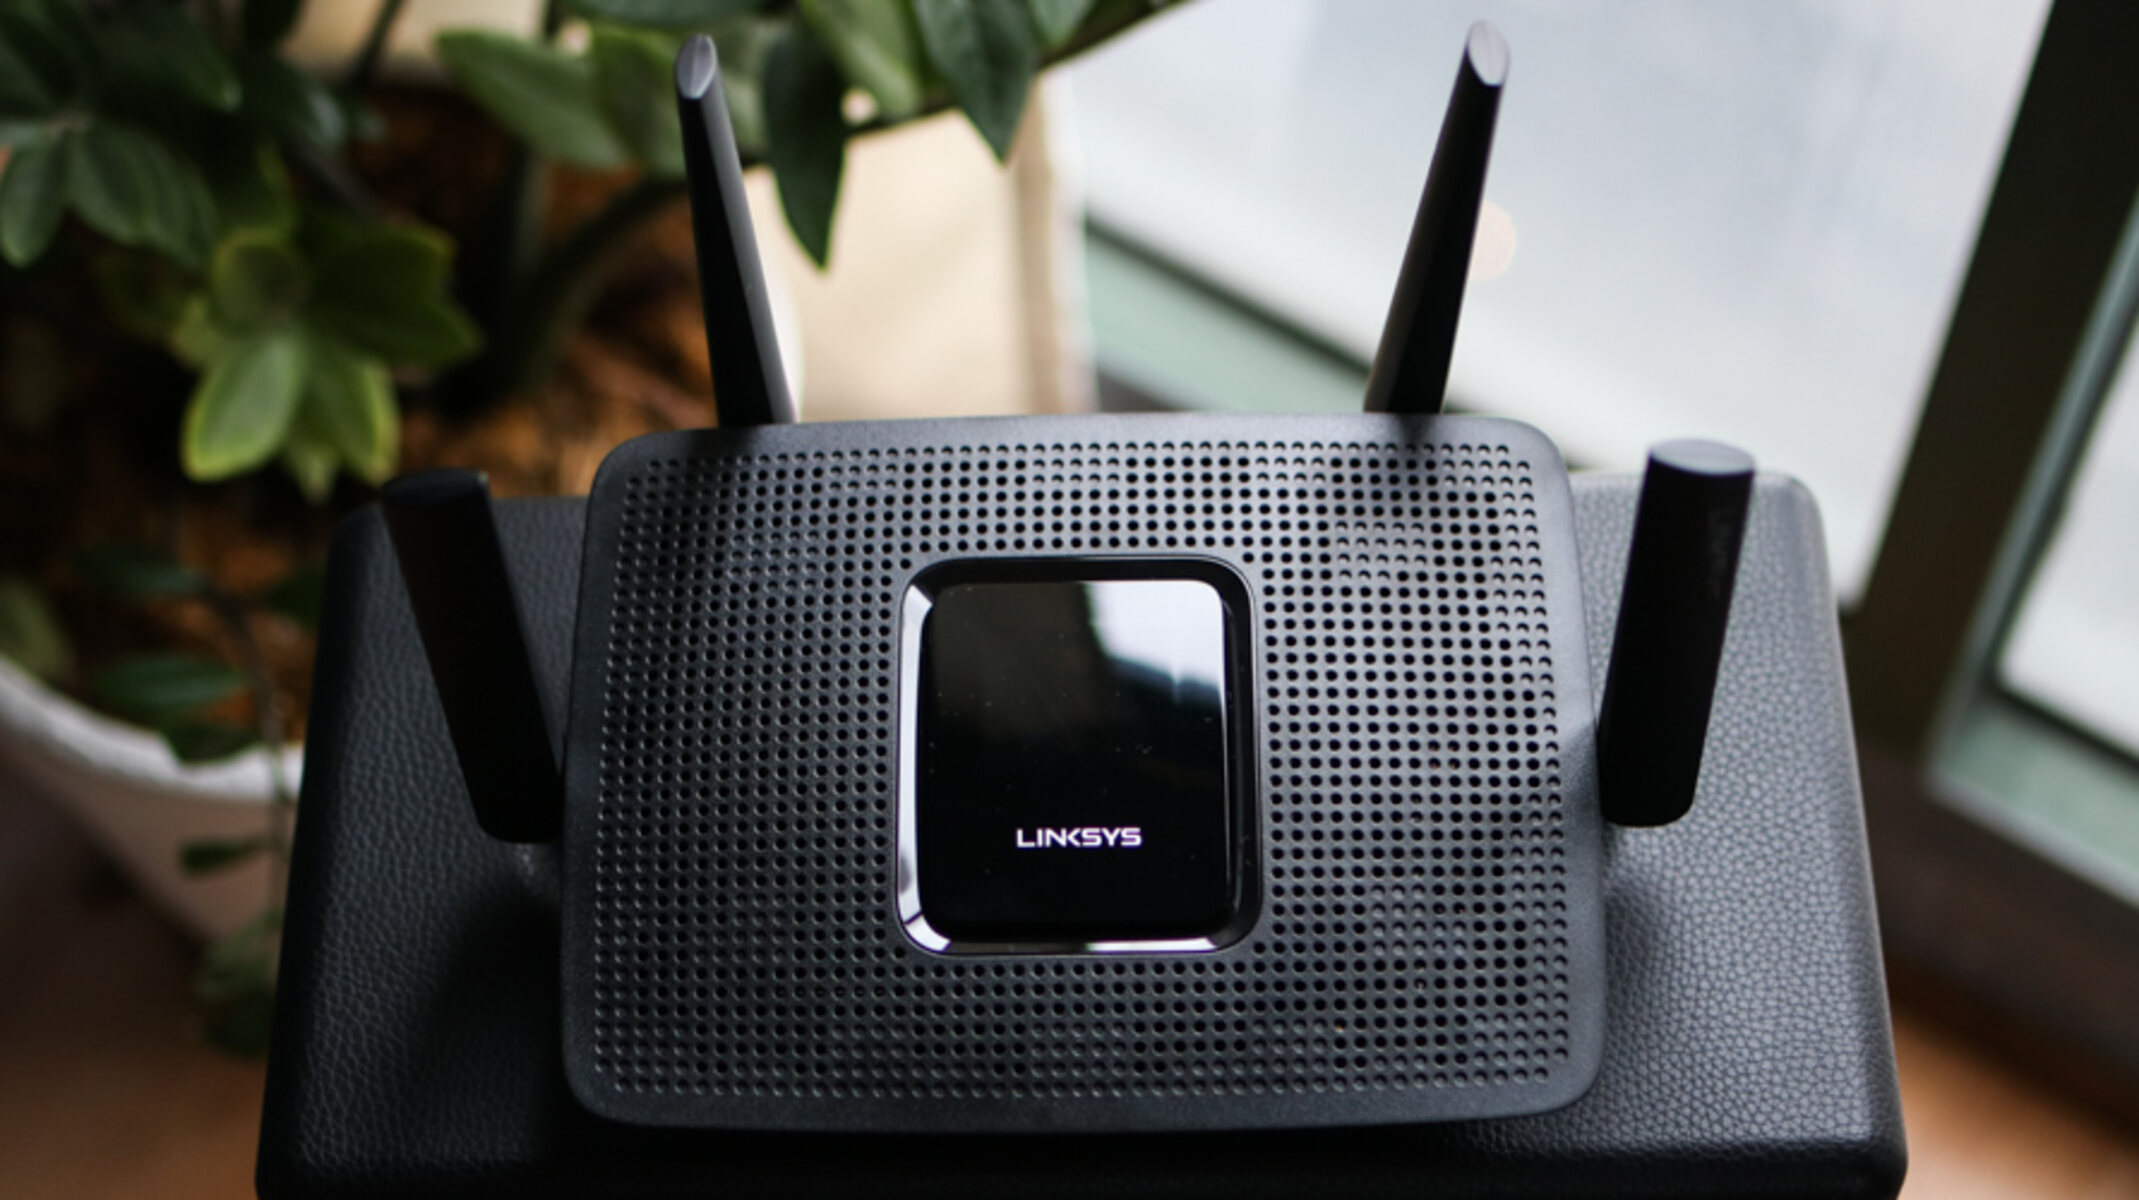
- Wireless router: A wireless router is the central device that allows multiple devices to connect to the internet wirelessly. When choosing a router, consider factors such as the range, speed, and security features. Ensure that the router you select is compatible with your internet service provider’s requirements.
- Modem: A modem is the device that connects your network to the internet. In most cases, your internet service provider will supply you with a modem. If you don’t have one, you will need to purchase a modem that is compatible with both your ISP and your wireless router.
- Ethernet cables: While the goal is to connect wirelessly, you may need an Ethernet cable to initially set up your wireless router with the modem. These cables are typically provided with your modem or router.
- Power source: Ensure that you have an available power outlet to connect both your wireless router and modem. These devices require a steady power supply to function properly.
Once you have gathered all of the necessary equipment, you can proceed with setting up and connecting your computer to the wireless internet. This may involve a few steps, but the end result will be worth it – seamless wireless connectivity from your computer to the internet.
Step 1: Ensure your computer has wireless capabilities
Before you can connect your computer to the wireless internet, you need to ensure that it has the necessary wireless capabilities. Most modern laptops come with built-in wireless adapters, but if you have a desktop computer, you may need to purchase a wireless network adapter or a USB wireless dongle.
To check if your computer has wireless capabilities, you can follow these steps:
- Check for a built-in wireless adapter: Look for a wireless icon or antenna symbol on your computer’s keyboard, or check the sides or back of the computer for any wireless switches or buttons. If you find any of these indicators, it means that your computer has a built-in wireless adapter.
- Review the computer’s specifications: If you’re unsure whether your computer has wireless capabilities, you can check the specifications provided by the manufacturer. This information can usually be found in the user manual or on the manufacturer’s website. Look for keywords such as “Wi-Fi,” “Wireless LAN,” or “802.11,” which indicate wireless capabilities.
- Consult the operating system: Both Windows and Mac operating systems have built-in tools that allow you to check for wireless capability. For Windows users, you can go to the Control Panel, select “Network and Internet,” and then click on “Network and Sharing Center.” From there, you can check if a wireless connection is available. Mac users can click on the wireless icon in the menu bar and select “Open Network Preferences” to review wireless connectivity options.
- Connect to a Wi-Fi network: If you’re still unsure about your computer’s wireless capabilities, you can attempt to connect to a nearby Wi-Fi network. If you can see and join available networks, it means that your computer has wireless capabilities.
If your computer does not have built-in wireless capabilities, you can purchase a wireless network adapter or USB wireless dongle from an electronics store. These devices will allow you to connect your computer to the wireless internet.
Once you have confirmed that your computer has wireless capabilities, you can move on to the next step of setting up your wireless internet connection.
Step 2: Set up a wireless router
Setting up a wireless router is an essential step in connecting your computer to the wireless internet. The router acts as a central hub that allows multiple devices to connect to the internet wirelessly. Here’s how you can set up your wireless router:
- Choose an ideal location: Select a central location in your home or office for the router. This ensures maximum coverage and minimizes signal interference. Avoid placing the router near walls, large appliances, or other electronics that may obstruct the signal.
- Connect the router to a power source: Plug the power adapter of the router into a nearby power outlet. Ensure that the power source is stable and provides a consistent power supply to the router.
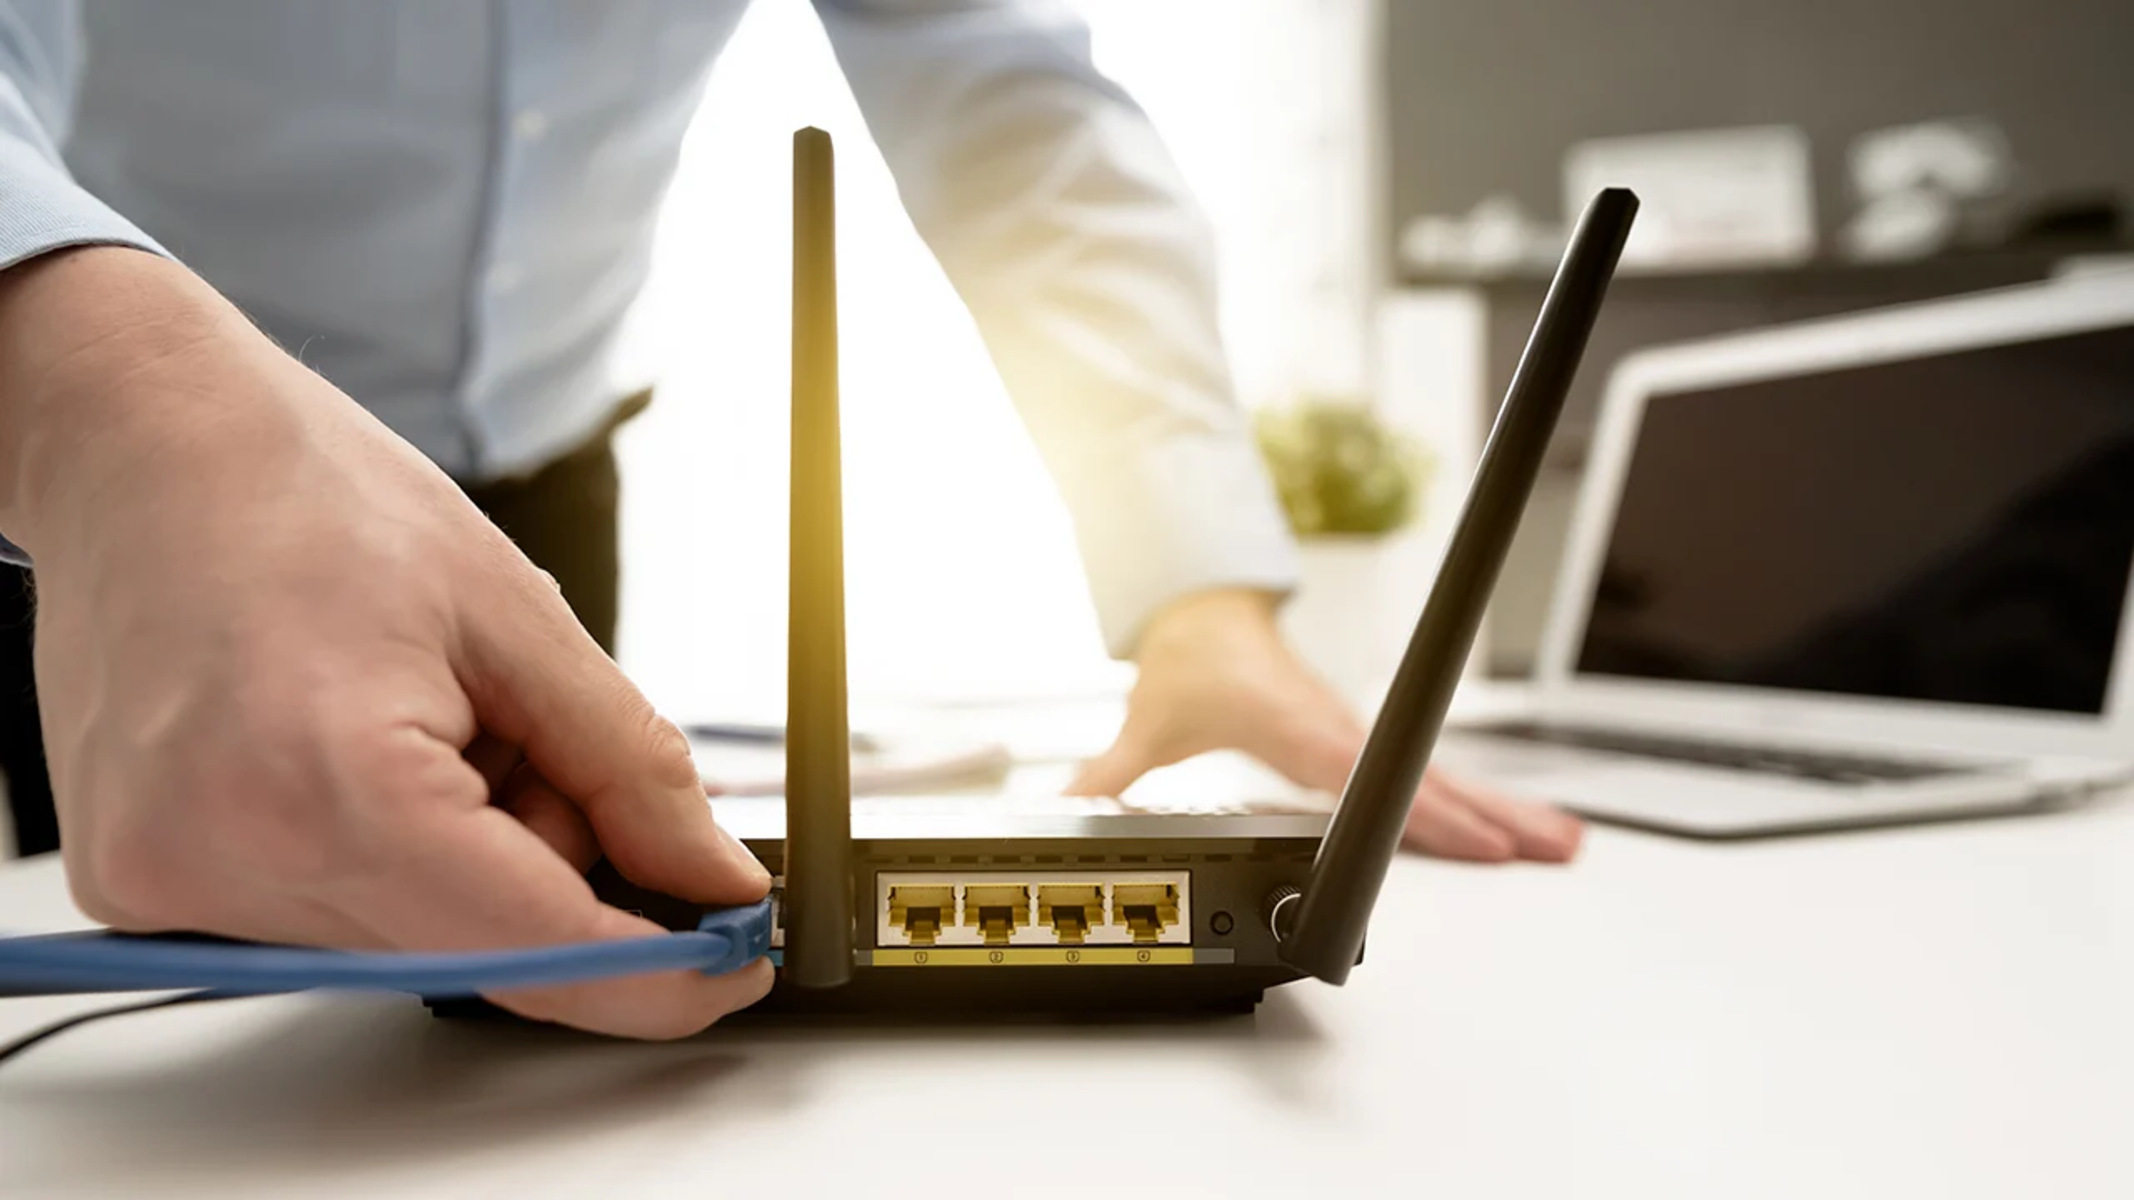
- Connect the router to your computer: Use an Ethernet cable to connect the router to your computer. One end of the cable should be plugged into the LAN port on the back of the router, while the other end should be plugged into the Ethernet port on your computer.
- Access the router’s configuration page: Open a web browser on your computer and type in the router’s default IP address. This information is usually provided in the router’s manual or can be found on the manufacturer’s website. Once entered, you will be prompted to enter the router’s username and password.
- Configure the router’s settings: Once you have accessed the router’s configuration page, you can customize the settings to your preference. This includes setting up a secure network name (SSID) and password, adjusting wireless channel settings, and enabling network encryption for increased security.
- Save the changes: After making the necessary configuration changes, don’t forget to save the settings. Look for a “Save” or “Apply” button on the configuration page and click it to save your changes.
Congratulations! You have successfully set up your wireless router. The next step involves connecting the router to your modem and establishing a connection to the internet. This will be covered in the following step.
Step 3: Connect the wireless router to your modem
Now that you have set up your wireless router, it’s time to connect it to your modem. The modem is the device that connects your network to the internet. By connecting your router to the modem, you’ll be able to access the internet wirelessly through your computer. Here’s how you can do it:
- Power off your modem: Before connecting your modem to the router, make sure to power it off by unplugging the power cable from the outlet. This ensures a safe and hassle-free connection.
- Locate the Ethernet port on your modem: Most modems have multiple Ethernet ports. Take note of which port you will be using to connect to the router.
- Connect the modem and router: Use an Ethernet cable to connect the modem’s Ethernet port to the WAN or Internet port on your wireless router. Insert one end of the cable into the modem’s Ethernet port and the other end into the router’s WAN or Internet port.
- Power on the modem: Reconnect the power cable to the modem and power it on. Wait for a few minutes until the modem establishes a connection with your internet service provider (ISP).
- Power on the router: After the modem has successfully connected to your ISP, power on your wireless router. Wait for it to boot up and establish a connection with the modem.
Once you have completed these steps, your wireless router should be successfully connected to your modem. The router will now act as the gateway, allowing your computer and other devices to access the internet wirelessly. It’s time to move on to the next step and start connecting your computer to the wireless network.
Step 4: Power on your wireless router and modem
Now that your wireless router is connected to the modem, it’s time to power on both devices. The router and modem need to be properly turned on in order to establish a connection and provide internet access to your computer. Follow these steps to power on your wireless router and modem:
- Locate the power buttons: On both the wireless router and modem, look for the power buttons. These buttons are usually located on the back or sides of the devices.
- Power on the modem first: Press the power button on the modem to turn it on. Allow a few moments for the modem to establish a connection with your internet service provider (ISP). This process may take several minutes, so be patient.
- Power on the wireless router: Once the modem has successfully established a connection with your ISP, press the power button on the wireless router to turn it on. The router will go through a startup process and establish its own connection with the modem.
- Wait for the connection: Give the router a few minutes to establish a stable connection with the modem. During this time, the router’s status LED lights may blink or change colors. Once the lights stabilize, it indicates that the connection has been successfully established.
It’s important to note that when powering on or resetting your router and modem, it’s best to follow the manufacturer’s instructions to ensure a smooth setup process. Some routers and modems may have additional steps or specific configurations that need to be taken into account.
Once your wireless router and modem are powered on and connected, you’re one step closer to enjoying wireless internet access on your computer. The next step is to connect your computer to the wireless network, which will be covered in the following step.
Step 5: Connect your computer to the wireless network
Now that your wireless router and modem are powered on and connected, it’s time to connect your computer to the wireless network. This will allow your computer to access the internet wirelessly. Here’s how you can connect your computer to the wireless network:
- Locate the wireless network icon: Look for the wireless network icon in the system tray or menu bar of your computer. It typically looks like a series of curved lines or a Wi-Fi symbol.
- Click on the wireless network icon: Click on the wireless network icon to display a list of available networks in your area. You should see your wireless network name (SSID) listed among them.
- Select your wireless network: From the list of available networks, click on your wireless network name (SSID) to select it. If you have set up a custom network name during the router configuration, make sure to choose the correct network.
- Connect to the wireless network: After selecting your wireless network, click on the “Connect” or “Join” button to establish a connection. Your computer will attempt to connect to the network using the security settings and password configured on the router.
- Wait for the connection: Depending on your computer’s operating system, it may take a few moments for the connection to be established. During this time, your computer will verify the network credentials and attempt to connect to the wireless network.
Once the connection is established, your computer will be successfully connected to the wireless network. You should see a confirmation message or Wi-Fi icon indicating that you are now connected to the internet wirelessly.
It’s important to note that if you have set up a network password during the router configuration, you will be prompted to enter the password when you try to connect. Make sure to enter the correct password to establish the connection. Without the correct password, you will not be able to connect to the wireless network.
Congratulations! You have successfully connected your computer to the wireless network. You can now enjoy the convenience of wirelessly accessing the internet from your computer.
Step 6: Enter the wireless network password
After selecting your wireless network in the previous step, you will need to enter the wireless network password to establish a secure connection. This password, also known as the Wi-Fi password or security key, was set up during the router configuration process. Here’s how you can enter the wireless network password:
- Locate the password prompt: Once you have selected your wireless network, your computer will prompt you to enter the wireless network password. This prompt usually appears in a pop-up window or a dialog box on your computer screen.
- Enter the wireless network password: Using the keyboard, type in the password that was set up for your wireless network. Make sure to enter the password exactly as it was configured, including any capitalization, special characters, or numbers.
- Click on “Connect” or “Join”: After entering the password, click on the “Connect” or “Join” button to proceed. Your computer will attempt to authenticate the password with the wireless router and establish a connection.
- Wait for connection confirmation: Depending on your computer’s operating system, it may take a few moments for the connection to be established. During this time, your computer will verify the password and complete the connection process.
Once the wireless network password is successfully authenticated, your computer will be connected to the wireless network. You will be able to access the internet and enjoy the benefits of wireless connectivity.
It’s important to note that the wireless network password is set up for security reasons. This ensures that only authorized users can connect to your network and helps protect your data from unauthorized access. It’s recommended to use a strong, unique password to enhance the security of your wireless network.
Congratulations! You have successfully entered the wireless network password and established a secure connection. Your computer is now ready to fully utilize the benefits of wireless internet access.
Step 7: Confirm the connection and troubleshoot any issues
After connecting your computer to the wireless network and entering the wireless network password, it’s important to confirm that the connection is working properly. Additionally, if you encounter any issues during the setup process or while attempting to connect, troubleshooting may be necessary. Here are the steps to confirm the connection and troubleshoot any issues:
- Verify the connection: Once you have entered the password and the connection is established, open a web browser and try accessing a website. If the website loads successfully, it means that your computer is connected to the internet through the wireless network.
- Check the signal strength: Depending on your location in relation to the wireless router, the signal strength may vary. Check the signal strength indicator on your computer or the wireless icon in the system tray/menu bar to ensure that you have a strong signal. If the signal is weak, try moving closer to the router to improve the connection.
- Troubleshoot any connection issues: If you are unable to establish a connection or experience unstable internet access, there are a few troubleshooting steps you can take. First, ensure that both your router and modem are powered on and connected properly. Restarting both devices can sometimes resolve connectivity issues. Additionally, ensure that the wireless network name (SSID) and password are entered correctly. You can also try disconnecting and reconnecting to the wireless network. If the issue persists, consult the router’s user manual or contact your internet service provider for further assistance.
- Update your wireless adapter drivers: If you’re experiencing connectivity issues with your computer’s wireless adapter, it may be due to outdated or incompatible drivers. Visit the manufacturer’s website to check for any available driver updates and install them accordingly. This can help resolve compatibility issues and improve performance.
- Consider other wireless interference: In some cases, other electronic devices or neighboring networks can interfere with your wireless signal, resulting in a poor connection. Keep your wireless router away from devices like cordless phones, microwave ovens, and Bluetooth devices, as they can cause interference. Additionally, you can change the wireless channel on your router’s configuration page to avoid conflicts with nearby networks.
By following these steps and troubleshooting any issues, you can ensure a stable and reliable wireless connection for your computer. Enjoy the freedom and convenience of wireless internet access!
Conclusion
Congratulations! You have successfully learned how to connect your computer to the wireless internet. By following the step-by-step guide provided in this article, you have set up a wireless network using a wireless router, connected it to your modem, and established a secure connection to your computer.
With a wireless internet connection, you now have the flexibility to browse the web, stream videos, download files, and communicate with others without the constraints of cables. The convenience and freedom that wireless connectivity offers cannot be overstated in today’s digital age.
Throughout the setup process, you ensured that your computer has wireless capabilities, set up and configured your wireless router, connected it to your modem, powered on both devices, connected your computer to the wireless network, entered the wireless network password, and confirmed the connection while troubleshooting any issues that arose.
Remember to keep your wireless network secure by regularly changing the network password, updating your router’s firmware, and taking necessary precautions to prevent unauthorized access.
By connecting to the wireless internet, you have unlocked a world of opportunities for productivity, entertainment, and communication. Whether you’re working from home, studying, or simply enjoying your favorite online activities, wireless connectivity enhances your online experience.
Thank you for following this guide, and we hope this article has been helpful in connecting your computer to the wireless internet. Enjoy the seamless and convenient wireless experience!