Introduction
Creating a Wi-Fi hotspot on your Windows 7 computer allows you to share your internet connection with other devices, such as smartphones, tablets, and laptops. This can be incredibly useful in situations where you need to provide internet access to multiple devices but only have a single wired or wireless internet connection available. By setting up a Wi-Fi hotspot, you can enable other devices to connect to your computer and use its internet connection, effectively turning your computer into a wireless access point.
In this guide, we will walk you through the step-by-step process of setting up a Wi-Fi hotspot on your Windows 7 computer. Whether you're at home, in a coffee shop, or in any location with limited Wi-Fi access, creating a Wi-Fi hotspot can help you stay connected and productive. With simple configuration steps, you can easily share your internet connection with friends, family, or colleagues, making it convenient for everyone to access the internet without the need for additional hardware or subscriptions.
By following the instructions provided in this guide, you'll be able to transform your Windows 7 computer into a Wi-Fi hotspot, providing a seamless internet-sharing solution for your personal or professional needs. Whether you're a tech enthusiast looking to expand your networking skills or a casual user seeking a practical way to share internet access, creating a Wi-Fi hotspot on Windows 7 is a valuable skill that can enhance your digital connectivity experience.
Step 1: Accessing the Network and Sharing Center
To begin setting up a Wi-Fi hotspot on your Windows 7 computer, you'll first need to access the Network and Sharing Center. This central location within the operating system allows you to manage various network-related settings, making it the starting point for configuring a Wi-Fi hotspot.
Here's how to access the Network and Sharing Center:
-
Click on the Network Icon: Locate the network icon in the system tray, typically found in the lower-right corner of the screen. This icon resembles a series of vertical bars or a wireless signal indicator. Click on this icon to reveal a list of available networks.
-
Open Network and Sharing Center: Once you've clicked on the network icon, a pop-up menu will appear displaying the available wireless networks. At the bottom of this menu, you should see an option labeled "Open Network and Sharing Center." Click on this option to access the Network and Sharing Center.
-
Alternative Method: If you don't see the network icon in the system tray, you can also access the Network and Sharing Center by navigating through the Control Panel. Simply open the Control Panel from the Start menu, and then select "Network and Sharing Center" from the available options.
Upon successfully accessing the Network and Sharing Center, you will be presented with a comprehensive overview of your current network and sharing settings. This interface serves as the gateway to configuring various network-related features, including the setup of a Wi-Fi hotspot.
By following these steps, you can easily access the Network and Sharing Center on your Windows 7 computer, setting the stage for the subsequent configuration of your Wi-Fi hotspot. This initial step lays the foundation for seamlessly sharing your internet connection with other devices, enhancing your digital connectivity experience.
Step 2: Setting up a New Wireless Network
Setting up a new wireless network on your Windows 7 computer is a crucial step in creating a Wi-Fi hotspot. This process involves configuring the network name, security type, and password, ensuring that the hotspot is secured and easily identifiable by other devices. By following the steps outlined below, you can establish a new wireless network with personalized settings tailored to your preferences.
Here's how to set up a new wireless network:
-
Access Manage Wireless Networks: Within the Network and Sharing Center, locate the option labeled "Manage wireless networks" in the left-hand navigation pane. Click on this option to access the list of wireless networks that have been previously set up on your computer.
-
Add a New Wireless Network: Once inside the "Manage wireless networks" interface, you will find an option to "Add" a new wireless network. Click on this option to initiate the setup process for your Wi-Fi hotspot.
-
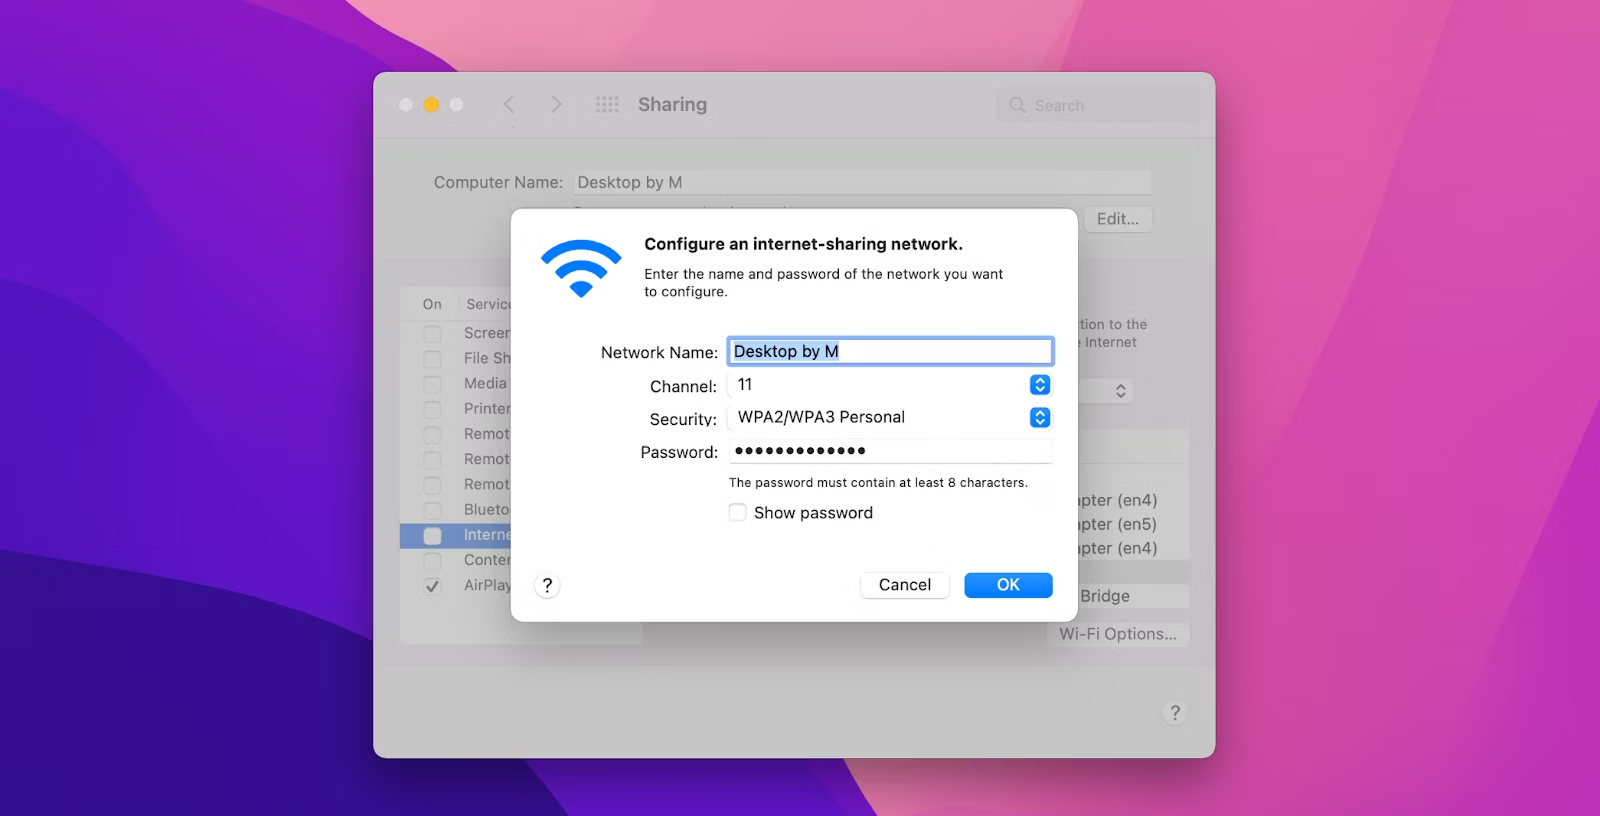
Enter Network Information: A dialog box will appear, prompting you to enter the details of the new wireless network. Begin by typing in the desired network name (also known as the SSID), which will be visible to other devices when searching for available networks.
-
Choose Security Type: Next, you will need to select the appropriate security type for your wireless network. It is highly recommended to choose WPA2-PSK (Wi-Fi Protected Access 2 – Pre-Shared Key) as the security type, as it offers strong encryption to safeguard your network.
-
Set Network Security Key: After selecting the security type, you will be prompted to enter a network security key, also referred to as the Wi-Fi password. This key serves as the authentication method for devices attempting to connect to your Wi-Fi hotspot.
-
Complete the Setup: Once you have entered the network information and configured the security settings, proceed to finalize the setup by clicking on the "Next" or "Finish" button, depending on the specific prompts provided by the setup wizard.
By following these steps, you can successfully set up a new wireless network on your Windows 7 computer, laying the groundwork for the subsequent configuration of your Wi-Fi hotspot. This personalized wireless network will serve as the gateway for other devices to connect and access the internet through your computer, ensuring a secure and seamless connectivity experience.
Setting up a new wireless network is a pivotal stage in the process of creating a Wi-Fi hotspot, allowing you to establish a secure and identifiable access point for sharing your internet connection with other devices. With the network name, security type, and password configured to your specifications, you can proceed to the next steps of configuring the Wi-Fi hotspot settings and initiating the sharing of your internet connection.
Step 3: Configuring the Wi-Fi Hotspot Settings
Configuring the Wi-Fi hotspot settings on your Windows 7 computer is a pivotal step in the process of creating a seamless and secure internet-sharing experience. By customizing the hotspot settings, you can optimize the connectivity parameters and ensure that other devices can efficiently connect to and utilize your computer's internet connection. This section will guide you through the essential steps of configuring the Wi-Fi hotspot settings, empowering you to tailor the network to your specific requirements.
Accessing the Wireless Network Properties
-
Open Network and Sharing Center: Begin by accessing the Network and Sharing Center, as outlined in the previous step. Once inside the Network and Sharing Center, locate and click on the "Manage wireless networks" option in the left-hand navigation pane.
-
Select the Created Wireless Network: From the list of wireless networks, select the newly created wireless network that will serve as your Wi-Fi hotspot. Right-click on the network name and choose "Properties" from the context menu to access the network properties.
Customizing the Hotspot Settings
-
Adjust Network Authentication and Encryption: Within the network properties window, navigate to the "Security" tab to customize the authentication and encryption settings. Ensure that the security type is set to WPA2-PSK for robust encryption, and verify that the network security key (password) is accurately configured.
-
Sharing Tab Configuration: Next, click on the "Sharing" tab within the network properties window. Here, you will find the option to enable internet connection sharing for the selected wireless network. Check the box labeled "Allow other network users to connect through this computer's internet connection" to activate the sharing feature.
-
Advanced Settings: For advanced users seeking additional customization, the "Advanced" settings tab within the network properties window offers further configuration options. Here, you can review and modify specific network parameters, such as the network profile, 802.1X settings, and the ability to specify the network band.
Finalizing the Configuration
- Save and Apply Changes: Once you have adjusted the Wi-Fi hotspot settings to align with your preferences, click on the appropriate buttons within the network properties window to save and apply the changes. This ensures that the customized settings are implemented and ready for the activation of your Wi-Fi hotspot.
By meticulously configuring the Wi-Fi hotspot settings, you can tailor the network to your specific requirements, ensuring a secure and efficient internet-sharing experience. With the authentication, encryption, sharing, and advanced settings fine-tuned to your preferences, your Windows 7 computer is now poised to function as a reliable Wi-Fi hotspot, ready to provide seamless internet access to other devices within your vicinity.
Step 4: Starting the Wi-Fi Hotspot
After configuring the Wi-Fi hotspot settings on your Windows 7 computer, the final step involves initiating the hotspot to enable other devices to connect and utilize your internet connection. This pivotal stage in the process solidifies the transformation of your computer into a wireless access point, providing a seamless and convenient means for sharing internet access with other devices.
Here's how to start the Wi-Fi hotspot on your Windows 7 computer:
-
Access the Network Connections: Begin by accessing the Network Connections on your computer. This can be done by right-clicking on the network icon in the system tray and selecting "Open Network and Sharing Center." From there, click on the "Change adapter settings" option in the left-hand navigation pane to access the Network Connections interface.
-
Locate the Virtual Wi-Fi Adapter: Within the Network Connections interface, you will need to locate the virtual Wi-Fi adapter that was created during the configuration of the Wi-Fi hotspot settings. This virtual adapter is responsible for broadcasting the wireless network and facilitating the sharing of your internet connection.
-
Enable the Virtual Wi-Fi Adapter: Right-click on the virtual Wi-Fi adapter and select the "Enable" option from the context menu. This action activates the virtual adapter, allowing it to broadcast the wireless network that you configured earlier.
-
Verify the Hotspot Availability: Once the virtual Wi-Fi adapter is enabled, you can verify the availability of the Wi-Fi hotspot by checking the list of available wireless networks on other devices. The network name (SSID) that you specified during the setup process should be visible, indicating the presence of the Wi-Fi hotspot.
-
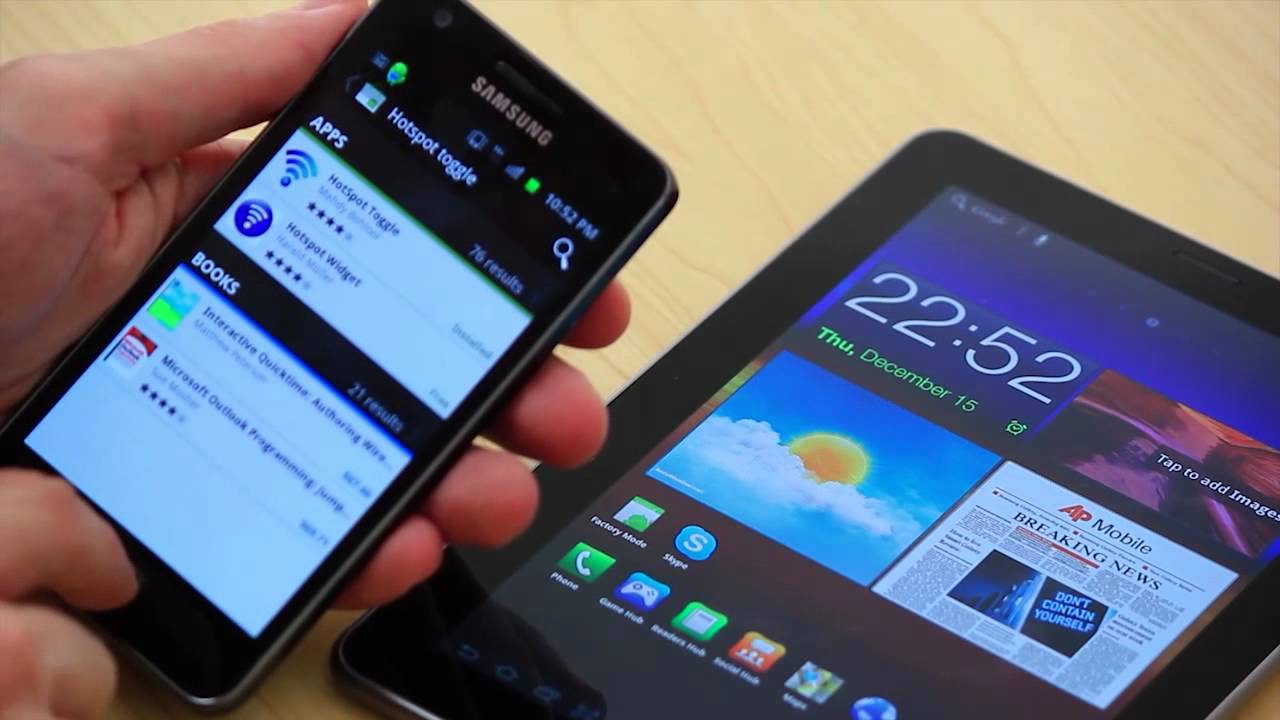
Connect Devices to the Hotspot: On the devices that you intend to connect to the Wi-Fi hotspot, locate the network name (SSID) from the list of available wireless networks. Select the hotspot network and enter the network security key (password) that you configured earlier. Upon successful authentication, the devices will be connected to your Windows 7 computer's Wi-Fi hotspot, allowing them to access the internet through your computer's internet connection.
By following these steps, you can successfully start the Wi-Fi hotspot on your Windows 7 computer, enabling other devices to connect and benefit from your shared internet connection. This seamless and efficient process empowers you to extend internet access to a wider range of devices, fostering connectivity and productivity in various environments.
With the Wi-Fi hotspot in operation, your Windows 7 computer serves as a reliable and versatile access point, offering a practical solution for sharing internet connectivity with smartphones, tablets, laptops, and other compatible devices. Whether at home, in a public setting, or within a professional environment, the ability to start a Wi-Fi hotspot on Windows 7 enhances your digital connectivity experience, providing flexibility and convenience for all users within the network's range.
Conclusion
In conclusion, the process of creating a Wi-Fi hotspot on a Windows 7 computer offers a valuable solution for sharing internet connectivity with other devices in a seamless and secure manner. By following the step-by-step configuration and setup outlined in this guide, users can transform their Windows 7 computer into a versatile wireless access point, enabling efficient internet sharing in various environments.
The ability to access the Network and Sharing Center, set up a new wireless network, configure the Wi-Fi hotspot settings, and start the hotspot empowers users to extend internet access to smartphones, tablets, laptops, and other compatible devices. This capability proves especially beneficial in situations where a single wired or wireless internet connection needs to be shared among multiple devices, such as in homes, small offices, or public settings.
By customizing the hotspot settings, including the network name, security type, and password, users can ensure a secure and identifiable access point for other devices to connect to. The robust encryption provided by WPA2-PSK security type enhances the privacy and integrity of the shared internet connection, contributing to a reliable and protected connectivity experience.
The seamless activation of the Wi-Fi hotspot on a Windows 7 computer fosters flexibility and convenience, allowing users to stay connected and productive in diverse settings. Whether at home, in a coffee shop, or within a professional workspace, the Wi-Fi hotspot functionality enhances digital connectivity, enabling users to share internet access without the need for additional hardware or subscriptions.
Overall, the process of creating a Wi-Fi hotspot on Windows 7 reflects the adaptability and resourcefulness of the operating system, providing users with a practical and accessible means of extending internet connectivity to a wider range of devices. This capability aligns with the evolving demands of digital connectivity, offering a user-friendly solution for internet sharing that enhances collaboration, communication, and access to online resources.
Incorporating the steps outlined in this guide equips users with the knowledge and skills to leverage their Windows 7 computer as a Wi-Fi hotspot, contributing to a more connected and collaborative digital ecosystem. Whether for personal, educational, or professional purposes, the ability to create a Wi-Fi hotspot on Windows 7 enriches the digital experience, fostering connectivity and productivity across diverse user scenarios.