Introduction
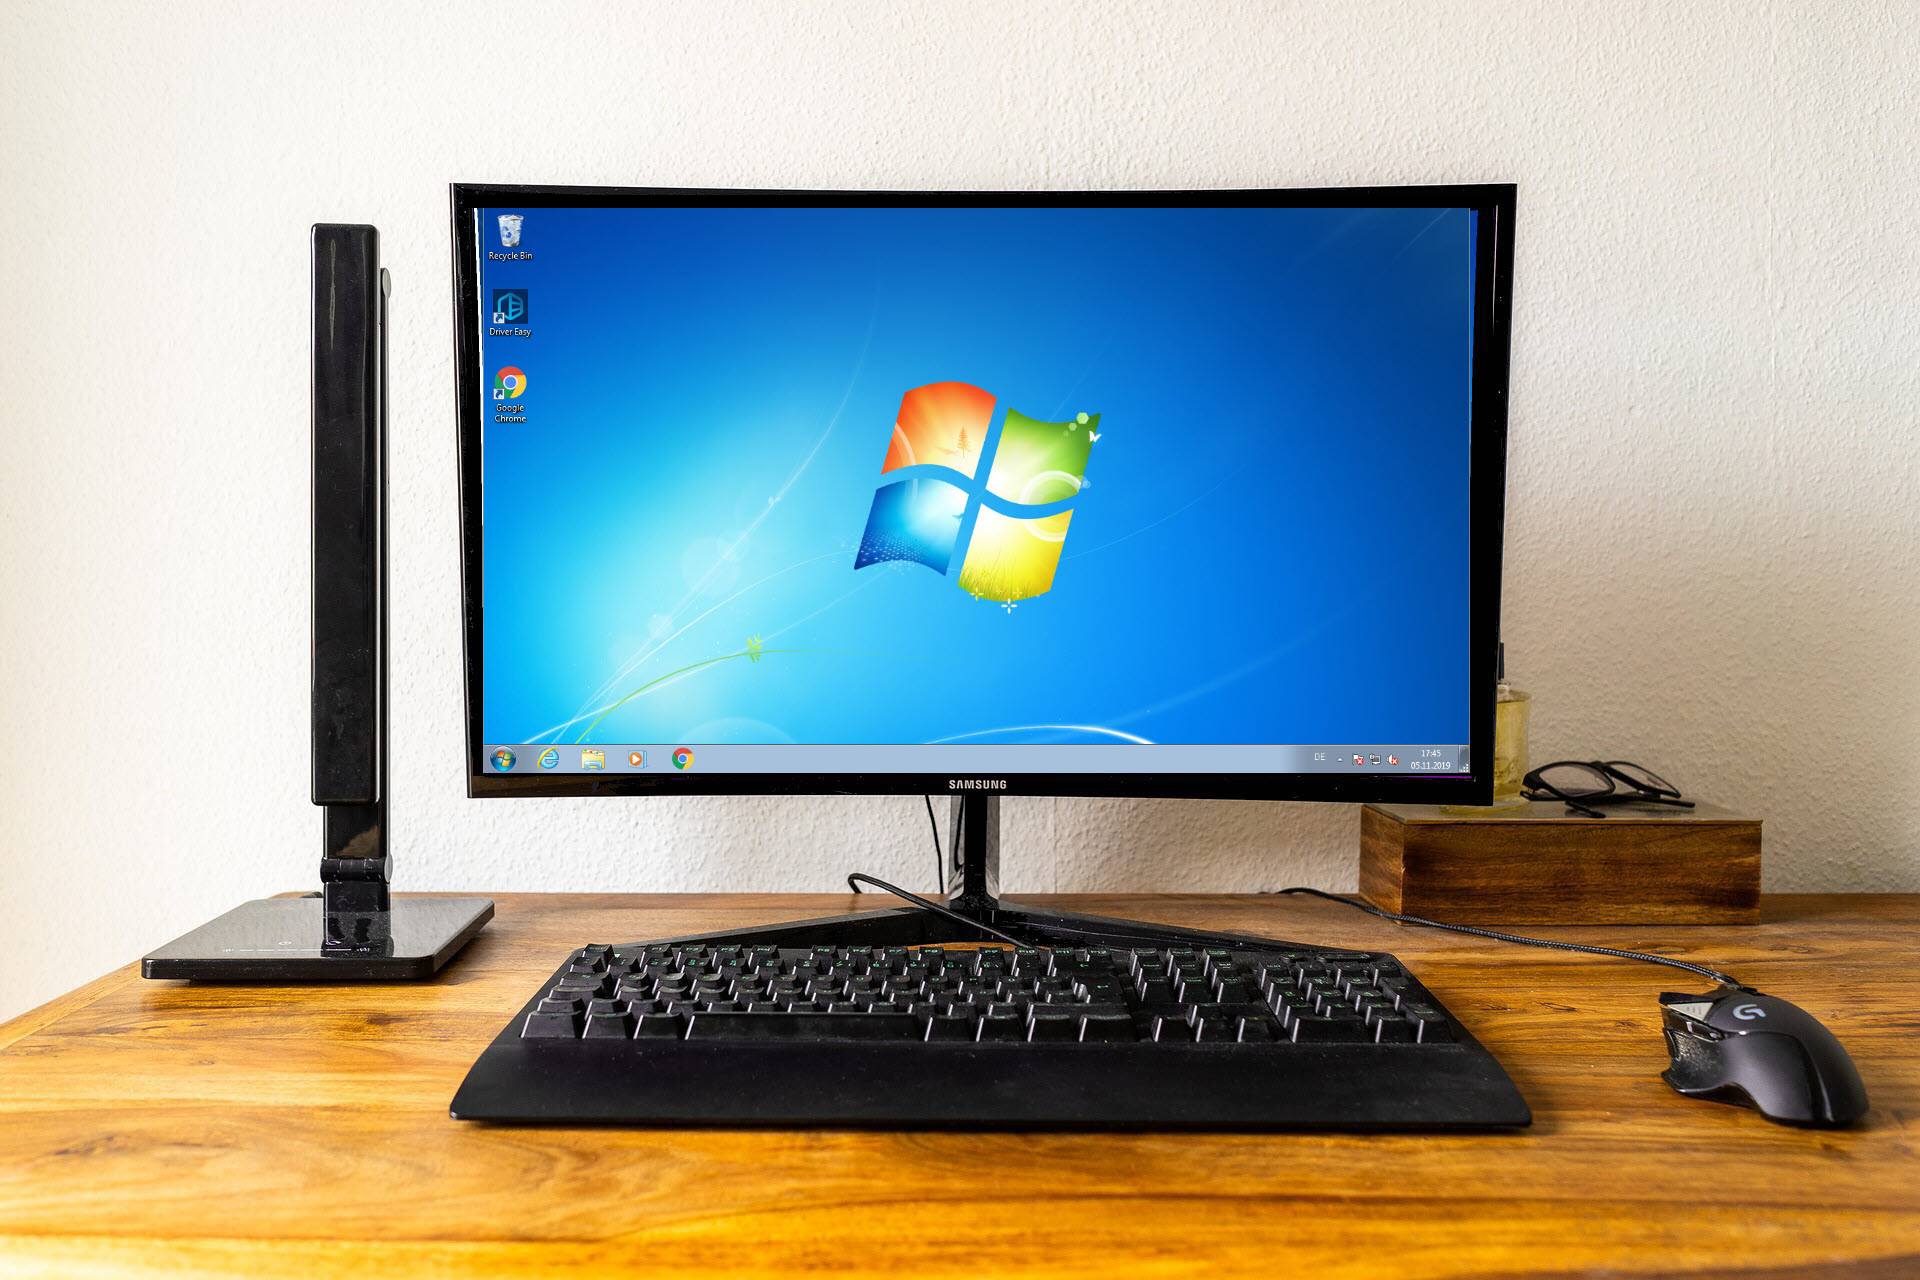
Creating a Wi-Fi hotspot on your Windows 7 desktop can be a game-changer, especially when you need to share your internet connection with multiple devices or enable a seamless connection for your friends, family, or colleagues. This step-by-step guide will walk you through the process of setting up a Wi-Fi hotspot on your Windows 7 desktop, transforming it into a hub for wireless connectivity.
By following this guide, you can leverage your desktop's internet connection to create a Wi-Fi hotspot, allowing other devices such as laptops, smartphones, and tablets to connect and access the internet. Whether you're in a location with limited Wi-Fi access or simply want to extend your network to other devices, this feature can prove to be incredibly useful.
With the increasing reliance on wireless connectivity in today's digital world, knowing how to create a Wi-Fi hotspot on your Windows 7 desktop can provide you with greater flexibility and convenience. Whether you're at home, in a coffee shop, or at a business meeting, having the ability to establish a Wi-Fi hotspot can make a significant difference in your connectivity options.
This guide aims to simplify the process, enabling you to set up a Wi-Fi hotspot with ease. By the end of this tutorial, you'll have a fully functional Wi-Fi hotspot on your Windows 7 desktop, ready to connect your devices seamlessly. So, let's dive into the steps and get your Wi-Fi hotspot up and running!
Step 1: Check if your computer has a wireless network adapter
Before diving into the process of setting up a Wi-Fi hotspot on your Windows 7 desktop, it's crucial to ensure that your computer is equipped with a wireless network adapter. This hardware component is essential for enabling wireless connectivity and establishing a Wi-Fi hotspot. Here's how to check if your computer has a wireless network adapter:
Method 1: Device Manager
-
Open Device Manager: Click on the "Start" button, right-click on "Computer," and select "Manage." In the Computer Management window, click on "Device Manager" in the left pane.
-
Locate Network Adapters: In the Device Manager window, expand the "Network adapters" category. Look for any entries that include the terms "wireless," "Wi-Fi," or the specific model name of a wireless network adapter.
-
Check for Wireless Network Adapter: If you find a wireless network adapter listed under Network Adapters, it indicates that your computer is equipped with the necessary hardware to create a Wi-Fi hotspot.
Method 2: Network Connections
-
Access Network Connections: Right-click on the network icon in the system tray and select "Open Network and Sharing Center." Alternatively, you can navigate to the Control Panel, click on "Network and Sharing Center," and then select "Change adapter settings" from the left pane.
-
Identify Wireless Network Adapter: In the Network Connections window, look for any connections labeled as "Wireless Network Connection" or similar. This designation indicates the presence of a wireless network adapter.
Method 3: Physical Inspection
If you are unable to confirm the presence of a wireless network adapter using the above methods, consider physically inspecting your computer. Laptops often have a physical switch or a keyboard shortcut to enable or disable wireless connectivity. Additionally, some desktop computers may require the installation of a separate wireless network adapter.
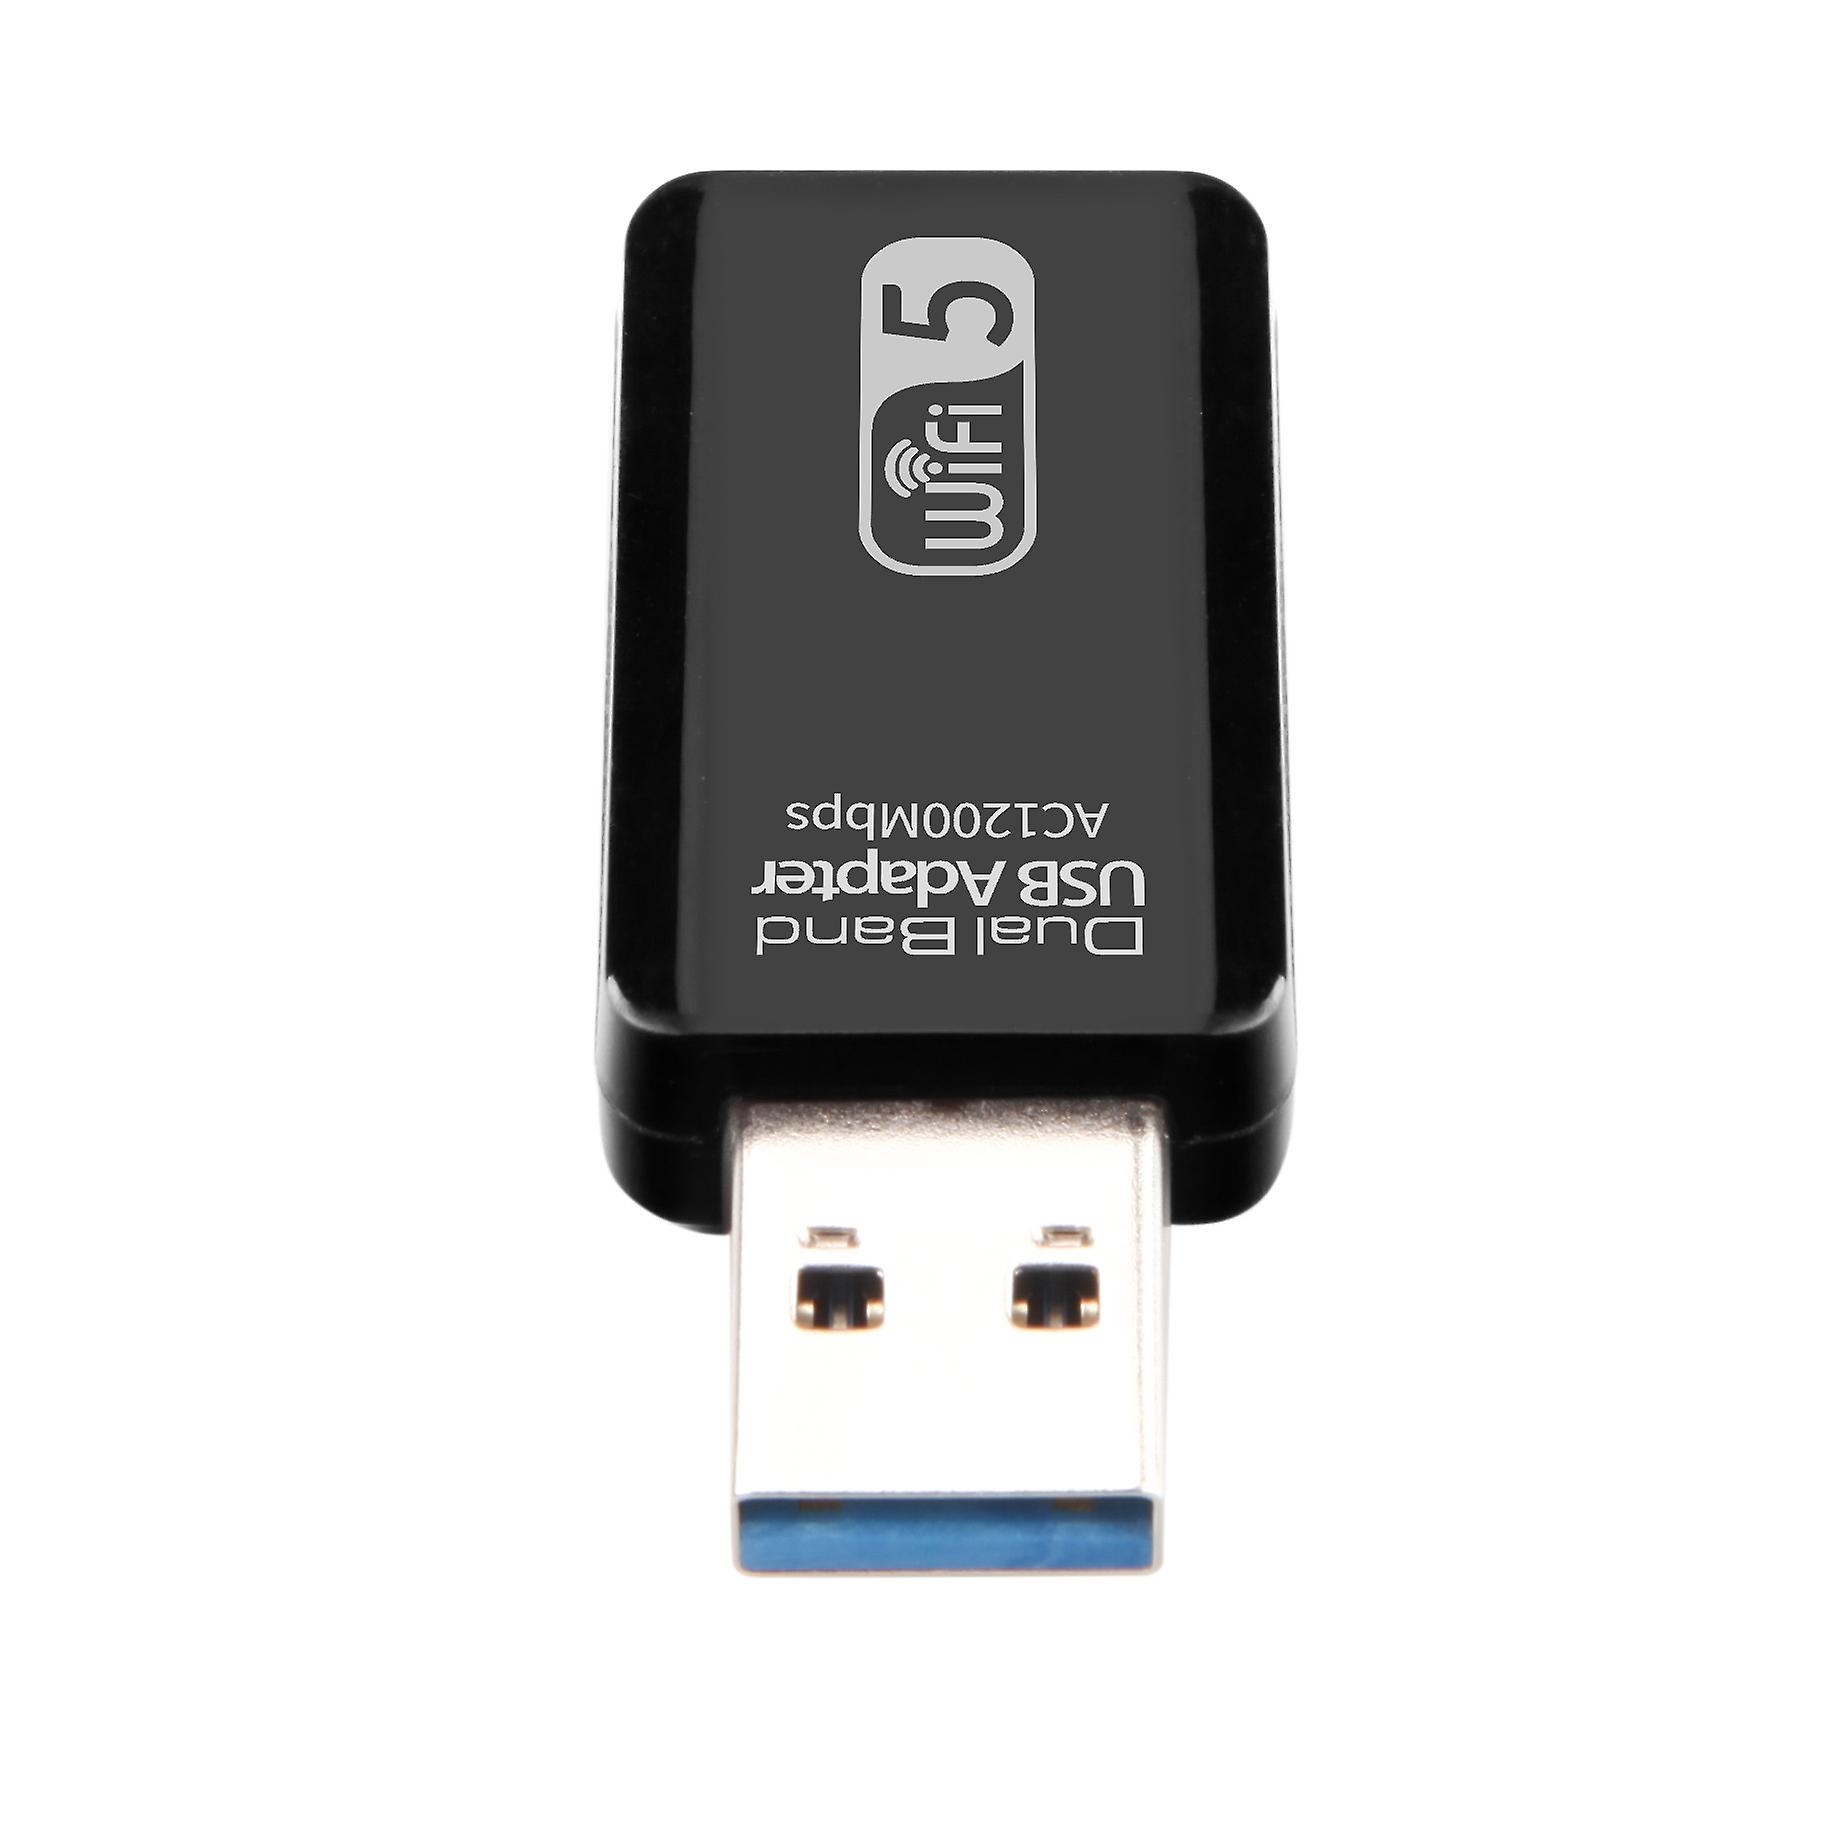
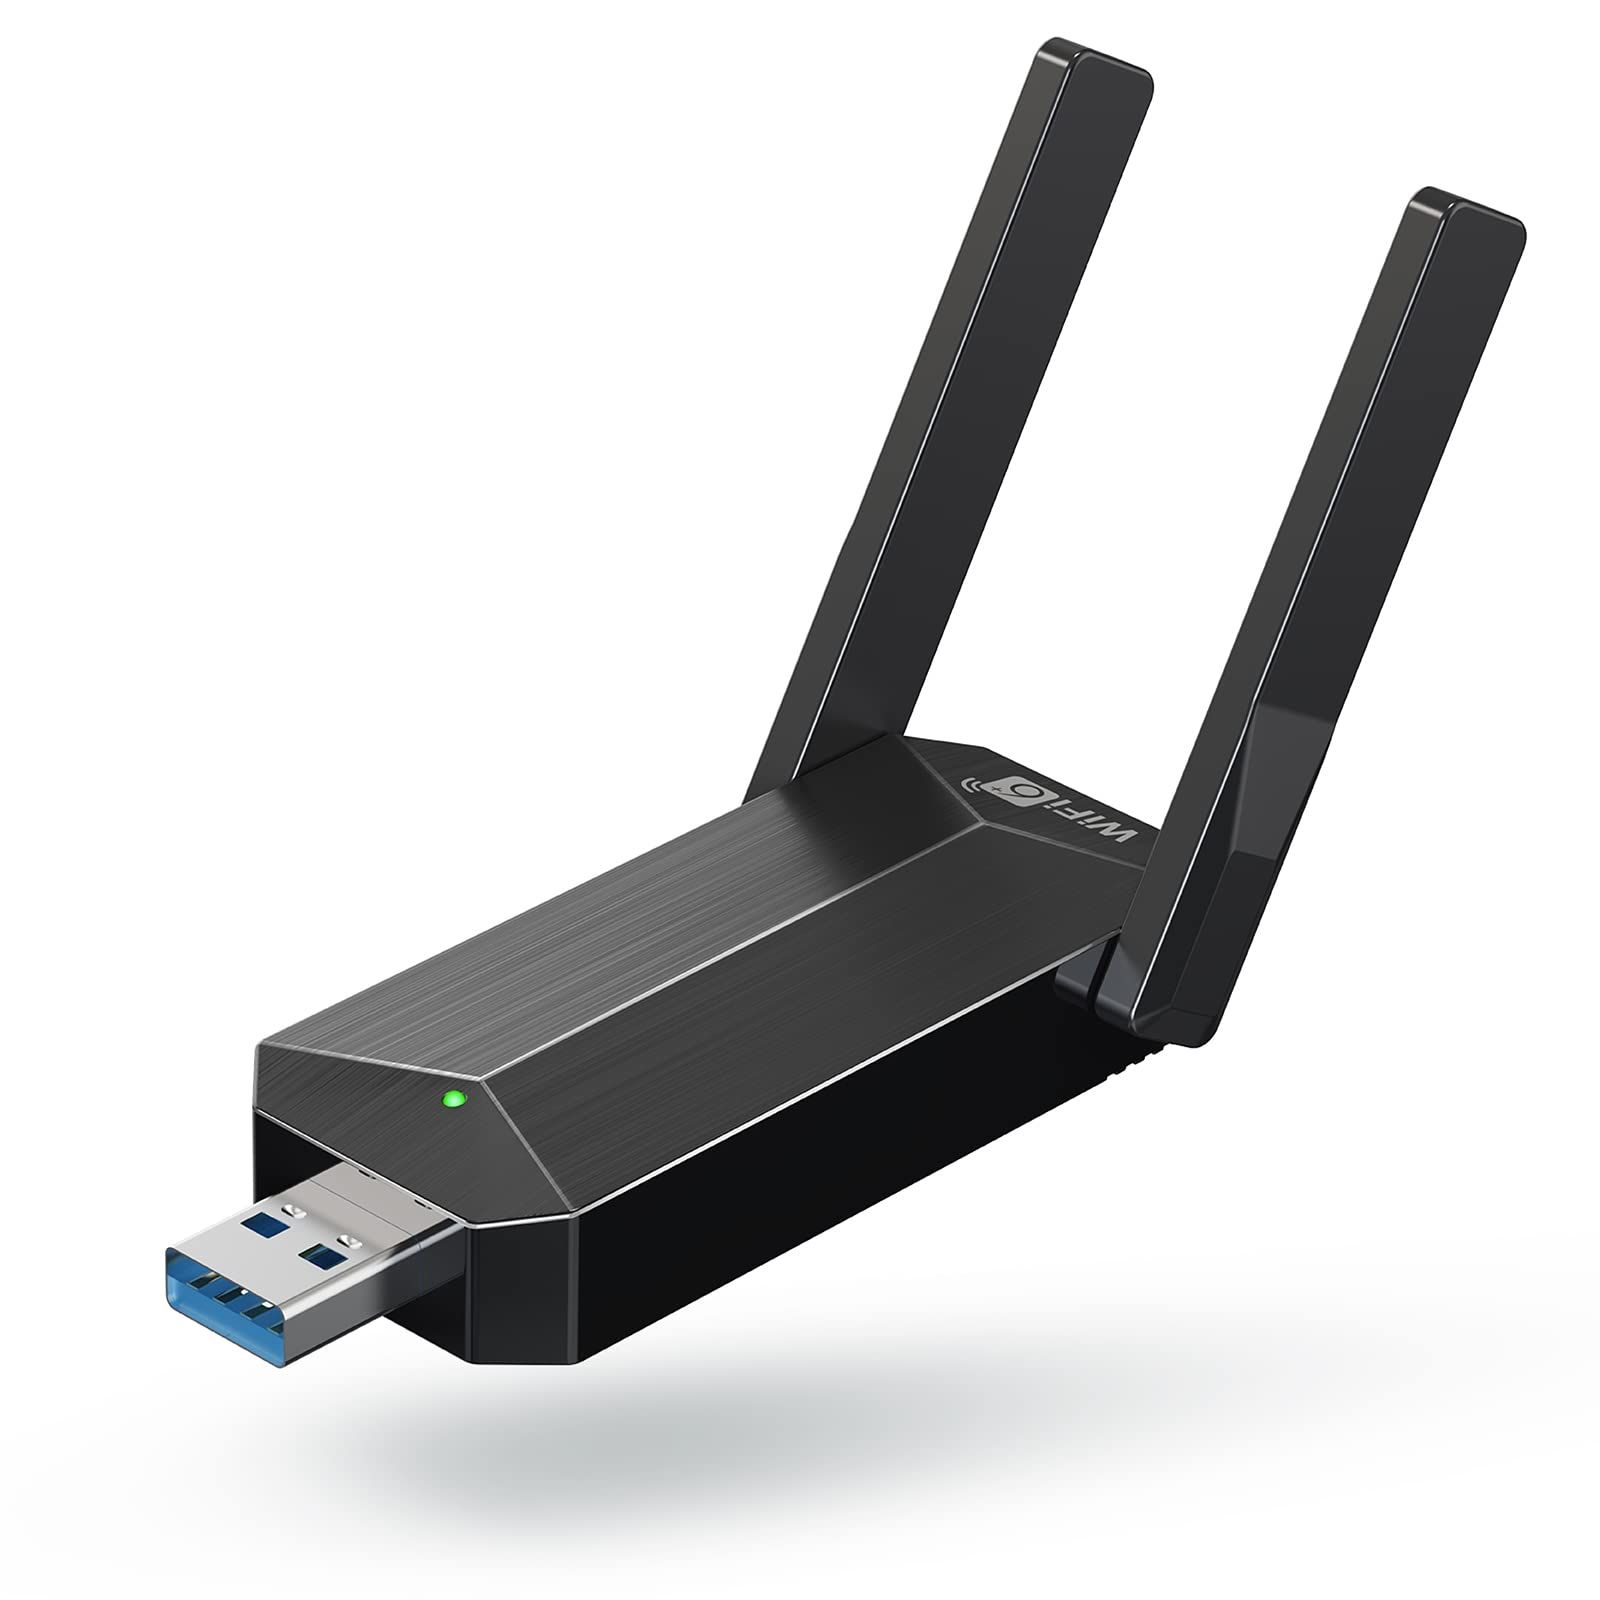
By verifying the presence of a wireless network adapter through these methods, you can ensure that your Windows 7 desktop is capable of creating a Wi-Fi hotspot. If your computer lacks a built-in wireless network adapter, you may explore external USB Wi-Fi adapters as a viable solution to enable wireless connectivity.
Ensuring the presence of a wireless network adapter is the first step toward establishing a functional Wi-Fi hotspot on your Windows 7 desktop. Once you've confirmed the availability of this essential hardware component, you can proceed with confidence to the next steps of setting up the wireless network and configuring the necessary settings.
Step 2: Set up the wireless network
Once you've confirmed the presence of a wireless network adapter on your Windows 7 desktop, the next step is to set up the wireless network, laying the foundation for creating a Wi-Fi hotspot. This process involves configuring the network settings and establishing the parameters for the wireless connection. Here's a detailed walkthrough of how to set up the wireless network:
Method 1: Accessing Network and Sharing Center
-
Open Network and Sharing Center: Click on the network icon in the system tray and select "Open Network and Sharing Center." Alternatively, navigate to the Control Panel, click on "Network and Sharing Center," and then select "Set up a new connection or network" from the left pane.
-
Choose the Network Type: In the "Set Up a Connection or Network" window, select "Set up a wireless ad hoc (computer-to-computer) network" and click "Next."
-
Enter Network Information: Follow the on-screen instructions to enter the network name (SSID), security type, and security key (password) for your wireless network. You can choose to enable or disable security, depending on your preferences.
-
Complete the Setup: Once you've entered the necessary network information, click "Next" and then "Close" to complete the setup process. Your wireless network is now configured and ready for the next steps.
Method 2: Command Prompt (Advanced Users)
-
Open Command Prompt: Right-click on the "Start" button and select "Command Prompt (Admin)" to open the Command Prompt with administrative privileges.
-
Enter Command: Type the following command and press Enter:
netsh wlan set hostednetwork mode=allow ssid=YourNetworkName key=YourNetworkPassword
Replace "YourNetworkName" with your desired network name (SSID) and "YourNetworkPassword" with your preferred network password.
-
Start the Hosted Network: After entering the command, type the following command and press Enter to start the hosted network:
netsh wlan start hostednetwork
-
Verify Hosted Network Status: You can verify the status of the hosted network by typing the command below and pressing Enter:
netsh wlan show hostednetwork
Setting up the wireless network is a crucial step in preparing your Windows 7 desktop to function as a Wi-Fi hotspot. Once the wireless network is established, you can proceed to configure the network settings and initiate the Wi-Fi hotspot, enabling seamless connectivity for other devices.
Step 3: Configure the network settings
Configuring the network settings is a pivotal phase in the process of transforming your Windows 7 desktop into a functional Wi-Fi hotspot. This step involves fine-tuning the parameters of the wireless network, ensuring optimal performance, security, and compatibility with connected devices. By carefully configuring the network settings, you can create a seamless and reliable Wi-Fi hotspot experience for yourself and others who wish to connect to your network.
Method 1: Network and Sharing Center
-
Access Network and Sharing Center: Begin by accessing the Network and Sharing Center through the control panel or the system tray. Click on "Manage wireless networks" to view the available networks.
-
Modify Network Properties: Right-click on the wireless network you created in the previous step and select "Properties." Here, you can adjust various settings such as security type, encryption method, and network authentication.
-
Sharing Tab: Navigate to the "Sharing" tab and check the box that allows other network users to connect through this computer's internet connection. This step is essential for enabling the Wi-Fi hotspot functionality.
Method 2: Command Prompt (Advanced Users)
-
Open Command Prompt: Access the Command Prompt with administrative privileges as demonstrated in the previous step.
-
Adjust Network Settings: Advanced users can utilize commands to fine-tune network settings, including security configurations and network visibility.
-
Customization Options: Through the command line, you can modify settings such as the network SSID, security key, encryption method, and other parameters to align with your specific preferences and requirements.
By configuring the network settings using either method, you can tailor the Wi-Fi hotspot to suit your unique needs, ensuring a secure, reliable, and efficient wireless network. These settings play a crucial role in dictating the accessibility, security, and performance of the Wi-Fi hotspot, ultimately shaping the user experience for those connecting to the network.
After configuring the network settings, your Windows 7 desktop is primed to initiate the Wi-Fi hotspot, allowing other devices to seamlessly connect and benefit from the shared internet connection. This brings us to the next step of starting the Wi-Fi hotspot and making it accessible to other devices.
Step 4: Start the Wi-Fi hotspot
Initiating the Wi-Fi hotspot on your Windows 7 desktop marks the pivotal moment when your computer transforms into a hub for wireless connectivity, enabling other devices to seamlessly access the shared internet connection. This step involves activating the hosted network, which effectively broadcasts the wireless signal and allows devices within range to connect to the Wi-Fi hotspot.
Method 1: Using Command Prompt
-
Access Command Prompt: Open the Command Prompt with administrative privileges by right-clicking on the "Start" button and selecting "Command Prompt (Admin)."
-
Start the Hosted Network: Type the following command and press Enter:
netsh wlan start hostednetwork
This command triggers the activation of the hosted network, initiating the Wi-Fi hotspot functionality on your Windows 7 desktop.
-
Verify Hosted Network Status: To confirm the successful start of the hosted network, enter the following command and press Enter:
netsh wlan show hostednetwork
This command provides details about the hosted network, including its status, SSID, mode, and other relevant information.
Method 2: Using Network and Sharing Center
-
Access Network and Sharing Center: Navigate to the Network and Sharing Center through the control panel or the system tray.
-
Start the Hosted Network: In the Network and Sharing Center, click on "Change adapter settings." Right-click on the newly created wireless network and select "Enable." This action activates the hosted network, initiating the Wi-Fi hotspot functionality.
By starting the Wi-Fi hotspot using either method, you enable your Windows 7 desktop to broadcast the wireless signal, allowing other devices to detect and connect to the network. Once the hosted network is activated, devices within range can discover the Wi-Fi hotspot, providing them with the opportunity to establish a connection and access the shared internet connection.
With the Wi-Fi hotspot up and running, you have successfully transformed your Windows 7 desktop into a central access point for wireless connectivity, offering a convenient and versatile solution for sharing your internet connection with other devices. This sets the stage for the final step of connecting to the Wi-Fi hotspot and enjoying the seamless wireless connectivity it provides.
Step 5: Connect to the Wi-Fi hotspot
Connecting to the Wi-Fi hotspot created by your Windows 7 desktop is a straightforward process that enables other devices to access the shared internet connection. Whether you're using a laptop, smartphone, tablet, or any other Wi-Fi-enabled device, establishing a connection to the Wi-Fi hotspot allows you to leverage the internet connectivity provided by your desktop. Here's a comprehensive guide on how to connect to the Wi-Fi hotspot:
Method 1: Using a Laptop or Mobile Device
- Discover the Wi-Fi Network: On your laptop or mobile device, navigate to the list of available Wi-Fi networks. The network name (SSID) you specified during the setup process should be visible among the available networks.
- Select the Wi-Fi Hotspot: Locate the network name you assigned to your Wi-Fi hotspot and select it from the list of available networks.
- Enter the Security Key: If you configured a security key (password) for your Wi-Fi hotspot, you will be prompted to enter it. Input the security key to authenticate and establish the connection.
Method 2: Troubleshooting Connectivity Issues
- Check Network Visibility: If the Wi-Fi hotspot does not appear in the list of available networks, ensure that the hosted network is active on your Windows 7 desktop. You can verify the status of the hosted network using the command prompt or the Network and Sharing Center.
- Review Network Settings: Confirm that the network settings, including the SSID and security key, match the details you initially configured. Inconsistencies in the network settings can impede the connection process.
Method 3: Advanced Troubleshooting (For Network Administrators)
- Analyze Network Logs: Network administrators can leverage diagnostic tools and logs to identify potential issues affecting the connectivity to the Wi-Fi hotspot. Analyzing network logs can provide insights into connectivity errors and help in resolving them effectively.
- Adjust Network Parameters: Advanced users can fine-tune network parameters, such as channel settings and transmission power, to optimize the Wi-Fi hotspot's performance and address connectivity challenges.
By following these steps and troubleshooting guidelines, you can successfully connect your devices to the Wi-Fi hotspot created by your Windows 7 desktop. Once connected, you can enjoy seamless internet access, leveraging the shared connectivity to browse the web, stream media, and engage in online activities across your connected devices.
Establishing a connection to the Wi-Fi hotspot extends the utility of your Windows 7 desktop, empowering it to serve as a central hub for wireless connectivity. This capability proves invaluable in scenarios where traditional Wi-Fi access points are unavailable or when you need to share your internet connection with multiple devices in a convenient and efficient manner.
Conclusion
In conclusion, the ability to create a Wi-Fi hotspot on your Windows 7 desktop presents a multitude of advantages, offering a convenient solution for sharing your internet connection with other devices. By following the step-by-step guide outlined in this tutorial, you have gained the knowledge and skills to transform your desktop into a central hub for wireless connectivity, providing a valuable resource for yourself and those around you.
The process of setting up a Wi-Fi hotspot on your Windows 7 desktop begins with the fundamental step of confirming the presence of a wireless network adapter. This hardware component serves as the cornerstone for enabling wireless connectivity, laying the groundwork for the subsequent stages of configuring the wireless network and initiating the Wi-Fi hotspot.
Once the wireless network is established and the network settings are carefully configured, your Windows 7 desktop is primed to function as a Wi-Fi hotspot. Activating the hosted network marks the pivotal moment when your computer transitions into a central access point, broadcasting the wireless signal and allowing other devices to seamlessly connect and access the shared internet connection.
The seamless connectivity offered by the Wi-Fi hotspot extends the utility of your Windows 7 desktop, providing a versatile solution for scenarios where traditional Wi-Fi access points are unavailable or impractical. Whether you're at home, in a public space, or in a professional setting, the ability to create a Wi-Fi hotspot empowers you to extend your internet connection to a diverse range of devices, fostering greater flexibility and convenience in your digital interactions.
Furthermore, the process of connecting to the Wi-Fi hotspot is streamlined and user-friendly, allowing other devices to establish a secure and reliable connection to your desktop's shared internet connection. This capability enhances collaboration, communication, and productivity, enabling seamless access to online resources across a spectrum of devices.
In essence, the knowledge and proficiency gained in creating a Wi-Fi hotspot on your Windows 7 desktop not only expand your technological capabilities but also contribute to a more connected and efficient digital ecosystem. By leveraging this feature, you can enhance your connectivity options, facilitate collaboration, and empower others to access the internet with ease, ultimately enriching the digital experiences of those around you.