Introduction
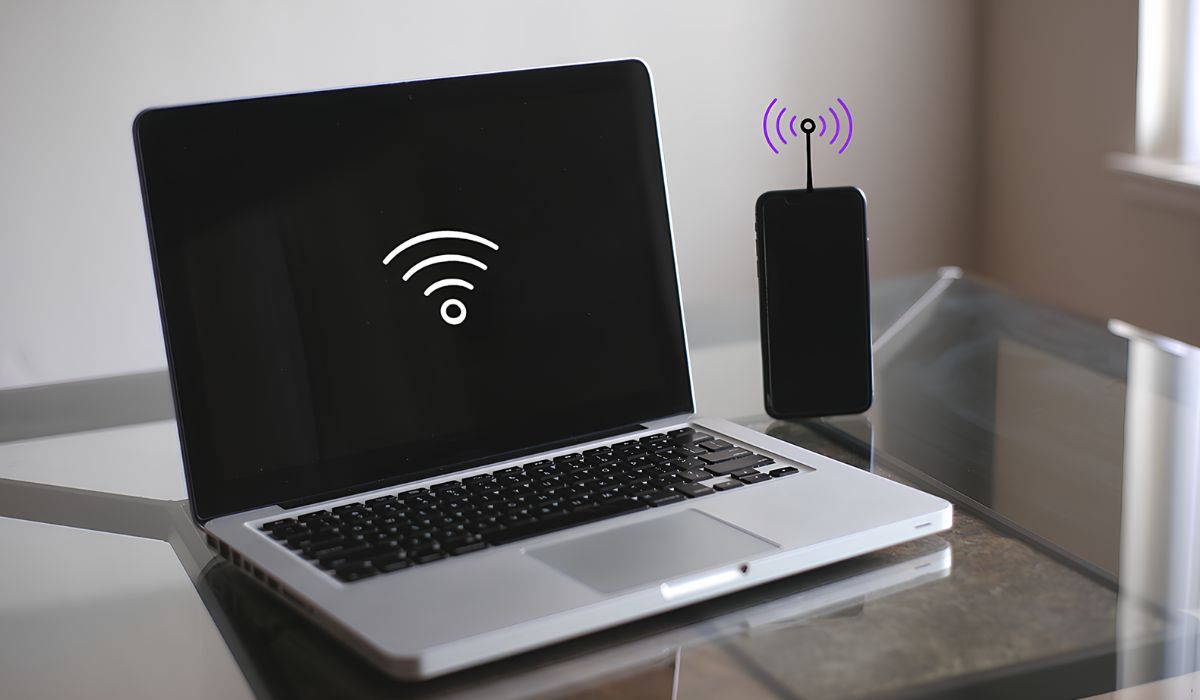
Have you ever found yourself in a situation where you needed internet access for your devices, but there was no Wi-Fi network available? This is where the hotspot feature on your laptop comes to the rescue. By turning your laptop into a hotspot, you can share its internet connection with other devices such as smartphones, tablets, and even other computers. This can be incredibly useful in various scenarios, such as when you're traveling, attending a meeting in a location with limited Wi-Fi access, or simply when you want to save on mobile data usage by utilizing your laptop's internet connection.
Creating a hotspot from your laptop can be a game-changer, providing a convenient way to stay connected without relying on traditional Wi-Fi networks. Whether you're a student needing internet access for your study group, a professional requiring connectivity for a presentation, or a traveler wanting to connect your devices on the go, learning how to set up and utilize the hotspot feature on your laptop can be a valuable skill.
In this guide, we will walk you through the step-by-step process of enabling and configuring the hotspot feature on your laptop. Additionally, we will discuss common troubleshooting tips to help you address any potential issues that may arise. By the end of this tutorial, you will have the knowledge and confidence to harness the full potential of your laptop's hotspot capability, empowering you to stay connected wherever you go. So, let's dive in and unlock the power of turning your laptop into a portable Wi-Fi hotspot!
Step 1: Check if Your Laptop has Hotspot Capability
Before diving into the process of setting up a hotspot on your laptop, it's essential to determine whether your device supports this feature. Not all laptops have built-in hotspot capabilities, and it's crucial to verify this to avoid frustration and unnecessary troubleshooting. Here's how to check if your laptop has hotspot capability:
Windows Operating System
If you are using a Windows laptop, follow these steps to check for hotspot capability:
-
Check Network Adapter Compatibility: Start by ensuring that your laptop's network adapter supports hosted network technology. This can be done through the Command Prompt by entering the following command:
netsh wlan show drivers. Look for the line that says "Hosted network supported." If the response is "Yes," your laptop can create a hotspot. -
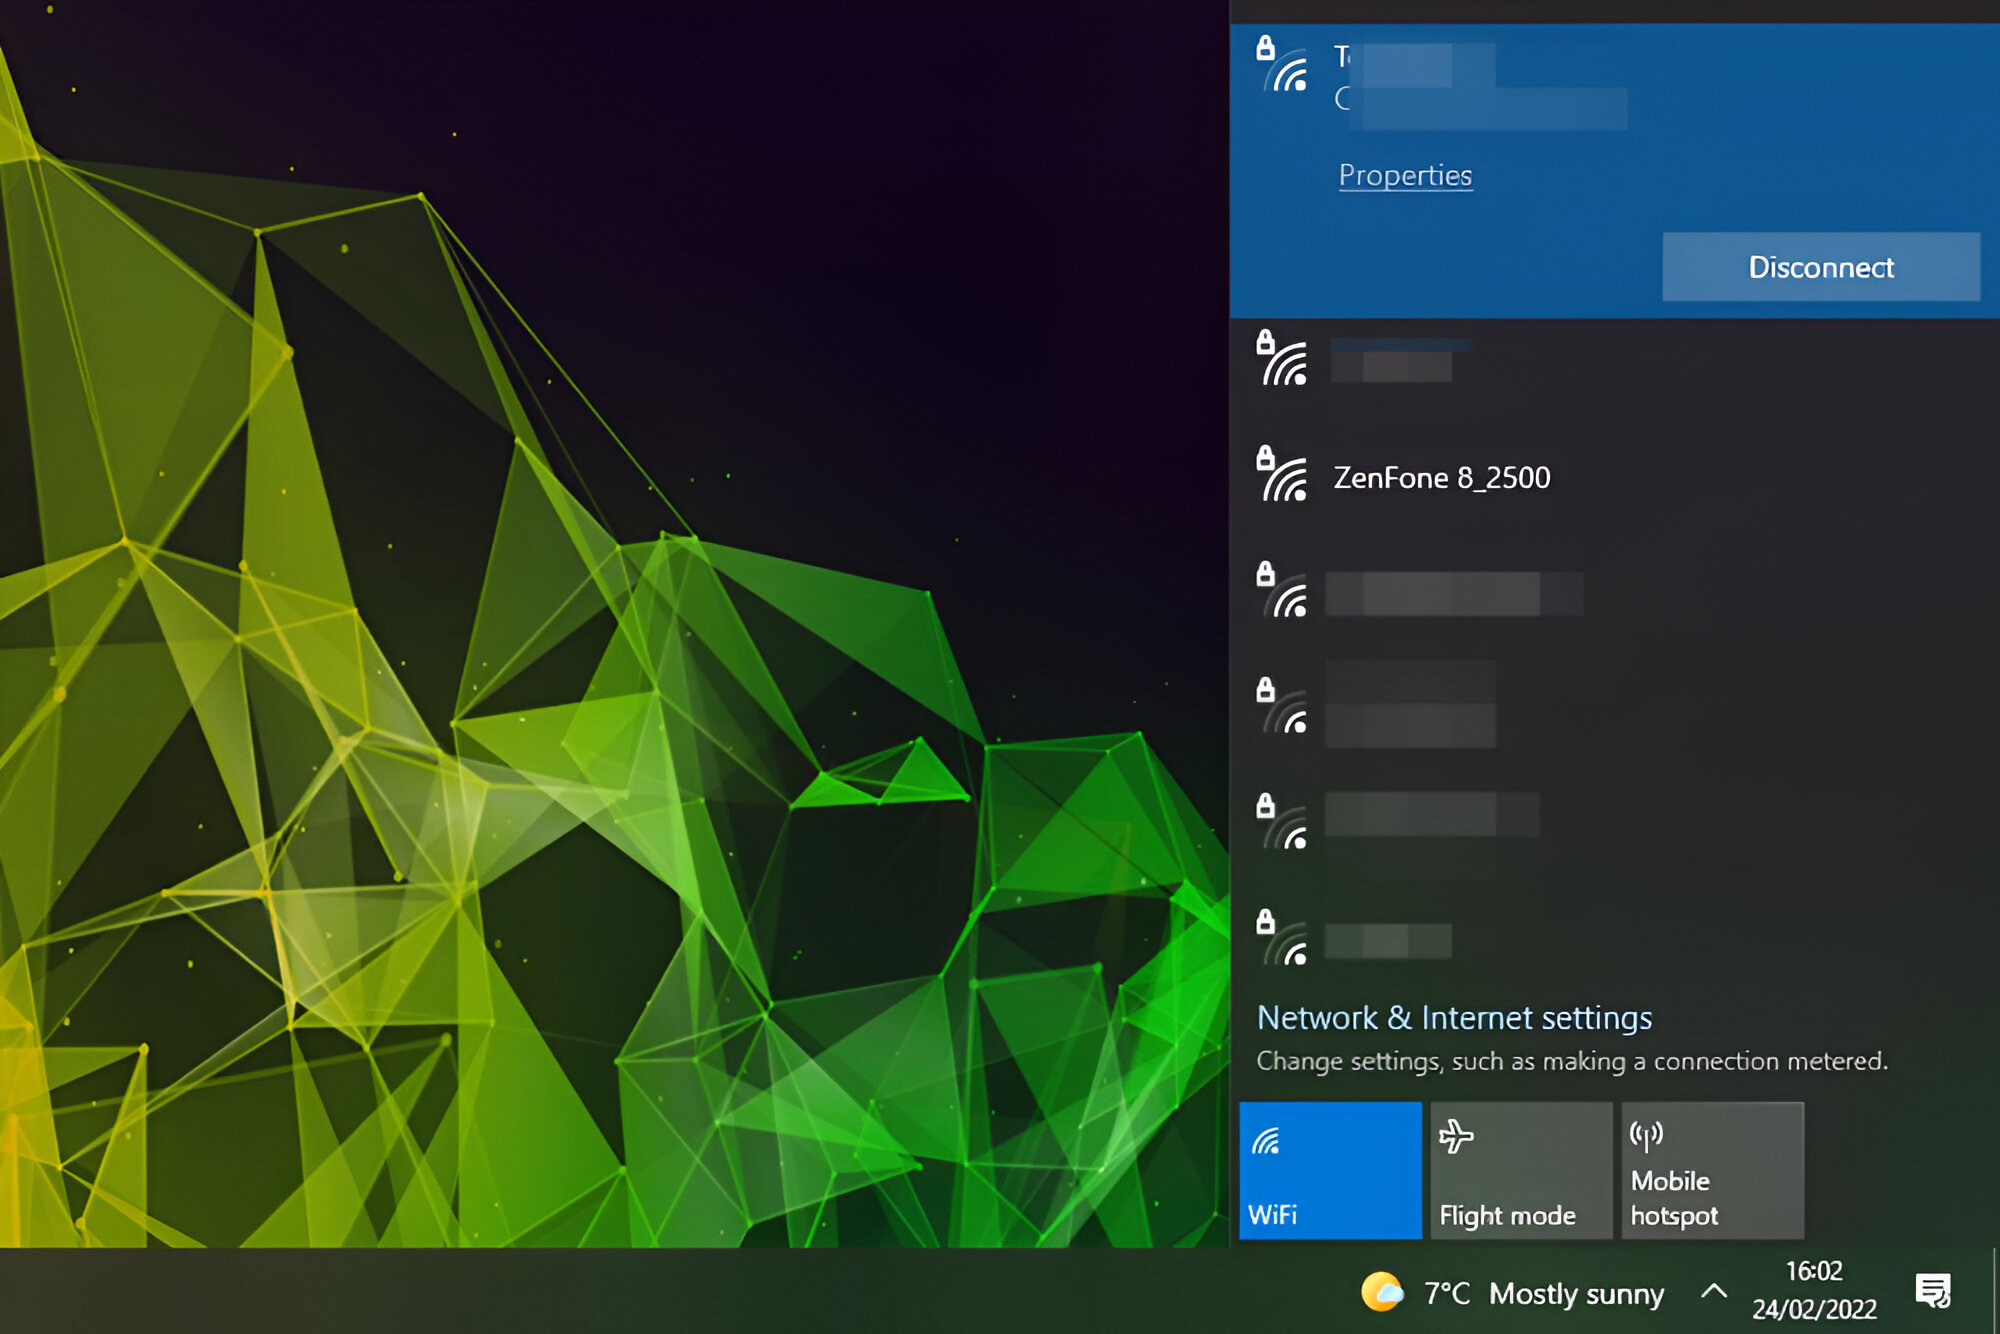
Search for Mobile Hotspot Settings: In newer versions of Windows 10, Microsoft introduced the "Mobile Hotspot" feature, which allows laptops to share their internet connection. To check if your laptop has this feature, go to Settings > Network & Internet > Mobile hotspot. If you see the option to set up a hotspot, your laptop supports this capability.
MacOS
For MacBook users, the process of checking for hotspot capability is slightly different:
-
Spotlight Search for Internet Sharing: Use Spotlight Search (Cmd + Space) and type "Internet Sharing." If the System Preferences window opens with the Internet Sharing option, your MacBook can be used as a hotspot.
-
Verify Wireless Card Compatibility: Another way to confirm hotspot capability is by checking the wireless card specifications. You can find this information by clicking the Apple logo in the top-left corner, selecting "About This Mac," and then navigating to the "System Report" section. Look for the "Wi-Fi" or "AirPort" entry and verify if it supports the "Create network" feature.
Linux
If you are using a Linux-based laptop, the process may vary based on the distribution and desktop environment. Generally, you can check for hotspot capability by examining the network settings or using command-line tools specific to your distribution.
By following these steps, you can quickly determine whether your laptop has the necessary capabilities to create a hotspot. If your device supports this feature, you are ready to proceed to the next step of enabling the hotspot on your laptop.
Remember, if your laptop does not have built-in hotspot capability, there are alternative solutions such as using third-party software or hardware devices to achieve the same functionality. However, for the purpose of this guide, we will focus on laptops with native hotspot capabilities.
Step 2: Enable Hotspot on Your Laptop
Now that you've confirmed your laptop's hotspot capability, it's time to enable this feature and start sharing your internet connection with other devices. Whether you're using a Windows laptop, MacBook, or a Linux-based device, the process of enabling the hotspot is relatively straightforward. Here's a detailed guide on how to enable the hotspot feature on different operating systems:
Windows Operating System
Using Settings:
- Open Settings: Click on the Start menu, then select "Settings" (the gear icon).
- Navigate to Network & Internet: In the Settings window, click on "Network & Internet."
- Access Mobile Hotspot Settings: On the left-hand side, select "Mobile hotspot."
- Turn on the Hotspot: Toggle the "Mobile hotspot" switch to the "On" position.
Using Command Prompt:
-
Open Command Prompt: Right-click on the Start button and select "Windows Terminal (Admin)" to open Command Prompt with administrative privileges.
-
Enter Command: Type the following command and press Enter:
netsh wlan set hostednetwork mode=allow ssid=YourNetworkName key=YourPassword- Replace "YourNetworkName" with the name you want to assign to your hotspot and "YourPassword" with the desired password.
-
Start the Hotspot: After entering the command, type
netsh wlan start hostednetworkand press Enter.
MacOS
- Access System Preferences: Click on the Apple logo in the top-left corner, then select "System Preferences."
- Open Sharing Settings: In System Preferences, click on "Sharing."
- Enable Internet Sharing: On the left-hand side, check the box next to "Internet Sharing."
- Choose Network to Share: From the "Share your connection from" dropdown menu, select the network connection you want to share.
- Select Devices to Share With: In the "To computers using" box, check the box next to "Wi-Fi."
Linux
The process of enabling a hotspot on Linux may vary based on the distribution and desktop environment. However, many Linux distributions offer built-in tools for creating hotspots. One common method involves using the Network Manager applet to set up a hotspot.
By following these steps specific to your operating system, you can easily enable the hotspot feature on your laptop and begin sharing your internet connection with other devices. Once the hotspot is activated, you're ready to proceed to the next step of configuring the hotspot settings to ensure a seamless and secure connection for your connected devices.
Step 3: Configure Hotspot Settings
Configuring the hotspot settings is a crucial step in ensuring a seamless and secure connection for the devices that will be connected to your laptop's hotspot. By customizing the hotspot settings, you can optimize the network name, security protocols, and other parameters to meet your specific requirements. Let's delve into the detailed process of configuring the hotspot settings on different operating systems.
Windows Operating System
Using Settings:
-
Customize Network Name (SSID): In the "Mobile hotspot" settings, you can modify the default network name to a more personalized and recognizable SSID. Click on "Edit" under the network name and enter your preferred name.
-
Choose Network Band: If your laptop supports both 2.4GHz and 5GHz bands, you can select the desired band for your hotspot. This can be beneficial in crowded Wi-Fi environments to minimize interference and improve connection stability.
-
Set Network Password: Under the network settings, you can change the default password to a strong and memorable passphrase. Ensure that the password is at least 8 characters long and includes a mix of letters, numbers, and special characters for enhanced security.
Using Command Prompt:
When setting up the hotspot using Command Prompt, you can configure the network name and password directly in the command for a streamlined process. Ensure that the SSID and password are specified in the command to create the hotspot with your preferred settings.
MacOS
-
Customize Network Name and Security: In the "Internet Sharing" settings, you can specify the network name and security type for your hotspot. Choose a unique network name and select the appropriate security protocol (WPA2 is recommended for strong encryption).
-
Adjust Channel: If necessary, you can change the wireless channel to optimize the signal strength and minimize interference from other networks in the vicinity.
-
Review Sharing Options: Double-check the sharing options to ensure that the correct network connection is being shared and that the "Wi-Fi" option is selected for sharing with other devices.
Linux
The process of configuring hotspot settings on Linux varies based on the distribution and network management tools. In general, you can use the network settings or specific hotspot configuration tools provided by the desktop environment to customize the network name, security, and other parameters.
By customizing these settings according to your preferences and requirements, you can create a personalized hotspot that offers a secure and reliable connection for the devices that will be connected to your laptop. Once the hotspot settings are configured, you are ready to connect your devices and enjoy the benefits of your laptop's portable Wi-Fi hotspot.
Step 4: Connect Devices to Your Laptop's Hotspot
Now that you've successfully enabled and configured the hotspot on your laptop, it's time to connect your devices and start enjoying the benefits of wireless internet access. Whether you're using a smartphone, tablet, or another computer, the process of connecting to your laptop's hotspot is straightforward and can be completed in just a few simple steps.
Windows Operating System
If you're using a Windows laptop as the hotspot source, follow these steps to connect your devices:
-
Open Network Settings: On the device you want to connect, navigate to the network settings or Wi-Fi settings.
-
Select Laptop's Hotspot: Look for the network name (SSID) of your laptop's hotspot in the list of available networks. Click on it to initiate the connection.
-
Enter Hotspot Password: If prompted, enter the password you set for your laptop's hotspot. This is the same password you configured during the hotspot setup process.
-
Connect and Enjoy: Once the correct password is entered, the device will establish a connection to your laptop's hotspot. You can now enjoy internet access on the connected device.
MacOS
For MacBook users, connecting to your laptop's hotspot is equally simple:
-
Access Wi-Fi Settings: On the device you wish to connect, go to the Wi-Fi settings in the system menu or control center.
-
Choose Laptop's Hotspot: Locate the network name of your laptop's hotspot in the available networks list and click on it to begin the connection process.
-
Provide Hotspot Password: If prompted, enter the password you set for your laptop's hotspot during the configuration.
-
Complete the Connection: Once the correct password is entered, the device will establish a connection to your laptop's hotspot, allowing you to browse the web and use online services.
Linux
The process of connecting devices to your laptop's hotspot on Linux-based systems may vary slightly based on the distribution and desktop environment. However, in general, you can follow these steps:
-
Access Network Settings: Open the network settings or Wi-Fi settings on the device you want to connect.
-
Select Laptop's Hotspot: Look for the network name of your laptop's hotspot in the available networks list and choose it to initiate the connection process.
-
Enter Hotspot Password: If prompted, enter the password you set for your laptop's hotspot when configuring the hotspot settings.
-
Establish Connection: After entering the correct password, the device will connect to your laptop's hotspot, granting access to the internet and online resources.
By following these steps specific to your device's operating system, you can easily connect your devices to your laptop's hotspot and enjoy the convenience of wireless internet access. Whether you're working, streaming, or staying connected on the go, your laptop's hotspot provides a reliable and versatile solution for staying online.
Step 5: Troubleshooting Common Hotspot Issues
While utilizing your laptop's hotspot can be incredibly convenient, it's not uncommon to encounter occasional issues that may disrupt the seamless connectivity of your devices. Understanding how to troubleshoot these common hotspot issues can help you quickly resolve any disruptions and ensure a reliable internet connection for all your connected devices. Here's a comprehensive guide to troubleshooting common hotspot issues:
1. Connectivity Problems
- Issue: Devices are unable to detect or connect to the laptop's hotspot.
- Troubleshooting Steps:
- Ensure that the hotspot is enabled on your laptop and that the network name (SSID) is visible to other devices.
- Verify that the hotspot password is entered correctly on the connecting devices.
- Restart the hotspot on your laptop and attempt to reconnect the devices.
2. Limited or No Internet Access
- Issue: Devices connect to the hotspot but experience limited or no internet connectivity.
- Troubleshooting Steps:
- Check your laptop's internet connection to ensure it is functioning properly.
- Verify that the hotspot is actively transmitting data by checking the network status on your laptop.
- Restart the hotspot and reconnect the devices to see if the issue is resolved.
3. Slow Connection Speed
- Issue: Devices experience sluggish internet speeds when connected to the laptop's hotspot.
- Troubleshooting Steps:
- Check the number of connected devices to the hotspot, as excessive simultaneous connections can impact speed.
- Move the connected devices closer to the laptop to improve signal strength and speed.
- Consider reducing the bandwidth-intensive activities on the connected devices to alleviate the strain on the hotspot.
4. Intermittent Disconnections
- Issue: Devices frequently disconnect from the laptop's hotspot.
- Troubleshooting Steps:
- Ensure that your laptop's wireless network adapter drivers are up to date.
- Check for interference from other electronic devices or neighboring Wi-Fi networks that may disrupt the hotspot signal.
- Adjust the hotspot channel or frequency settings to minimize interference and improve stability.
5. Security Concerns
- Issue: Suspected unauthorized access to the laptop's hotspot or concerns about network security.
- Troubleshooting Steps:
- Change the hotspot password to a strong, unique passphrase to prevent unauthorized access.
- Enable network encryption (e.g., WPA2) to enhance the security of the hotspot.
- Regularly review the list of connected devices to identify any unfamiliar connections.
By following these troubleshooting steps, you can effectively address common hotspot issues and maintain a reliable and secure connection for all your connected devices. Should you encounter persistent or complex issues, consider consulting your laptop's manufacturer support or seeking assistance from a qualified IT professional to further diagnose and resolve the problems.
Conclusion
In conclusion, harnessing the power of your laptop's hotspot capability opens up a world of connectivity possibilities, allowing you to stay online and productive in various scenarios. By following the step-by-step guide outlined in this tutorial, you have gained the knowledge and skills to transform your laptop into a portable Wi-Fi hotspot, creating a reliable and versatile internet access point for your devices.
Enabling and configuring the hotspot feature on your laptop empowers you to share your internet connection with smartphones, tablets, and other computers, providing a convenient solution for staying connected in environments with limited or no traditional Wi-Fi access. Whether you're a student collaborating on projects, a professional presenting in a conference room, or a traveler seeking connectivity on the go, the ability to create a hotspot from your laptop offers a valuable edge in today's interconnected world.
Moreover, the troubleshooting tips provided equip you with the know-how to address common hotspot issues, ensuring that you can quickly resolve connectivity disruptions and maintain a seamless internet experience for all your connected devices.
By understanding the specific steps for different operating systems, including Windows, MacOS, and Linux, you have acquired a comprehensive understanding of how to leverage your laptop's hotspot functionality regardless of the platform you use. This knowledge empowers you to adapt and utilize the hotspot feature across a wide range of devices and operating environments, enhancing your flexibility and connectivity options.
In essence, the ability to turn your laptop into a hotspot represents a powerful tool in your digital arsenal, offering a reliable and secure means of internet access wherever you go. Whether you're at home, in a remote location, or on the move, the hotspot feature on your laptop provides a seamless bridge to the online world, enabling you to work, communicate, and stay informed with ease.
As technology continues to evolve, the versatility and convenience of utilizing your laptop as a hotspot further solidify its status as an essential feature for modern connectivity. Embracing this capability not only enhances your personal productivity but also underscores your adaptability in leveraging technology to overcome connectivity challenges.
In conclusion, by mastering the art of setting up and utilizing your laptop's hotspot, you have unlocked a valuable resource that empowers you to stay connected, productive, and engaged in today's dynamic digital landscape.