Introduction
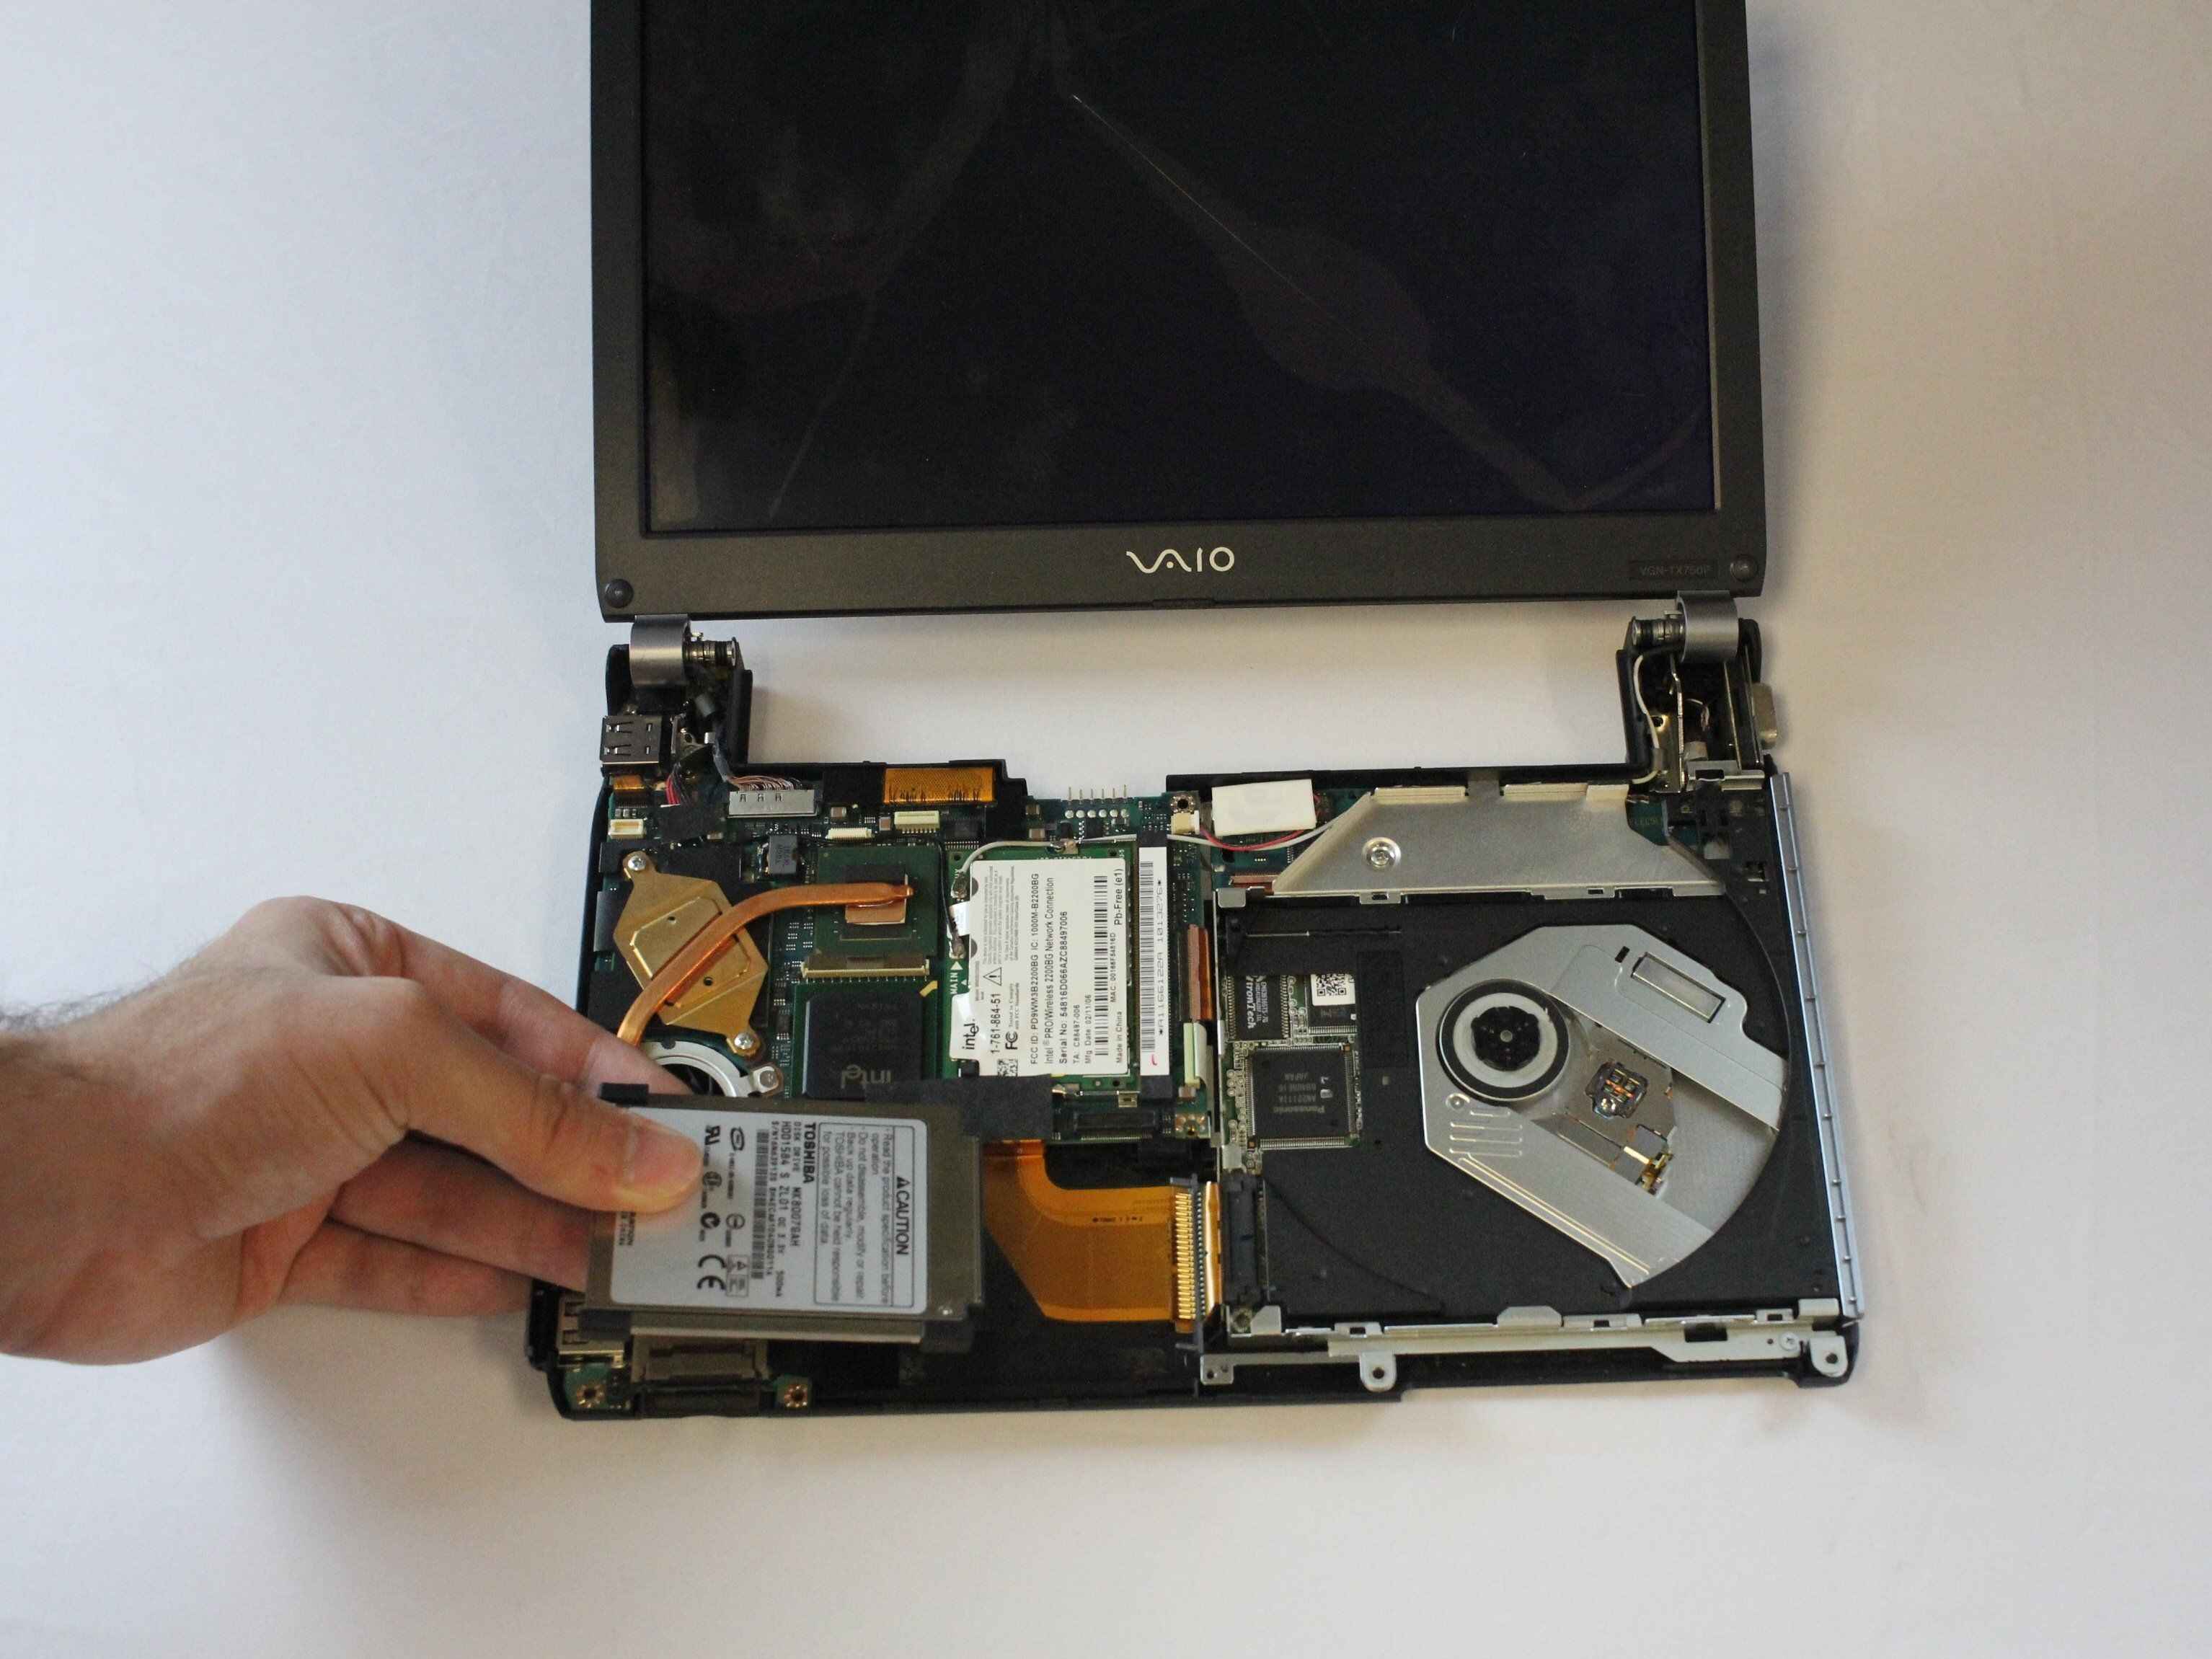
Connecting a hard disk drive (HDD) to a motherboard is a crucial step when building or upgrading a computer. The HDD is responsible for storing your operating system, applications, files, and data, so it’s essential to ensure a secure and proper connection to the motherboard.
In this guide, we will walk you through the step-by-step process of connecting an HDD to a motherboard. Whether you are adding an additional storage drive to your existing computer or installing a brand new HDD, this guide will provide you with the necessary information to successfully complete the task.
Before we dive into the detailed steps, it’s important to gather the necessary tools and materials to complete the job. This will ensure a smooth and hassle-free process:
- A Phillips-head screwdriver
- The HDD you wish to connect
- A SATA cable (usually provided with the motherboard or HDD)
- A power cable with SATA connectors
Once you have these tools and materials ready, you are all set to proceed with connecting your HDD to the motherboard. Follow the subsequent steps carefully, and you’ll have your HDD successfully connected and ready for use in no time.
Tools and Materials Needed
Before you start connecting your HDD to the motherboard, make sure you have the following tools and materials prepared:
- Phillips-head screwdriver: You will need a Phillips-head screwdriver to open the computer case and secure the HDD in place.
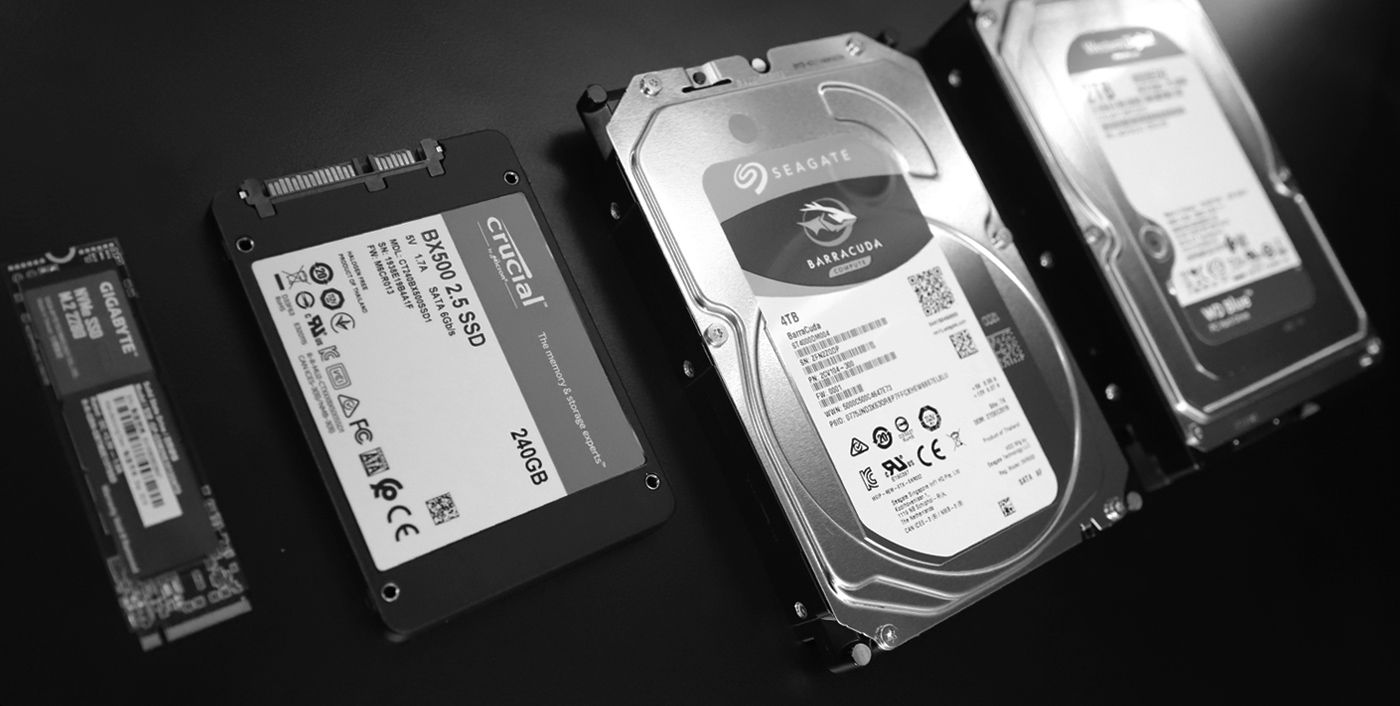
- HDD: The hard disk drive is the storage device that you will be connecting to the motherboard. Make sure you have the HDD ready for installation.
- SATA cable: This cable is used to connect the HDD to the motherboard. It typically comes with either the motherboard or the HDD itself.
- Power cable with SATA connectors: The power cable provides the necessary power to the HDD. Ensure that you have a power cable that has SATA connectors.
Having these tools and materials readily available will ensure a smooth and efficient installation process. Now that you have everything you need, let’s move on to the step-by-step instructions for connecting the HDD to the motherboard.
Step 1: Shutting Down the Computer
The first step in connecting the HDD to the motherboard is to shut down the computer completely. This step is crucial to ensure the safety of both yourself and the computer components.
To properly shut down your computer, follow these steps:
- Save your work and close any open programs or applications.
- Click on the “Start” button in the lower-left corner of your screen.
- Select “Shut down” from the options menu.
- Wait for the computer to power down completely.
- Turn off the power switch on the back of the computer (if applicable).
Once your computer is powered off and the power switch is turned off, you can safely proceed to the next step. It’s important to note that handling computer components while the computer is still powered on can be dangerous and may result in damage to the components or electrical shock.
Now that your computer is safely shut down, you’re ready to move on to the next step: opening the computer case.
Step 2: Opening the Computer Case
Now that your computer is shut down, it’s time to open the computer case to gain access to the internal components. Opening the case will allow you to connect the HDD to the motherboard.
Follow these steps to open the computer case:
- Locate the screws or latches on the back or side of the computer case. These hold the side panel or cover in place.
- Use a Phillips-head screwdriver to remove the screws or release the latches, depending on the type of case you have.
- Carefully slide or remove the side panel or cover to expose the internal components of the computer.
- Set aside the screws or latches in a safe place, as you will need them later to close the computer case.
Once you have successfully opened the computer case, you will be able to see the motherboard and other internal components. Take a moment to familiarize yourself with the layout and locate the SATA ports on the motherboard. These ports are where you will connect the SATA cable from the HDD.
Now that the computer case is open and you know where the SATA ports are located, it’s time to move on to the next step: identifying the SATA ports on the motherboard.
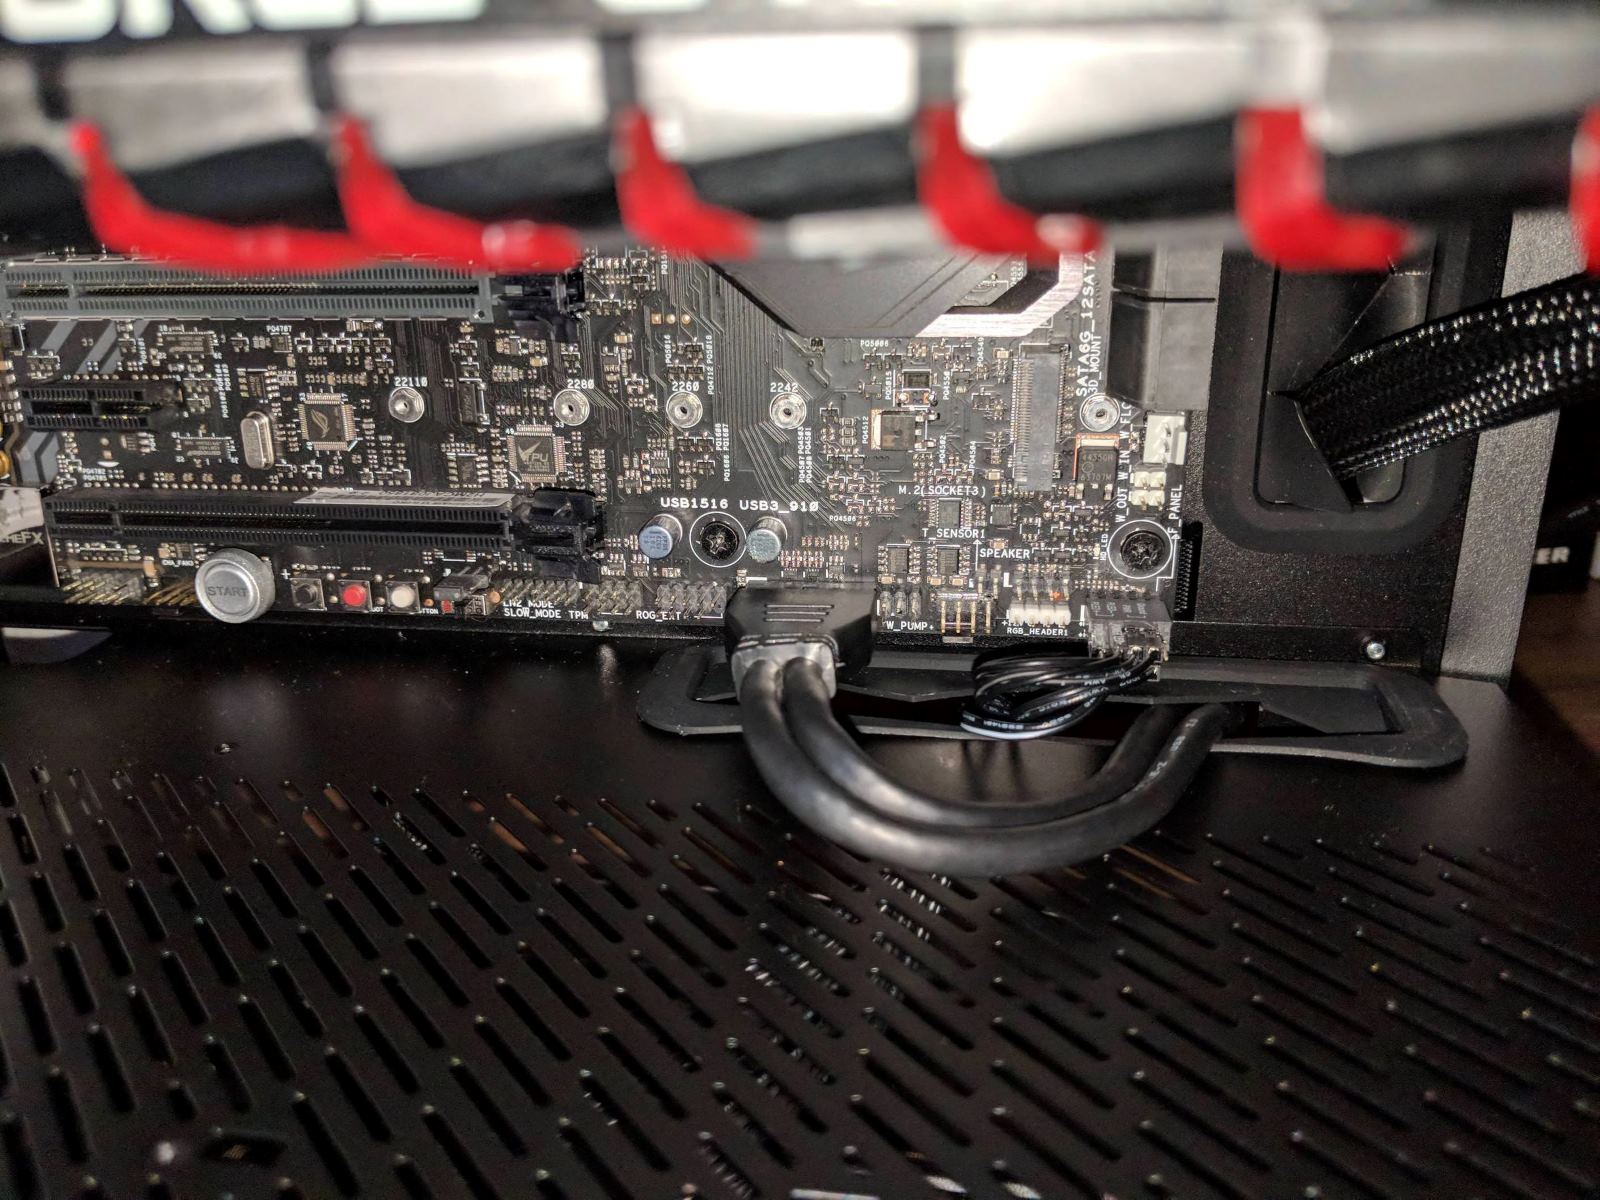
Step 3: Identifying the SATA Ports on the Motherboard
Before you can connect your HDD to the motherboard, you need to identify the SATA ports on the motherboard. SATA stands for Serial ATA and is the standard interface used to connect storage devices to the motherboard.
Follow these steps to identify the SATA ports on the motherboard:
- Locate the motherboard inside the computer case. It is the main circuit board where all the components are connected.
- Look for a series of small, rectangular connectors on the motherboard. These connectors are the SATA ports.
- SATA ports are typically labeled on the motherboard, indicating their position and number.
- Take note of the number and location of the SATA ports you will be using to connect your HDD.
Usually, motherboards have multiple SATA ports available, allowing you to connect multiple storage devices, such as HDDs or SSDs. It’s essential to identify the SATA ports beforehand so that you can easily find the right ones for connecting your HDD.
Once you have identified the SATA ports on the motherboard, you are ready to move on to the next step: connecting the SATA cable to the HDD and the motherboard.
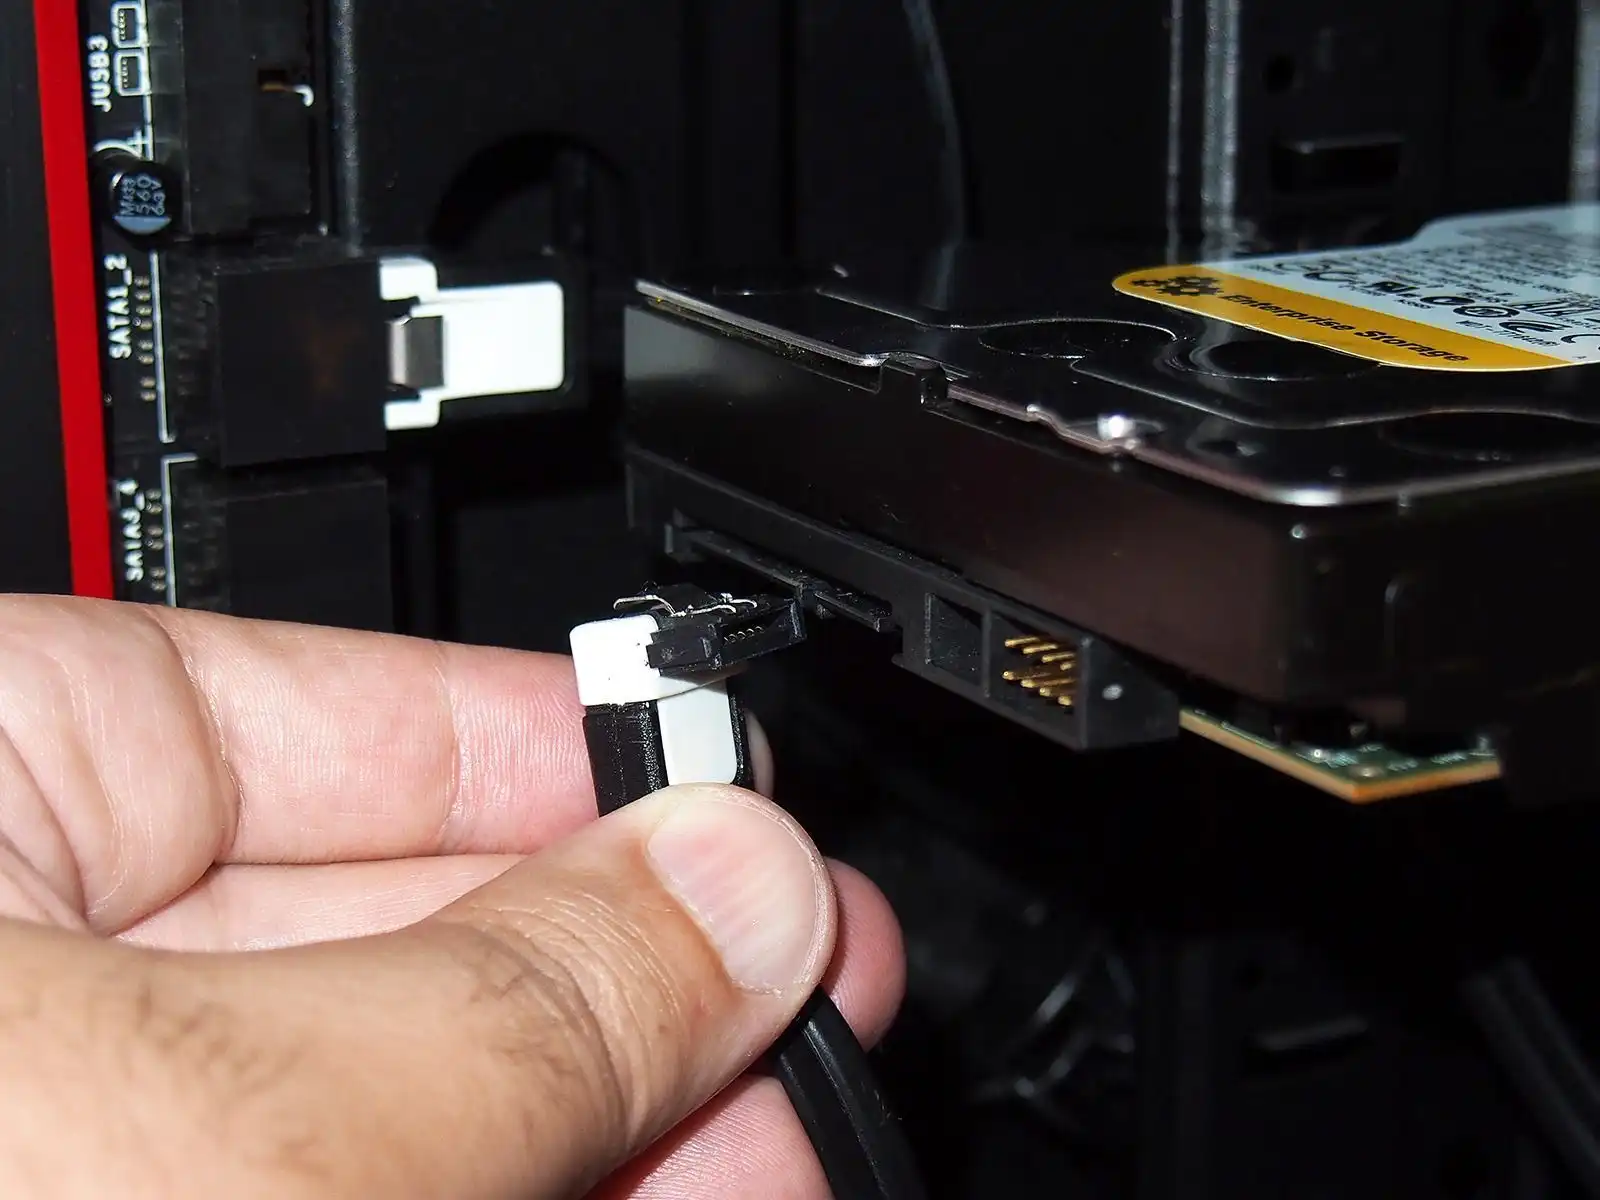
Step 4: Connecting the SATA Cable to the HDD and Motherboard
Now that you have identified the SATA ports on the motherboard, it’s time to connect the SATA cable to both the HDD and the motherboard. The SATA cable is responsible for transmitting data between the HDD and the motherboard.
Follow these steps to connect the SATA cable:
- Locate the SATA ports on the HDD. These are smaller connectors located on the back or side of the HDD.
- Take your SATA cable and connect one end to the SATA port on the HDD, aligning the connectors properly.
- Next, locate the SATA port on the motherboard that you identified in the previous step.
- Connect the other end of the SATA cable to the corresponding SATA port on the motherboard.
- Ensure that the connectors are securely inserted into both the HDD and the motherboard, ensuring a tight and reliable connection.
It’s important to handle the SATA cable with care and avoid applying too much force when connecting it. Make sure the connectors are properly aligned and inserted to prevent any damage.
Once you have successfully connected the SATA cable to both the HDD and the motherboard, you are ready to move on to the next step: connecting the power cable to the HDD.
Step 5: Connecting the Power Cable to the HDD
With the SATA cable securely connected to the HDD and the motherboard, the next step is to provide power to the HDD by connecting the power cable. The power cable supplies the necessary electrical power for the HDD to operate.
Follow these steps to connect the power cable:
- Locate the SATA power connectors on the power supply unit (PSU) cables. These connectors are specifically designed for connecting to SATA devices.
- Take one of the SATA power connectors and connect it to the corresponding power input on the HDD.
- Ensure that the power connector is securely inserted, making sure it is aligned properly with the power input on the HDD.
It’s important to note that some power cables have multiple SATA power connectors, allowing you to connect multiple devices. If you plan to connect more than one storage device, make sure to choose an available SATA power connector on the power cable.
Once you have successfully connected the power cable to the HDD, make sure that both the SATA cable and the power cable are securely connected. It’s crucial to have a stable and reliable connection to prevent any issues with data transfer or power supply.
Now that the HDD is connected to both the motherboard and the power supply, you’re almost done! The next step is to close the computer case and prepare to power on the computer.
Step 6: Closing the Computer Case
With the HDD connected to the motherboard and the power supply, it’s time to close the computer case. Closing the case will protect the internal components from dust, damage, and unintended disconnections. It will also ensure the proper functioning of the computer.
Follow these steps to close the computer case:
- Take the side panel or cover that you removed earlier.
- Align the panel or cover with the case, ensuring that it fits snugly.
- Use the screws or latches that you set aside earlier to secure the panel or cover back onto the case. Tighten them securely but not overly tight as to damage the case or strip the screws.
Once the panel or cover is securely back in place, double-check that all the screws or latches are properly tightened. This will prevent any vibrations or rattling noises when the computer is in use.
Now that the computer case is closed, you’re ready to move on to the final step: powering on the computer and ensuring that everything is functioning correctly.
Step 7: Powering On the Computer
Now that you have successfully connected the HDD to the motherboard and closed the computer case, it’s time to power on the computer and ensure that everything is functioning correctly.
Follow these steps to power on the computer:
- Double-check that all the connections, including the SATA cable and power cable, are securely attached to the HDD.
- Plug in the power cord of the computer into a power outlet.
- Press the power button on the computer case to turn it on.
As the computer boots up, listen for any unusual noises, such as clicking or grinding sounds. These could indicate a problem with the HDD or its connections. Additionally, keep an eye on the monitor to ensure that it displays the expected startup screen.
If everything appears to be working smoothly, you can proceed to check the computer’s BIOS or operating system settings to ensure that it recognizes the newly connected HDD. Depending on your specific setup and operating system, you may need to configure drive options or format the HDD before it can be used.
If you encounter any issues during the powering on process, double-check the connections and consult the motherboard or HDD manufacturer’s documentation for troubleshooting guidance. It’s important to address any problems promptly to ensure the HDD is functioning correctly.
With the computer successfully powered on and the HDD connected, you can now enjoy the increased storage capacity and potential performance enhancements that come with a new or additional HDD.
Remember to regularly back up your data and keep your HDD and computer in optimal condition by performing regular maintenance and updates.
Congratulations! You have successfully connected an HDD to your motherboard and completed the process of expanding your computer’s storage.
Conclusion
Connecting a hard disk drive (HDD) to a motherboard is a straightforward process that can significantly expand your computer’s storage capacity. By following the step-by-step instructions outlined in this guide, you can successfully connect an HDD and ensure it is ready for use.
Throughout the process, it’s crucial to handle the components with care and ensure a secure and reliable connection. Shutting down the computer before starting and properly identifying the SATA ports on the motherboard are essential steps that create a safe environment for the installation process.
Opening the computer case allows access to the motherboard and internal components, enabling you to easily connect the SATA cable and power cable to the HDD. Ensuring proper alignment and secure connections are vital to prevent data transfer issues and ensure a stable power supply.
Once the connections are made, closing the computer case provides protection for the internal components and maintains the integrity of the system. Finally, powering on the computer and checking for any unusual noises or display issues verifies that the HDD is functioning correctly.
Remember to consult the manufacturer’s documentation for any specific instructions or troubleshooting guidance for your particular motherboard and HDD. Regularly backing up your data and performing routine maintenance will help keep your HDD and computer in optimal condition.
By successfully completing this process, you have expanded your storage capacity and enhanced the functionality of your computer. Whether you’re using the additional storage for documents, multimedia files, or applications, the connected HDD will provide you with the space you need to store and access your data.
Now that you have connected your HDD to the motherboard, you’re ready to enjoy the increased storage and potential performance enhancements. Enjoy the benefits of expanded storage capacity and the ability to store and access your files with ease.