Introduction
Connecting an Epson projector to a computer is a straightforward process that allows you to display your computer’s screen on a larger projection surface. Whether you’re giving a presentation, watching a movie, or playing video games, connecting your Epson projector to your computer can enhance the viewing experience and make it more immersive.
In this article, we will walk you through the step-by-step process of connecting an Epson projector to your computer. We will cover everything from gathering the necessary cables and equipment to adjusting the display settings on your computer. By following these simple instructions, you’ll be able to enjoy the benefits of a larger screen and share your content with others in no time.
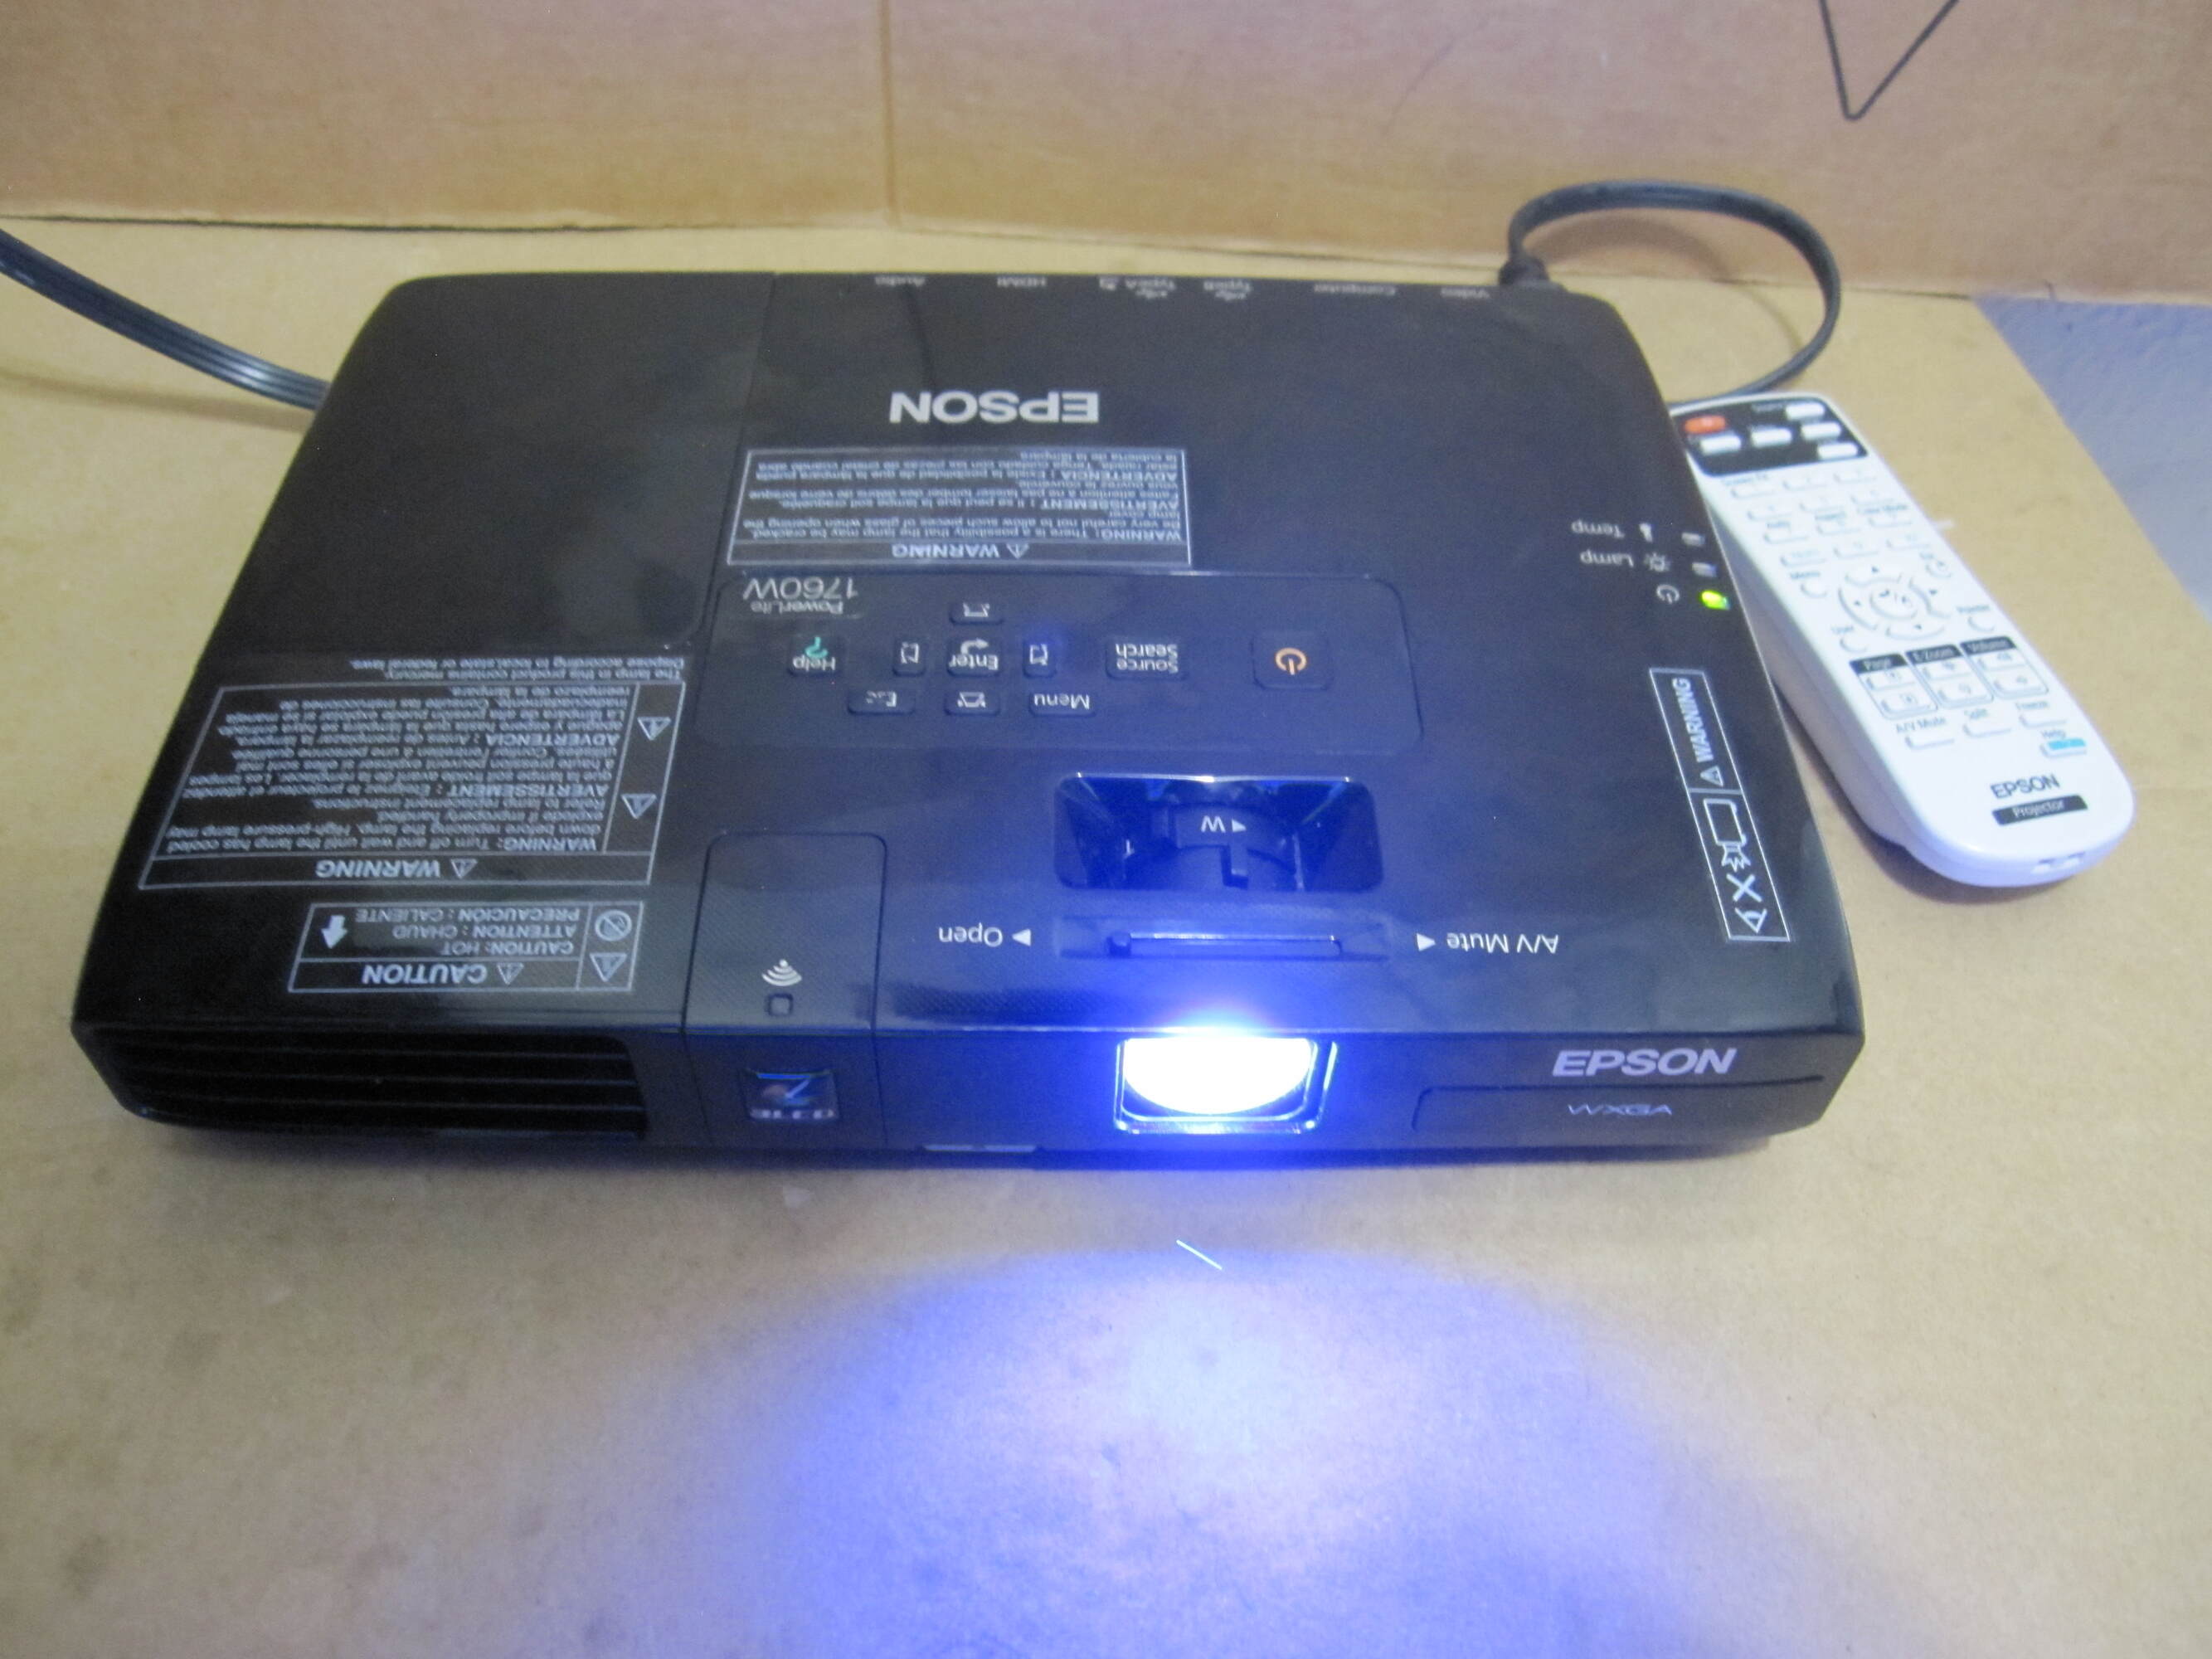
Before we delve into the specifics, it’s important to ensure that you have the right cables and equipment. The most common cables used to connect an Epson projector to a computer are VGA and HDMI cables. VGA cables are commonly found on older computers, while HDMI cables are more prevalent in modern devices. Make sure to check the available ports on both your computer and the Epson projector to determine which type of cable you’ll need.
Now that you have a general understanding of what to expect, let’s get started by gathering the necessary cables and equipment in the next step.
Step 1: Gather the necessary cables and equipment
Before you begin connecting the Epson projector to your computer, it’s essential to gather all the necessary cables and equipment. This step will ensure a smooth and hassle-free setup process.
The main cables you’ll need are a VGA cable or an HDMI cable, depending on the available ports on your computer and projector. VGA cables are more commonly used for older computers, while HDMI cables are the go-to choice for modern devices.
If your computer and projector have compatible ports, it is recommended to use an HDMI cable as it provides higher video and audio quality. However, if you’re using a computer with a VGA port or your projector only has a VGA input, a VGA cable will suffice.
In addition to the cables, you may also need a power cord for the projector. Ensure that the projector is plugged into a power source before attempting to connect it to the computer.
Aside from the cables and power cord, you might need an adapter if your computer or projector has a different type of port than the cable you’re using. For example, if your computer has a USB-C port and your projector uses HDMI, you’ll need a USB-C to HDMI adapter. It’s crucial to make sure that all the necessary adapters are compatible with your devices to ensure proper connectivity.
Lastly, make sure that both your computer and projector are turned off before proceeding to the next step. Having all the necessary cables and equipment ready will save you time and prevent any frustration during the setup process.
Now that you’ve gathered the required cables and equipment, you’re ready to move on to the next step: setting up the Epson projector and your computer.
Step 2: Set up the Epson projector and computer
Now that you have gathered all the necessary cables and equipment, it’s time to set up the Epson projector and your computer for the connection.
Start by finding a suitable location to place the projector. Make sure it is positioned on a flat surface and is within a suitable distance from the screen or wall you’ll be projecting onto. Also, ensure that there is enough space for proper ventilation to prevent the projector from overheating.
Next, connect the power cord of the Epson projector to a power outlet and turn it on. Most projectors have a power button located on the control panel or the remote control. Once the projector is powered on, give it a few moments to warm up and initialize.
While the projector is powering up, position your computer nearby and make sure it’s also powered off. Place it within reach of the projector’s cable connections for easier access.
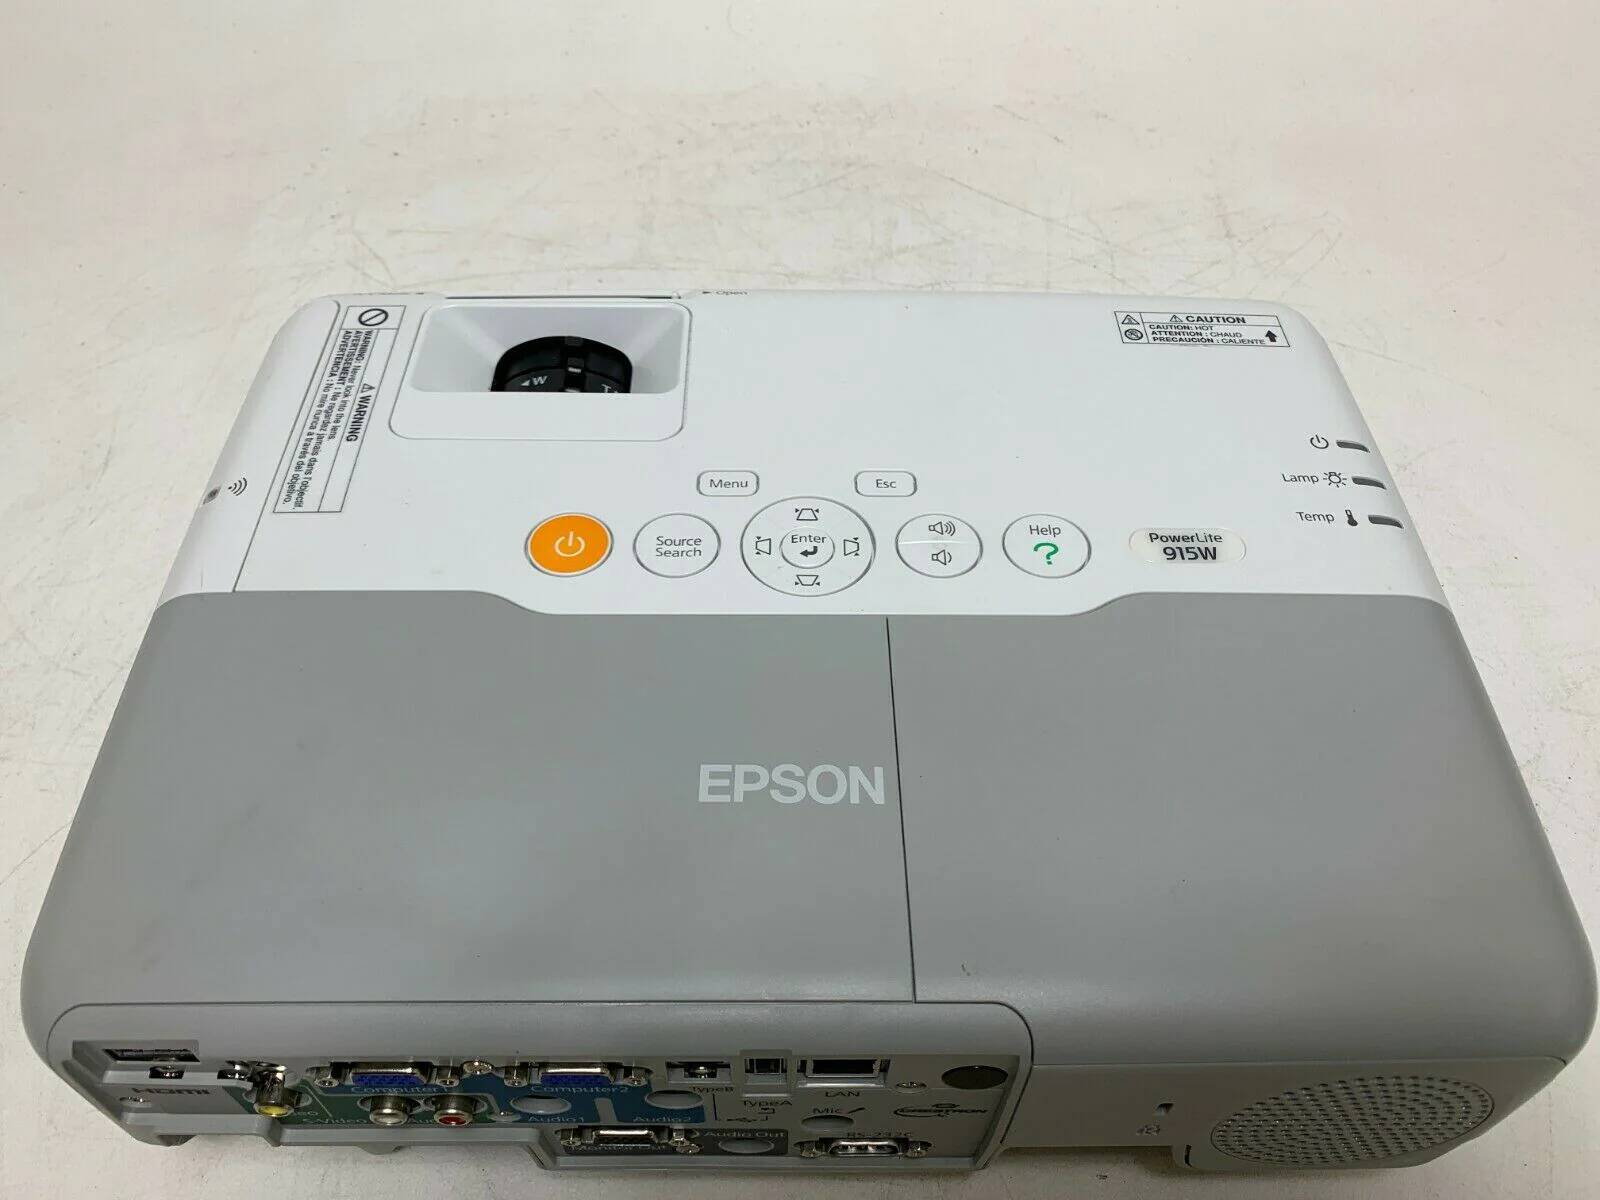
Now, it’s time to connect the cables. If you are using a VGA cable, locate the VGA port on both the projector and your computer. The VGA port on the projector might be labeled as “Computer In” or “VGA In,” while the VGA port on your computer is commonly blue in color. Insert one end of the VGA cable into the VGA port of the projector and the other end into the VGA port of your computer, ensuring a secure connection.
If you’re using an HDMI cable, locate the HDMI port on both the projector and your computer. The HDMI port on the projector might be labeled as “HDMI In” or “Computer In,” while the HDMI port on your computer is usually smaller and rectangular. Insert one end of the HDMI cable into the HDMI port of the projector and the other end into the HDMI port of your computer, making sure it is firmly connected.
Once the cables are securely connected, you’re ready to move on to the next step: connecting the projector and computer using a VGA cable or an HDMI cable.
Step 3: Connect the projector and computer using a VGA cable
If you’ve decided to use a VGA cable to connect your Epson projector to your computer, follow these simple steps:
- Ensure that both the projector and computer are turned off.
- Locate the VGA port on the back or side of the Epson projector. It is typically labeled as “Computer In” or “VGA In”.
- Take the VGA cable and insert one end into the VGA port on the Epson projector. Make sure it is securely connected.
- Locate the VGA port on your computer. It is usually blue in color and labeled as “VGA Out” or “Video Out”.
- Connect the other end of the VGA cable into the VGA port on your computer, ensuring a snug fit. Tighten the screws on the VGA cable to secure the connection if necessary.
- Once the VGA cable is connected to both the projector and computer, turn on the Epson projector and your computer.
- On the Epson projector, select the input source. This can usually be done using the projector’s remote control or control panel. Set it to “Computer” or “VGA”.
- On your computer, go to the display settings. In Windows, right-click on the desktop and select “Display Settings”. On a Mac, go to “System Preferences” and click on “Displays”.
- Within the display settings, you may need to detect the projector. Click on “Detect” or “Detect Displays” to search for the connected Epson projector.
- Configure the display settings according to your preferences. You can choose to extend the display, duplicate the display, or use only the projector as the main display.
Once you have completed these steps, the Epson projector should be successfully connected to your computer using a VGA cable. You can now enjoy your content on the larger projected screen.
Keep in mind that VGA cables transmit only video signals, so you may need to connect separate audio cables if you want to play audio through the projector. This can be done using the projector’s audio output or by connecting external speakers to your computer.
Now that you’ve connected the projector and computer using a VGA cable, you can proceed to the next step: connecting the projector and computer using an HDMI cable.
Step 4: Connect the projector and computer using an HDMI cable
If you have decided to use an HDMI cable to connect your Epson projector to your computer, follow these simple steps:
- Ensure that both the projector and computer are turned off.
- Locate the HDMI port on the back or side of the Epson projector. It is typically labeled as “HDMI In” or “Computer In”.
- Take the HDMI cable and insert one end into the HDMI port on the Epson projector. Make sure it is securely connected.
- Locate the HDMI port on your computer. It is usually smaller and rectangular in shape.
- Connect the other end of the HDMI cable into the HDMI port on your computer. Ensure a snug fit, but be gentle while inserting to avoid any damage.
- Once the HDMI cable is connected to both the projector and computer, turn on the Epson projector and your computer.
- On the Epson projector, select the input source. This can usually be done using the projector’s remote control or control panel. Set it to “Computer” or “HDMI”.
- On your computer, go to the display settings. In Windows, right-click on the desktop and select “Display Settings”. On a Mac, go to “System Preferences” and click on “Displays”.
- Within the display settings, you may need to detect the projector. Click on “Detect” or “Detect Displays” to search for the connected Epson projector.
- Configure the display settings according to your preferences. You can choose to extend the display, duplicate the display, or use only the projector as the main display.
Once you have completed these steps, the Epson projector should be successfully connected to your computer using an HDMI cable. You can now enjoy your content on the larger projected screen with high-quality video and audio.
Unlike VGA cables, HDMI cables transmit both video and audio signals, eliminating the need for separate audio connections. This means you can enjoy sound through the projector’s built-in speakers or connect external speakers for enhanced audio quality.
Always remember to select the appropriate input source on both the projector and computer to ensure proper signal transmission.
Now that you have successfully connected the projector and computer using an HDMI cable, you are ready to move on to the next step: adjusting the display settings on your computer.
Step 5: Adjust the display settings on the computer
Now that you have connected the Epson projector to your computer, it’s time to adjust the display settings to ensure optimal viewing experience. By tweaking these settings, you can customize the display according to your preferences.
To adjust the display settings on a Windows computer:
- Right-click on the desktop and select “Display Settings” from the context menu.
- In the Display Settings window, you’ll see a diagram showing the layout of your displays. If the Epson projector is not recognized as a separate display, click on “Detect” to search for it.
- Once the Epson projector is detected, select it from the diagram.
- Configure the display settings as per your requirements. You can choose to extend the display, duplicate the display, or use only the projector as the main display.
- Adjust the resolution if needed. Higher resolutions offer sharper images, but make sure the Epson projector supports the chosen resolution.
- Explore additional settings such as orientation, display scale, and color calibration to enhance the visual experience.
To adjust the display settings on a Mac computer:
- Go to the Apple menu and select “System Preferences”.
- Click on “Displays”.
- In the Displays window, you’ll see the arrangement of your displays. If the Epson projector is not recognized, click on “Detect Displays”.
- Select the Epson projector from the list.
- Configure the display settings based on your preferences. You can choose to extend the display, duplicate the display, or use only the projector as the main display.
- Adjust the resolution if necessary, keeping in mind the supported resolutions of the Epson projector.
- Explore additional options such as display arrangement, color profile, and refresh rate to optimize the viewing experience.
Remember to test the settings and make necessary adjustments to ensure the content is displayed correctly on the Epson projector. You may need to adjust the focus or zoom settings on the projector itself for a clear and well-aligned image.
By fine-tuning the display settings on your computer, you can enjoy your content on the Epson projector with the optimal visual quality and clarity.
Now that you have adjusted the display settings, it’s time to test the connection and make any final adjustments if needed.
Step 6: Test the connection and adjust as necessary
After completing the previous steps to connect your Epson projector to your computer, it’s important to test the connection and make any necessary adjustments to ensure everything is working correctly.
Start by turning on both the Epson projector and your computer. Allow them a moment to initialize and establish the connection.
Once both the projector and computer are powered on, check the projected image on the screen or wall. Pay attention to the clarity, color accuracy, and alignment of the image. If needed, adjust the focus, zoom, or keystone correction on the projector to improve the quality of the projection.
Next, play different types of content, such as a video, presentation, or website, to test the connection and observe if everything is displayed correctly. Take note of any issues like distorted or misaligned images, flickering, or audio problems.
If you encounter any problems, here are a few troubleshooting tips to consider:
- Ensure that all cables are securely connected at both ends.
- Check the display settings on your computer to ensure the correct projector is selected and the resolution is appropriate.
- Update the graphics drivers on your computer to ensure compatibility with the Epson projector.
- Try a different HDMI or VGA cable, as the cable may be faulty.
Make the necessary adjustments based on the issues you encounter. This may involve repositioning the projector, adjusting the display settings, or replacing faulty cables.
It’s also a good idea to test the audio output if applicable. Check if the audio is coming through the projector’s built-in speakers or if you need to connect external speakers for sound.
Once you are satisfied with the connection and everything is working properly, you can enjoy your content on the larger screen provided by the Epson projector.
Remember, if you ever need to disconnect the projector from your computer, make sure to turn off both devices before disconnecting any cables.
With the connection successfully tested and any necessary adjustments made, you’re all set to experience the enhanced viewing experience offered by connecting your Epson projector to your computer.
Conclusion
Connecting your Epson projector to your computer opens up a world of possibilities, whether you’re giving presentations, watching movies, or playing games on a larger screen. By following the steps outlined in this article, you can easily establish a connection and enjoy an enhanced viewing experience.
We began by gathering the necessary cables and equipment, ensuring that we had the correct cables and any required adapters. Then, we moved on to setting up the Epson projector and computer, making sure they were properly positioned and powered on.
Next, we explored two methods of connecting the projector and computer: using a VGA cable and using an HDMI cable. We discussed the steps involved in each process and highlighted the benefits of using HDMI for higher video and audio quality.
After establishing the physical connection, we focused on adjusting the display settings on the computer. Through simple steps, we learned how to configure the display layout, resolution, and other settings to optimize the viewing experience on the Epson projector.
To ensure that everything was working correctly, we tested the connection and made any necessary adjustments. We troubleshooted common issues and provided tips to resolve them, such as checking cable connections and updating graphics drivers.
With the connection successfully tested, it’s time to sit back, relax, and enjoy your content on the larger screen provided by the Epson projector. Whether you’re engaging an audience with a presentation or immersing yourself in a movie, the versatility of the Epson projector and its connection to your computer adds a new dimension to your multimedia experience.
Remember, if you have any questions or encounter any issues along the way, consult the user manual of your Epson projector or contact their customer support for assistance.
Now that you have the knowledge and understanding to connect your Epson projector to your computer, go ahead and bring your digital content to life with the impressive display capabilities of the Epson projector!


