Introduction
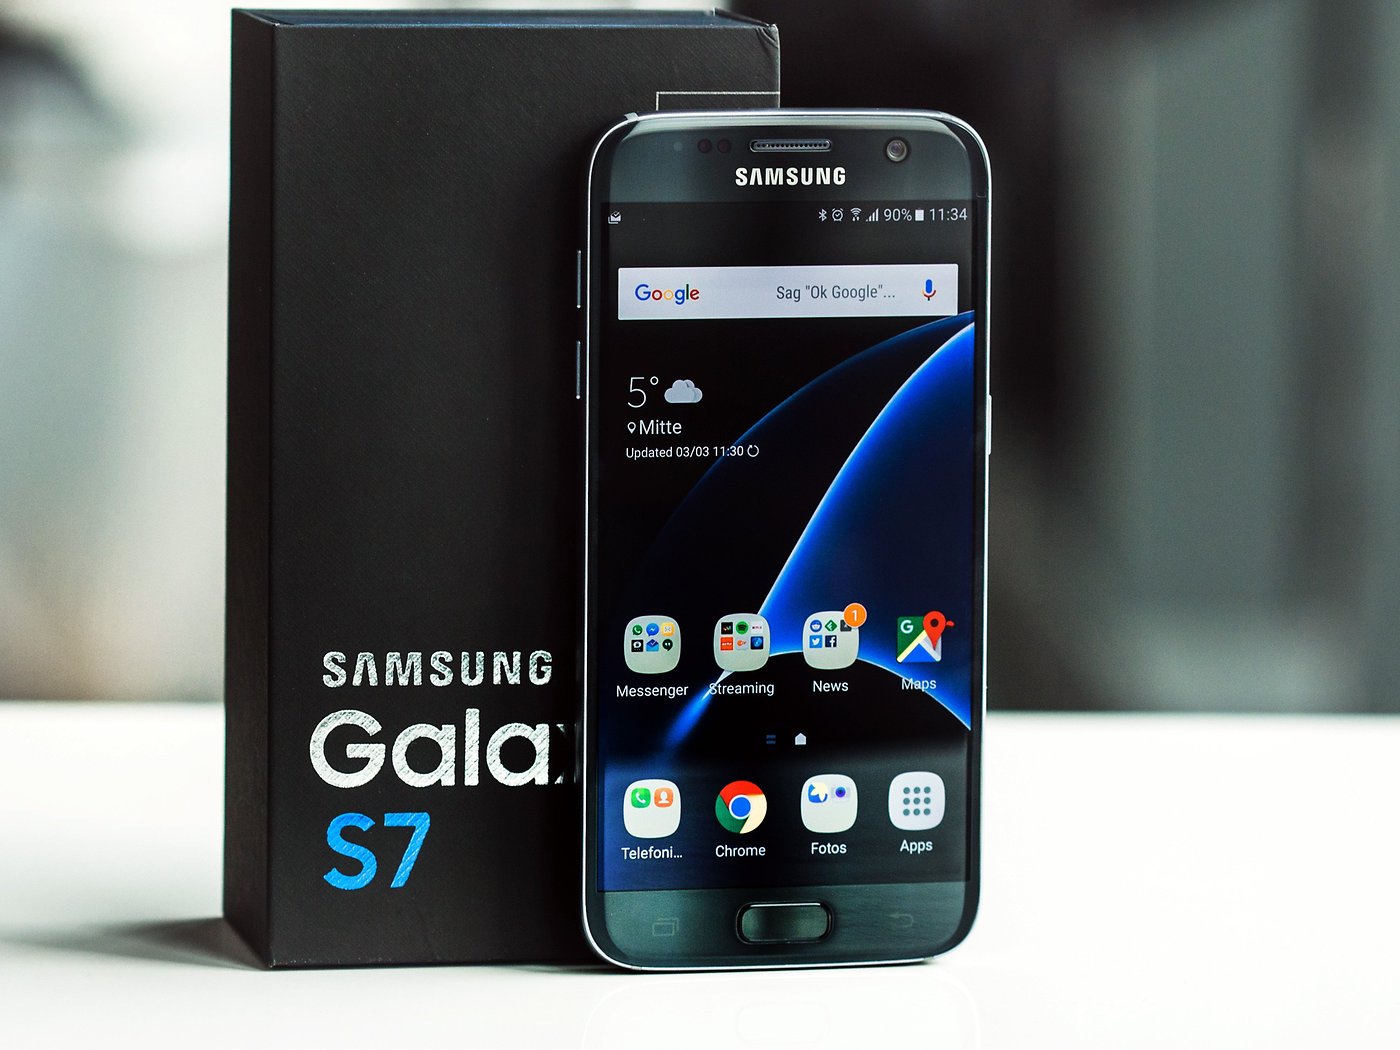
Welcome to this guide on how to clear RAM on your Samsung S7. If you’ve noticed that your device is running slow or laggy, clearing the Random Access Memory (RAM) can help improve its performance. RAM is a vital component of your device that stores temporary data for quick access by the processor. Over time, as you use your device, the RAM can become cluttered with unnecessary data, causing it to slow down. Clearing the RAM frees up space and allows your device to run smoother and faster.
As a proud owner of the Samsung S7, you have access to various methods to clear the RAM and optimize your device’s performance. In this article, we will explore different ways to accomplish this task, including using the Settings Menu, the Device Maintenance feature, and even third-party apps. Each method offers a simple and efficient way to clear your device’s RAM, so you can enjoy a snappy and responsive experience.
Before we dive into the methods, it’s important to note that clearing the RAM will not delete any of your personal data, such as photos, messages, or apps. It simply removes temporary data and apps from the RAM to free up space. So, you can rest assured that your important files and data will remain untouched during the process.
Now, let’s explore the different methods you can use to clear RAM on your Samsung S7 and boost its performance to new heights.
Why Clearing RAM is Important
Clearing the RAM on your Samsung S7 is important for several reasons. Here are some key benefits of regularly clearing your device’s RAM:
Improved Performance: Over time, as you use your device, the RAM accumulates temporary data from various applications. This can lead to a slowdown in performance, as the RAM becomes cluttered and less efficient. By clearing the RAM, you free up space for the device to operate smoothly and faster. You’ll notice a significant improvement in multitasking capabilities, app launch times, and overall responsiveness.
Reduced Lag: If you’ve been experiencing lag or delays when using your Samsung S7, clearing the RAM can help alleviate this issue. Lag often occurs when the RAM is overwhelmed with too many processes and data. By clearing the RAM, you remove unnecessary data and give your device a fresh start, reducing lag and ensuring a seamless user experience.
Better Battery Life: When your device’s RAM is filled with unnecessary processes and apps, it can cause increased power consumption. This can have a negative impact on your battery life, draining it faster than usual. By clearing the RAM, you optimize your device’s power usage, resulting in improved battery life and extending the time between charges.
Enhanced Multitasking: One of the advantages of modern smartphones is the ability to multitask efficiently. However, an overloaded RAM can hinder your device’s ability to handle multiple tasks simultaneously. By clearing the RAM, you create a clean slate for your device to handle multiple apps and processes seamlessly, allowing for smoother multitasking and improved productivity.
Optimized App Performance: If you’ve noticed that certain apps on your Samsung S7 are sluggish or unresponsive, the issue may lie with the RAM. Clearing the RAM ensures that apps have sufficient space to operate smoothly, allowing them to open faster and perform as intended. This can be particularly beneficial for resource-intensive apps such as games or video editing applications.
Now that you understand the importance of clearing the RAM on your Samsung S7, let’s explore the different methods you can use to accomplish this task.
Clearing RAM on Samsung S7
When it comes to clearing the RAM on your Samsung S7, you have several options to choose from. In this section, we will explore three different methods that will help you clear the RAM and optimize your device’s performance.
Method 1: Using the Settings Menu: The first method involves accessing your device’s Settings menu to clear the RAM. Follow these steps:
- Open the Settings app on your Samsung S7.
- Scroll down and tap on “Device care” or “Maintenance,” depending on your device’s software version.
- Tap on “Memory” or “RAM.”
- You will see the amount of used RAM and the option to “Clean now” or “Clear memory.” Tap on this option to clear the RAM.
- Confirm your action by tapping on “Clean” or “Clear All.”
This method is the most straightforward and convenient way to clear the RAM on your Samsung S7, as it utilizes the built-in device management settings.
Method 2: Using the Device Maintenance Feature: Samsung devices come with a built-in feature called Device Maintenance, which offers a comprehensive set of tools to optimize your device’s performance, including clearing the RAM. Here’s how to use it:
- Go to the Settings app on your Samsung S7.
- Scroll down and tap on “Device care” or “Maintenance.”
- Tap on “Optimize now,” “Performance mode,” or a similar option.
- Follow the on-screen instructions to optimize your device’s performance, which includes clearing the RAM.
This method provides additional optimization features along with clearing the RAM, allowing you to fine-tune your device’s performance according to your preferences.
Method 3: Using Third-Party Apps: If you prefer a more customized approach to clear the RAM on your Samsung S7, you can explore various third-party apps available on the Google Play Store. These apps offer additional features and options to optimize your device’s performance. Simply search for “RAM cleaner” or “RAM booster” in the Play Store, read user reviews, and choose a reputable app that suits your needs.
Now that you know the different methods available to clear the RAM on your Samsung S7, you can choose the one that best fits your preference and start enjoying a faster and smoother device.
Method 1: Using the Settings Menu
One of the easiest and most accessible ways to clear the RAM on your Samsung S7 is by using the built-in Settings menu. This method allows you to quickly free up space in your device’s RAM and improve its overall performance. Follow these step-by-step instructions to clear the RAM using the Settings menu:
- Open the Settings app on your Samsung S7 by tapping on the gear icon, which can usually be found in your app drawer or on the notification panel.
- Scroll down and look for the “Device care” or “Maintenance” option, depending on your device’s software version. Tap on it to access the device maintenance settings.
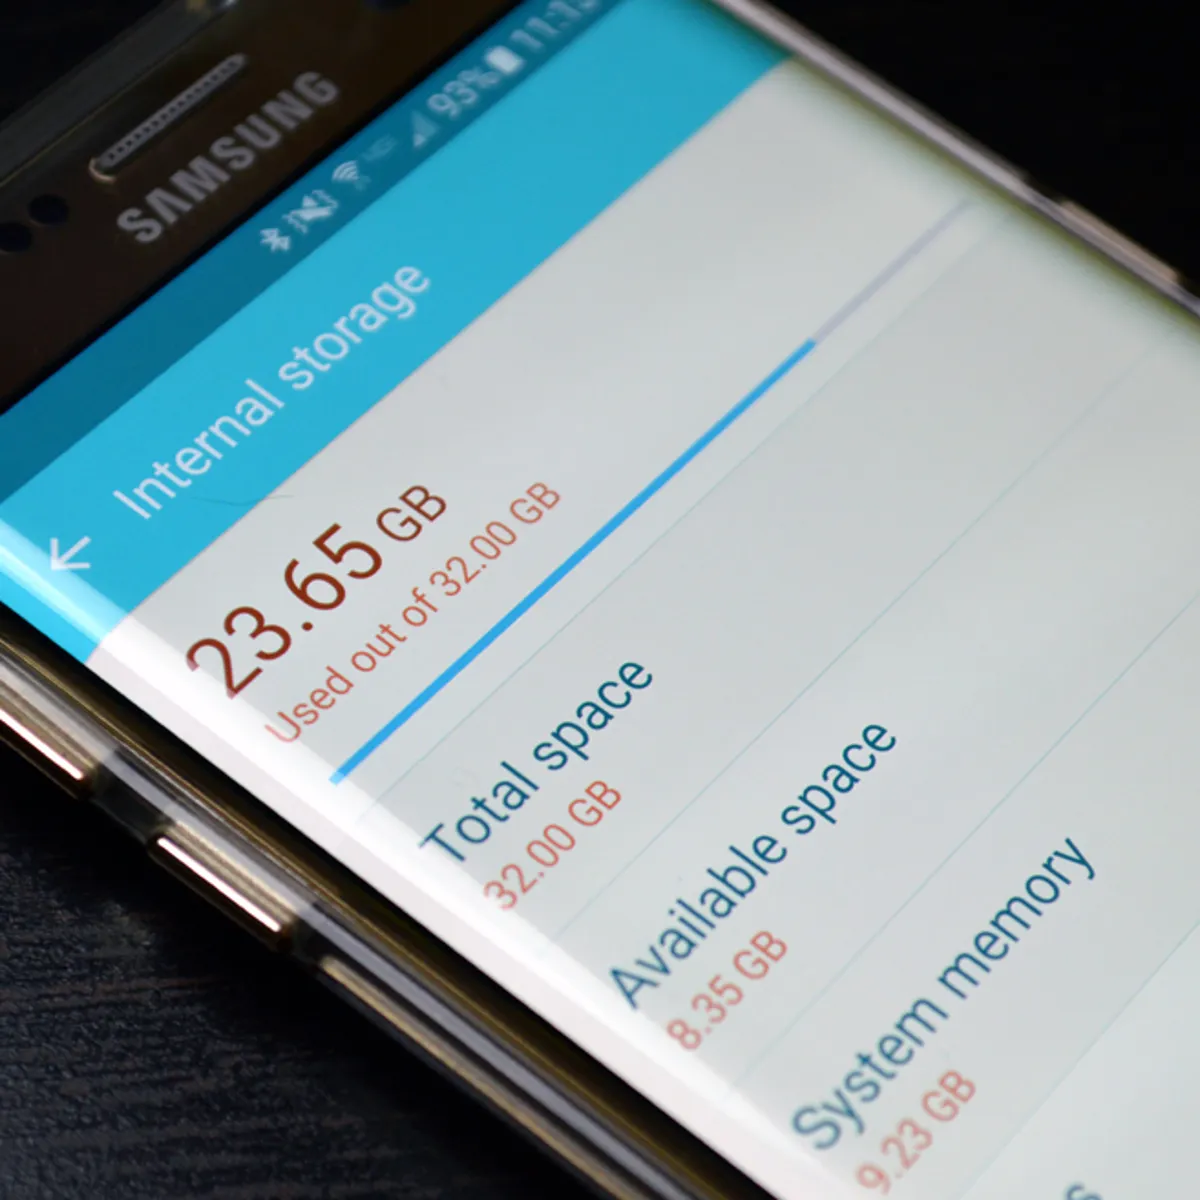
- In the Device care or Maintenance settings, you will typically find a section labeled “Memory” or “RAM.” Tap on this option to view information about your device’s RAM usage.
- In this section, you will see the amount of RAM that is currently being used by your device, as well as any available options to clear the RAM. Look for a button or link that says “Clean now,” “Clear memory,” or similar.
- Tap on the “Clean now” or equivalent option to initiate the RAM clearing process.
- A confirmation prompt may appear asking if you want to proceed with clearing the RAM. Confirm your action by tapping on “Clean” or “Clear All.”
- Once the process is complete, you will receive a notification indicating that the RAM has been cleared.
By following these simple steps, you can easily clear the RAM on your Samsung S7 and enjoy improved device performance. It’s recommended to perform this action periodically or whenever you notice your device starting to slow down.
Clearing the RAM using the Settings menu is a convenient method as it doesn’t require any third-party apps and gives you direct access to your device’s maintenance settings. However, if you prefer a more comprehensive optimization process, you can explore the other methods mentioned in this guide.
Now that you are familiar with the process of clearing the RAM using the Settings menu, let’s move on to the next method that involves utilizing the Device Maintenance feature on your Samsung S7.
Method 2: Using the Device Maintenance Feature
If you own a Samsung S7, you have access to a powerful built-in feature called Device Maintenance. Designed to optimize your device’s performance, this feature includes a range of tools to keep your Samsung device running smoothly. One of the tools available within Device Maintenance is the ability to clear the RAM. Follow the steps below to utilize the Device Maintenance feature and clear the RAM on your Samsung S7:
- Open the Settings app on your Samsung S7 by tapping on the gear icon.
- Scroll down and locate the “Device care” or “Maintenance” option. Tap on it to access the device maintenance settings.
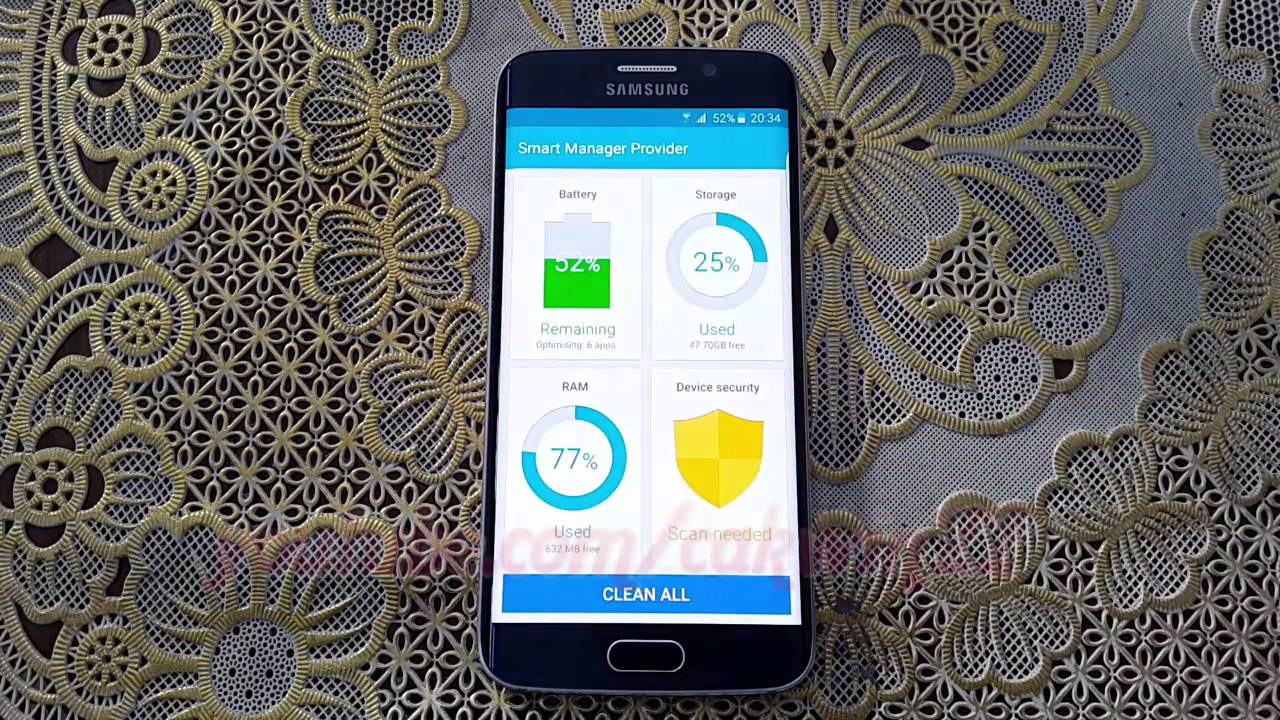
- In the Device care or Maintenance settings, you will find various options to optimize your device’s performance. Look for a button or link that says “Optimize now” or “Performance mode.”
- Tap on the “Optimize now” or similar option to initiate the optimization process, which includes clearing the RAM.
- Device Maintenance will start analyzing your device’s performance and identify areas that need improvement. It may take a few moments to complete this analysis.
- Once the analysis is finished, Device Maintenance will present you with the areas that can benefit from optimization. This may include clearing the RAM.
- Review the recommended optimizations and ensure that the RAM clearing option is selected.
- Tap on the “Optimize” or “Apply” button to implement the recommended optimizations, including clearing the RAM.
- Device Maintenance will now start optimizing your device based on the selected options, freeing up space in your RAM.
- Once the optimization process is complete, you will receive a notification indicating that the RAM has been cleared.
Utilizing the Device Maintenance feature on your Samsung S7 offers a convenient way to clear the RAM and enhance your device’s performance. In addition to clearing the RAM, this feature also provides other optimization options, such as battery optimization and storage cleanup.
It’s recommended to utilize the Device Maintenance feature regularly to keep your Samsung S7 in optimal condition. By clearing the RAM and performing other optimization tasks, you can ensure that your device runs smoothly and efficiently.
Now that you’ve learned how to clear the RAM using the Device Maintenance feature, let’s move on to the next method, which involves utilizing third-party apps to achieve the same goal.
Method 3: Using Third-Party Apps
If you’re looking for a more customizable approach to clear the RAM on your Samsung S7, you can consider using third-party apps specifically designed for RAM optimization. These apps provide additional features and options that can enhance your device’s performance. Here’s how you can use third-party apps to clear the RAM on your Samsung S7:
- Open the Google Play Store on your Samsung S7.
- Search for “RAM cleaner” or “RAM booster” in the search bar.
- Browse through the results and select a reputable app that suits your needs. Make sure to read user reviews and check the app’s ratings for reliability.
- Tap on the chosen app to view its details and download it to your device.
- Once the app is installed, open it and familiarize yourself with its interface and features.
- Depending on the app you chose, you may find options such as “Clean RAM,” “Boost RAM,” or similar.
- Tap on the designated option to initiate the RAM clearing process.
- The app will start analyzing your device’s RAM usage and identify unnecessary files and processes.
- Once the analysis is complete, the app will present you with the option to clear the RAM.
- Tap on the “Clear RAM” or equivalent option to proceed with clearing the RAM.
- The app will now free up space in your device’s RAM by removing unnecessary files and processes.
- Once the process is complete, the app will provide a notification or summary indicating that the RAM has been cleared.
Using third-party apps to clear the RAM on your Samsung S7 gives you access to additional features and customization options. These apps often provide real-time monitoring of RAM usage, allowing you to keep track of your device’s performance and take proactive steps to optimize it.
However, it’s essential to choose a reputable app from the Google Play Store to ensure the security and effectiveness of the RAM clearing process. Remember to read user reviews and consider the app’s ratings before making your selection.
Now that you are familiar with using third-party apps to clear the RAM on your Samsung S7, you can choose the method that best suits your preferences and optimize your device’s performance accordingly.
Conclusion
Congratulations! You’ve now learned different methods to clear the RAM on your Samsung S7 and boost its performance. Regularly clearing the RAM is essential to ensure that your device runs smoothly, without any unnecessary lag or slowdowns.
In this guide, we explored three methods to clear the RAM on your Samsung S7:
- Using the Settings Menu: Accessing the device’s settings and utilizing the built-in RAM clearing option.
- Using the Device Maintenance Feature: Taking advantage of the powerful Device Maintenance tool to optimize your device’s performance, including clearing the RAM.
- Using Third-Party Apps: Exploring reputable third-party apps from the Google Play Store that offer additional features for RAM optimization.
Each method offers its own advantages, allowing you to choose the approach that best suits your needs and preferences. Whether you prefer simplicity and convenience or more customization options, there is a method for you.
Remember, clearing the RAM is a routine maintenance task that you should perform periodically or whenever you notice your device starting to slow down. By doing so, you can enjoy faster app launches, smoother multitasking, and improved battery life.
While clearing the RAM can significantly enhance your device’s performance, it’s important to note that it does not delete any personal data or files. Rest assured that all your valuable photos, messages, and apps will remain intact.
Now that you have the knowledge and tools to clear the RAM on your Samsung S7, go ahead and give it a try! Enjoy a snappy, responsive, and optimized device experience.