Introduction
Welcome to our guide on how to raise RAM speed. If you’ve noticed that your computer is starting to slow down, experiencing frequent crashes, or struggling to handle multiple tasks, it may be time to optimize your RAM speed. RAM (Random Access Memory) is a crucial component of your computer’s overall performance and plays a significant role in the smooth execution of applications and processes.
RAM speed refers to the rate at which data can be read from, or written to, the memory module. The faster the RAM speed, the quicker your computer can retrieve and store data, resulting in improved overall performance. However, over time, your RAM speed may become slower due to various factors, such as outdated drivers, insufficient virtual memory settings, or unnecessary background processes running in the background.
In this guide, we will explore various strategies to help you raise your RAM speed and optimize your computer’s performance. We will cover methods ranging from simple software tweaks to hardware upgrades, catering to different user preferences and requirements.
Before we delve into the specific techniques, it’s essential to understand how RAM speed impacts your computer’s overall performance. This knowledge will give you a better understanding of why raising your RAM speed can significantly enhance your computing experience.
Without further ado, let’s get started on our journey to maximize RAM speed and turbocharge your computer’s performance.
Understand RAM Speed
Before we dive into the methods for raising your RAM speed, it’s important to have a clear understanding of what RAM speed entails. RAM speed, also known as RAM frequency or clock speed, refers to the speed at which data is transferred between the RAM modules and the computer’s processor. It is measured in megahertz (MHz) and indicates the number of cycles per second that the RAM can perform.
The higher the RAM speed, the faster your computer can access and retrieve information stored in the RAM. This can have a significant impact on tasks that require frequent data transfer, such as multitasking, gaming, video editing, and other resource-intensive applications.
It’s worth noting that the RAM speed is different from the overall system speed or processor speed. While a fast processor is essential for overall system performance, the RAM speed directly affects how quickly data is accessed and processed by the CPU. Therefore, even if you have a powerful processor, a slow RAM speed can bottleneck the system’s overall performance.
RAM speed is determined by the specific RAM modules installed in your computer. Different RAM modules have different advertised speeds, which are typically listed on the packaging or product specifications. However, it’s important to note that the actual RAM speed achieved in your system may be lower due to various factors, such as motherboard limitations or compatibility issues.
When selecting RAM modules or upgrading your existing RAM, it’s important to consider the compatibility with your motherboard. Not all motherboards support high-speed RAM modules, so it’s crucial to consult your motherboard’s documentation or manufacturer’s website to determine the supported RAM speeds. Installing RAM modules with a higher speed than supported by your motherboard may result in the RAM speed being automatically downgraded to the maximum supported speed.
In the next sections, we will discuss various methods to help you raise your RAM speed and improve your computer’s overall performance. These methods range from software optimizations to hardware upgrades, providing you with options to suit your specific needs and budget.
Check your current RAM speed
Before you proceed with any adjustments or upgrades, it’s essential to determine your current RAM speed. This will allow you to assess the effectiveness of any changes you make to improve performance.
There are several methods you can use to check your current RAM speed:
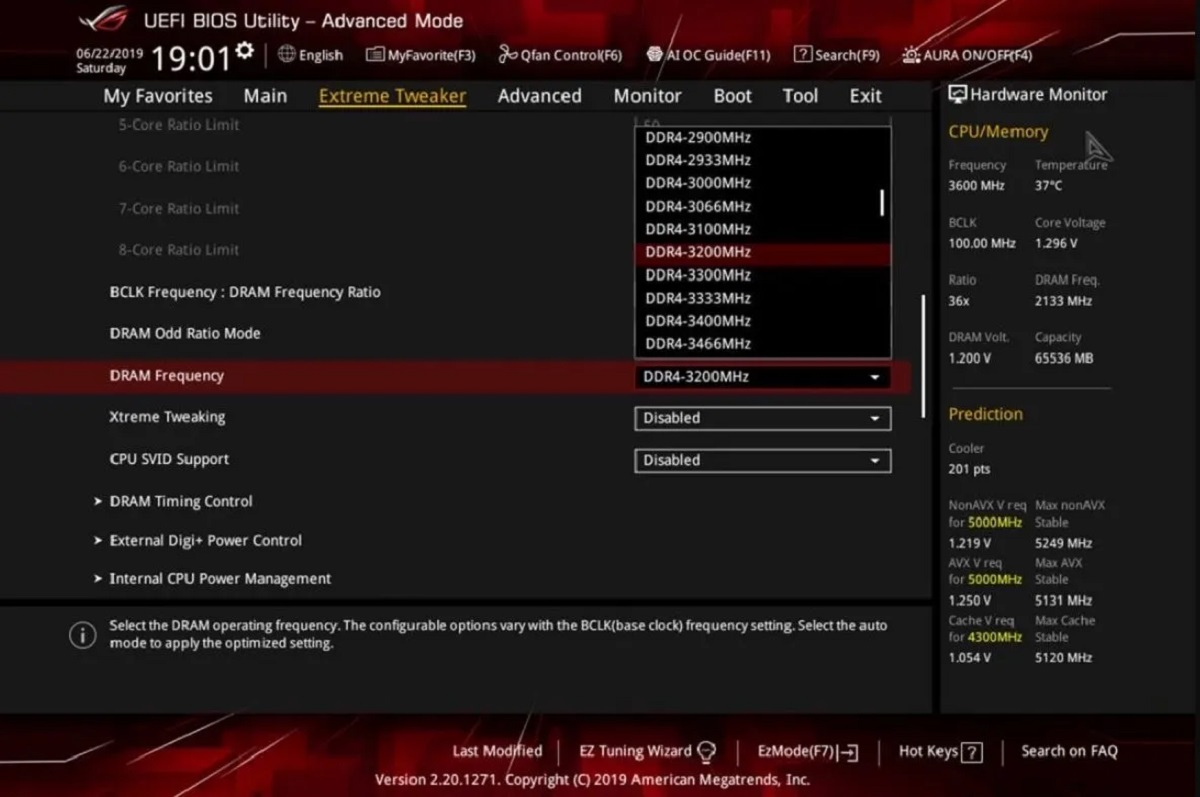
- Check the BIOS settings: Restart your computer and access the BIOS menu by pressing a designated key during the boot process (commonly Del or F2). Look for the memory or RAM settings, where you should find the current RAM speed indicated.
- Use system information tools: Windows users can open the System Information tool by pressing Windows key + R, typing “msinfo32” in the Run dialog box, and pressing Enter. In the System Information window, navigate to “Components” and then “Memory” to find the current RAM speed.
- Third-party software: There are various third-party applications available, such as CPU-Z or Speccy, that provide detailed system information, including RAM speed. Download and install one of these applications and launch it to find the current RAM speed.
Once you have determined your current RAM speed, compare it with the advertised speed of your RAM modules. Keep in mind that due to various factors such as motherboard limitations or compatibility issues, the actual RAM speed achieved may be lower than the advertised speed. However, if the actual speed is significantly lower than expected, it may indicate a problem that needs to be addressed.
Knowing your current RAM speed is vital as it will serve as a baseline for any adjustments or upgrades you make. It will also help in troubleshooting potential issues and ensuring that any changes you make are indeed resulting in an improvement in performance.
In the next sections, we will explore different strategies to optimize and raise your RAM speed, helping you achieve a faster and smoother computing experience.
Update your RAM drivers
Updating your RAM drivers is an important step in maximizing your RAM speed. RAM drivers, also known as chipset or motherboard drivers, facilitate communication between the RAM modules and the motherboard. Outdated drivers can cause compatibility issues or prevent your RAM from functioning optimally.
Here’s how to update your RAM drivers:
- Identify your motherboard model: You can usually find the model number printed on the motherboard itself or by referring to your computer’s documentation. If you are unsure, you can use system information tools like CPU-Z or Speccy to identify the motherboard model.
- Visit the manufacturer’s website: Go to the official website of your motherboard’s manufacturer. Look for the support or downloads section and locate the drivers for your specific motherboard model.
- Download and install the latest drivers: Look for the most recent chipset or motherboard drivers available for your motherboard model. Download the drivers and follow the installation instructions provided by the manufacturer.
- Restart your computer: After installing the new drivers, it’s essential to restart your computer to ensure that the changes take effect.
Updating your RAM drivers can resolve compatibility issues and improve the overall performance of your RAM. It ensures that your RAM modules are working in sync with your motherboard and other system components, resulting in better data transfer rates and enhanced RAM speed.
In addition to updating your RAM drivers, it’s also a good practice to regularly update other system drivers, such as graphics card drivers, as they can also impact overall performance.
By keeping your drivers up to date, you can optimize the efficiency of your RAM and improve overall system performance. In the next sections, we will explore additional strategies to further raise your RAM speed, ensuring a faster and smoother computing experience.
Increase virtual memory
Virtual memory, also known as page file, is a space on your computer’s hard drive that is used as a supplement to physical RAM. It allows your computer to allocate additional memory resources when the physical RAM becomes full, thereby preventing system slowdowns or crashes due to insufficient memory.
Increasing virtual memory can help improve RAM speed and overall system performance. Here’s how:
- Open the System Properties dialog: Right-click on the “This PC” or “My Computer” icon on your desktop or File Explorer, and select “Properties”.
- Navigate to the Advanced system settings: In the left sidebar of the System Properties window, click on “Advanced system settings”. This will open the System Properties dialog box.
- Access the virtual memory settings: In the System Properties dialog box, click on the “Settings” button under the Performance section. This will open the Performance Options dialog box.
- Adjust virtual memory settings: In the Performance Options dialog box, go to the “Advanced” tab and click on the “Change” button under the Virtual Memory section.
- Change virtual memory allocation: Uncheck the box that says “Automatically manage paging file size for all drives” to enable manual adjustment. Select the drive where your operating system is installed (usually the C: drive) and choose the “Custom size” option.
- Set a new virtual memory size: Enter a new value for the initial size and maximum size of the virtual memory. The recommended size is typically 1.5 times the amount of physical RAM you have installed. For example, if you have 8GB of RAM, you can set the initial size to 12GB (12288MB) and the maximum size to 24GB (24576MB).
- Click “OK” to save the changes and close all the dialog boxes.
- Restart your computer: It’s important to restart your computer for the changes to take effect.
By increasing the virtual memory, you provide your computer with additional space to store temporary data when the physical RAM is fully utilized. This helps prevent slowdowns and enhances the overall speed of your RAM, especially when running memory-intensive applications or multitasking.
Keep in mind that allocating too much virtual memory can impact the performance of your hard drive, so it’s advisable to balance it based on your computer’s capabilities and the amount of physical RAM you have installed.
In the next sections, we will explore more techniques to boost your RAM speed and optimize your computer’s performance.
Close unnecessary background applications
One of the reasons for a decrease in RAM speed is the presence of numerous unnecessary background applications running on your computer. These applications consume valuable system resources, including RAM, and can significantly affect performance.
Here’s how you can close unnecessary background applications:
- Open the Task Manager: Right-click on the taskbar at the bottom of your screen, and select “Task Manager” from the context menu. Alternatively, you can press Ctrl + Shift + Esc to open the Task Manager directly.
- Navigate to the Processes or Details tab: In the Task Manager window, you will see different tabs. Depending on your Windows version, you may need to click on either the “Processes” or “Details” tab.
- Identify resource-hungry applications: Look for applications that are utilizing a significant amount of memory (RAM) in the Memory column. You can click on the column header to sort the applications based on memory usage.
- Close unnecessary applications: Select the application(s) that you want to close, and click on the “End Task” or “End Process” button. Exercise caution and avoid closing any essential system processes or applications.
By closing unnecessary background applications, you free up valuable system resources, including RAM, allowing your computer to focus on the tasks you are actively working on. This can have a positive impact on RAM speed and overall system performance.
It’s important to note that some background applications are required for the proper functioning of your computer, such as antivirus software or system utilities. Be mindful of the applications you choose to close, ensuring they are indeed unnecessary for your current work or activities.
In addition to manually closing background applications, you can also prevent certain applications from automatically starting up with your computer. This can be done by navigating to the startup settings in the Task Manager or using third-party software to manage startup programs.
In the next sections, we will explore more strategies to optimize your RAM speed and improve your computer’s performance.
Disable unnecessary startup programs
When you start your computer, several applications and processes automatically launch in the background, consuming system resources and potentially slowing down your RAM speed. Disabling unnecessary startup programs can help improve overall system performance and optimize RAM utilization.
Here’s how you can disable unnecessary startup programs:
- Open the Task Manager: Right-click on the taskbar at the bottom of your screen and select “Task Manager” from the context menu. Alternatively, you can press Ctrl + Shift + Esc to open the Task Manager directly.
- Navigate to the Startup tab: In the Task Manager window, click on the “Startup” tab. This tab displays a list of programs and their impact on system startup.
- Assess the impact and necessity of each program: Review the list of programs and evaluate their impact on system performance. Look for programs that have a high startup impact but are not essential for your everyday tasks.
- Disable unnecessary programs: Select the program(s) you want to disable and click on the “Disable” button. This will prevent them from automatically starting up with your computer.
Disabling unnecessary startup programs can free up system resources, including RAM, as these programs will no longer consume memory during startup. This can result in improved RAM speed and overall system performance.
It’s important to note that while disabling unnecessary startup programs can optimize RAM utilization, certain programs may still be required for specific tasks or functions. Exercise caution when deciding which programs to disable, ensuring that they are indeed unnecessary for your everyday use.
You can always re-enable a disabled startup program at a later time if you find that you need it to run automatically during system startup.
In the next sections, we will explore additional techniques to raise your RAM speed and enhance your computer’s performance.
Clean up your computer’s hard drive
Over time, your computer’s hard drive can become cluttered with unnecessary files, which can hinder RAM speed and overall system performance. Cleaning up your hard drive can help optimize your computer’s resources and improve RAM speed. Here’s how to do it:
- Remove temporary files: Your computer accumulates temporary files from various activities such as web browsing and software installations. Use the built-in Disk Cleanup tool in Windows or a third-party cleaning software to delete these temporary files and free up space on your hard drive.
- Uninstall unused programs: Go through your list of installed programs and uninstall any applications that you no longer need or use. This will not only free up storage space but also reduce the number of unnecessary background processes running on your computer.
- Delete unnecessary files and folders: Manually review your files and folders and delete any unnecessary documents, downloads, or media files. Be cautious and ensure that you don’t delete any important files.
- Empty the Recycle Bin: When you delete files, they are moved to the Recycle Bin, which still takes up hard drive space. Empty the Recycle Bin to permanently delete these files and recover the space they occupied.
- Organize and defragment your hard drive: Use the built-in Disk Defragmenter tool in Windows to reorganize and optimize the files on your hard drive. Fragmented files can slow down access times and hinder RAM speed.
By cleaning up your computer’s hard drive, you not only optimize storage space but also improve RAM speed by reducing the amount of virtual memory used by unnecessary files and processes.
Regularly performing these cleanup activities can help maintain optimal system performance and ensure that your computer operates smoothly. Consider making it a part of your routine maintenance to keep your computer running at its best.
In the next sections, we will explore additional strategies to maximize your RAM speed and enhance your computer’s overall performance.
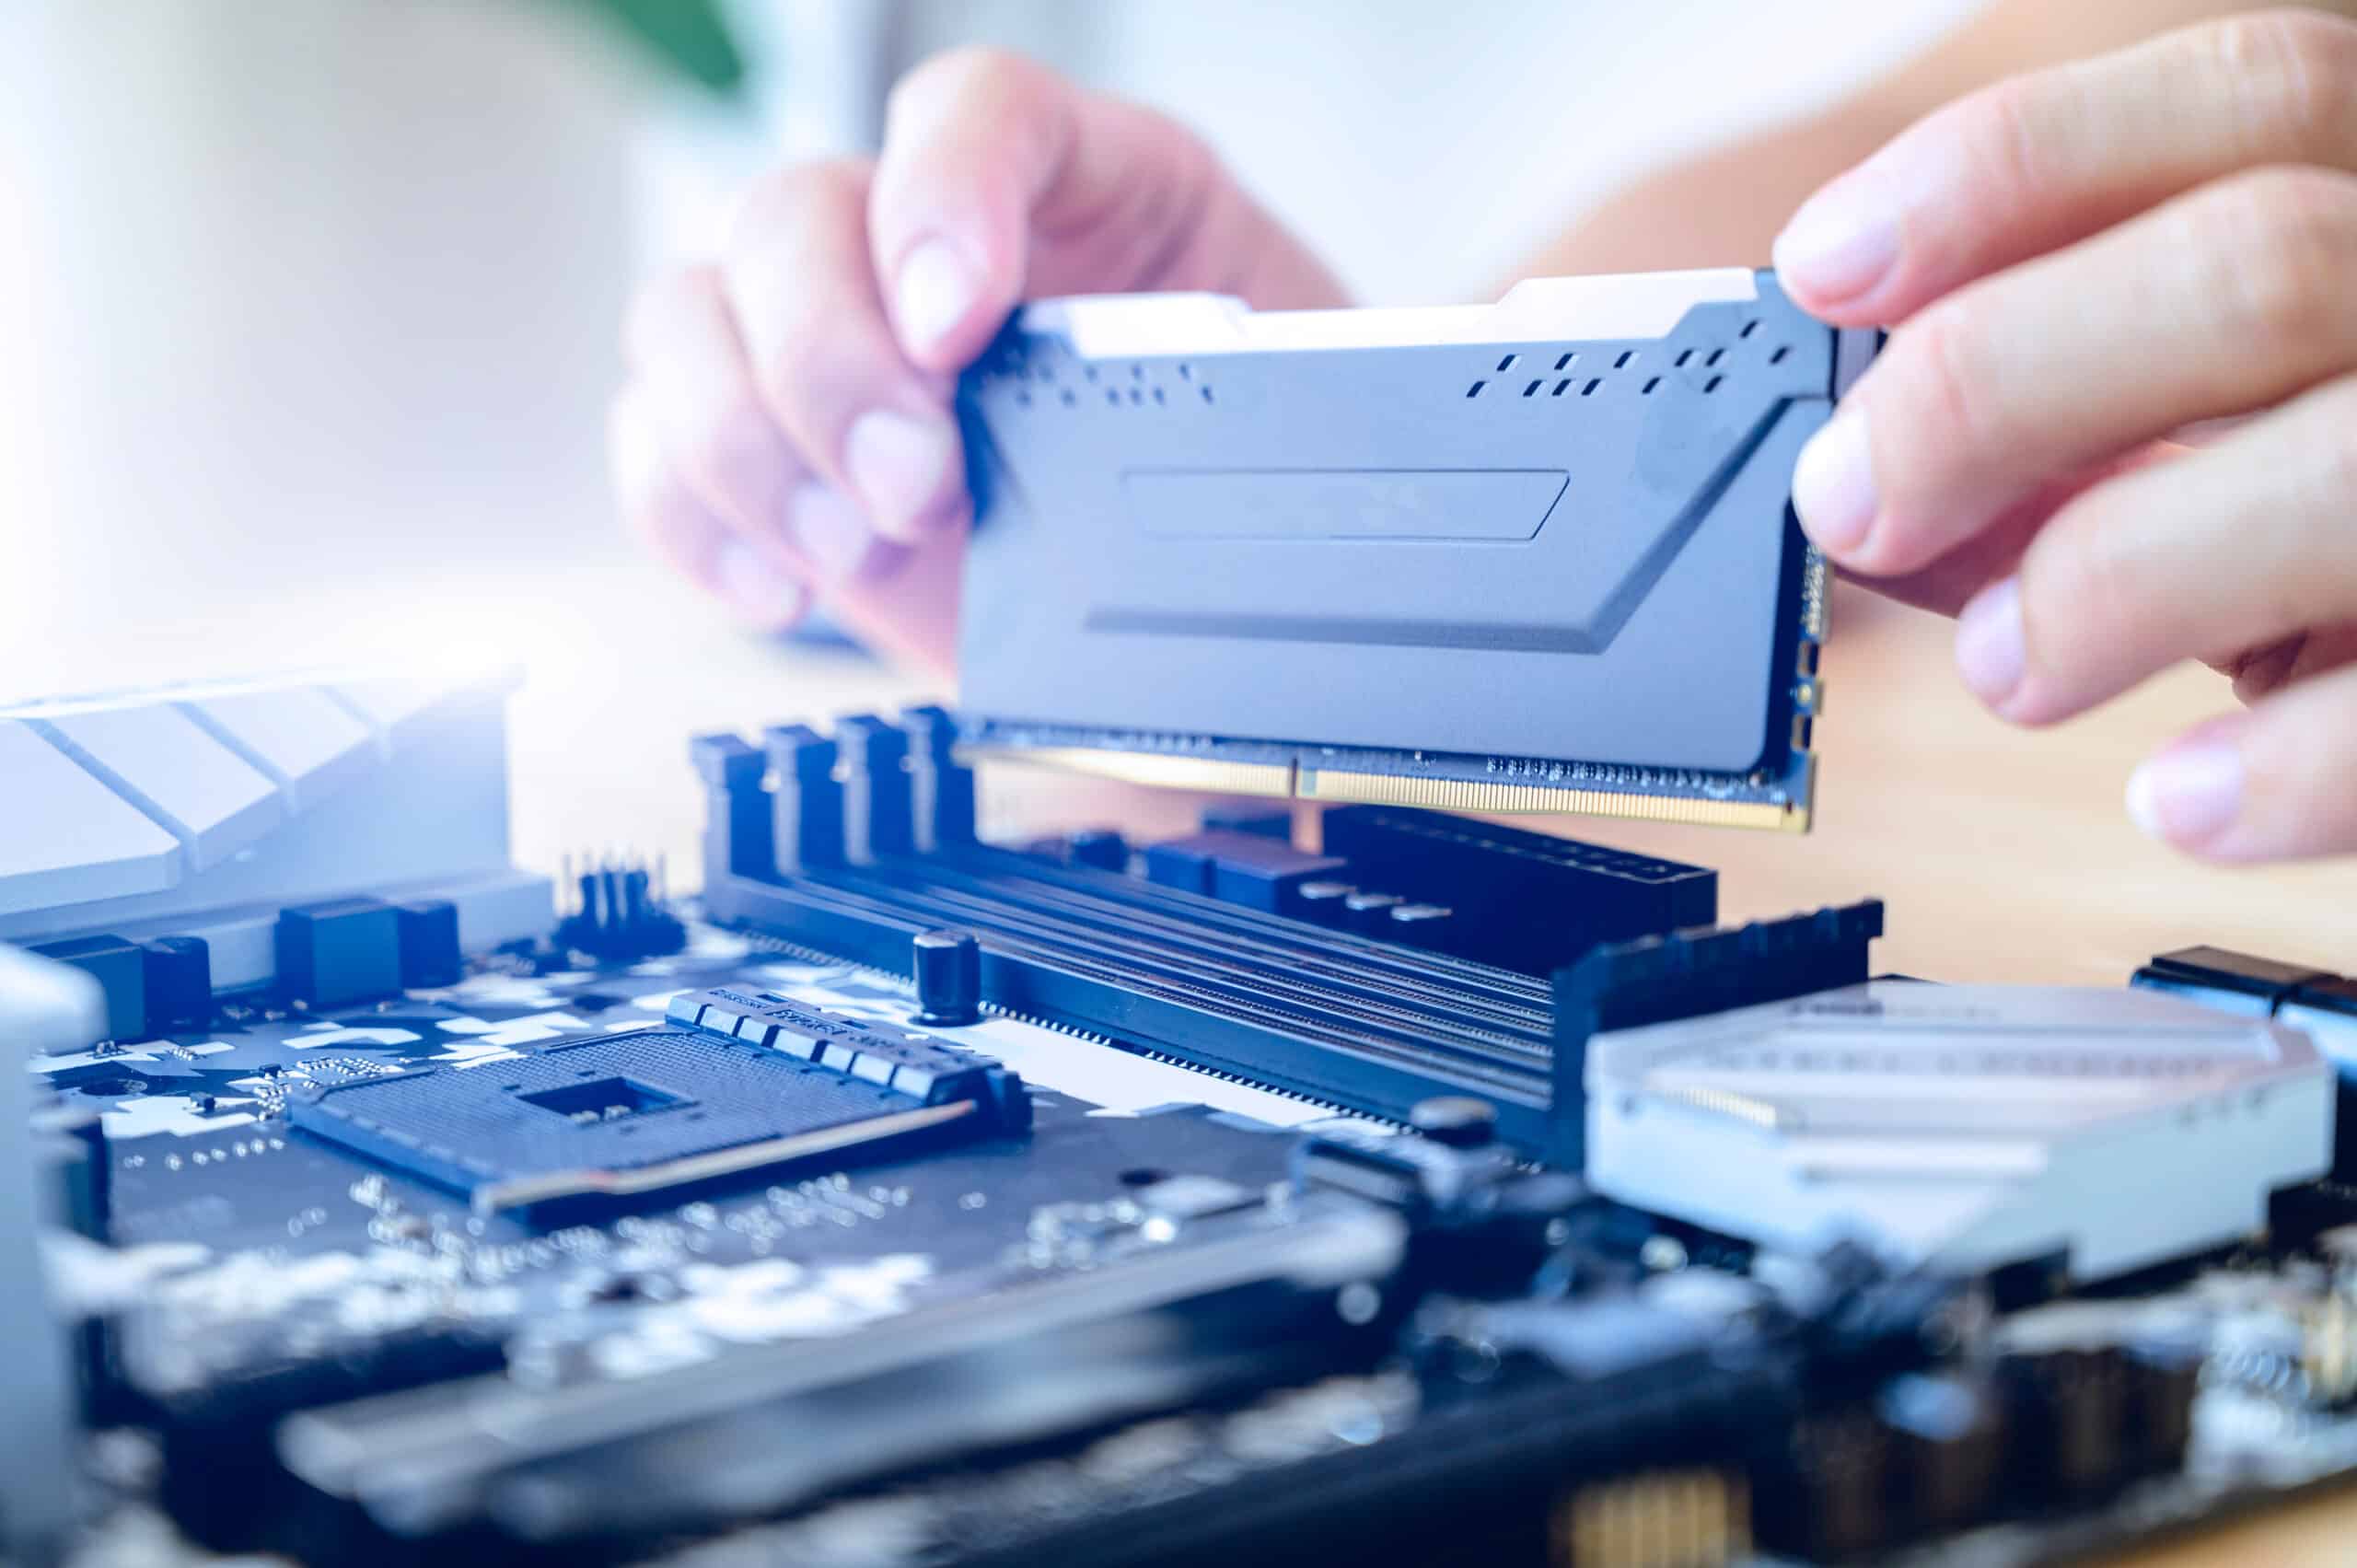
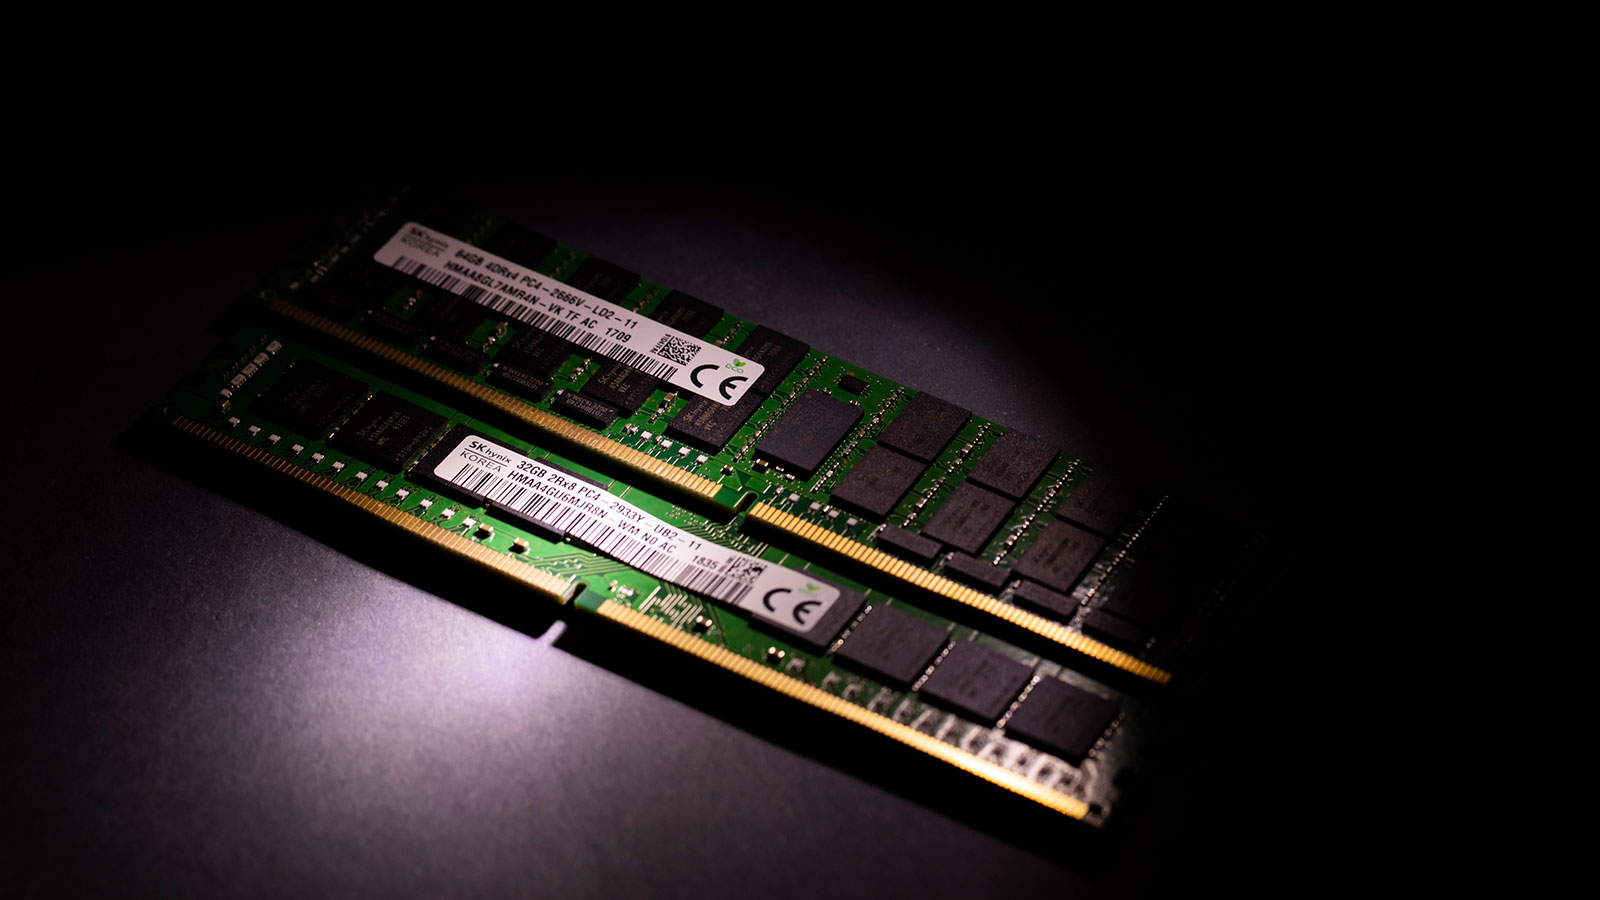
Upgrade your RAM
If you’ve tried various software optimizations and still find that your RAM speed is not up to par, it may be time to consider upgrading your RAM. Increasing the amount of RAM in your computer can significantly enhance performance and improve RAM speed.
Here are the steps to upgrade your RAM:
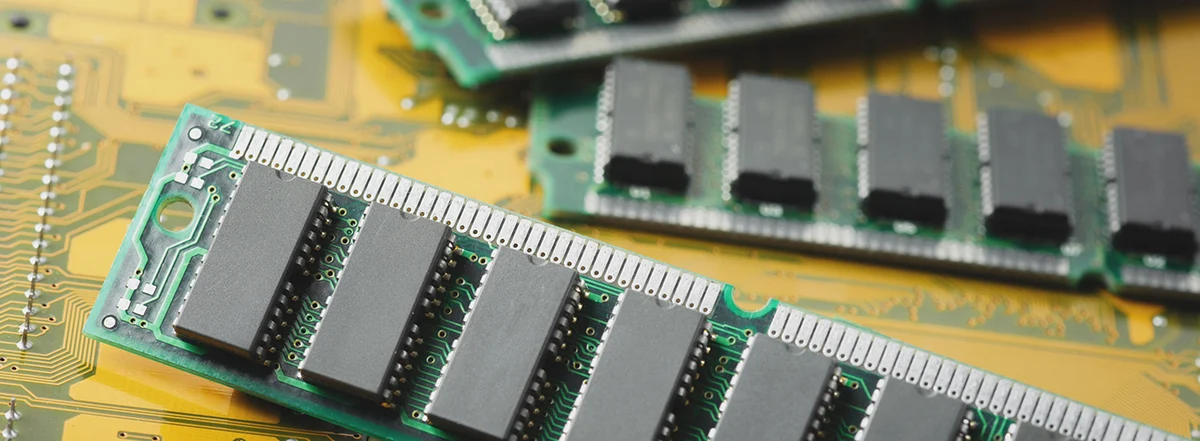
- Determine the RAM type: Check your computer’s documentation or use system information tools like CPU-Z to identify the type of RAM currently installed on your system. Common types include DDR3, DDR4, and DDR5.
- Check the maximum supported RAM: Consult your computer’s documentation or the manufacturer’s website to determine the maximum amount of RAM your system can support. This ensures that any RAM upgrade you make is compatible with your motherboard.
- Purchase the appropriate RAM: Once you have determined the type and maximum supported RAM, purchase the appropriate RAM modules from a reputable manufacturer or retailer. Choose a reputable brand and ensure that the RAM matches the specifications needed for your system.
- Turn off your computer and disconnect the power source: Before installing new RAM modules, shut down your computer properly and disconnect the power source to prevent any electrical damage.
- Install the new RAM modules: Locate the RAM slots on your motherboard and remove the old RAM modules if necessary. Insert the new RAM modules into the empty slots, following the manufacturer’s instructions for proper installation. Ensure that the modules are inserted firmly and securely.
- Power on your computer and check for recognition: Once the new RAM modules are installed, reconnect the power source and power on your computer. Check the system information or BIOS settings to confirm that the new RAM is being recognized and utilized properly.
Upgrading your RAM can significantly improve RAM speed and overall system performance. With more RAM, your computer can handle resource-intensive tasks and applications more efficiently, resulting in faster data transfer rates and smoother multitasking.
Before purchasing new RAM modules, consider your specific requirements and the tasks you frequently perform on your computer. This will help you determine the ideal amount of RAM to install for your needs.
Keep in mind that upgrading your RAM is a hardware modification, and if you are not comfortable performing the upgrade yourself, seek assistance from a professional technician.
In the next sections, we will discuss additional techniques to maximize RAM speed and optimize your computer’s performance.
Conclusion
Optimizing your RAM speed is crucial for achieving optimal computer performance. By following the techniques outlined in this guide, you can significantly raise your RAM speed and enhance overall system responsiveness. Understanding RAM speed and checking your current RAM speed are essential first steps in assessing and improving your system’s performance.
Updating RAM drivers ensures that your RAM modules and motherboard communicate effectively, while increasing virtual memory provides additional memory resources when the physical RAM is insufficient.
Moreover, closing unnecessary background applications and disabling unnecessary startup programs minimize RAM usage and improve system efficiency. Cleaning up your computer’s hard drive removes clutter and frees up valuable storage space, aiding RAM speed. Finally, upgrading your RAM can provide a substantial boost in system performance, especially for resource-intensive tasks.
Remember, optimizing RAM speed is an ongoing process. Regular maintenance, software updates, and hardware upgrades can all contribute to maintaining optimal system performance.
We hope that this guide has provided you with valuable insights and practical strategies to raise your RAM speed. By implementing these techniques, you can enjoy a faster, smoother, and more efficient computing experience.