Introduction
Welcome to our guide on how to clear “Other” storage on Android devices. If you have noticed that your Android device is running out of storage space, you may have come across the “Other” category in your storage settings. This mysterious “Other” storage can take up a significant amount of space, and it can be frustrating not knowing what it consists of and how to clear it.
When you check your device’s storage settings, you will typically see categories like Apps, Pictures, Videos, and Audio. However, the “Other” category includes various files and data that cannot be easily categorized into these predefined sections. This can include cached files, temporary files, system files, and miscellaneous data from apps and processes on your device.
The “Other” storage can gradually accumulate over time, eventually eating up a significant portion of your device’s storage capacity. This can result in reduced performance, slower app launch times, and limited space for new apps, photos, and videos. Therefore, it is essential to understand how to manage and clear the “Other” storage on your Android device.
In this guide, we will walk you through several methods to help you reclaim precious storage space and clear out unnecessary files and data under the “Other” category. By following these steps and implementing the recommended practices, you can optimize the storage on your Android device and enjoy a smoother and more efficient experience.
What is “Other” Storage?
When you check the storage settings on your Android device, you might come across a category called “Other.” This category represents the storage space occupied by various files and data that cannot be categorized into predefined sections like Apps, Pictures, Videos, or Audio.
The “Other” storage includes a mix of different types of files and data that contribute to the overall storage usage on your device. This can include cached files from apps and web browsers, temporary files generated during system operations, system files that are critical for the functioning of your device, and miscellaneous data from different applications.
Some common examples of files that fall under the “Other” category include system logs, app installation files, app data and caches, offline maps, music, documents, and other miscellaneous files. These files are essential for the proper functioning of your device and the apps installed on it, but they can accumulate over time and take up a significant amount of storage space.
The exact composition of the “Other” storage may vary based on the apps you use, your device model, and the Android version you are running. For example, devices with pre-installed apps and OEM-specific software may have additional system files that contribute to the “Other” storage size.
It’s important to note that the “Other” storage is not necessarily something to worry about. It is a natural accumulation of various files and data that are required for the smooth operation of your device. However, if the “Other” storage starts to occupy a significant portion of your device’s storage capacity and affects its performance or limits your ability to install new apps or store photos and videos, it’s time to take action and clear out unnecessary files and data.
Why is “Other” Storage Taking Up Space on Your Android?
The “Other” storage on your Android device can gradually accumulate and take up significant storage space for several reasons. Understanding why this happens can help you implement effective strategies to manage and clear out unnecessary files and data.
One of the main reasons for the buildup of “Other” storage is the caching of files by apps and the operating system. When you use apps on your Android device, they often cache data to improve performance and reduce the need for repeated downloads. This includes images, videos, and other media files that are temporarily stored on your device. Over time, these cached files can accumulate and contribute to the “Other” storage size.
Temporary files generated during system operations also contribute to the “Other” storage. These files are created when your device performs various tasks like updating apps, installing system updates, or downloading files. While these files are meant to be temporary, they may not always get cleared automatically, leading to increased “Other” storage usage.
Additionally, apps themselves store data and caches on your device, which can contribute to the “Other” storage size. This includes app-specific files, preferences, and offline content. Some apps generate large amounts of data or store unnecessary files that can take up valuable storage space over time.
Moreover, system files and logs also contribute to the “Other” storage size. These files are essential for the proper functioning of your device and recording system events. However, over time, these files can accumulate and occupy a significant amount of storage space.
Lastly, miscellaneous files from different applications and processes also fall under the “Other” category. This includes files that do not fit into the predefined categories like apps, pictures, videos, or audio.
To effectively manage and clear the “Other” storage on your Android device, it is important to understand the reasons behind its accumulation. By targeting the specific areas contributing to the “Other” storage, you can take appropriate steps to reclaim storage space and optimize the performance of your device.
How to Check the Amount of “Other” Storage on Your Android
Before you can start clearing the “Other” storage on your Android device, it’s important to check how much storage space it currently occupies. Luckily, Android provides a built-in feature to help you get an overview of your device’s storage usage, including the amount of space taken up by “Other” storage.
Here’s how you can check the amount of “Other” storage on your Android device:
- Open the Settings app on your Android device. You can usually find it in your app drawer or by swiping down on the notification shade and tapping the gear icon.
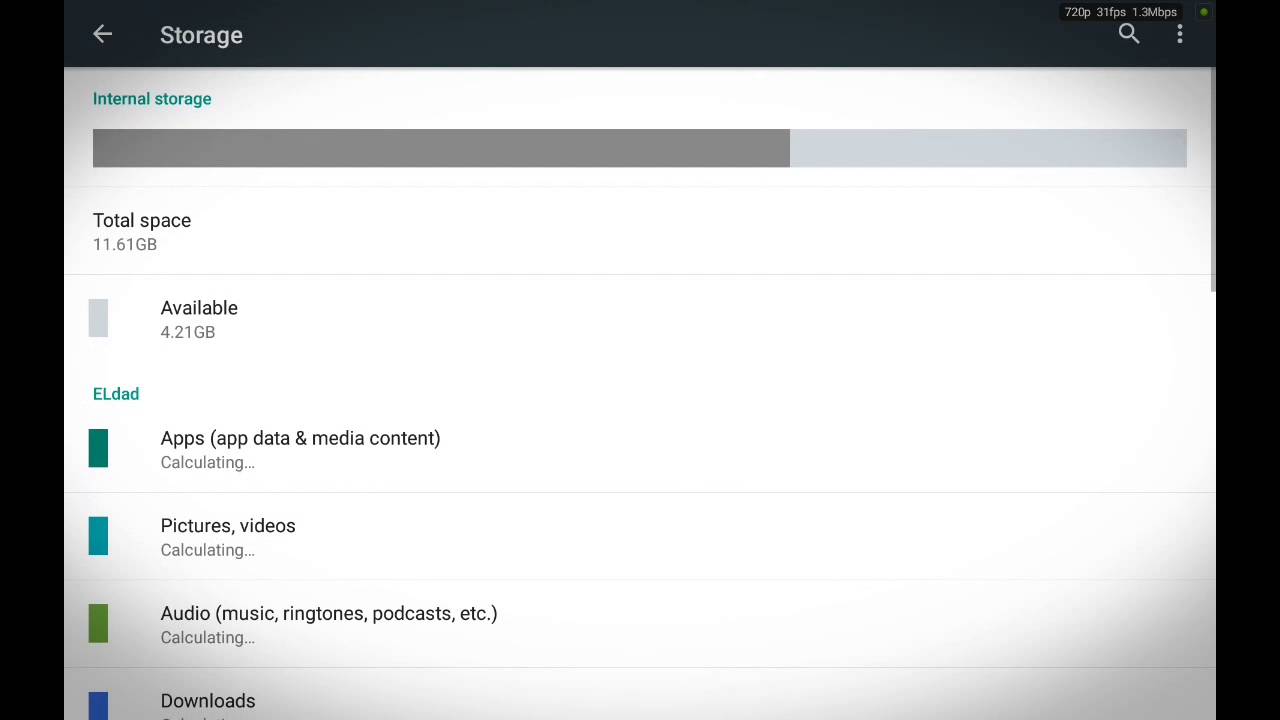
- Scroll down and tap on the “Storage” or “Storage and backup” option. The exact wording may vary depending on your device and Android version.
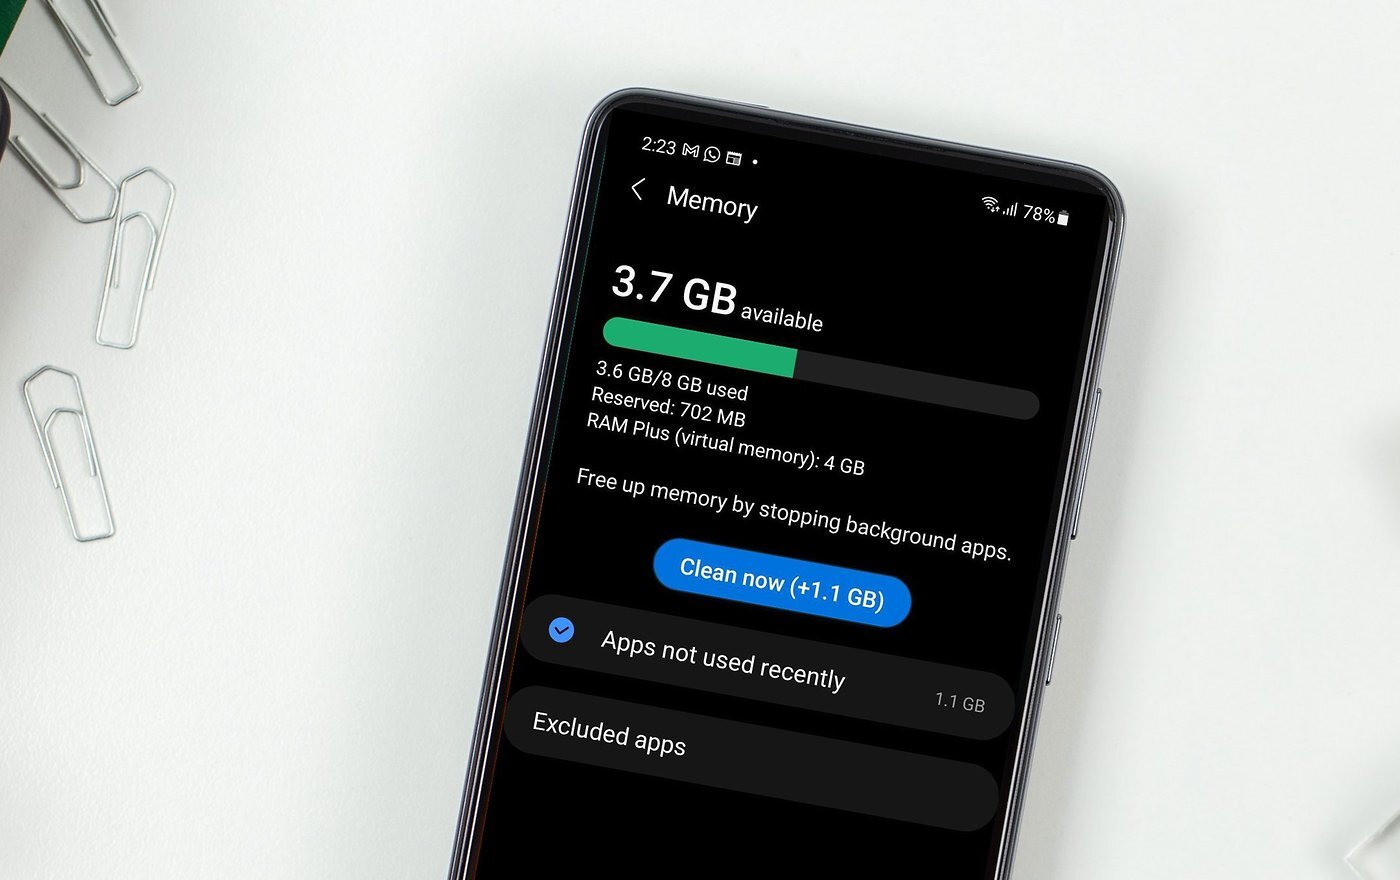
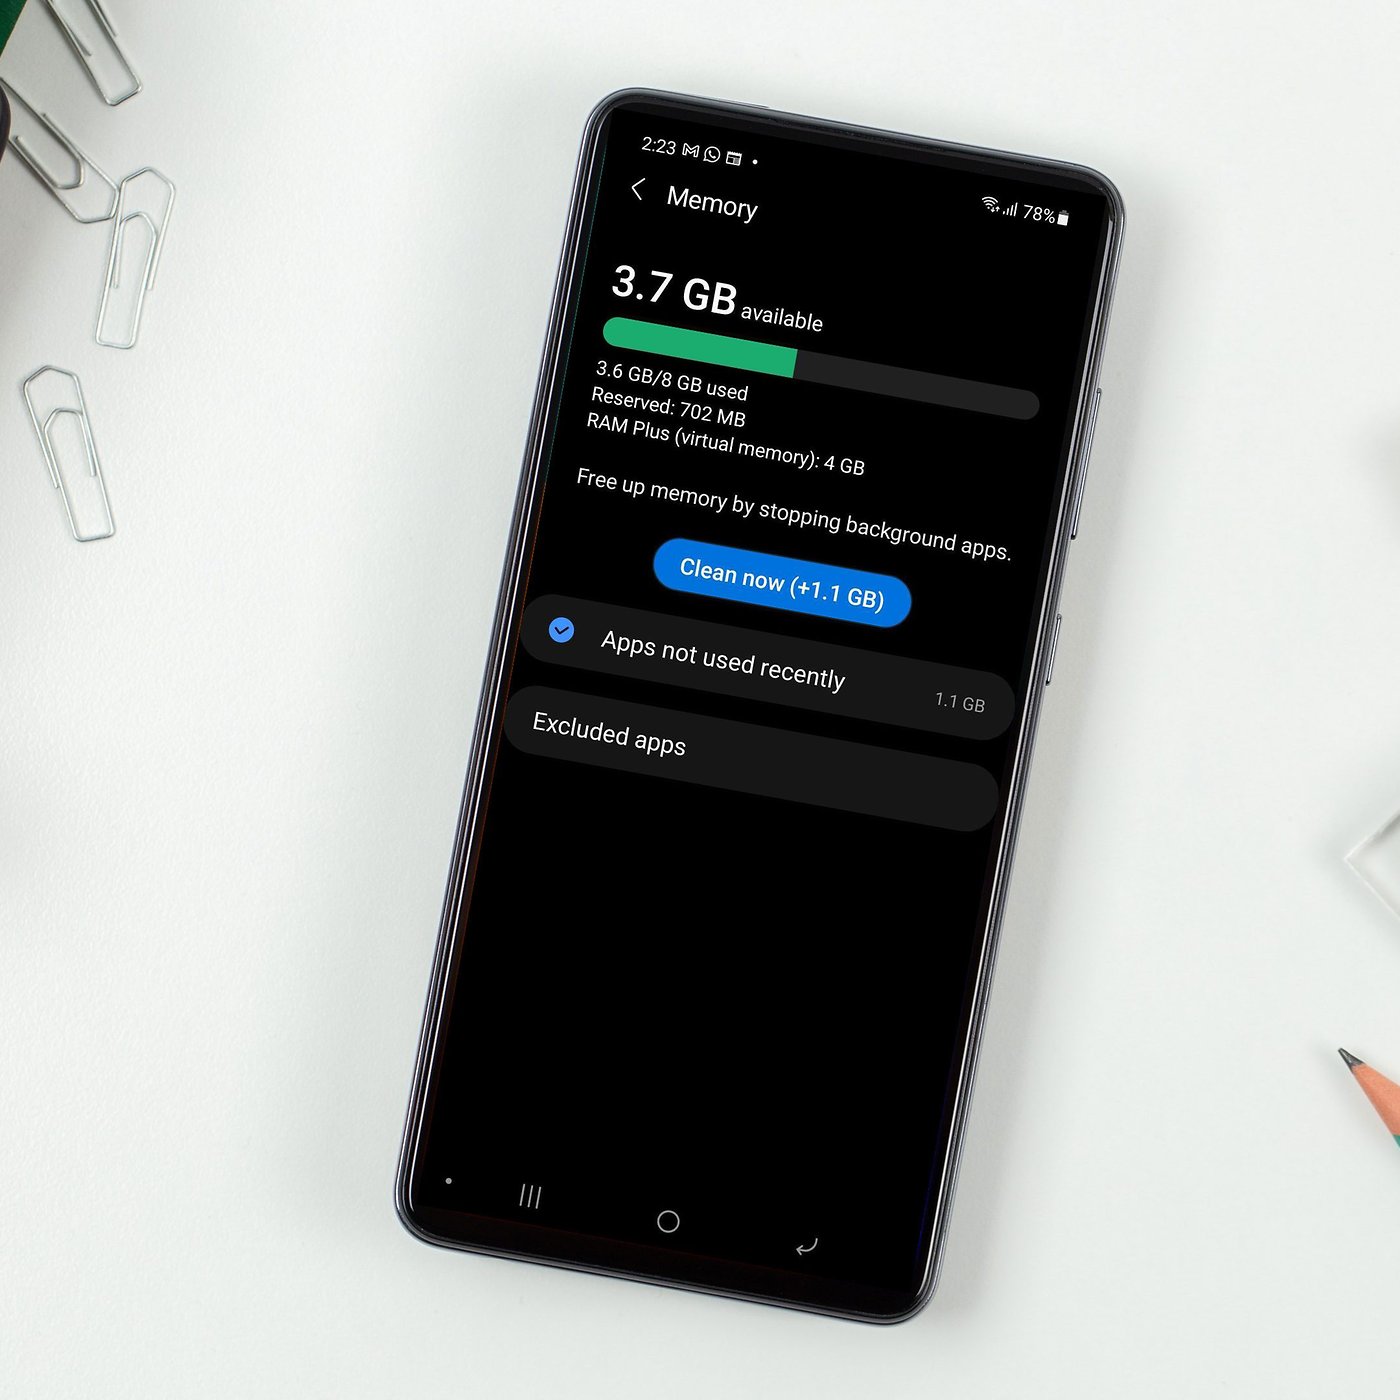
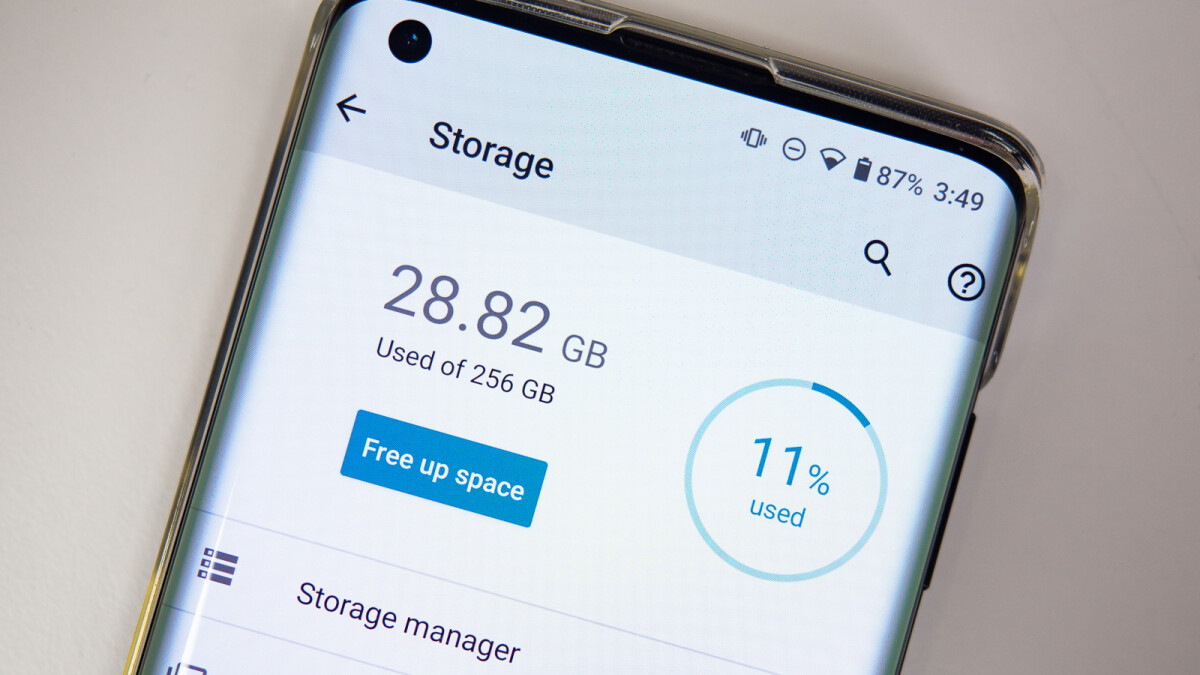
- You will see a summary of your device’s storage usage, usually represented in a colorful chart. Look for the “Other” or “Miscellaneous” category, which represents the storage occupied by files that cannot be categorized into predefined sections.
- You should now be able to see the amount of “Other” storage on your device, typically displayed in gigabytes (GB) or megabytes (MB).
Keep in mind that the storage usage displayed in the settings may not be real-time and can take a few moments to update. If you have recently cleared out some “Other” storage or installed new apps, it may take a short while for the changes to reflect accurately in the storage settings.
By regularly checking the amount of “Other” storage on your Android device, you can monitor its growth and take appropriate action to clear out unnecessary files and data. Now that you have an idea of how much “Other” storage you’re dealing with, let’s explore some effective methods to clear it out and reclaim valuable storage space on your Android device.
Clearing Cache and Temporary Files
One of the most effective ways to clear out a significant portion of the “Other” storage on your Android device is by clearing the cache and temporary files generated by apps and the operating system. Cache files are temporary files that are stored to improve app performance and reduce the need for repeated data downloads. By clearing these files, you can free up valuable storage space and potentially boost the performance of your device.
Here’s how you can clear cache and temporary files on your Android device:
- Open the Settings app on your Android device.
- Scroll down and tap on “Apps” or “Applications.”
- Here, you will see a list of all the apps installed on your device. Tap on an app that you want to clear the cache for.
- In the app’s details page, look for the “Storage” or “Storage & cache” option.
- Tap on “Clear cache” to remove the cached files for that specific app. You can repeat this process for other apps as well.
- If you want to clear the cache for all apps at once, you can go back to the list of apps and tap on the three-dot menu icon in the top-right corner. From the menu, select “Clear cache” or a similar option to clear cache files for all apps in one go.
In addition to clearing app caches, you can also clear the cache and temporary files generated by the Android system:
- Go to the Settings app on your Android device.
- Scroll down and tap on “Storage” or “Storage and backup.”
- Tap on “Cached data” or a similar option.
- You will be prompted to confirm clearing the cached data. Tap on “OK” or “Delete” to proceed.
Clearing cache and temporary files can vary slightly depending on your device and Android version. The option names and locations may differ, but the general process remains the same.
Regularly clearing the cache and temporary files can not only help free up storage space but also ensure optimal performance of your apps and device. Consider making it a part of your routine maintenance to keep your Android device running smoothly.
Managing Downloads
Downloading files, such as documents, images, videos, and music, is a common activity on an Android device. However, these downloaded files can quickly accumulate and take up a significant amount of storage space, contributing to the “Other” storage category. By effectively managing and organizing your downloads, you can free up storage space and ensure that only essential files are kept on your device.
Here are some tips for managing downloads on your Android device:
- Regularly review and delete unnecessary downloaded files: Periodically go through your Downloads folder or any other location where you save downloaded files. Identify files that are no longer needed or duplicates and delete them. Be cautious and verify that you don’t mistakenly remove any important files.
- Move files to external storage or cloud storage: If you have large files or files that you don’t often access, consider moving them to external storage like an SD card or cloud storage services. This can help free up space on your device’s internal storage.
- Set default download location: Most apps allow you to choose the storage location for downloaded files. Consider setting a default download location to an SD card or external storage if it’s available on your device. This will prevent the files from occupying your device’s internal storage.
- Use a file manager app: Install a file manager app from the Google Play Store to easily navigate through your device’s storage and manage files. These apps often have features to help you locate and delete unnecessary files, making it easier to manage downloads.
By regularly managing your downloads and removing unneeded files, you can keep your Android device organized and ensure that storage space is used efficiently.
Note that some apps may have their own specific download locations or have features to manage their downloaded files. It’s a good practice to explore the settings of individual apps to see if there are any options to manage downloads within the app itself.
Remember to be cautious when deleting files to avoid mistakenly removing important documents or personal files. Always double-check the contents of a folder or the purpose of a file before deleting it. You can also consider backing up important files before removing them from your device to ensure you don’t lose any valuable data.
Deleting Unwanted Files and Folders
Over time, your Android device can accumulate a multitude of unwanted files and folders that take up valuable storage space. These files can range from old documents and screenshots to duplicate files and leftover files from uninstalled apps. By identifying and deleting these unwanted files and folders, you can efficiently reclaim storage space and optimize the performance of your device.
Here’s how you can delete unwanted files and folders on your Android device:
- Use a file manager app: Install a file manager app from the Google Play Store to help you navigate through your device’s storage and locate unnecessary files and folders. These apps offer a user-friendly interface and robust features to identify and delete unwanted files.
- Browse through your storage: Open the file manager app and start exploring your device’s internal storage and SD card (if available). Look for folders and files that you no longer need, such as old photos, documents, music or video files, and any other files that you can identify as unnecessary or duplicates.
- Select and delete: Once you have identified unwanted files and folders, tap and hold on a file or folder to select it. Once selected, look for the option to delete or remove it. Confirm the deletion when prompted.
- Empty the trash or recycle bin: Some file manager apps have a trash or recycle bin feature that temporarily stores deleted files. Make sure to empty the trash or recycle bin within the file manager app to permanently free up space on your device.
It’s important to exercise caution when deleting files and folders, especially if you are unfamiliar with their content or purpose. Double-check the contents of a folder or the significance of a file before deleting it to avoid accidentally removing important files. If you are unsure about a file, consider backing it up to another location before deleting it.
Regularly reviewing and deleting unwanted files and folders can help you keep your Android device clutter-free and ensure that storage space is utilized efficiently.
In addition to using a file manager app, some apps may have built-in features to help you identify and clear unwanted files. For example, gallery apps often have options to delete duplicate or redundant photos, and messaging apps may offer the ability to clear chat history and media files.
By implementing a systematic approach to delete unwanted files and folders, you can maintain a tidy device and create more space for important files and new apps.
Removing Unnecessary Apps
Over time, you may accumulate a multitude of apps on your Android device, many of which you may no longer use or need. These unused apps can not only clutter your app drawer but also occupy valuable storage space, contributing to the “Other” storage category. By identifying and removing unnecessary apps, you can reclaim storage space and streamline your device’s performance.
Here’s how you can remove unnecessary apps from your Android device:
- Open the Settings app on your Android device.
- Scroll down and tap on “Apps” or “Applications.”
- Here, you will see a list of all the apps installed on your device. Scroll through the list and identify the apps that you no longer use or need.
- Tap on an app that you want to uninstall.
- In the app’s details page, look for the “Uninstall” or “Remove” option and tap on it.
- You will be prompted to confirm the uninstallation. Tap on “OK” or “Uninstall” to proceed.
- Repeat the process for other unnecessary apps.
It’s important to note that some apps may come pre-installed on your device and may not allow you to uninstall them. However, you can usually disable these apps, which will prevent them from running and taking up system resources. To disable a pre-installed app, follow the same steps mentioned above, but look for the “Disable” or “Turn off” option instead of uninstalling.
In addition to removing individual apps, you can also use the option to “Sort by size” within the app settings to find large apps that consume a significant amount of storage space. By identifying and removing these large apps, you can quickly free up storage space.
Before uninstalling an app, consider backing up any important app data or files associated with it. Some apps offer backup options within their settings, or you can use third-party backup apps to safeguard your data.
Regularly reviewing and removing unnecessary apps can help you declutter your Android device and ensure that storage space is used efficiently. By keeping only the apps you truly need and use, you can optimize the performance and responsiveness of your device.
Clearing App Data and Caches
Clearing app data and caches can help you reclaim valuable storage space on your Android device. When you use apps, they generate data and cache files that can accumulate over time and contribute to the “Other” storage category. By clearing this data and cache, you can free up space and potentially improve the performance of your apps.
Here’s how you can clear app data and caches on your Android device:
- Open the Settings app on your Android device.
- Scroll down and tap on “Apps” or “Applications.”
- Here, you will see a list of all the apps installed on your device. Tap on an app for which you want to clear the data and cache.
- In the app’s details page, look for the “Storage” or “Storage & cache” option.
- Tap on “Clear storage” or “Clear data” to remove all app-specific data, including settings, preferences, and accounts.
- To clear the cache only, tap on “Clear cache.”
- Confirm the action if prompted.
Keep in mind that clearing app data will reset the app to its default state, removing any personalized settings or login credentials. Any downloaded or saved data within the app will also be deleted. However, you can usually sign back into the app and reconfigure your settings, if necessary.
Clearing app caches, on the other hand, will remove temporary files and data stored by the app, such as images, videos, or other media files. Clearing caches can be done without any major impact on the functionality of the app, and it can help free up storage space.
In addition to clearing app data and caches individually, some Android devices offer a built-in feature to clear the cache for all apps at once. This option can usually be found within the storage settings of your device.
Remember that clearing app data and caches should be done with caution. Some apps may store important data that you wish to keep, such as notes, progress in games, or downloaded files. Before clearing app data, consider backing up any important data associated with the app. Some apps have built-in backup features, or you can use third-party backup apps to safeguard your data.
Regularly clearing app data and caches can help you manage storage space more efficiently and potentially enhance the performance of your Android device.
Clearing Offline Maps and Music
If you use your Android device for navigation or music playback, you may have offline maps or music files stored on your device. While these offline files can be convenient, they can also occupy a significant amount of storage space. Clearing offline maps and music that you no longer need can help free up space and optimize the storage on your device.
Here’s how you can clear offline maps and music on your Android device:
- Open the Maps app on your device, such as Google Maps or any other navigation app.
- Tap on the menu icon (usually three horizontal lines) to open the app’s menu.
- Look for the option to access offline maps, such as “Offline maps” or “Downloaded maps.” Tap on it.
- You will see a list of downloaded offline maps. Tap on the map you want to remove.
- Look for the option to delete or remove the offline map, and confirm the action if prompted.
To clear offline music, follow these steps:
- Open your music player or streaming app, such as Google Play Music or Spotify.
- Go to the settings or options screen in the app.
- Look for the option related to offline playback or downloaded music.
- From there, you can usually select the specific songs, albums, or playlists that you want to remove and delete them.
Clearing offline maps and music can vary slightly depending on the app you are using. The options may have different names or be located in different sections of the app. If you are unsure, consult the app’s documentation or search online for specific instructions.
Before clearing offline maps or music, consider whether you will need these files in the future. If you frequently travel to places with limited or no internet connectivity, keeping essential offline maps may be beneficial. Similarly, if you often listen to music in offline mode, make sure to keep the files you regularly listen to.
Regularly reviewing and clearing offline maps and music that you no longer need can help you optimize storage and ensure you have enough space for other important files and apps on your Android device.
Using Storage Analyzing Apps
Storage analyzing apps can be incredibly helpful in identifying and managing the storage space on your Android device. These apps provide detailed insights into how your device’s storage is being used, allowing you to pinpoint large files, duplicate files, and other storage-hogging culprits. By using storage analyzing apps, you can make informed decisions on what files to delete and how to optimize your device’s storage.
Here’s how you can use storage analyzing apps on your Android device:
- Go to the Google Play Store on your device and search for “storage analyzer” or “storage manager” apps.
- Choose a storage analyzing app that has good reviews, high ratings, and a user-friendly interface.
- Install the chosen app on your device and open it.
- Allow the app to scan your device’s storage and analyze the data.
- Once the scan is complete, the app will present you with a visual representation of your device’s storage usage.
- Explore the app’s features to identify storage-hogging files or folders, such as large files, duplicate files, or files that haven’t been used in a long time.
- Utilize the various tools and options provided within the app to manage and optimize your storage.
Storage analyzing apps offer a range of features to help you manage your device’s storage efficiently. Some common features and functionalities include:
- Sorting files based on file size, allowing you to quickly identify large files taking up space.
- Finding duplicate files and offering the option to delete them to free up storage.
- Providing options to clear app caches, temporary files, and other unneeded data.
- Suggesting files that have not been accessed recently and may be candidates for deletion.
- Allowing you to create custom filters to search for specific file types or file sizes.
Storage analyzing apps can vary in terms of available features and user interface, so it’s a good idea to explore different apps and choose one that suits your preferences and requirements.
By regularly using storage analyzing apps, you can gain a deeper understanding of your device’s storage usage and take proactive measures to manage and optimize storage space. These apps empower you to make informed decisions about which files to keep, delete, or move to external storage.
Conclusion
Managing the “Other” storage on your Android device is essential for optimizing performance and ensuring you have enough storage space for your apps, files, and media. By following the methods and techniques outlined in this guide, you can effectively clear out unnecessary files and data, reclaim valuable storage space, and keep your device running smoothly.
Start by checking the amount of “Other” storage on your device to get an overview of how much space is being occupied. From there, you can proceed to clear the cache and temporary files generated by apps and the operating system. Managing your downloads, deleting unwanted files and folders, and removing unnecessary apps can further help in freeing up storage space.
Clearing app data and caches, as well as offline maps and music, can be effective in reducing the size of the “Other” storage category. Additionally, using storage analyzing apps can provide valuable insights and recommendations for optimizing your device’s storage.
Remember to exercise caution when deleting files and data. Always make sure to back up any important files or data before deleting them to avoid permanent loss. Take time to evaluate which files are truly unnecessary and ensure that you won’t need them in the future.
By implementing these strategies regularly and making storage management a part of your device maintenance routine, you can keep your Android device organized, efficient, and ready to accommodate your growing needs.