Introduction
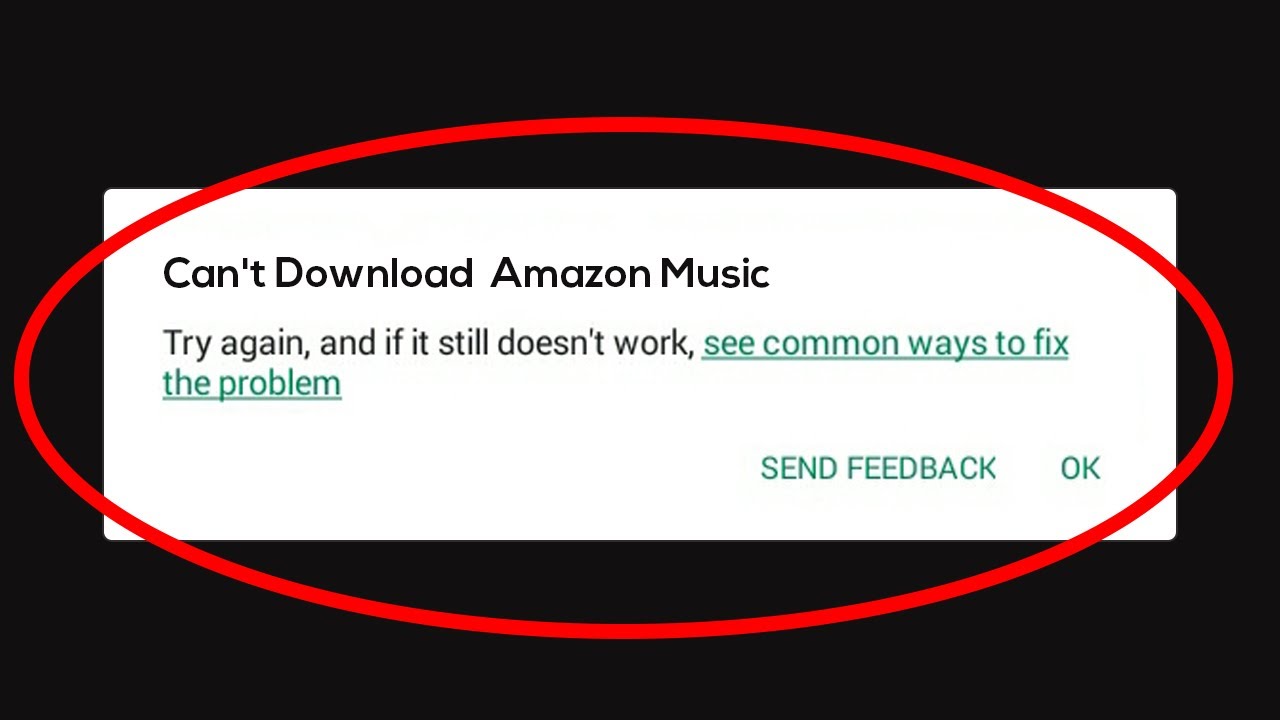
Welcome tech-savvy music lovers! Are you an avid user of the Amazon Music app on your iPhone? If so, you may have encountered instances where the app is slow or unresponsive. Well, fret not, because there may be a simple solution to this issue – clearing the Amazon Music cache on your iPhone.
Before we delve into the steps to clear the cache, let’s take a moment to understand what a cache is and why it may need to be cleared. In simple terms, a cache is a temporary storage area where data is stored to help speed up processes and improve performance. For apps like Amazon Music, the cache stores information such as recently played songs, album covers, and playlists to make them quickly accessible.
Over time, the cache can accumulate a large amount of temporary data, which can lead to performance issues, like sluggishness or even crashes. Clearing the cache not only frees up space on your device but also helps resolve these performance problems.
In this article, we will guide you through the steps to clear the Amazon Music cache on your iPhone, ensuring a smoother and more enjoyable music streaming experience. So, let’s get started!
Why Clearing the Amazon Music Cache on iPhone is Important
Now that we understand what a cache is and its function in the Amazon Music app, let’s explore why clearing the cache on your iPhone is important.
1. Improved Performance: Clearing the cache can help improve the overall performance of the Amazon Music app on your iPhone. By removing temporary data that has accumulated over time, the app can run more smoothly, minimizing lags, freezing, or crashing.
2. Free Up Storage Space: The cache can take up a significant amount of storage space on your iPhone. Clearing the cache frees up this space, allowing you to use it for other apps, photos, videos, or downloads.
3. Resolves Playback Issues: If you’ve been experiencing playback issues such as songs skipping, pausing, or not playing at all, clearing the Amazon Music cache can help resolve these problems. Clearing the cache removes any corrupted or outdated data that may be hindering the playback process.
4. Syncing and Downloading Errors: Sometimes, cached data can interfere with the syncing or downloading of songs in your Amazon Music library. By clearing the cache, you can eliminate any potential obstacles and ensure a seamless syncing and downloading experience.
5. Updated Content: Clearing the cache ensures that you receive the latest updates in terms of album artwork, playlists, and other metadata. The app will refresh and fetch the most up-to-date information, providing you with an accurate and visually appealing music streaming experience.
6. Troubleshooting: In case you encounter any technical issues with the Amazon Music app, such as unresponsive buttons or slow loading times, clearing the cache can be a useful troubleshooting step. It allows you to start fresh and potentially resolve any underlying issues that may be affecting the app’s performance.
By understanding the importance of clearing the Amazon Music cache on your iPhone, you can take proactive steps to maintain a smooth and hassle-free music streaming experience. Now that we’ve covered the why, let’s move on to the how. In the next section, we will walk you through the steps to clear the cache on your iPhone.
Step 1: Accessing the Amazon Music App
To begin the process of clearing the Amazon Music cache on your iPhone, you first need to open the Amazon Music app. Follow these steps:
- Locate the Amazon Music app on your iPhone’s home screen. It has a white icon with a blue musical note.
- Tap on the app icon to launch Amazon Music. The app will load and open to the main screen.
- If you haven’t already signed in to your Amazon account, enter your login credentials to access your Amazon Music library. If you’re already signed in, you will be taken directly to the main screen.
Once you have successfully accessed the Amazon Music app, you are ready to proceed to the next step – navigating to the settings menu.
Keep in mind that the specific layout and design of the Amazon Music app may vary slightly depending on the version you have installed on your iPhone. However, the general steps to access the app remain the same.
Step 2: Navigating to the Settings Menu
Once you’ve opened the Amazon Music app on your iPhone, it’s time to navigate to the settings menu. Here’s how you can do it:
- In the Amazon Music app, look for the icon that resembles three horizontal lines in the top-left or top-right corner of the screen. This is the menu icon.
- Tap on the menu icon to open the side menu. The menu will slide in from either the left or right side of the screen, depending on your app version.
- Scroll through the menu options until you find “Settings.” Tap on it to access the settings menu.
- Within the settings menu, you may see various options related to your Amazon Music preferences and account settings. Look for the section labeled “Storage & Caching” or any similar option related to cache management.
If your app version doesn’t have a dedicated caching option, don’t worry. Some versions automatically manage the cache and clear it when necessary, so you don’t have to worry about it.
Now that you have successfully navigated to the settings menu in the Amazon Music app, it’s time to proceed to the next step – clearing the cache.
Step 3: Clearing the Cache
After accessing the settings menu in the Amazon Music app on your iPhone, you’re now ready to clear the cache. Follow these simple steps:
- Within the settings menu, locate the “Storage & Caching” section or any similar option related to cache management.
- Tap on the “Storage & Caching” option to open the cache settings.
- Look for the option labeled “Clear Cache” or “Clear Data.” This option may have a different name depending on your app version.
- Tap on the “Clear Cache” or “Clear Data” option. A confirmation prompt may appear to ensure that you want to clear the cache.
- Read the prompt carefully and make sure you understand the consequences of clearing the cache. If you’re certain you want to proceed, tap on the “Confirm” or “Clear” button to initiate the cache clearing process.
Depending on the size of your cache and the speed of your iPhone, the cache clearing process may take a few seconds to a minute. During this time, it’s crucial not to interrupt the process or close the app.
Once the cache clearing process is complete, you’re one step closer to enjoying a smoother and more responsive Amazon Music app. However, there’s one more step to follow to ensure that the cache clearing takes full effect – restarting the Amazon Music app.
Let’s move on to the final step – restarting the Amazon Music app.
Step 4: Confirming Cache Clearing
After clearing the cache in the Amazon Music app on your iPhone, it’s essential to confirm that the cache clearing process was successful. Here’s how you can do it:
- Close the settings menu and return to the main screen of the Amazon Music app.
- Start navigating through the app and observe the performance. Pay attention to the speed, responsiveness, and overall smoothness of the app.
- Attempt to play a song or access features like playlists, albums, or artist profiles. Ensure that these functions work as expected without any interruptions or delays.
- Observe if any previously cached information such as album covers or recently played songs still appear. If these items have been successfully cleared, they should no longer be present.
If you notice significant improvements in the app’s performance, and the previously cached data is no longer visible, it indicates that the cache clearing process was successful.
However, if you encounter any issues or inconsistencies, it might be necessary to repeat the cache clearing process. Occasionally, cached data can be stubborn and require multiple attempts to completely clear.
If you still experience persistent performance problems or errors after repeating the cache clearing process, consider reaching out to Amazon Music customer support for further assistance.
Now that you’ve confirmed the cache clearing, it’s time to move on to the final step – restarting the Amazon Music app.
Step 5: Restarting the Amazon Music App
After successfully clearing the cache in the Amazon Music app on your iPhone, the final step is to restart the app. Restarting the app helps ensure that all the changes take full effect and allows you to enjoy an optimized music streaming experience. Follow these steps:
- Exit the Amazon Music app completely by pressing the home button or swiping up from the bottom of the screen (depending on the iPhone model and iOS version you’re using) to access the app switcher.
- In the app switcher, swipe left or right to locate the Amazon Music app preview.
- Swipe up on the Amazon Music app preview to force close it. This action will terminate the app process.
- Return to the home screen of your iPhone.
- Locate the Amazon Music app icon and tap on it to relaunch the app.
By restarting the Amazon Music app, you’re giving it a fresh start, ensuring that any remaining cached data or background processes are cleared. This step can help further optimize the app’s performance and stability.
After restarting the app, take a moment to explore its features and observe any improvements in terms of speed, responsiveness, and overall functionality. You should now be able to enjoy a more seamless and enjoyable music streaming experience on your iPhone.
Congratulations! You have successfully cleared the Amazon Music cache and restarted the app, setting the stage for an enhanced music listening experience. Keep in mind that it may be beneficial to periodically repeat this process to maintain optimal performance.
Now that you’re familiar with the steps to clear the Amazon Music cache on your iPhone, you can easily troubleshoot performance issues and enjoy uninterrupted music streaming. Happy listening!
Conclusion
Clearing the Amazon Music cache on your iPhone can significantly improve the app’s performance, free up storage space, and resolve playback or syncing issues. By following the five simple steps outlined in this guide, you can easily clear the cache and enjoy a seamless music streaming experience.
First, access the Amazon Music app by locating its icon on your iPhone’s home screen. Then, navigate to the settings menu within the app to find the cache clearing option. Clear the cache by following the prompts, and confirm that the cache clearing was successful by observing the app’s improved performance.
Lastly, remember to restart the Amazon Music app to ensure that the changes take full effect. Close the app, force close it from the app switcher, and then relaunch the app from your home screen.
By periodically clearing the cache and restarting the app, you can maintain optimal performance and enjoy a smoother music streaming experience on your iPhone. Whether you’re grooving to your favorite tunes, discovering new artists, or creating personalized playlists, an optimized Amazon Music app will enhance your enjoyment.
Now that you’re armed with the knowledge and steps to clear the cache on your iPhone, go ahead and give it a try. Experience the difference it can make in the performance of the Amazon Music app and enjoy uninterrupted, high-quality music streaming.
If you encounter any further difficulties or have specific questions about the Amazon Music app, don’t hesitate to reach out to Amazon Music customer support for additional assistance. Happy music streaming!