Introduction
Welcome to the digital age, where our inboxes are constantly bombarded with an overwhelming number of emails. Whether it’s work-related correspondence, newsletters, promotions, or personal messages, our email accounts can quickly become cluttered and disorganized. If you find yourself struggling to keep up with the ever-growing number of unread emails, it’s time to take control and clean up your inbox.
Cleaning up your email not only improves your overall digital organization but also enhances your productivity. Having a clutter-free inbox allows you to focus on the emails that truly matter, making it easier to locate important information when you need it. In this article, we’ll walk you through a step-by-step process on how to effectively clean up your email.
Before we begin, it’s important to note that the methods outlined in this guide can be applied to most email providers such as Gmail, Outlook, Yahoo Mail, and more. So, whether you’re a professional drowning in work emails or someone trying to regain control over their personal inbox, this guide is for you.
Are you ready to declutter your digital life and achieve email zen? Let’s get started on the journey to a cleaner, more organized inbox!
Step 1: Delete Unnecessary Emails
The first step in cleaning up your email is to delete all unnecessary emails. Start by quickly scanning your inbox and identifying emails that no longer require your attention. These could include old newsletters, promotional emails, expired offers, or obsolete conversations.
When deciding what to delete, consider the following criteria:
- Relevance: If the email no longer holds any relevance to your current needs, it’s safe to delete it.
- Date: Sort your emails by date and focus on older, inactive conversations that can be safely removed.
- Duplicates: If you receive multiple copies of the same email, identify the latest or most relevant one and delete the duplicates.
It’s important to exercise discretion during this process. While it’s tempting to delete all emails, be mindful of any important information or attachments that might be in your inbox. Take the time to review each email before hitting that delete button.
Some email providers also offer the option to mass delete or select multiple emails at once, making this process quicker and more efficient. Use the available tools to select and delete multiple emails simultaneously.
As you delete unnecessary emails, be sure to check your trash or deleted items folder and delete them permanently. This ensures that you free up space in your email account and prevent any clutter from accumulating.
By deleting unnecessary emails, you are already on your way to a cleaner and more organized inbox. Let’s move on to the next step and continue the cleanup process!
Step 2: Organize Emails into Folders
Now that you’ve cleared out the unnecessary emails, it’s time to organize the remaining ones into folders. Creating folders helps you categorize and store similar emails together, making it easier to find them later.
Here’s how you can organize your emails into folders:
- Identify Email Categories: Think about the different categories that your emails fall into. For example, you could have folders for work-related emails, personal correspondence, bills and statements, travel plans, and so on. The goal is to create folders that align with your specific needs and help streamline your email management.
- Create Folders: Once you’ve identified the categories, create separate folders in your email account for each one. Most email providers allow you to create folders easily by selecting the option to “Add” or “New Folder.” Give each folder a descriptive name that reflects its content.
- Move Emails: Now, start moving emails from your inbox to the corresponding folders. Be selective and only move emails that belong in that category. You can either drag and drop emails into folders or use the move feature provided by your email provider.
The key to effective email organization is to keep it simple. Avoid creating too many folders, as it can become overwhelming and defeat the purpose. Stick to broad categories that encompass the majority of your emails.
As you start organizing your emails into folders, don’t worry about going through every single email at once. Instead, focus on new incoming emails and gradually work through older ones during your regular email cleanup routine.
Having folders not only declutters your inbox but also allows for easier navigation when searching for specific emails. When you need to find a particular email, you can simply go to the relevant folder instead of scrolling through your entire inbox.
Now that you’ve organized your emails into folders, it’s time to learn how to automate the email sorting process using filters and rules. Let’s move on to the next step!
Step 3: Use Filters and Rules to Automatically Sort Emails
Sorting through incoming emails and manually moving them to the appropriate folders can be time-consuming. Fortunately, most email providers offer filters and rules that allow you to automatically organize incoming emails based on specific criteria.
Follow these steps to set up filters and rules:
- Identify Sorting Criteria: Determine the criteria that you want to use to sort your emails. For example, you could set filters to automatically move emails from specific senders, with certain keywords in the subject line, or containing specific file attachments.
- Access Filters and Rules: Look for the filters or rules feature in your email provider’s settings menu. It’s usually located under the “Settings” or “Preferences” section of your email account.
- Create Filters: Create filters or rules based on the sorting criteria you identified in step one. Depending on your email provider, you may be able to specify multiple criteria for a single filter.
- Specify Actions: Once you’ve set the criteria, specify the actions you want the filter to take. This can include moving the email to a specific folder, labelling it, marking it as read, or even forwarding it to another email address.
- Enable Filters: After setting up the filters, make sure they are enabled. Some email providers require you to manually turn them on.
Using filters and rules can significantly streamline your email management. Incoming emails that meet the specified criteria will be automatically sorted into the designated folders, saving you time and keeping your inbox organized.
Remember to review and update your filters periodically. Over time, your sorting criteria and email preferences may change, so it’s important to adjust your filters accordingly.
Now that you’ve automated the sorting process, you can enjoy a more organized inbox without the hassle of manually moving emails into folders. Let’s continue our email cleanup journey and learn how to unsubscribe from unwanted email lists.
Step 4: Unsubscribe from Unwanted Email Lists
We’ve all been there – our inboxes bombarded with emails from various mailing lists and subscriptions that we no longer find valuable. These emails not only clutter our inbox but also distract us from more important messages. That’s why it’s crucial to take the time to unsubscribe from unwanted email lists.
Follow these steps to effectively unsubscribe:
- Start with a Clean Slate: Before you begin unsubscribing, make sure you’ve completed the previous steps of deleting unnecessary emails and organizing your inbox. This ensures that you have a clear view of the subscriptions you actually want to keep.
- Identify Unwanted Subscriptions: Take a thorough look at your inbox and identify the subscriptions and mailing lists that you no longer find valuable or relevant. These could be newsletters, promotional offers, or any other recurring emails that no longer serve you.
- Locate the Unsubscribe Option: Open an email from each unwanted subscription and scroll to the bottom. Look for the unsubscribe link or button provided by the sender. It’s usually found in fine print or written as “unsubscribe” or “manage subscription.” Click on this option to start the unsubscribe process.
- Follow the Unsubscribe Process: Once you click on the unsubscribe link, you’ll be directed to a webpage or a form where you can complete the unsubscribe process. Follow the instructions provided, which may involve confirming your email address, selecting the appropriate options, or providing feedback.
- Repeat for Multiple Subscriptions: Continue this process for each unwanted subscription until you have unsubscribed from all of them.
By unsubscribing from unwanted email lists, you’ll notice a significant reduction in the number of emails flooding your inbox. It’s important to note that it may take a few days for the changes to take effect, as some email senders may have a processing time for removal.
As you unsubscribe, take a moment to evaluate any new subscriptions you consider joining. Be selective and only subscribe to newsletters or mailing lists that provide genuine value and align with your interests or professional needs. This helps prevent future email clutter.
Now that you’ve freed yourself from unwanted subscriptions, let’s explore how setting up email notifications can further streamline your email management process.
Step 5: Set Up Email Notifications
Email notifications can be both helpful and overwhelming. While important emails require immediate attention, constant notifications can be distracting and disrupt your workflow. Setting up email notifications strategically can help you stay informed without becoming overwhelmed.
Here are some tips to effectively manage email notifications:
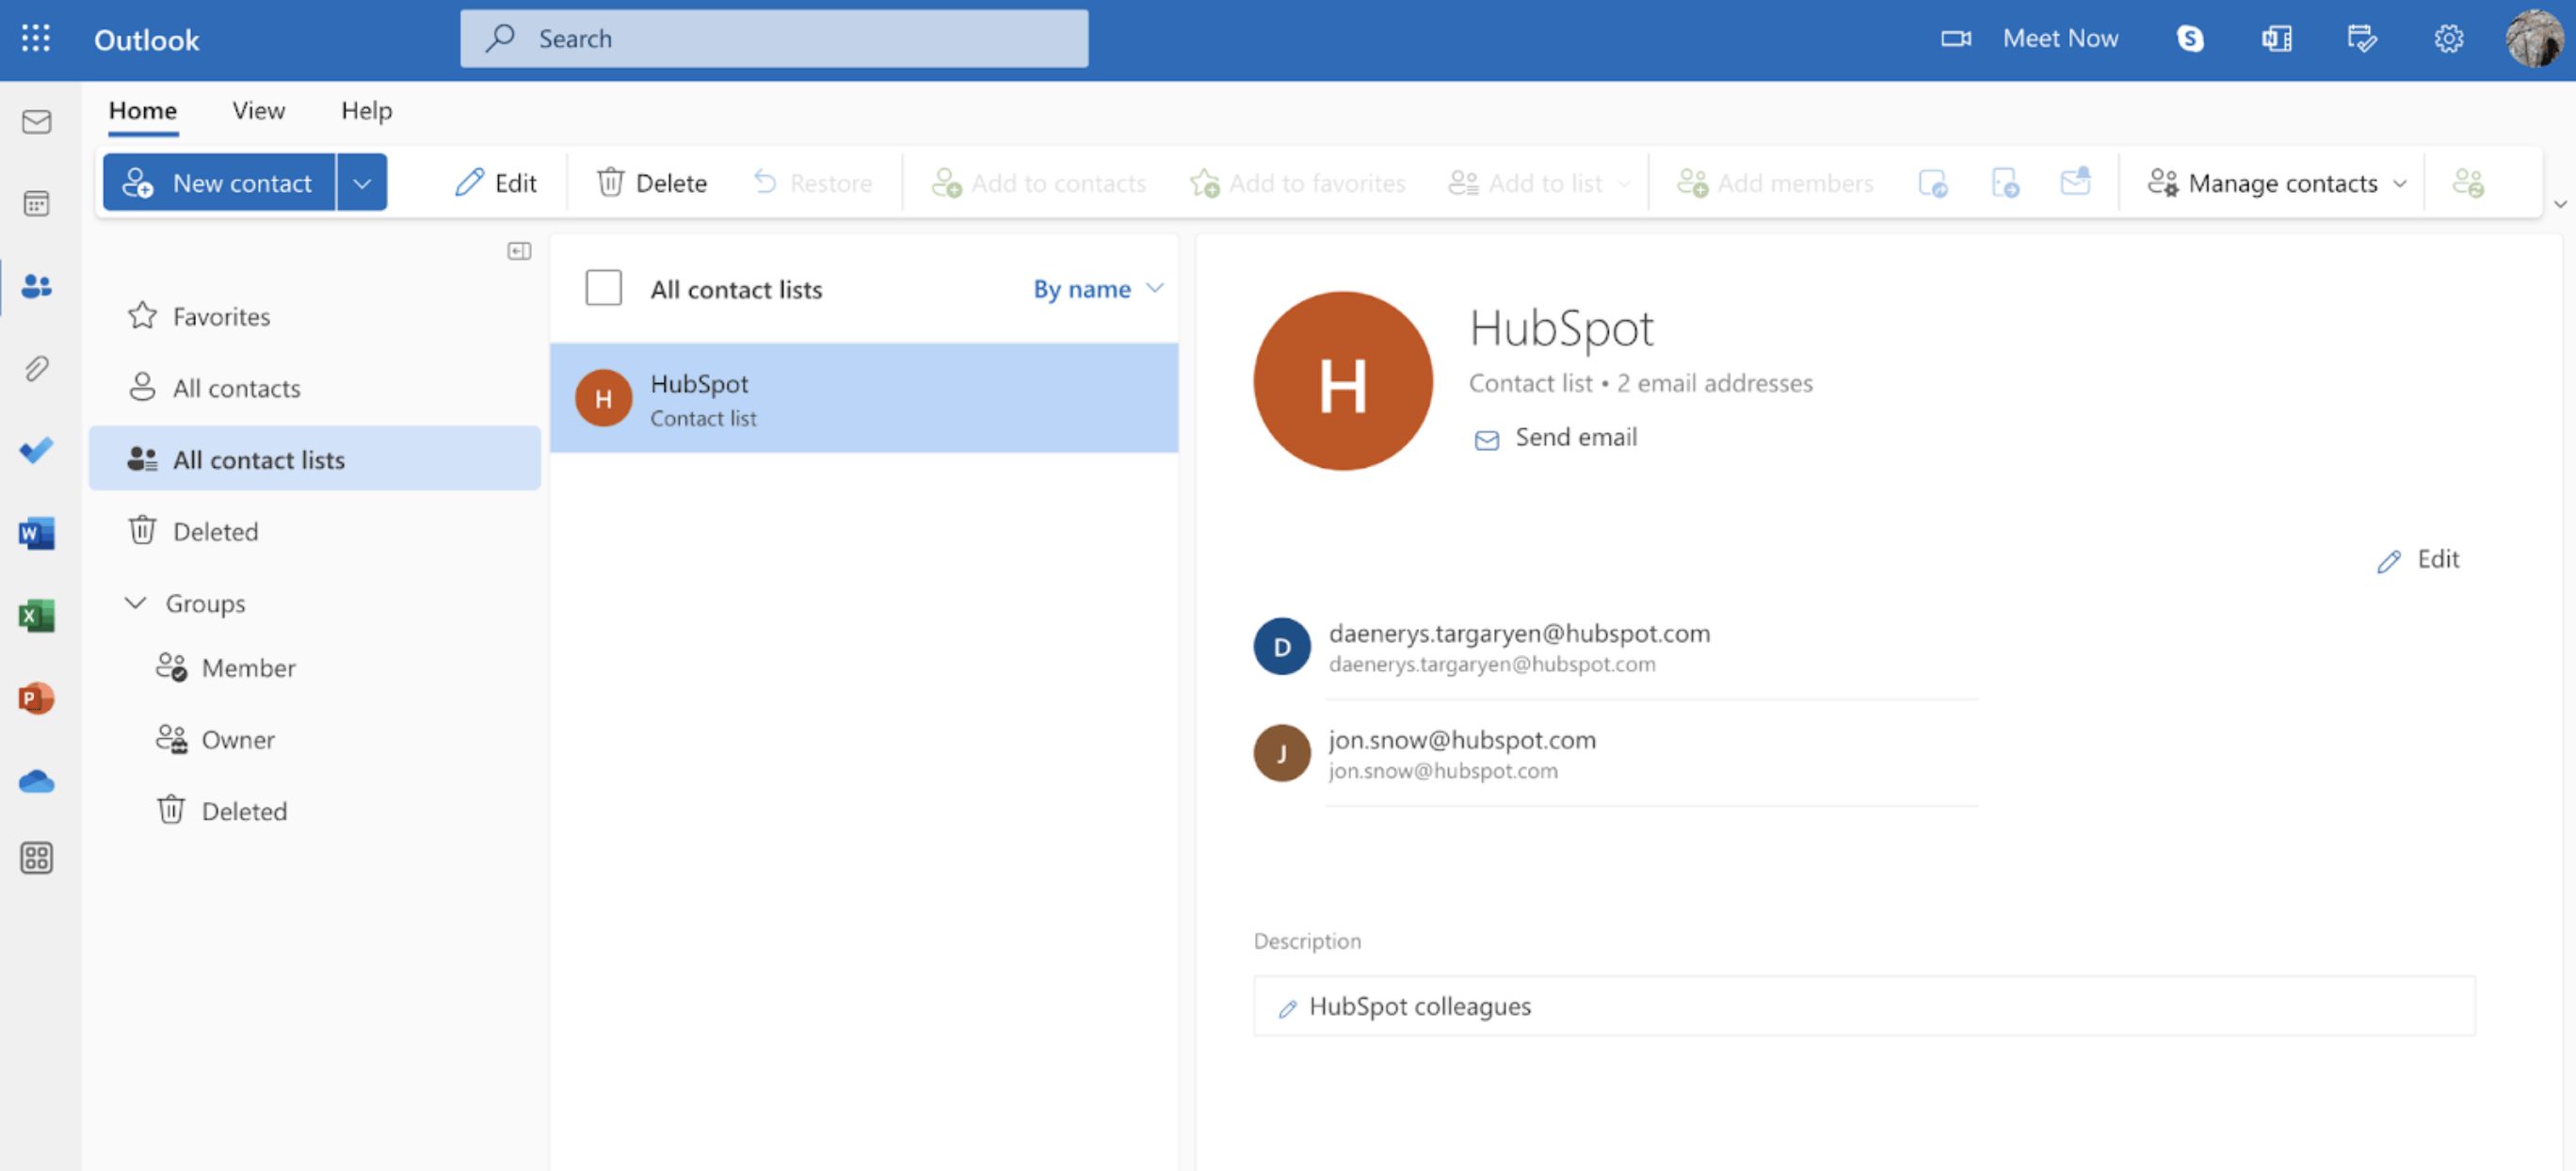
- Prioritize Important Contacts: Identify the contacts whose emails require immediate attention, such as colleagues, clients, or family members. Set up notifications specifically for these contacts, ensuring you never miss an urgent message.
- Customize Notification Settings: Most email providers allow you to customize notification settings. Determine which types of emails warrant notifications, such as priority emails, calendar invitations, or messages marked as important.
- Schedule Notification Times: Rather than receiving notifications throughout the day, consider scheduling specific times to check your emails. This allows you to focus on important tasks without interruptions, while still staying on top of urgent emails at designated intervals.
- Mute or Disable Non-Essential Notifications: For non-essential emails or mailing lists, consider muting or disabling notifications altogether. This includes newsletters, promotions, or social media alerts that can be reviewed during dedicated email review times.
- Use Different Notification Sounds: Assigning different notification sounds for different types of emails can help you quickly determine their urgency. For example, you can set a unique sound for emails from important contacts, ensuring you prioritize them appropriately.
Remember, the goal of setting up email notifications is to strike a balance between staying informed and maintaining focus. By customizing your notification settings, you’ll have control over when and how often you receive email alerts.
It’s important to periodically review and adjust your notification settings as your email usage and priorities evolve. Finding the right balance will help you manage your emails efficiently while minimizing distractions.
Now that you’ve set up email notifications, it’s time to explore archiving important emails to keep your inbox clutter-free. Let’s move on to the next step!
Step 6: Archive Important Emails
When it comes to managing your email, it’s essential to differentiate between emails that need immediate attention and those that contain important information but aren’t time-sensitive. Archiving important emails allows you to keep them accessible while decluttering your inbox.
Follow these steps to effectively archive important emails:
- Identify Important Emails: Take the time to review your inbox and identify emails that contain valuable information, such as receipts, contracts, or important conversations you may need to refer to in the future.
- Create an Archive Folder: Most email providers allow you to create additional folders. Create a designated folder specifically for archiving important emails. Give the folder a descriptive name, such as “Important” or “Archive.”
- Select and Archive: Once you’ve created the archive folder, select the important emails you want to archive and move them to this folder. This process will vary depending on your email provider, but it usually involves right-clicking on the email and selecting the option to move or archive it.
Archiving important emails serves multiple purposes. Firstly, it keeps your inbox clutter-free, allowing you to focus on current emails that require attention. Secondly, it provides a centralized location for storing important information that you may need to reference in the future.
It’s important to note that archiving emails is different from deleting them. Archiving simply removes the selected emails from your inbox and stores them in a separate folder, while deleting permanently removes them from your email account. This distinction ensures that you don’t accidentally delete important emails.
Regularly reviewing your archive folder is crucial to maintain its usefulness. Set aside time periodically to declutter and organize your archive folder, ensuring that it remains an efficient resource for important information.
Now that you’ve archived your important emails, let’s explore how using keyboard shortcuts can improve your email management efficiency. Let’s move on to the next step!
Step 7: Use Keyboard Shortcuts for Efficiency
When it comes to managing your email, time is of the essence. Using keyboard shortcuts can significantly improve your efficiency by allowing you to perform tasks quickly without the need for mouse clicks or navigating through menus.
Here are some common keyboard shortcuts that can streamline your email management:
- Compose a New Email: Instead of clicking on the “Compose” button, use the shortcut key combination (such as “C” for Gmail) to quickly open a new email window.
- Navigate Between Emails: Use the arrow keys to move up and down between emails in your inbox or folders, eliminating the need to reach for the mouse.
- Mark Emails as Read/Unread: With a simple keyboard shortcut, you can mark selected emails as read or unread. This is particularly useful when quickly scanning through your inbox.
- Delete Emails: Instead of manually selecting emails and then clicking on the delete button, use the delete key or the designated shortcut (such as “D” for Gmail) to instantly delete selected emails.
- Archive Emails: If you’ve set up an archive folder, use the keyboard shortcut (such as “E” for Gmail) to quickly move selected emails into the archive folder.
- Reply or Forward Messages: With keyboard shortcuts, you can instantly reply to or forward emails without needing to click on the respective buttons.
- Search for Emails: Rather than clicking on the search bar, use the designated shortcut (such as “/” for Gmail) to instantly jump to the search field and start typing your query.
- Switch between Mailboxes or Folders: If you have multiple mailboxes or folders, keyboard shortcuts can help you navigate between them effortlessly.
Mastering these keyboard shortcuts may take some time and practice, but the effort is worthwhile. With continued use, these shortcuts will become second nature, saving you valuable time and energy when managing your email.
Remember to check the settings of your email provider for a complete list of available keyboard shortcuts. You may also have the option to customize shortcuts or create your own.
Now that you’re armed with keyboard shortcuts, let’s move on to the next step and discuss how to regularly empty your trash and spam folders.
Step 8: Regularly Empty Trash and Spam Folders
As you clean up your email, it’s crucial not to forget about your trash and spam folders. These folders often accumulate a substantial amount of clutter over time. Regularly emptying these folders helps keep your email account organized and prevents unnecessary storage usage.
Follow these steps to effectively empty your trash and spam folders:
- Locate Trash and Spam Folders: Most email providers have dedicated folders for trash and spam. Locate these folders either in the sidebar or under the “More” or “Folders” section of your email account.
- Review Contents: Open your trash folder and review its contents. Ensure that you don’t accidentally delete any important emails. If needed, you can quickly scan through the emails or use search filters to identify specific messages for recovery or deletion.
- Empty Trash: Once you’ve confirmed that no important emails are present in the trash folder, proceed to empty it. Depending on your email provider, you can usually find an option to “Empty Trash” or “Delete All” within the folder.
- Check Spam Folder: Similarly, open your spam folder and review its contents. Sometimes legitimate emails may end up in the spam folder, so it’s crucial to check for any false positives.
- Mark as Not Spam: If you find any legitimate emails in the spam folder, select them and mark them as “Not Spam.” This helps train your email provider’s spam filter and prevents future misclassification.
- Empty Spam Folder: Once you’ve ensured that all legitimate emails have been identified, proceed to empty the spam folder. Look for an option similar to “Empty Spam” or “Delete All” within the folder.
Regularly emptying your trash and spam folders not only keeps your email account organized but also improves the performance and speed of your email application. It also reduces the chance of accidentally restoring deleted or spam emails.
Remember to set a recurring schedule to empty these folders, as the frequency may vary depending on your email usage. Weekly or monthly is a good starting point, but you can adjust it based on your individual needs.
With a clean and decluttered trash and spam folder, you’re one step closer to achieving an organized and efficient email system. Let’s move on to the final step – maintaining Inbox Zero!
Step 9: Keep Inbox Zero as the Goal
Inbox Zero is a concept that aims to keep your inbox empty or close to empty by regularly processing and organizing incoming emails. By striving for Inbox Zero, you can stay on top of your emails, reduce stress, and maintain a more organized digital workspace.
Here are some strategies to help you achieve and maintain Inbox Zero:
- Process Emails Efficiently: Develop a habit of quickly reviewing and processing emails as they come in. Take immediate action by responding, archiving, or deleting emails whenever possible. This prevents your inbox from becoming a long list of unopened messages.
- Set Aside Dedicated Email Time: Allocate specific time blocks throughout your day to focus solely on email management. During these dedicated periods, prioritize important emails, delegate tasks, and archive or delete messages that are no longer needed.
- Use the Two-Minute Rule: If an email requires a quick response or action and can be completed within two minutes, tackle it right away. This helps prevent the accumulation of small tasks that can clutter your inbox.
- Implement a Filing System: Organize your emails into folders as discussed in Step 2. Sort incoming emails directly into their respective folders or at least mark them for follow-up or categorization later.
- Review and Update Filters: Regularly review and update your email filters and rules to ensure they reflect your current needs and priorities. This helps automate the email sorting process and keeps your inbox organized.
- Unsubscribe Proactively: As mentioned in Step 4, regularly review your subscriptions and unsubscribe from those that are no longer relevant or valuable. This helps prevent unnecessary clutter in your inbox.
- Regularly Declutter: Set aside time weekly or monthly to go through your inbox and purge any remaining unnecessary emails. Delete or archive messages that are no longer needed to maintain a clean and clutter-free inbox.
Remember, Inbox Zero is not about deleting every email you receive. It’s about keeping your inbox organized and under control. By adopting these strategies and making email management a priority, you can experience the satisfaction of reaching Inbox Zero on a consistent basis.
Once you’ve established Inbox Zero as a goal, it’s important to stay committed and stay proactive in managing your emails. With persistence and consistent effort, you can experience the benefits of a well-maintained inbox and enjoy a more efficient and stress-free email experience.
Conclusion
Congratulations! You have now learned how to clean up and organize your email effectively. By following the step-by-step process outlined in this guide, you can regain control over your inbox, increase productivity, and reduce the stress associated with a cluttered email account.
Here’s a quick recap of the steps we covered:
- Delete unnecessary emails to declutter your inbox.
- Organize emails into folders to categorize and streamline your inbox.
- Use filters and rules to automatically sort incoming emails.
- Unsubscribe from unwanted email lists to reduce inbox clutter.
- Set up email notifications strategically to stay informed without distractions.
- Archive important emails to keep them accessible while clearing your inbox.
- Utilize keyboard shortcuts to improve email management efficiency.
- Regularly empty your trash and spam folders to maintain a clutter-free inbox.
- Strive for Inbox Zero by implementing effective email processing and organization techniques.
Remember, achieving and maintaining an organized inbox requires ongoing effort and commitment. Make it a habit to regularly review and manage your emails, unsubscribe from unnecessary lists, and adjust your email management strategies as needed.
By implementing these practices, you’ll be able to work more efficiently, find important emails easily, and stay on top of your digital communication. Enjoy a clutter-free inbox and a smoother email experience moving forward!