Introduction
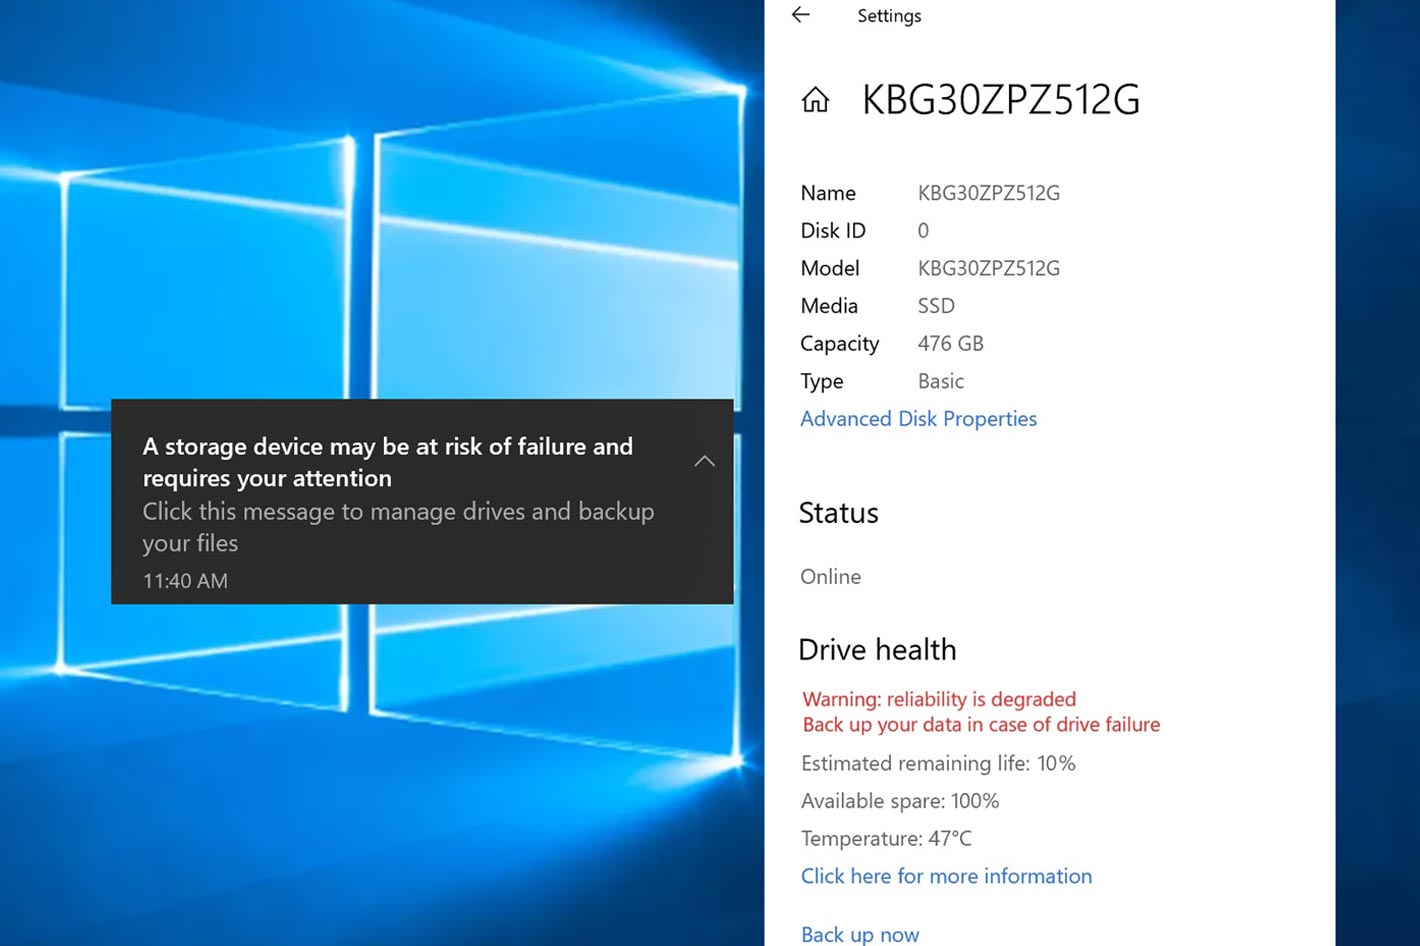
When it comes to checking the brand of your Solid State Drive (SSD) in Windows 10, you might find yourself wondering where to start. Whether you’re a computer enthusiast or just curious about the hardware components of your system, knowing the brand of your SSD can provide valuable information about its performance and reliability.
Fortunately, there are several methods you can use to check the brand of your SSD in Windows 10. In this article, we will guide you through four different ways to accomplish this task. From using the built-in Device Manager to executing commands in the Command Prompt or Windows PowerShell, we will cover all the necessary steps.
Knowing the brand of your SSD is not only useful for personal knowledge; it can also be essential when troubleshooting or seeking support. Different SSD brands may have their own specific software or firmware updates, and having this information can help you find the right resources for optimizing and maintaining your SSD.
Before we delve into the methods, it’s important to note that the steps may vary slightly depending on your version of Windows 10 and the specific SSD model you have. However, the general procedures we outline should be applicable to most situations.
Now, let’s explore the four methods you can use to check the brand of your SSD in Windows 10. Whether you prefer a graphical user interface or command-line options, we’ve got you covered. Let’s dive in!
Method 1: Device Manager
The Device Manager in Windows 10 is a handy tool for managing and troubleshooting hardware devices connected to your computer. It can also provide information about the brand of your SSD.
To access the Device Manager, you can follow these steps:
- Right-click on the Start menu button and select “Device Manager” from the context menu.
- In the Device Manager window, expand the “Disk drives” category by clicking on the arrow next to it.
- Locate your SSD in the list of devices. The name of the SSD should include the brand information.
If you’re unable to identify the brand from the name alone, you can right-click on the SSD and select “Properties.” In the Properties window, navigate to the “Details” tab. From the drop-down menu, select “Hardware Ids.” You should see a value containing the name of the manufacturer.
This method is straightforward and doesn’t require any additional software or technical knowledge. It’s a quick way to identify the brand of your SSD using the built-in Windows Device Manager. However, if you prefer a command-line approach, continue reading to explore more methods.
Method 2: Command Prompt
If you’re comfortable using the command-line interface, the Command Prompt in Windows 10 provides another method to check the brand of your SSD. Here’s how you can do it:
- Open the Command Prompt by pressing the Windows key + R on your keyboard. In the Run dialog box, type “cmd” and press Enter.
- In the Command Prompt window, type the following command:
wmic diskdrive get model, manufacturer - Press Enter to execute the command.
After executing the command, you should see a list of the connected disk drives along with their corresponding models and manufacturers. Locate your SSD in the list and identify the brand based on the manufacturer information displayed.
The Command Prompt method provides a command-line approach to obtain detailed information about your SSD, including the brand. It’s a powerful tool for tech-savvy users who prefer a text-based interface. However, if you’re more comfortable with graphical user interfaces, don’t worry – we have more methods to explore.
Method 3: Windows PowerShell
Similar to the Command Prompt, Windows PowerShell is another command-line interface that provides advanced capabilities for managing and configuring your Windows system. You can also use it to check the brand of your SSD. Follow these steps:
- Open Windows PowerShell by pressing the Windows key + X on your keyboard and selecting “Windows PowerShell” from the menu.
- In the PowerShell window, type the following command:
Get-PhysicalDisk | Select-Object FriendlyName, Manufacturer - Press Enter to execute the command.
The command will retrieve information about the connected physical disks, including the friendly name and manufacturer. Locate your SSD in the list and identify the brand based on the manufacturer information displayed.
Windows PowerShell is a more advanced command-line tool that allows for extensive automation and customization. It provides a powerful way to retrieve specific information about your SSD, making it a great option for users who prefer a command-line interface.
Now that we’ve explored the Device Manager, Command Prompt, and Windows PowerShell methods, let’s move on to the final method – using third-party software to check the brand of your SSD.
Method 4: Using Third-Party Software
If you prefer a more user-friendly approach, there are several third-party software tools available that can provide detailed information about your SSD, including the brand. These tools often offer additional features and insights into the performance and health of your SSD. Here are a few popular options:
- CrystalDiskInfo: CrystalDiskInfo is a free tool that provides comprehensive information about your SSD, including the brand, model, health status, temperature, and more. It offers a simple and intuitive interface, making it accessible to users of all experience levels.
- SSD Toolbox: Many SSD manufacturers provide their own software tools, commonly known as SSD Toolbox, to monitor and optimize their SSDs. These tools often include features like firmware updates, performance optimization, and detailed information about the SSD’s brand and specifications.
- HWiNFO: HWiNFO is a powerful system information and diagnostic tool that can provide detailed information about all the hardware components of your system, including your SSD. It offers a wide range of options and customization features for advanced users.
To use these third-party software tools, simply download and install the software from their respective websites. Once installed, open the tool and look for the section or tab related to the SSD information. In most cases, you will find the brand information prominently displayed.
Using third-party software can be a convenient and comprehensive method to get detailed information about your SSD, including the brand. These tools often provide additional insights and features that can help you optimize and monitor the health of your SSD, making them a valuable addition to your computer maintenance toolkit.
In summary, checking the brand of your SSD in Windows 10 can be accomplished using various methods, including the Device Manager, Command Prompt, Windows PowerShell, and third-party software tools. Each method offers its own advantages and may be more suitable for different user preferences. By following the steps outlined in this article, you can easily identify the brand of your SSD and gain valuable insights into your hardware configuration.
Conclusion
Knowing the brand of your SSD in Windows 10 is essential for various reasons, whether you’re seeking support, optimizing performance, or simply satisfying your curiosity about the hardware inside your computer. In this article, we explored four different methods to help you check the brand of your SSD.
First, we discussed using the Device Manager, a built-in Windows tool that allows you to easily identify the brand by locating your SSD in the list of devices. We then explored the Command Prompt and Windows PowerShell methods, which provide command-line interfaces for retrieving detailed information about your SSD, including the brand and manufacturer.
Finally, we introduced the option to use third-party software tools such as CrystalDiskInfo, SSD Toolbox, and HWiNFO. These tools offer user-friendly interfaces and additional features to not only check the brand of your SSD but also monitor its health and optimize performance.
It’s important to note that while these methods should work for most situations, there may be occasional exceptions or variations depending on your specific SSD model or Windows 10 version. Always ensure you are using trusted and reputable software when downloading and installing third-party tools.
By following the methods discussed in this article, you can confidently check the brand of your SSD in Windows 10 and gain valuable insights into your hardware configuration. Whether you prefer a graphical user interface or a command-line approach, there’s a method suited to your preference and technical expertise.
Understanding the brand of your SSD not only helps with troubleshooting and maintenance but also allows you to take advantage of manufacturer-specific software and updates to enhance the performance and longevity of your SSD.
Now, armed with this knowledge, you can confidently navigate your way through the various methods and tools available to check the brand of your Solid State Drive in Windows 10. Enjoy exploring and optimizing your hardware!


