Introduction
Welcome to the world of Mac, where external hard drives offer a convenient way to expand your storage capacity. Whether you’re using it for backup purposes, storing media files, or keeping important documents, it’s essential to keep track of the available space on your external hard drive. This ensures that you never run out of storage and can make informed decisions about organizing and managing your data.
In this article, we’ll explore three methods to check the external hard drive space on your Mac. These methods are simple and can be easily implemented by users of all skill levels. Whether you prefer using the built-in tools provided by Apple or rely on third-party applications, we have you covered.
Before we dive into the methods, it’s important to note that the steps mentioned in this article are tailored specifically for Mac users. If you’re using a different operating system, the process might vary. Now, let’s get started and learn how to check the available space on your external hard drive!
Method 1: Checking External Hard Drive Space via Finder
One of the easiest ways to check the available space on your external hard drive is by using the Finder application, which is the default file manager on Mac. By following these simple steps, you’ll be able to quickly determine how much space is remaining on your external hard drive.
- Connect your external hard drive to your Mac using the appropriate cable.
- Open a new Finder window by clicking on the Finder icon in the dock.
- In the sidebar of the Finder window, you’ll see a list of locations. Look for the “Devices” section and locate your external hard drive. It will typically be displayed with the name you assigned to it or the default name given by the manufacturer.
- Once you’ve located your external hard drive, right-click on it and select “Get Info” from the context menu. You can also select the drive and press the “Command + I” keys as a shortcut.
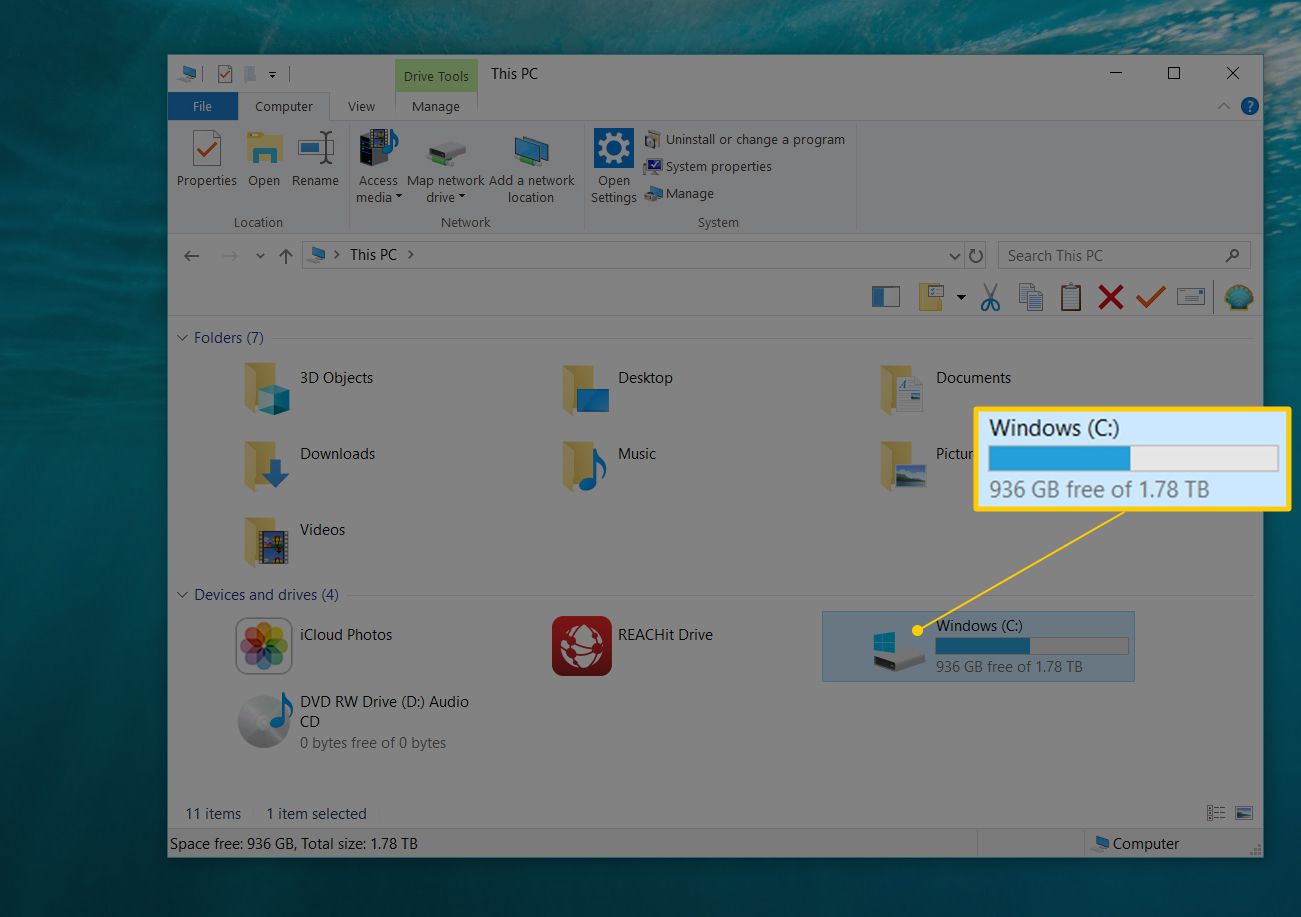
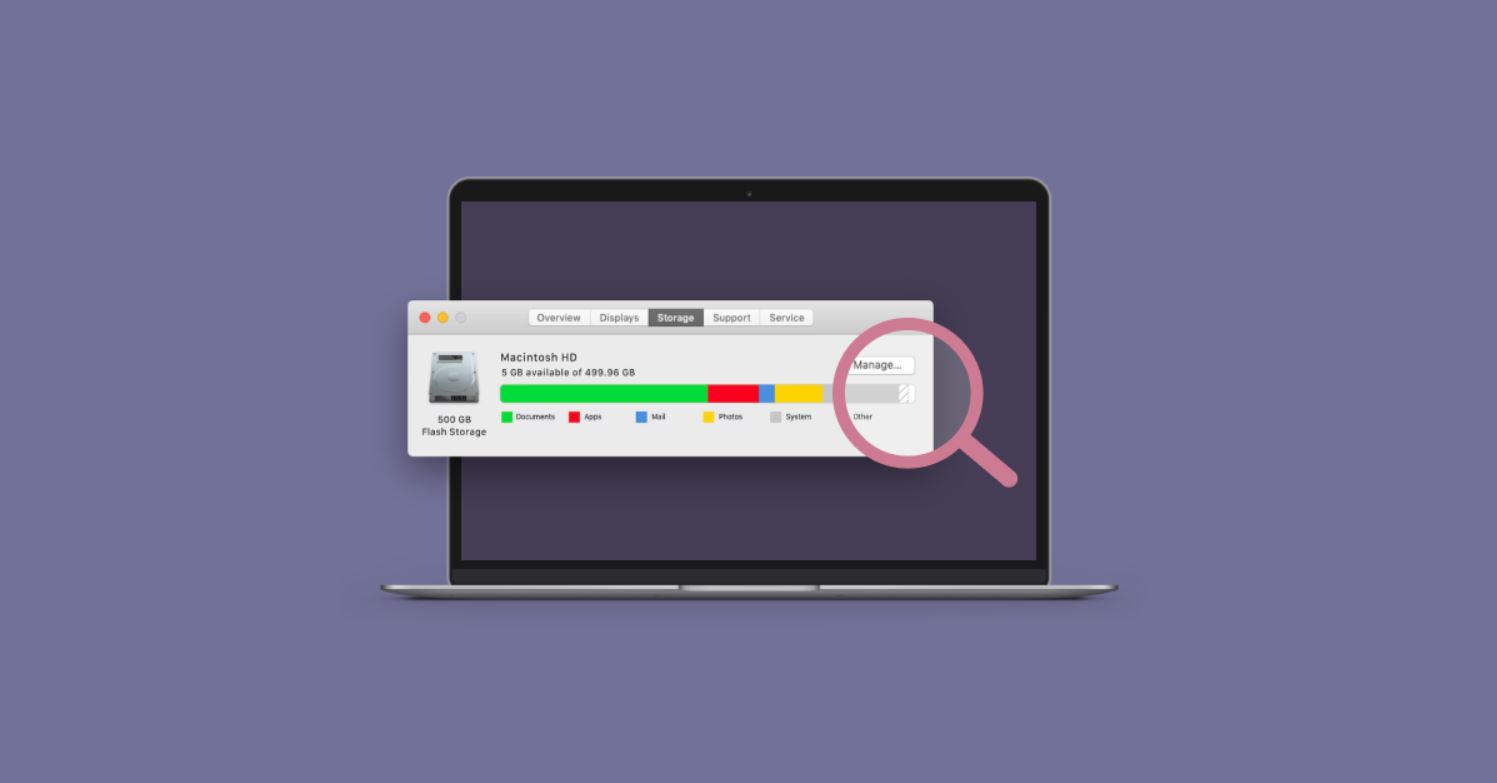
- A new window will open, presenting you with detailed information about your external hard drive. Look for the “Capacity” and “Available” fields to see the total capacity of the drive and the amount of space that is currently free.
- You can also visually see the available space as a bar graph in the same window. The blue portion represents the used space, and the white portion represents the free space.
By following these steps, you can easily determine the amount of space remaining on your external hard drive via Finder. This method provides a quick and convenient way to keep an eye on your storage capacity without the need for any additional software.
Method 2: Using Apple’s Disk Utility to check the External Hard Drive Space
Another reliable method to check the available space on your external hard drive is by utilizing Apple’s Disk Utility tool. Disk Utility is a built-in application on Mac that allows you to manage and troubleshoot your storage devices, including external hard drives. By following these steps, you can easily access the necessary information about your external hard drive’s capacity and available space.
- Open the Finder application by clicking on the Finder icon in the dock.
- Go to the “Applications” folder and open the “Utilities” folder.
- Within the “Utilities” folder, you’ll find the “Disk Utility” application. Double-click on it to launch the program.
- In the sidebar of the Disk Utility window, you’ll see a list of storage devices connected to your Mac. Look for your external hard drive and select it by clicking on it once.
- On the right-hand side of the window, you’ll see detailed information about your external hard drive. Pay attention to the “Capacity” and “Available” fields to determine the total capacity and remaining free space on the drive.
- Additionally, Disk Utility provides a graphical representation of the drive’s allocation in the form of a colored partition map. The free space is indicated by the white sections on the map.
Using Apple’s Disk Utility gives you a comprehensive view of your external hard drive’s storage capacity and available space. It’s a reliable and efficient method that doesn’t require any additional installations.
Method 3: Checking the External Hard Drive Space using Third-Party Applications
If you prefer more advanced features and a user-friendly interface, you can explore various third-party applications that offer comprehensive storage management tools for your external hard drive. These applications provide additional features beyond simply checking the available space, allowing you to analyze and optimize your storage efficiently. Here are a few popular choices:
- DaisyDisk: DaisyDisk is a visually appealing application that presents your storage usage in an interactive and intuitive way. It scans your external hard drive and provides a detailed visual map of which files and folders are taking up the most space, making it easy to identify and delete unnecessary files.
- OmniDiskSweeper: OmniDiskSweeper is a lightweight yet powerful application. It quickly scans your external hard drive and displays a sorted list of files and folders based on their size. This allows you to easily identify large files or folders consuming a significant amount of space.
- GrandPerspective: GrandPerspective offers a unique visual representation of your external hard drive’s storage usage. It presents a colorful map that displays the size of files and folders as blocks. This helps you identify space-hogging files and manage your storage efficiently.
To use these third-party applications, follow these general steps:
- Download and install the preferred application from their official website.
- Launch the application and choose your external hard drive from the available options.
- Allow the application to scan your drive and analyze its storage usage.
- Review the results, including visual representations, and identify any files or folders that can be safely removed to free up space.
By using third-party applications, you gain access to advanced features and a more detailed analysis of your external hard drive’s storage usage. These applications can be particularly useful if you want to efficiently manage your storage and optimize it for better performance.
Conclusion
Keeping track of the available space on your external hard drive is essential for effective storage management. Fortunately, Mac offers several methods to check the remaining space on your external hard drive. Whether you prefer using the built-in tools such as Finder and Disk Utility or opt for third-party applications with advanced features, you have options to suit your needs.
In Method 1, we explored how to use Finder to quickly check the available space. By following a few simple steps, you can easily access the necessary information without the need for any additional software.
Method 2 introduced using Apple’s Disk Utility, a powerful built-in tool that provides a comprehensive view of your external hard drive’s capacity and available space. With Disk Utility, you can access detailed information and manage your storage devices efficiently.
For those seeking more advanced features and detailed analysis, Method 3 highlighted the use of third-party applications such as DaisyDisk, OmniDiskSweeper, and GrandPerspective. These applications offer visual representations and additional storage management features to help you optimize your storage space.
Remember that regularly checking your external hard drive space allows you to make informed decisions about organizing and managing your data. It helps prevent running out of storage and ensures your device performs at its best.
So, whether you choose to use Finder, Disk Utility, or third-party applications, take advantage of these methods to stay on top of your external hard drive’s space and make the most out of your Mac storage experience. Start monitoring your storage space today and keep your files organized and easily accessible.