Introduction
Welcome to our guide on how to change the RAM frequency in BIOS on an Asus motherboard. RAM, or Random Access Memory, is an essential component of a computer system that allows the CPU to quickly access data for various tasks. The RAM frequency refers to the speed at which the RAM operates, measured in megahertz (MHz). By adjusting the RAM frequency, you can potentially optimize the performance of your system, making it faster and more responsive.
Changing the RAM frequency in the BIOS (Basic Input/Output System) is a common method used by computer enthusiasts and gamers to overclock their RAM or troubleshoot compatibility issues. However, it is important to note that not all motherboards support this feature, and making changes to the RAM frequency should be done with caution.
In this guide, we will provide a step-by-step walkthrough on how to change the RAM frequency in the BIOS of an Asus motherboard. We will cover the necessary preparations, accessing the BIOS settings, locating the RAM frequency setting, and making the desired changes. Whether you are looking to maximize your system’s performance or resolve compatibility issues, this guide will help you navigate the BIOS settings to change the RAM frequency safely and effectively.
Please note that altering the RAM frequency in the BIOS requires some technical knowledge, and it is important to understand the potential risks involved. Before proceeding, we recommend consulting your motherboard’s documentation or seeking guidance from experienced users or professionals.
What is RAM frequency?
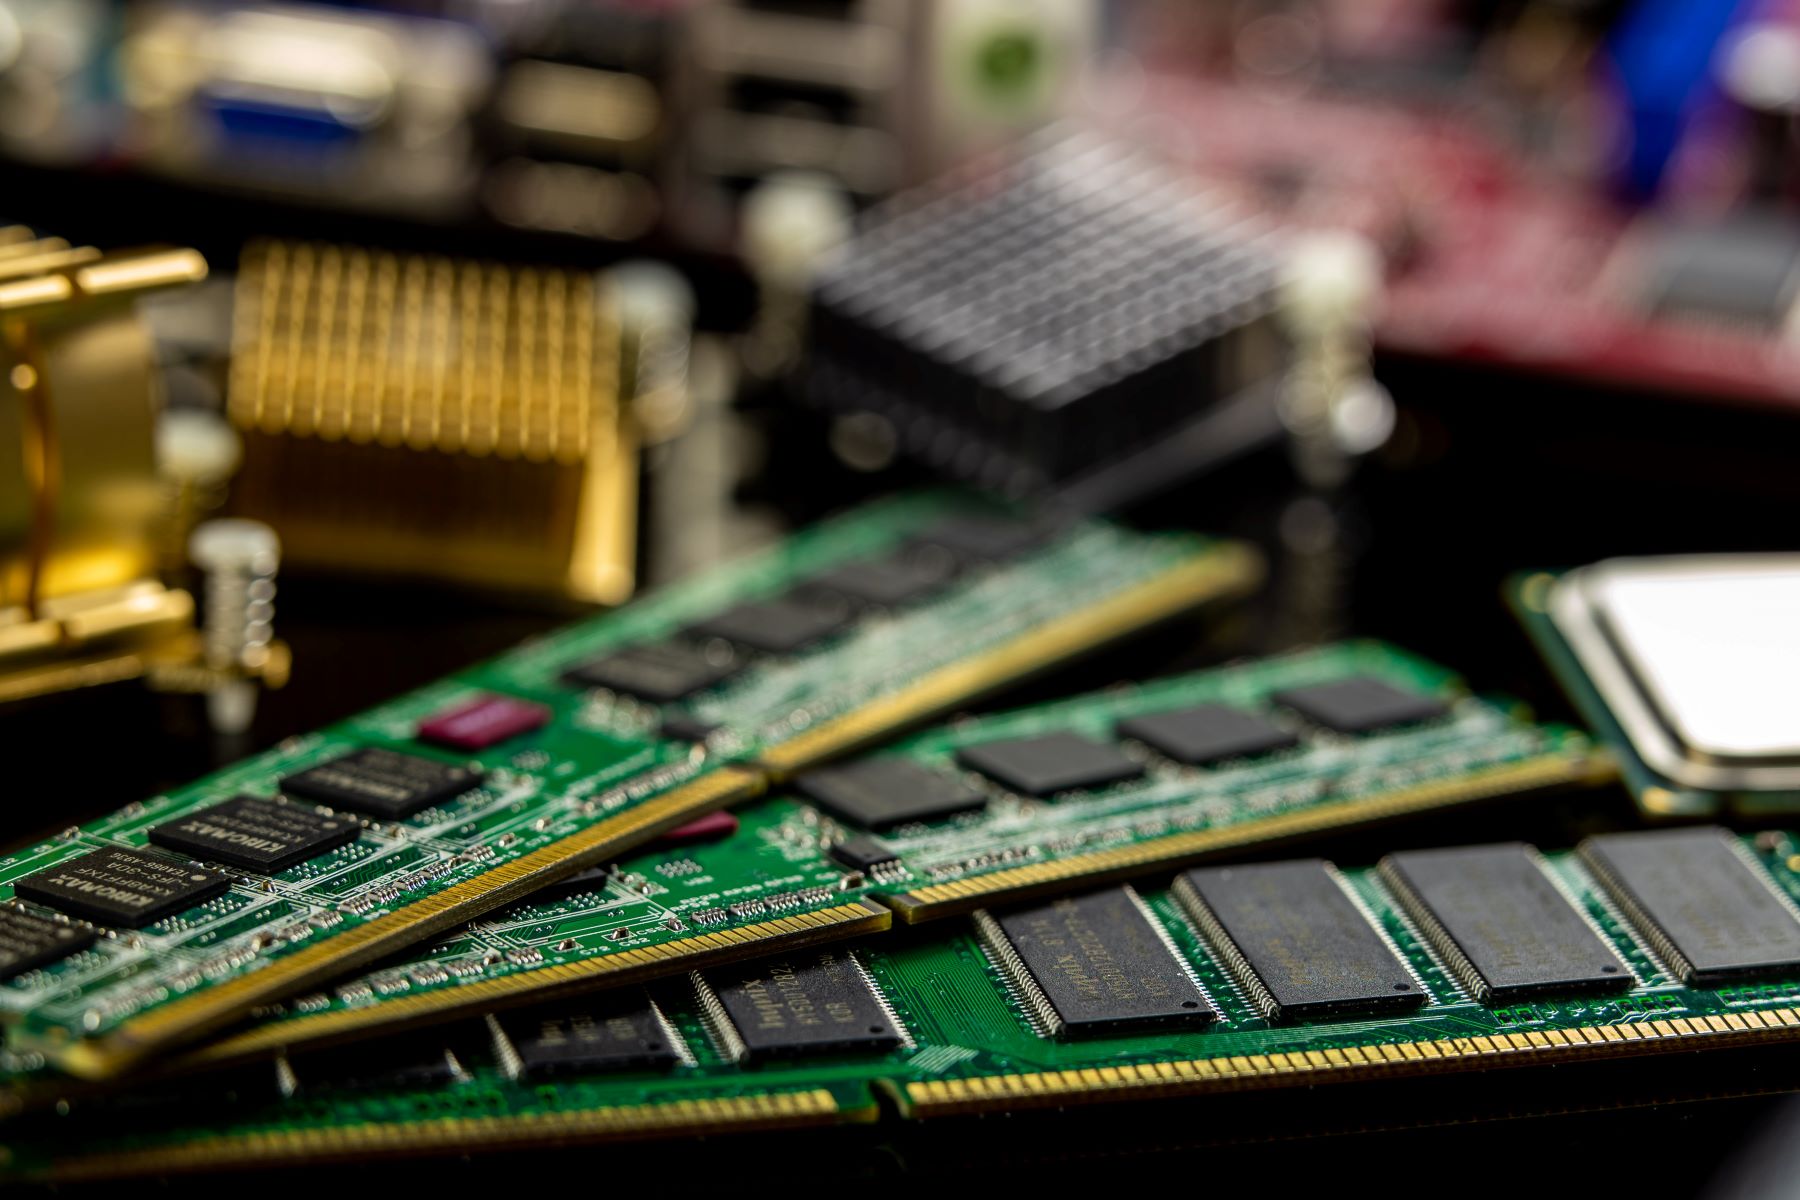
RAM frequency, also known as RAM speed or RAM clock speed, refers to the speed at which the Random Access Memory (RAM) module operates. It is measured in megahertz (MHz) and defines how quickly the RAM can read and write data. The higher the RAM frequency, the faster the data can be processed, resulting in improved system performance.
RAM frequency plays a crucial role in the overall speed and responsiveness of a computer. When the CPU needs to access data from the RAM, a faster RAM frequency allows for quicker retrieval and transfer of information, reducing latency and improving system efficiency. This is particularly beneficial for resource-intensive applications such as gaming, video editing, and 3D rendering.
It is important to note that the RAM frequency is different from the total amount of RAM installed in the system. While the RAM capacity determines the amount of data that can be stored, the RAM frequency determines how quickly that data can be accessed and processed. For example, a computer with 8GB of RAM at a higher frequency (e.g., 3200MHz) can outperform a system with 16GB of RAM at a lower frequency (e.g., 2133MHz) in certain tasks.
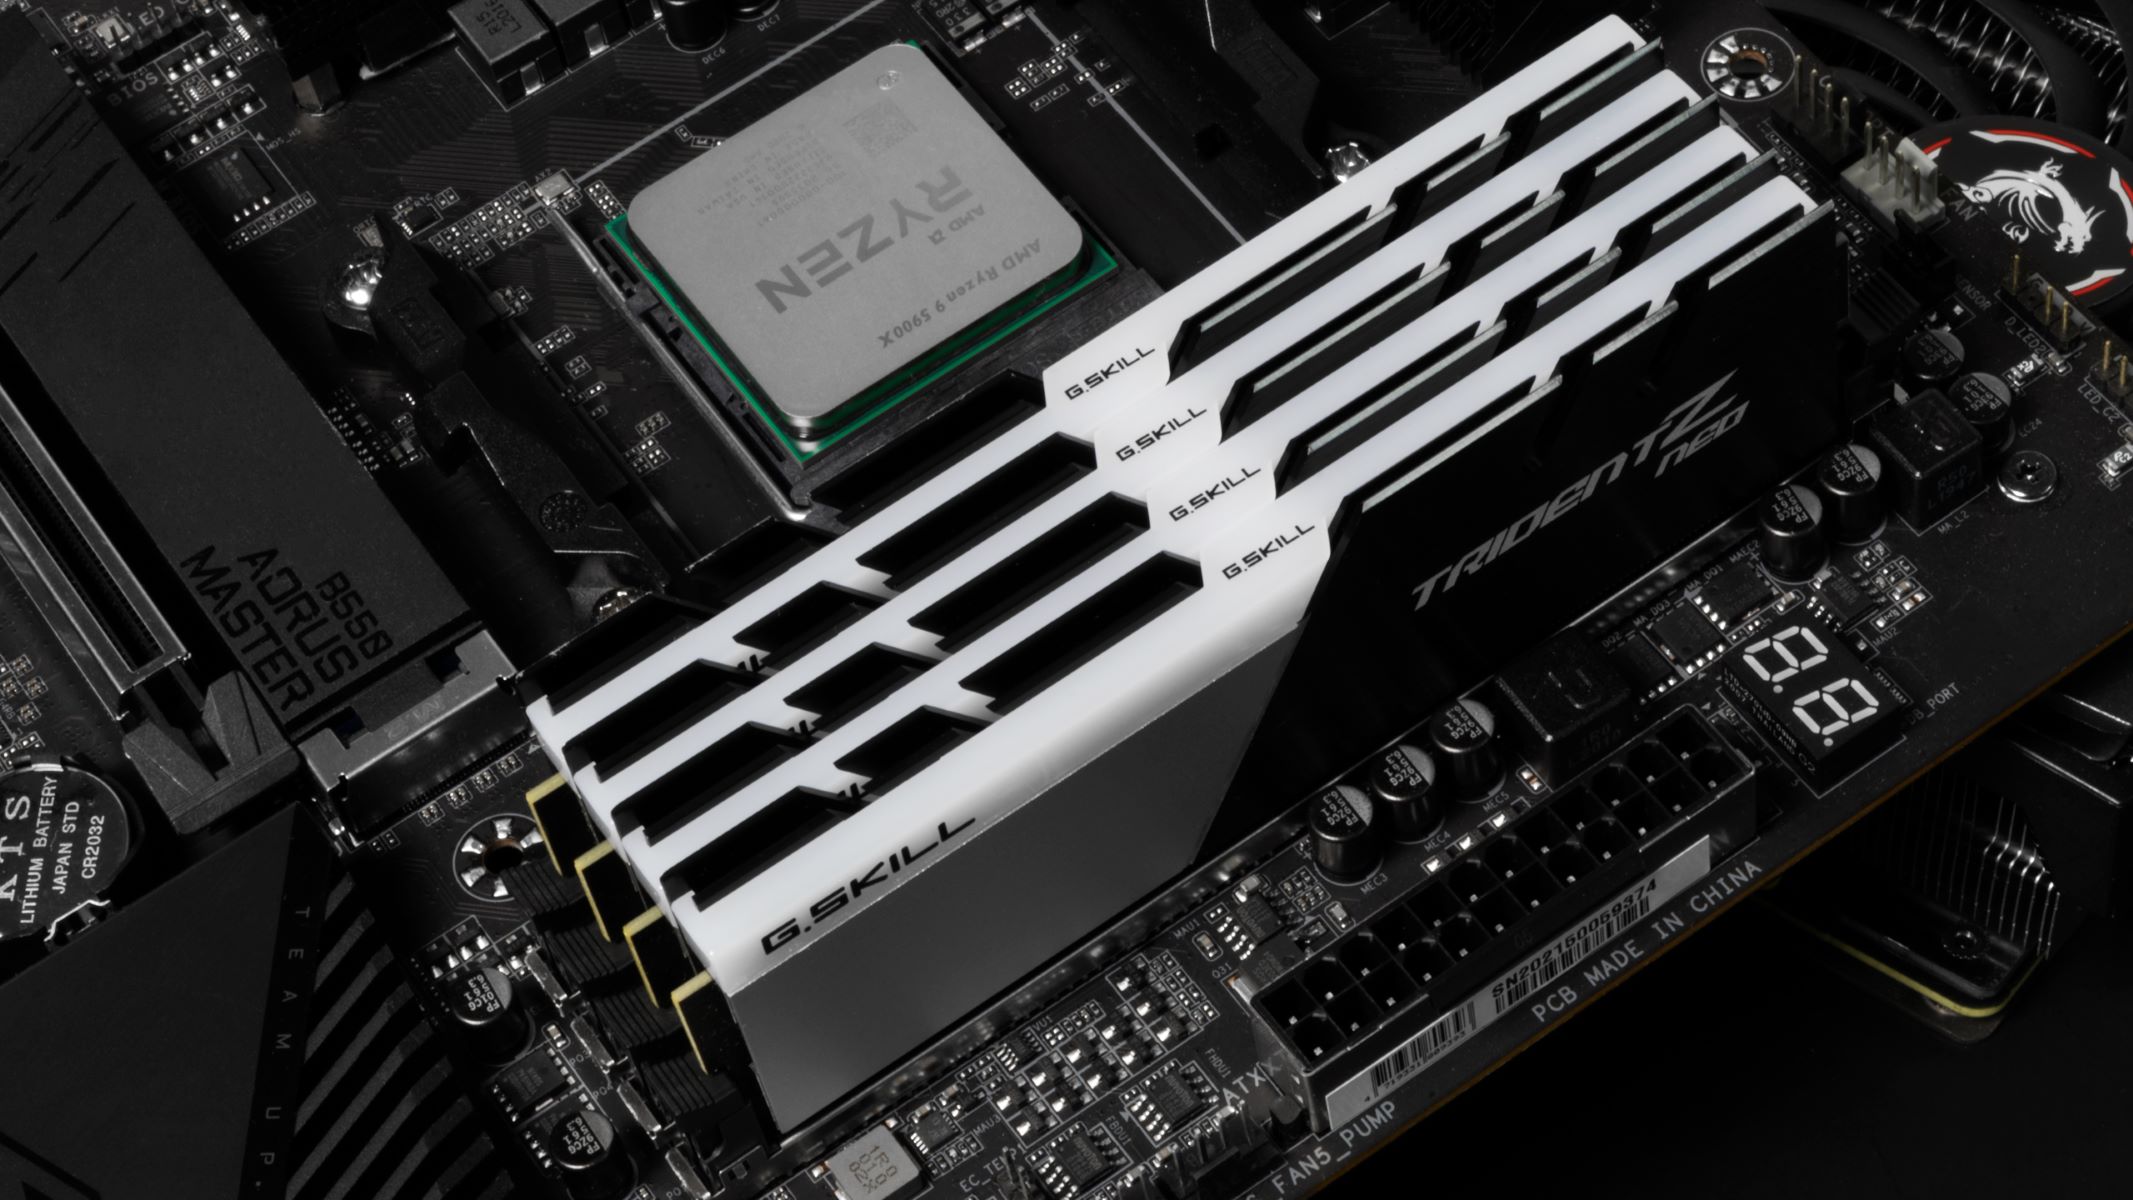
The RAM frequency is influenced by various factors, including the RAM module itself, the motherboard’s capabilities, and the CPU’s memory controller. It is crucial to ensure that the motherboard and CPU support the desired RAM frequency before attempting to change it. Some motherboards may have limitations on RAM frequency, so it is essential to consult the motherboard’s documentation or manufacturer’s specifications for compatibility information.
Furthermore, it is worth noting that changing the RAM frequency in the BIOS should be approached with caution. While increasing the RAM frequency can potentially enhance system performance, it can also introduce instability if not done properly. Insufficient cooling, incompatible hardware, or inadequate power supply may result in system crashes or data corruption. Therefore, it is advisable to research your specific hardware configuration and follow safe practices when modifying the RAM frequency.
Why would you want to change RAM frequency?
There are several reasons why you might want to change the RAM frequency on your computer:
- Performance Optimization: By increasing the RAM frequency, you can potentially improve your system’s overall performance. Faster RAM allows for quicker data access and transfer, reducing latency and enhancing the responsiveness of your computer. This can be particularly beneficial for resource-intensive tasks such as gaming, video editing, and multitasking.
- Overclocking: Overclocking the RAM frequency is a common practice among computer enthusiasts and gamers. By pushing the RAM beyond its default frequency, you can achieve even higher performance gains. However, it is important to note that overclocking may void your warranties and can potentially introduce instability, requiring careful monitoring and testing.
- Compatibility Issues: Sometimes, certain system configurations or software may have compatibility issues with specific RAM frequencies. In such cases, adjusting the RAM frequency can help resolve these compatibility issues and ensure smooth operation of your computer.
- Troubleshooting: If you are experiencing frequent system crashes, blue screens of death (BSODs), or other performance-related issues, changing the RAM frequency in the BIOS can be a potential troubleshooting step. Lowering the RAM frequency temporarily can help identify if the issue is related to unstable overclocking or compatibility problems.
- Experimentation and Learning: Changing the RAM frequency can also be an opportunity to experiment and learn more about computer hardware. It allows you to explore the impact of different frequencies on performance and understand the intricacies of RAM overclocking.
It is important to note that changing the RAM frequency requires careful consideration and understanding of your computer’s hardware capabilities. Modifying the RAM frequency should be approached with caution, as unstable or incorrect settings can lead to system instability and data loss. Before making any changes, it is advisable to research your specific hardware configuration and seek guidance from experienced users or professionals.
Step-by-step guide to changing RAM frequency in BIOS Asus
Changing the RAM frequency in the BIOS of an Asus motherboard requires careful attention and knowledge of the BIOS settings. Here is a step-by-step guide to help you through the process:
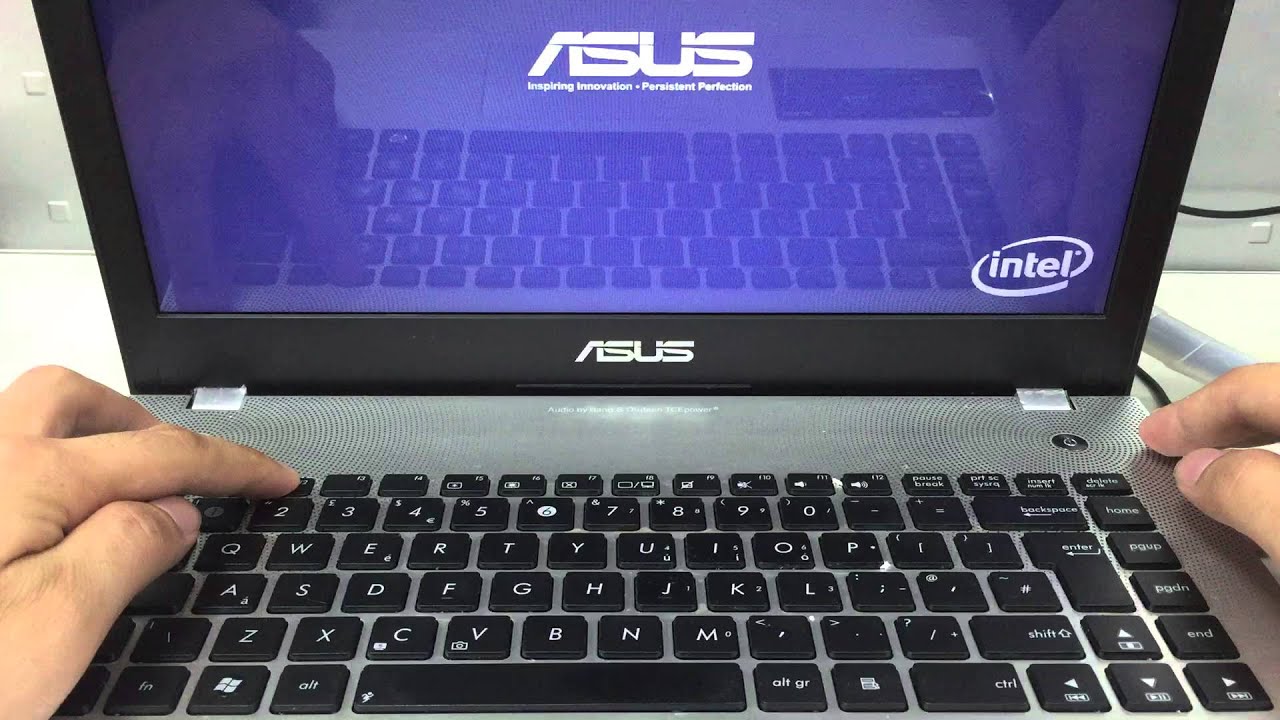
- Restart your computer: Start by restarting your computer and repeatedly pressing the designated key (usually Del or F2) to enter the BIOS setup. The key may vary depending on your motherboard model, so refer to your motherboard’s documentation for the correct key.
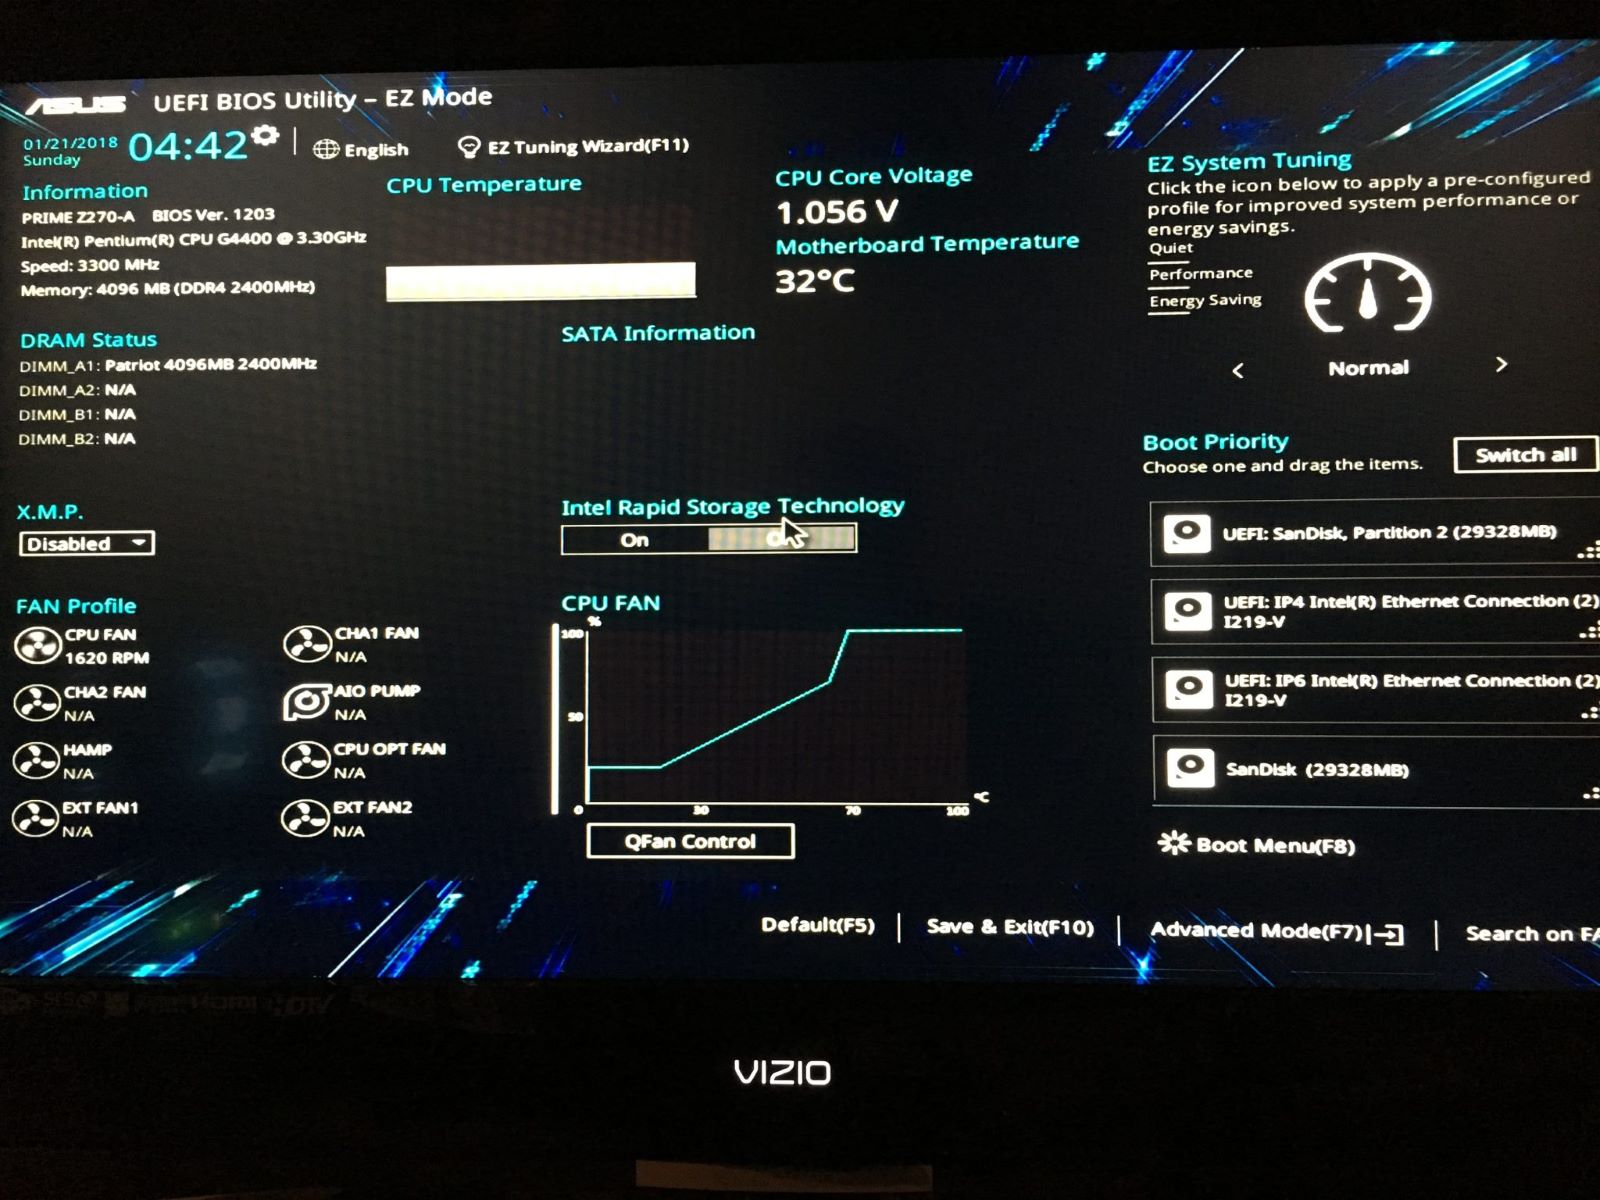
- Access the BIOS settings: Once you are in the BIOS setup, navigate through the different menus using the arrow keys on your keyboard. Look for the “Advanced” or “Overclocking” section, as the RAM frequency settings are usually found here.
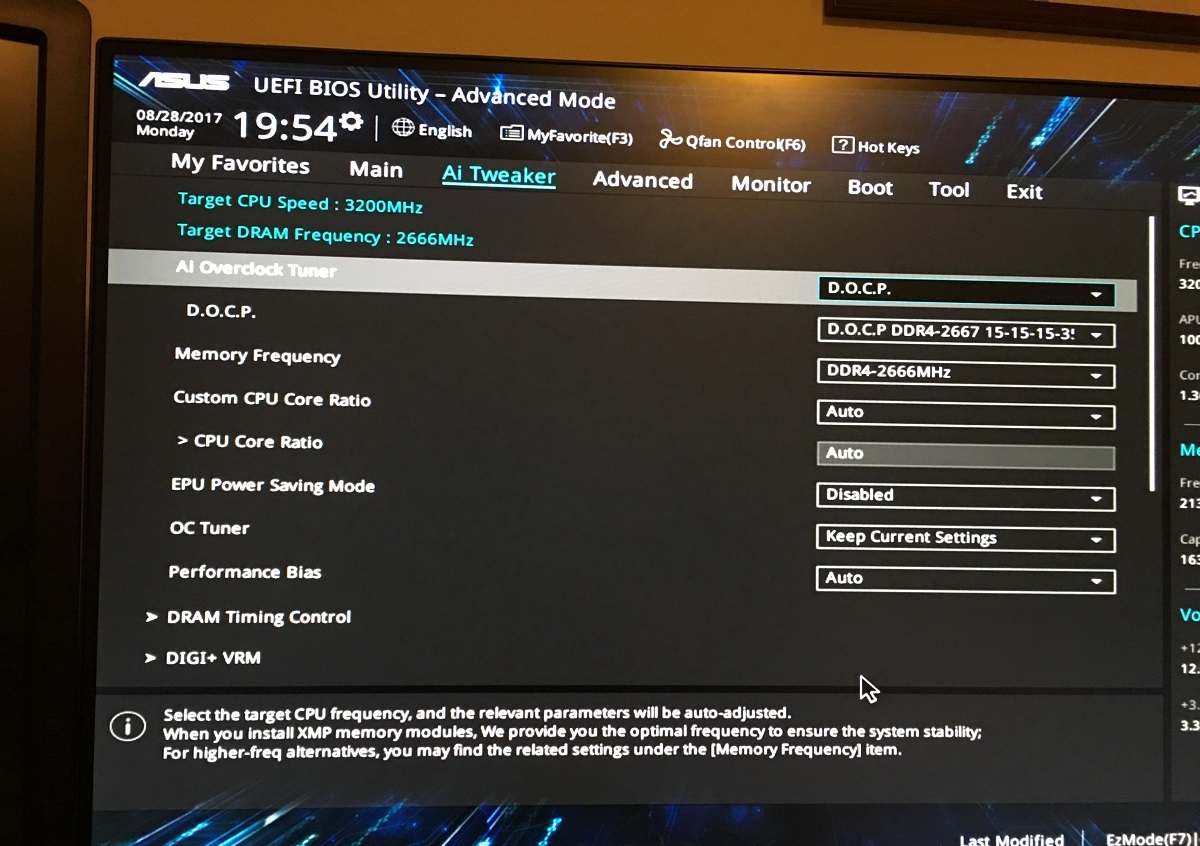
- Locate the RAM frequency setting: In the “Advanced” or “Overclocking” section, look for options related to memory or DRAM settings. The exact wording may differ depending on your motherboard model. Search for a setting such as “DRAM Frequency” or “Memory Clock.” This setting determines the RAM frequency.
- Change the RAM frequency: Once you have found the RAM frequency setting, use the arrow keys to select it and press Enter. You will typically see a list of available frequencies. Select the desired frequency that is supported by your RAM modules. It is recommended to choose a stable frequency that matches the specifications of your RAM.
- Save and exit BIOS: After selecting the desired RAM frequency, navigate to the exit menu or look for an option to save changes and exit. Press the corresponding key to save the changes and exit the BIOS setup.
- Restart your computer: Once you have saved the changes in the BIOS, your computer will restart. The new RAM frequency settings should now be in effect.
It is important to note that not all Asus motherboards have the same BIOS interface or options. The steps outlined above are general instructions and may vary slightly depending on your motherboard model. Therefore, it is advisable to consult your motherboard’s documentation or manufacturer’s website for more specific instructions related to your particular motherboard model.
Remember that changing the RAM frequency comes with certain risks, such as system instability and data loss. It is recommended to perform thorough research and understand the limitations and compatibility of your hardware before proceeding with any changes. If you are unsure or uncomfortable with making these adjustments yourself, it is always best to seek assistance from experienced users or professionals.
Conclusion
Changing the RAM frequency in the BIOS of an Asus motherboard can be a useful technique to optimize system performance or address compatibility issues. By adjusting the RAM frequency, users can potentially enhance their computer’s speed, responsiveness, and overall efficiency.
Throughout this guide, we have provided a step-by-step walkthrough on how to change the RAM frequency in the BIOS of an Asus motherboard. We discussed the importance of understanding RAM frequency and its impact on system performance, as well as the various reasons why one might want to modify the RAM frequency.
It is crucial to approach changing the RAM frequency with caution and take appropriate precautions. Before attempting any modifications, ensure that your motherboard and CPU support the desired RAM frequency and that you have a good understanding of the potential risks involved. It is highly recommended to consult your motherboard’s documentation or seek guidance from experienced users or professionals if you are unsure.
Remember that altering the RAM frequency in the BIOS requires technical knowledge and understanding. Incorrect settings or unstable overclocking can lead to system instability, crashes, or even data loss. It is always advisable to research your specific hardware configuration and follow safe practices when making any changes to the RAM frequency.
We hope that this guide has provided you with the necessary information and guidance to change the RAM frequency in the BIOS of your Asus motherboard. By following the step-by-step instructions and implementing the changes responsibly, you can potentially unlock the full potential of your RAM and optimize your computer’s performance. Remember to proceed with caution, and happy tweaking!