Introduction
When it comes to keeping your CPU cool and running at optimal performance, having a reliable CPU cooler is essential. Over time, the stock cooler that comes with your CPU may not be sufficient in heat dissipation, leading to higher temperatures and potential performance issues. Whether you’re an avid gamer, a content creator, or simply want to increase the lifespan of your CPU, changing out the CPU cooler is a straightforward and effective solution.
In this guide, we will walk you through the step-by-step process of changing out your CPU cooler. We’ll cover everything from selecting the right cooler for your needs to safely installing and testing the new cooler.
Before we dive into the details, it’s important to note that changing your CPU cooler requires some level of technical expertise. If you’re unsure or uncomfortable working inside your computer, it’s always a good idea to seek professional assistance. However, if you’re up for the challenge and want to take control of your computer’s cooling system, let’s get started!
Selecting the Right CPU Cooler
Before diving into the installation process, it’s crucial to understand the different types of CPU coolers available and choose the one that best suits your needs. Here are the main types of CPU coolers to consider:
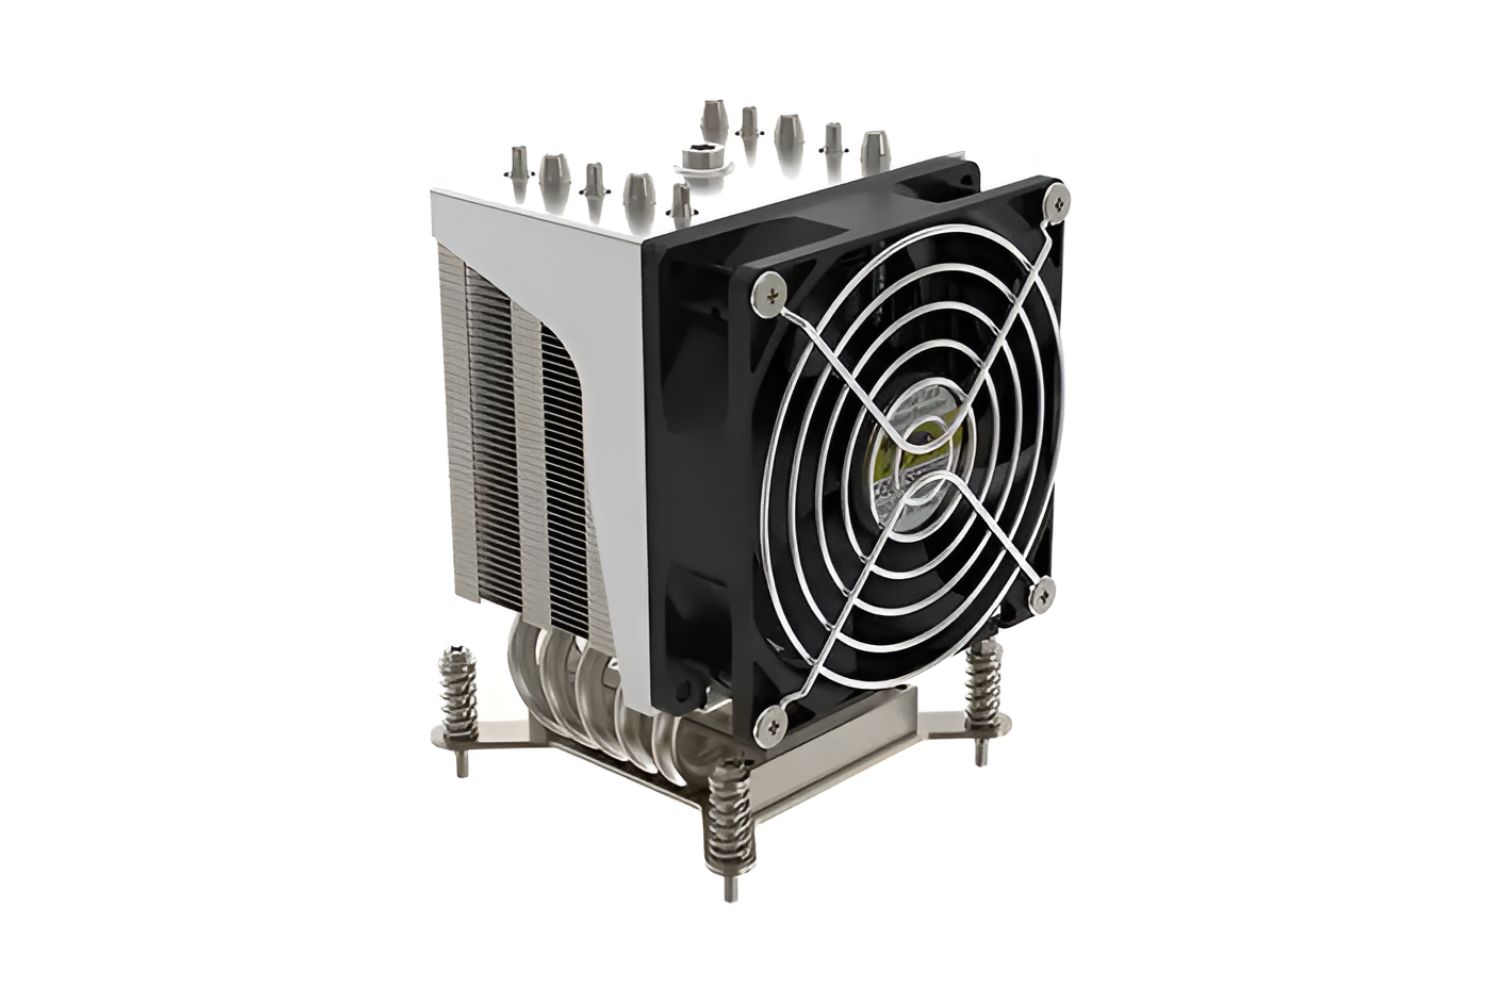
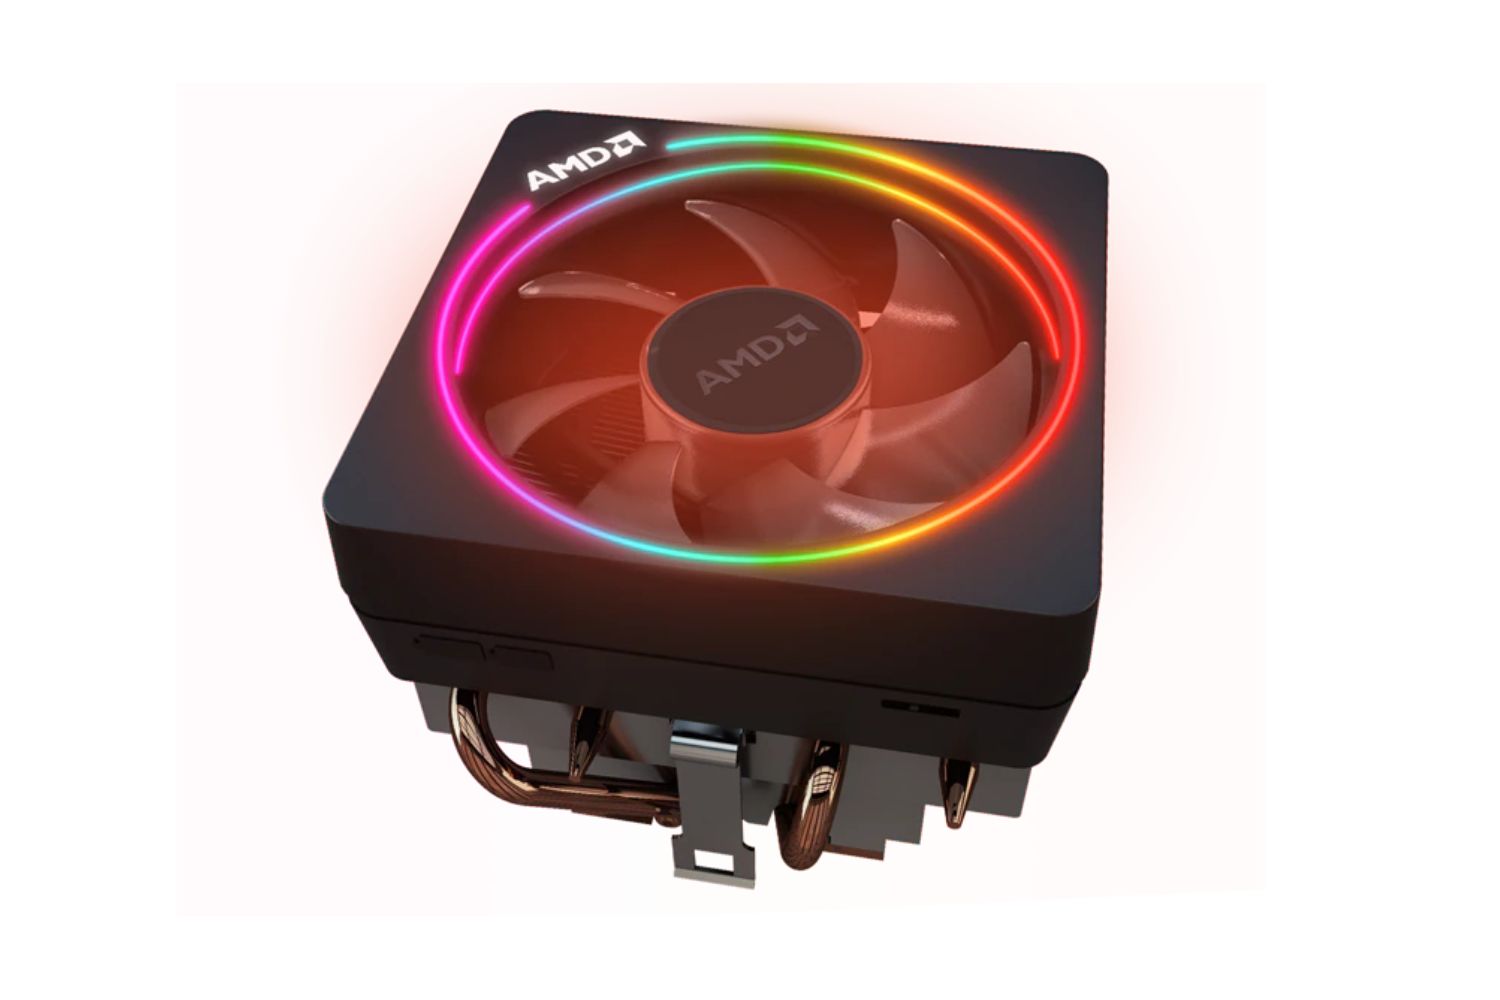
- Air Coolers: Air coolers work by using heatsinks and fans to dissipate heat from the CPU. They are cost-effective and come in various sizes and designs. When selecting an air cooler, consider factors such as its dimensions, thermal dissipation capabilities, and noise levels.
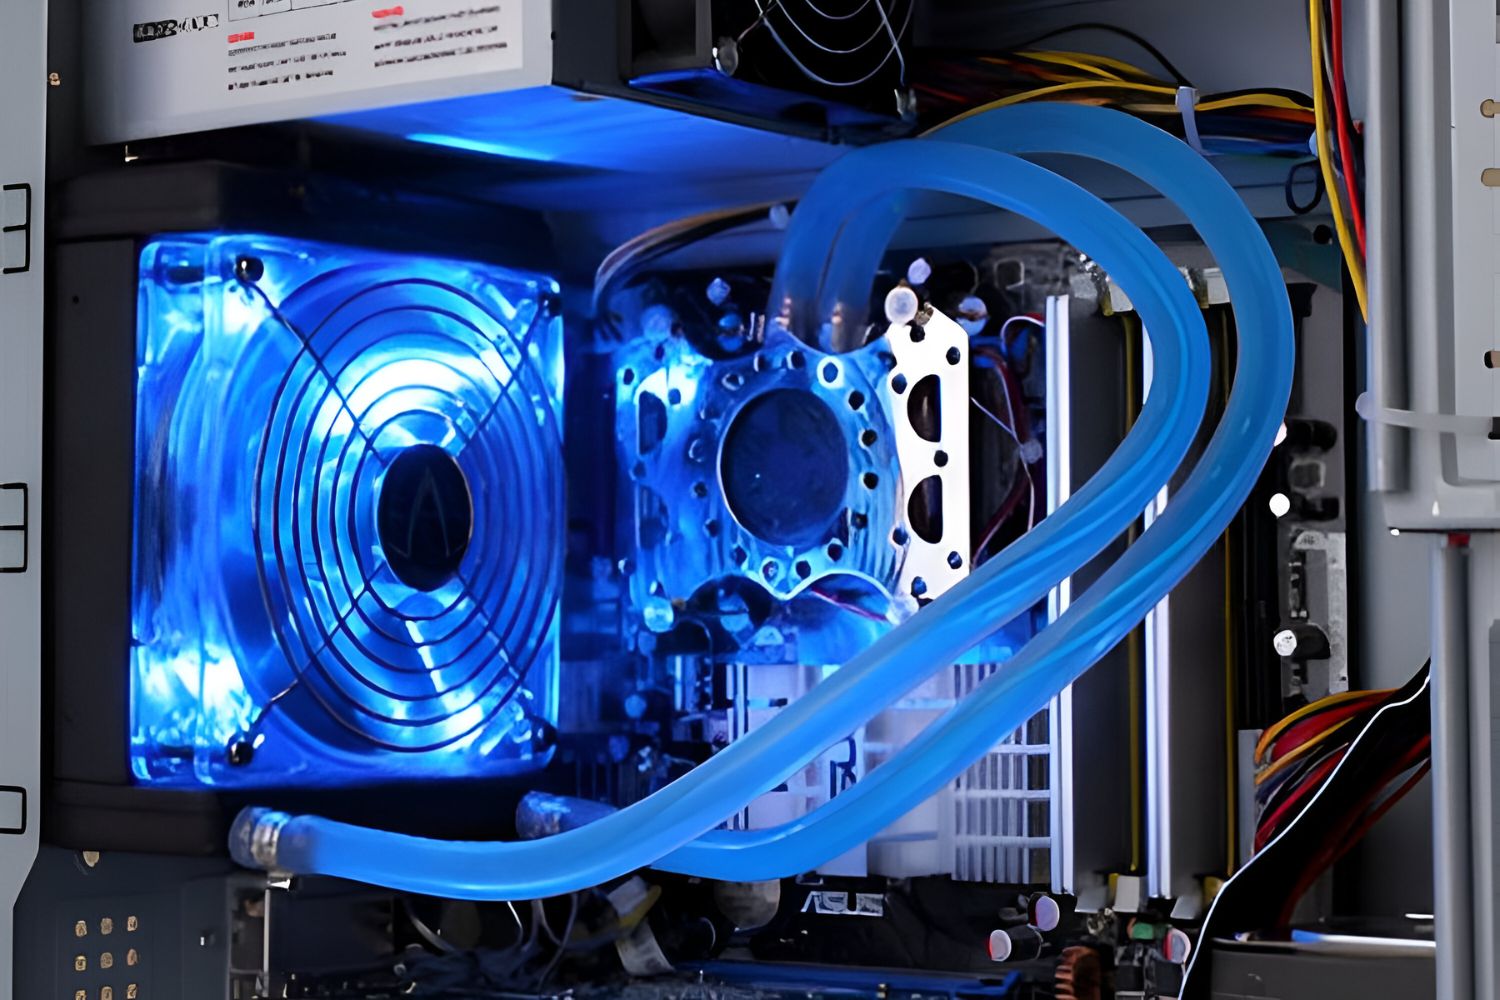
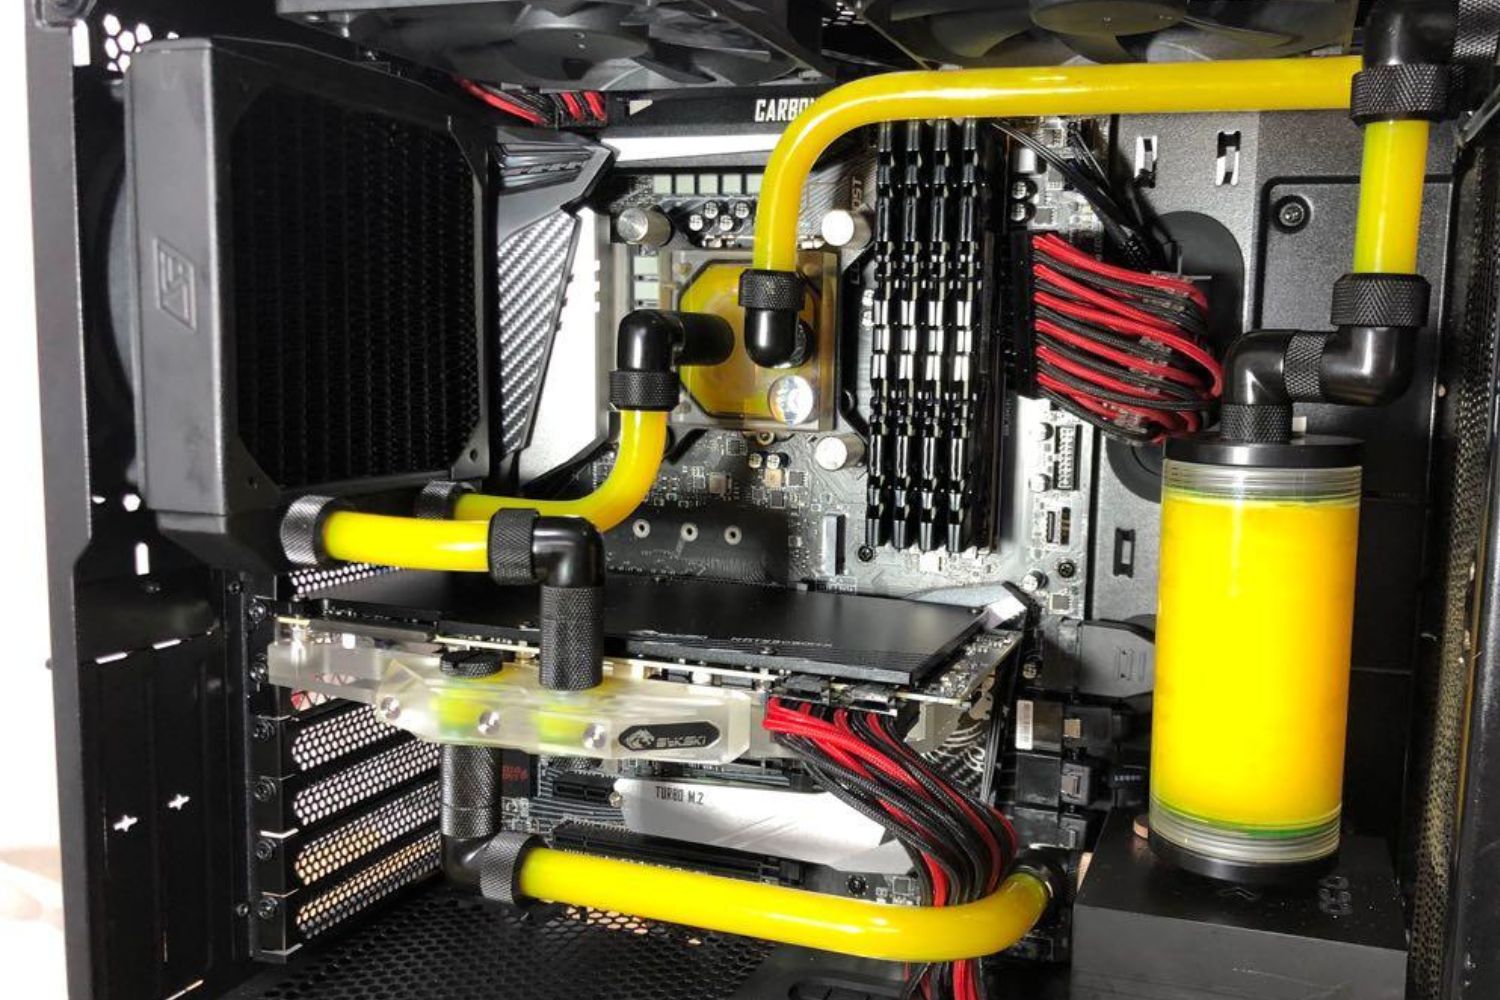
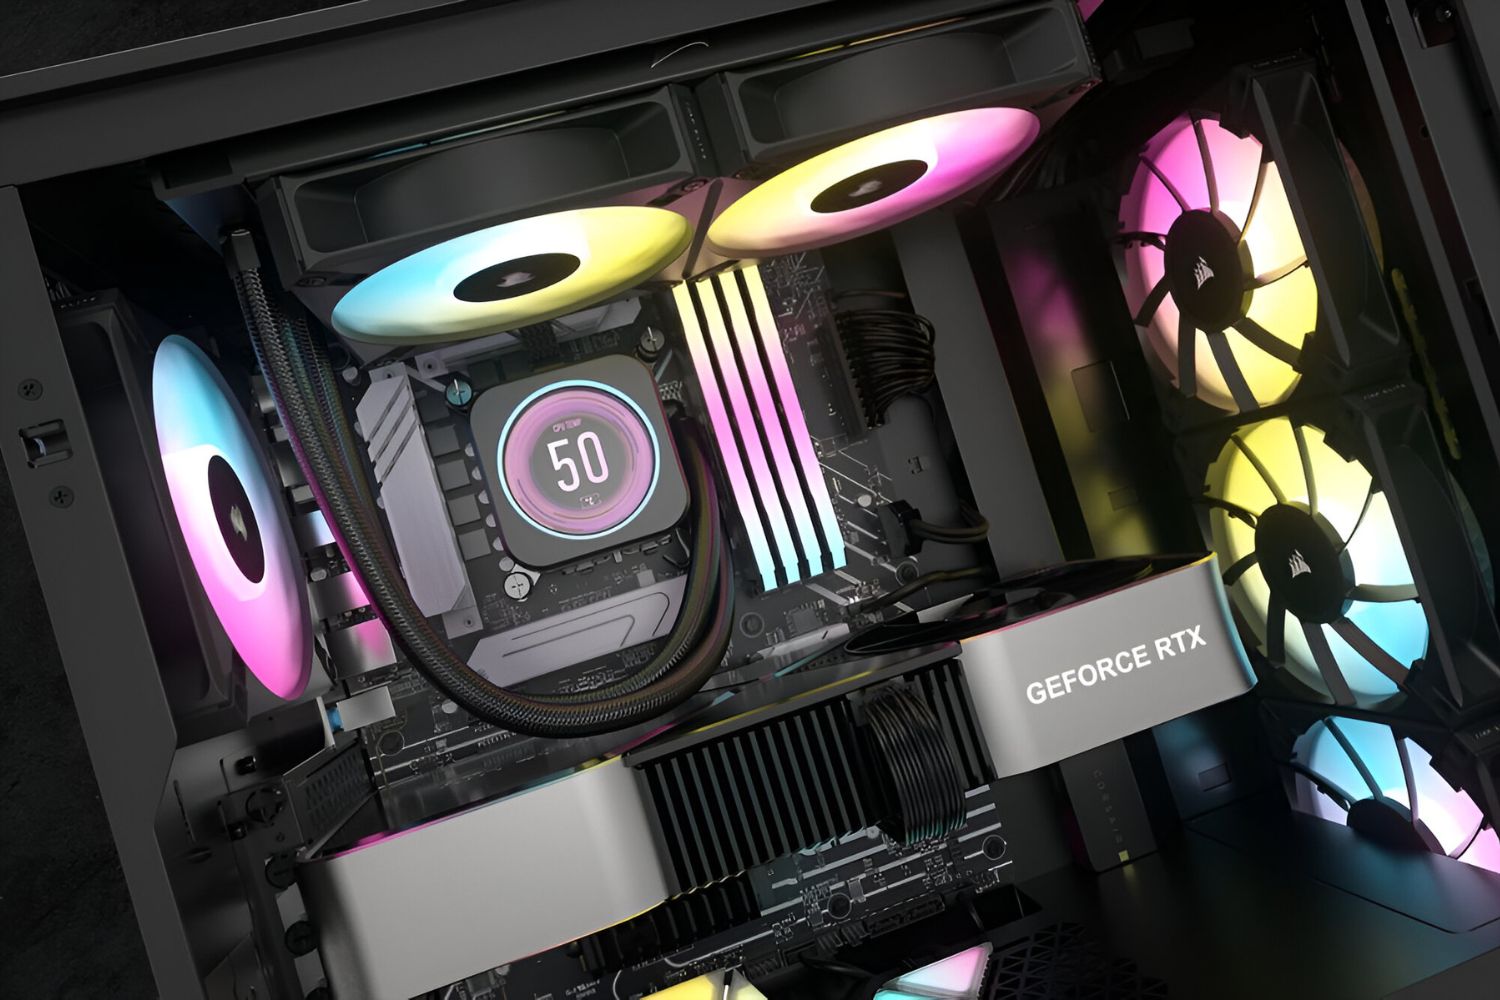
- Liquid Coolers: Liquid coolers, also known as all-in-one (AIO) coolers, use a combination of a radiator, pump, and fan to cool the CPU. They provide efficient cooling and are generally preferred by overclocking enthusiasts or those looking for a quieter system. When choosing a liquid cooler, consider the radiator size, compatibility with your case, and noise levels.
- Low-profile Coolers: Low-profile coolers are designed for small form-factor cases or systems with space restrictions. They are smaller in size compared to traditional air or liquid coolers but still offer decent cooling performance. These coolers are ideal for compact builds or HTPC setups.
Additionally, it’s important to consider the TDP (thermal design power) rating of the CPU cooler. The TDP indicates the maximum heat dissipation capacity of the cooler and should be equal to or higher than the TDP of your CPU. This ensures that the cooler can effectively handle the heat generated by the CPU during operation.
Furthermore, compatibility is crucial when selecting a CPU cooler. Ensure that the cooler is compatible with your CPU socket type. Most coolers support common socket types such as AM4 for AMD CPUs and LGA 115x for Intel CPUs, but it’s always wise to double-check compatibility before making a purchase.
Finally, consider your budget when selecting a CPU cooler. While high-end liquid coolers may offer superior cooling performance, they come at a higher price point. It’s important to strike a balance between your cooling needs and your budget to make an informed decision.
By considering these factors – cooling performance, form factor, compatibility, and budget – you can select a CPU cooler that meets your requirements and ensures optimum cooling for your valuable processor.
Preparing for the Installation
Before you begin the installation process, it’s important to make a few preparations to ensure a smooth and successful CPU cooler swap. Here’s what you need to do:
- Gather the necessary tools: Make sure you have all the required tools on hand. This typically includes a screwdriver (usually Phillips or flathead, depending on your case screws), thermal paste, and a clean cloth for cleaning the CPU and heatsink.
- Create a clean and organized workspace: Clear a large, flat surface where you can work on your computer comfortably. Ensure that the area is free from any static-inducing materials and has adequate lighting to see the components clearly.
- Power down and unplug your computer: Shut down your computer properly and disconnect it from the power source. This is important to avoid any electrical accidents and ensure your safety throughout the installation process.
- Evaluate your case airflow: Take a moment to assess the airflow in your case. Identify the existing fans and their positions to optimize the placement of your new CPU cooler. Consider removing any dust or obstructions from your case to improve airflow.
- Review the CPU cooler instructions: Thoroughly read the manual and instructions that come with your new CPU cooler. Familiarize yourself with the installation process and any specific requirements or additional components that may be needed.
- Prepare your work surface: Lay down a static-free mat or use an anti-static wristband to prevent any static discharge that could damage your computer components. Keep all the necessary tools and components nearby for easy access during the installation.
By taking the time to gather the tools, set up a suitable workspace, and prepare yourself and your computer for the installation, you’ll minimize the chances of encountering any issues or complications during the CPU cooler swap. This preparation phase ensures that you’re well-equipped and ready to proceed with the installation process confidently.
Removing the Old CPU Cooler
Now that you’re prepared, it’s time to remove the old CPU cooler. Follow these steps to safely remove the existing cooler:
- Disconnect the fan and power cables: Locate the fan cable that connects the CPU cooler to the motherboard. Gently unplug the cable from the motherboard, ensuring you don’t pull on the wires. If there is a power cable connected to the cooler, disconnect it as well.
- Remove the heatsink retention brackets: Most CPU coolers use retention brackets to secure the cooler to the motherboard. Locate the screws or clips holding the brackets in place. Unscrew or unclip them carefully, allowing you to remove the brackets from the motherboard.
- Detach the heatsink from the CPU: With the retention brackets removed, you can now detach the heatsink from the CPU. Slowly and evenly twist the cooler or apply gentle pressure to release it from the CPU surface. Be cautious not to damage any components on the motherboard during this process.
- Clean the CPU and heatsink: Once the heatsink is removed, take the time to clean the CPU and heatsink surfaces. Use a lint-free cloth or cotton swabs lightly dampened with isopropyl alcohol to remove any thermal paste residue. Ensure that both surfaces are completely clean and free from debris.
During this process, pay close attention to the components and connections to avoid any accidental damage. Take your time and handle the components gently. By properly removing the old CPU cooler, you’re setting the stage for a clean and successful installation of the new cooler.
Cleaning the CPU and Heatsink
Before installing the new CPU cooler, it’s crucial to ensure that both the CPU and the heatsink are clean and free from any debris or residue. Here’s how you can clean them effectively:
- CPU cleaning: Start by gently wiping the surface of the CPU with a lint-free cloth or a coffee filter to remove any loose debris or dust. Be cautious not to apply excessive pressure or scratch the surface. If there is residual thermal paste on the CPU, use a cotton swab lightly moistened with isopropyl alcohol to carefully clean it off. Avoid using excessive alcohol, as it can damage the CPU.
- Heatsink cleaning: Similarly, clean the heatsink using a lint-free cloth or a soft brush to remove any dust or debris. If there is dried thermal paste on the heatsink, you can use isopropyl alcohol and a cotton swab or coffee filter to gently clean it. Ensure that the heatsink is completely dry before applying new thermal paste.
- Applying new thermal paste: Thermal paste is essential for ensuring optimal heat transfer between the CPU and the heatsink. Apply a small pea-sized amount of thermal paste onto the center of the CPU using a spatula or a plastic card. Avoid using excessive thermal paste, as it can lead to uneven heat distribution and poor cooling performance.
- Spreading the thermal paste (optional): If you prefer, you can use a plastic bag or a dedicated thermal paste spreader to create an even layer of thermal paste before installing the new CPU cooler. Gently press down the cooler onto the CPU, allowing the paste to spread naturally. However, be cautious not to apply excessive pressure.
Remember, thermal paste is necessary for efficient heat transfer, so ensure that you apply an appropriate amount and spread it evenly if desired. Taking the time to clean the CPU and heatsink and applying new thermal paste prepares them for an optimal thermal interface, ensuring effective cooling performance for your processor.
Applying Thermal Paste
Thermal paste is a crucial component in the cooling process as it helps maximize heat transfer between the CPU and the cooler. Here’s how you can apply thermal paste properly:
- Clean the CPU and cooler: Before applying thermal paste, ensure that both the CPU and the cooler surfaces are clean and free from any debris or old thermal paste residue. Follow the steps mentioned earlier to clean them thoroughly.
- Apply a small amount: Squeeze a pea-sized amount of thermal paste onto the center of the CPU. Remember, using too much thermal paste can lead to excessive heat retention and poor performance. So, it’s better to start with a small amount and gradually increase if necessary.
- Spreading the thermal paste (optional): If you prefer, you can spread the thermal paste evenly over the CPU surface using a plastic bag or a dedicated thermal paste spreader. This ensures that the paste covers the entire CPU and creates a uniform layer. However, note that spreading the paste isn’t mandatory as the pressure from the cooler installation can also facilitate the spreading process.
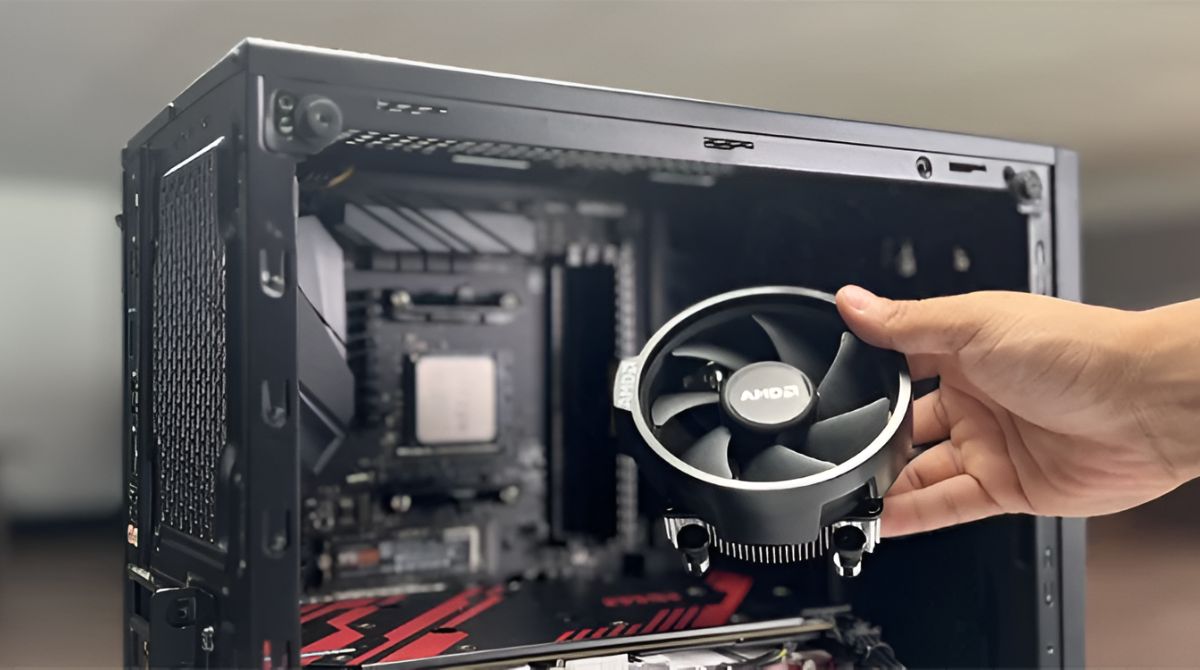
- Installing the CPU cooler: Carefully align the CPU cooler with the CPU and gently press it down. Secure the cooler in place using the appropriate retention mechanism, such as screws or clips, following the manufacturer’s instructions. Be cautious not to apply excessive pressure, which could damage the CPU or cause an uneven distribution of thermal paste.
Remember, the goal is to create a thin and even layer of thermal paste between the CPU and the cooler. This promotes efficient heat transfer and helps keep the CPU temperature under control. By applying thermal paste correctly, you set the groundwork for optimal cooling performance and prolong the lifespan of your CPU.
Installing the New CPU Cooler
Now that you have prepared the CPU and applied the thermal paste, it’s time to install the new CPU cooler. Follow these steps carefully:
- Align the cooler: Position the CPU cooler over the CPU, aligning the mounting holes or brackets with the corresponding ones on the motherboard. Ensure that the cooler is sitting evenly and securely on top of the CPU.
- Secure the cooler: Depending on the cooler type, you will need to use screws, clips, or other mounting mechanisms to secure it in place. Refer to the manufacturer’s instructions for the specific installation process. Tighten the screws or engage the clips evenly, alternating between them to ensure even pressure distribution.
- Ensure proper orientation: Check that the cooler’s fan(s) are properly oriented for optimal airflow. Most coolers have an arrow indicating the direction of airflow. Make sure the cooler’s fan(s) are blowing air towards the exhaust fan(s) in your case to promote efficient heat dissipation.
- Double-check the installation: Once the cooler is securely attached, double-check that all screws or clips are tightened properly. Verify that there is no wobbling or visible gaps between the cooler and the CPU. This ensures the cooler’s stability and proper contact with the CPU surface for effective heat transfer.
It’s important to follow the installation instructions provided by the cooler manufacturer to ensure a correct and secure installation. Proper alignment, even pressure distribution, and careful orientation of the cooler’s fan(s) are essential for optimal cooling performance and longevity of your CPU.
After completing the installation, it’s a good practice to give the cooler a little wiggle to ensure it is fixed firmly in place. Additionally, you can refer to the manufacturer’s instructions on how to connect any additional cables or control mechanisms for the cooler, such as RGB lighting or fan speed control.
With the new CPU cooler installed, you’re one step closer to achieving better cooling performance and maintaining the temperature stability of your CPU during intensive tasks or overclocking.
Securing the Cooler in Place
Properly securing the CPU cooler is crucial to ensure optimal cooling performance and prevent any potential damage due to loosening or instability. Follow these steps to securely fasten the cooler in place:
- Use the correct mounting mechanism: Different coolers come with different mounting mechanisms, such as screws, brackets, or clips. Ensure that you have the appropriate mounting hardware for your specific CPU cooler model. Refer to the manufacturer’s instructions to identify the correct installation method.
- Tighten the screws evenly: If your CPU cooler requires the use of screws, start by loosely securing them in a diagonal pattern. Gradually tighten the screws bit by bit, alternating between opposite corners until they are securely fastened. This even tightening pattern helps ensure equal pressure distribution over the CPU surface.
- Engage the clips or latches: If your CPU cooler uses clips or latches, carefully align them with the corresponding hooks or brackets on the motherboard. Apply gentle pressure to securely lock the clips or latches in place. Double-check that they are properly engaged and firmly seated.
- Verify stability: Once the CPU cooler is secured, check for any movement or wobbling. Gently give the cooler a slight wiggle to ensure it is firmly attached to the motherboard. If you notice any instability, recheck the screws or clips to ensure they are tightened adequately.
It’s important to note that while it’s necessary to secure the CPU cooler firmly, excessive force should be avoided to prevent damage to the CPU or motherboard components. Striking a balance between tightness and caution is key. Taking the time to ensure proper installation and secure fastening helps maintain consistent cooling performance and eliminates the risks associated with an inadequately secured cooler.
Remember to refer to the manufacturer’s instructions specific to your CPU cooler for any additional recommendations or installation steps that may be required. Following these steps will help secure the CPU cooler in place and provide a stable and efficient cooling solution for your CPU.
Connecting the Cooler to the Motherboard
Once the CPU cooler is securely installed, the next step is to connect it to the motherboard to ensure proper functioning and control. Follow these steps to connect the cooler to the motherboard:
- Locate the fan header: Identify the fan header on the motherboard where you will connect the CPU cooler’s fan(s). The fan header is usually labeled “CPU_FAN” or a similar name. Refer to the motherboard manual for the exact location.
- Connect the fan cable: Take the fan cable from the CPU cooler and align it with the pins on the fan header. Make sure the orientation is correct, aligning the notches or connectors appropriately. Gently press down on the cable to ensure a secure connection.
- Configure fan settings (optional): If your motherboard supports fan control or monitoring, you can access the BIOS/UEFI settings to customize the CPU fan speed or enable any additional features. Consult your motherboard manual for instructions on accessing and configuring the fan settings.
- Confirm fan functionality: Once the cooler is connected and any desired configurations are made, power on your computer, and monitor the CPU cooler’s fan(s) to ensure that they spin properly. Check the BIOS/UEFI or use motherboard software to verify that the fan speed is reported correctly.
Ensuring proper connectivity between the CPU cooler and the motherboard allows for proper cooling control and monitoring. It enables the motherboard to adjust fan speed depending on the CPU temperature, providing efficient cooling while maintaining a balance between temperature and noise levels.
If you have additional fans integrated with the CPU cooler, make sure to connect them to the appropriate fan headers on the motherboard, following the manufacturer’s instructions. This ensures that all components work together harmoniously to maintain optimal cooling performance.
Remember to consult the motherboard manual for any specific instructions or recommendations related to fan connection and configuration. This will ensure that you make the most of the available features and maximize the effectiveness of your CPU cooler.
Testing the New CPU Cooler
After installing and connecting the new CPU cooler, it’s essential to test its functionality and ensure that it is effectively cooling your CPU. Here are the steps to test your new CPU cooler:
- Power on your computer: Start by powering on your computer and allowing it to boot up normally. Make sure the fans on the CPU cooler spin up and become audible. This indicates that the cooler is receiving power and functioning correctly.
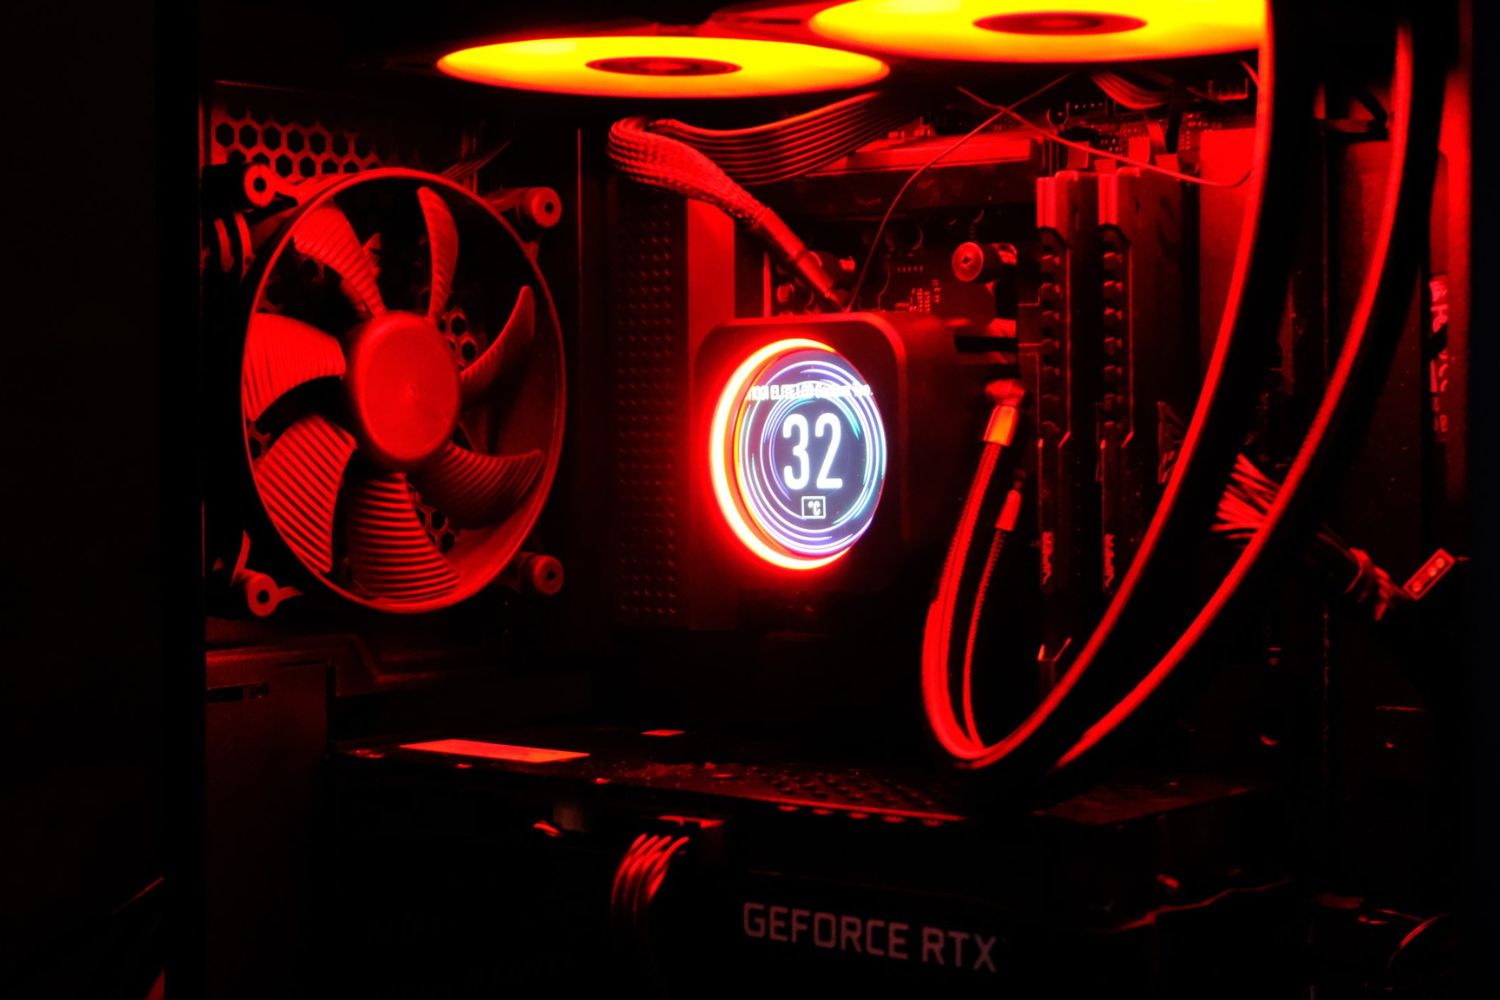
- Monitor CPU temperatures: Use software utilities, such as CPU temperature monitoring programs or the BIOS/UEFI settings, to monitor the CPU temperatures. Watch the temperatures closely during periods of idle usage and under heavy workload, such as running CPU-intensive tasks or gaming.
- Compare temperatures: Compare the temperatures you observe with the new CPU cooler installed with the readings you had with the previous cooler. If there is a noticeable decrease in temperature or if the temperatures remain stable even under heavy usage, it indicates that the new cooler is functioning efficiently.
- Listen for unusual noises: Pay attention to any unusual noises coming from the cooler, such as excessively loud fan noise or clicking sounds. Excessive noise could indicate issues with the cooler’s fan or improper installation. If you notice any concerning noises, inspect the cooler and ensure it is properly secured.
- Stress testing (optional): For a more thorough assessment, you can run stress testing software to put your CPU under maximum load and monitor the temperatures. Stress testing helps ensure the stability and effectiveness of the new CPU cooler under demanding conditions.
By testing the new CPU cooler, you can verify its functionality and performance, ensuring that it is cooling your CPU effectively. Monitoring temperatures and listening for any unusual noises are important indicators of how well the cooler is performing its intended role.
If you notice temperatures within safe limits and no concerning noises, it signifies that the new CPU cooler is working optimally. Enjoy the improved cooling performance, which can lead to better CPU stability, longer lifespan, and potentially improved system performance.
However, if you encounter any issues, such as abnormally high temperatures or unusual noises, double-check the installation, fan connections, and thermal paste application. If problems persist, it may be necessary to consult the manufacturer’s support or seek professional assistance to rectify the situation.
Conclusion
Changing out your CPU cooler is a relatively simple process that can greatly improve the cooling performance of your CPU. By selecting the right CPU cooler for your needs, preparing for the installation, removing the old cooler, cleaning the CPU and heatsink, applying thermal paste correctly, and securely installing the new cooler, you can ensure optimal cooling efficiency for your CPU.
Properly connecting the cooler to the motherboard and testing its functionality are important final steps. Monitoring CPU temperatures, listening for any unusual noises, and stress testing (if desired) will help you confirm that the new cooler is working effectively to keep your CPU cool under different usage scenarios.
Remember to follow the instructions provided by the cooler manufacturer and consult your motherboard manual for any specific guidelines related to installation or fan connections.
With a new CPU cooler in place, you can experience improved temperature management, which can enhance the overall stability and longevity of your CPU. Whether you’re a gamer, content creator, or simply looking to optimize your system’s performance, a reliable CPU cooler is a valuable investment.
If at any point you feel unsure or uncomfortable with the installation process, it’s always best to seek professional assistance to avoid any potential damage to your components.
Now that you have the knowledge and steps to change out your CPU cooler, take control of your computer’s cooling system and ensure that your CPU operates at its best performance level for years to come.