Introduction
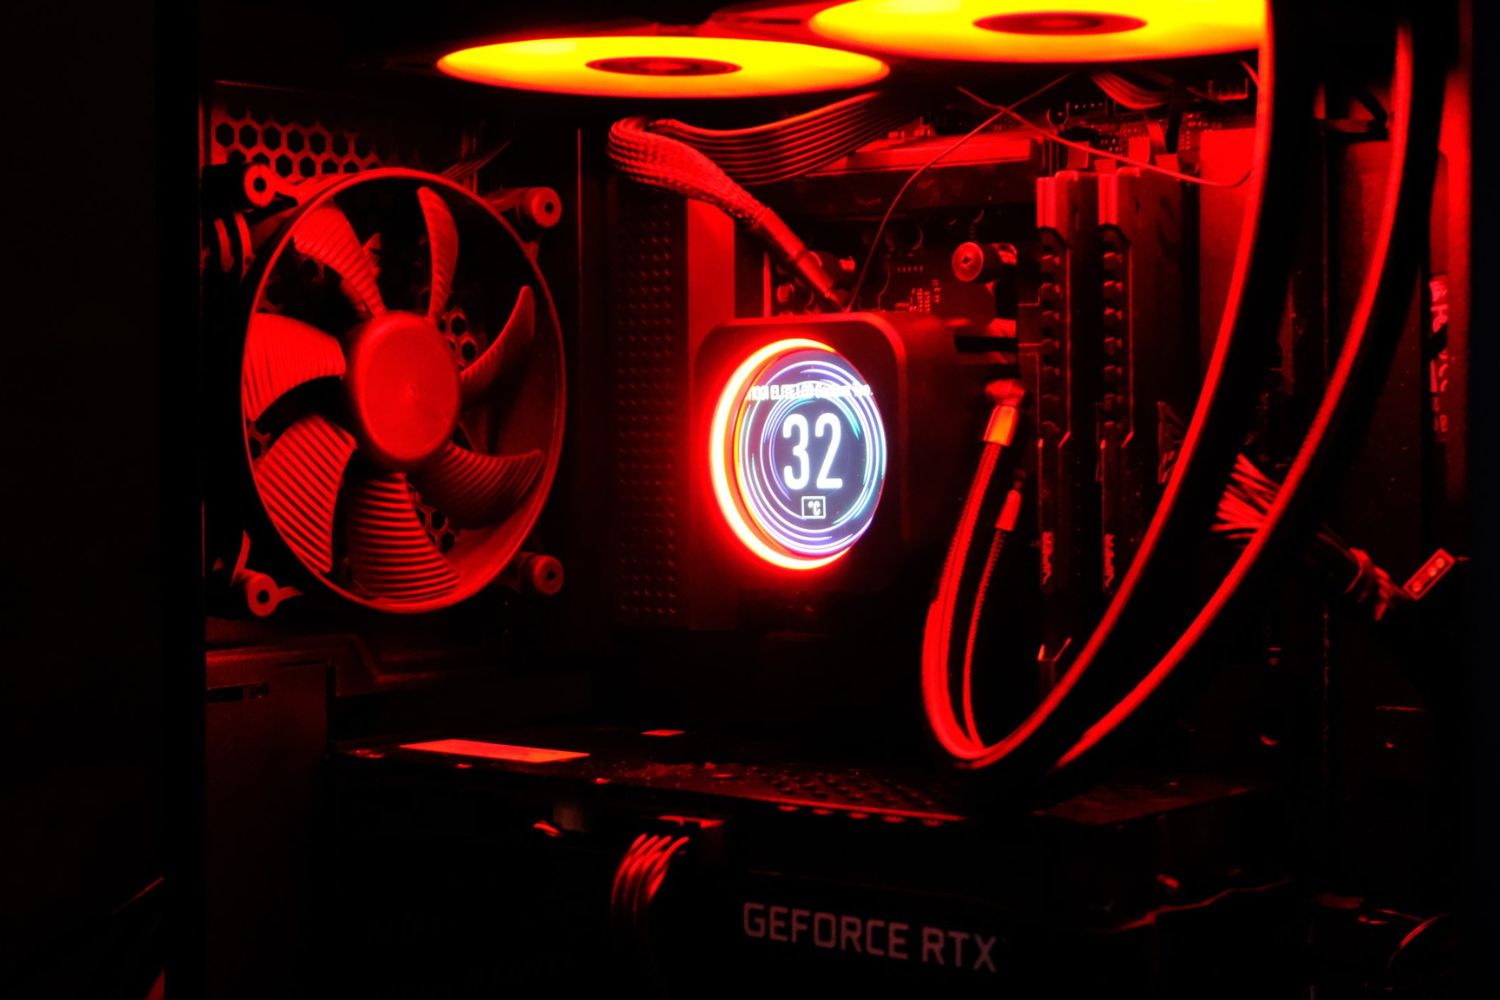
Having a stylish and customized PC setup is a dream for many computer enthusiasts. One way to add a personal touch to your computer is by changing the fan color on your Corsair All-In-One CPU cooler. Not only does it provide improved cooling performance, but it also allows you to match the fan color with your overall theme or aesthetic.
In this guide, we will walk you through the steps to change the fan color on your Corsair All-In-One CPU cooler. Whether you want to go for a vibrant and eye-catching look or a more subtle and elegant style, this process is simple to follow and will have your CPU cooler looking fantastic in no time.
Before we begin, it’s important to note that the specific steps may vary slightly depending on the model of your Corsair CPU cooler. To ensure a smooth process, always refer to the manufacturer’s instructions that came with your cooler. With that said, let’s dive into the steps and transform your CPU cooler into a centerpiece of your PC.
What You Will Need
Before getting started, gather the following items:
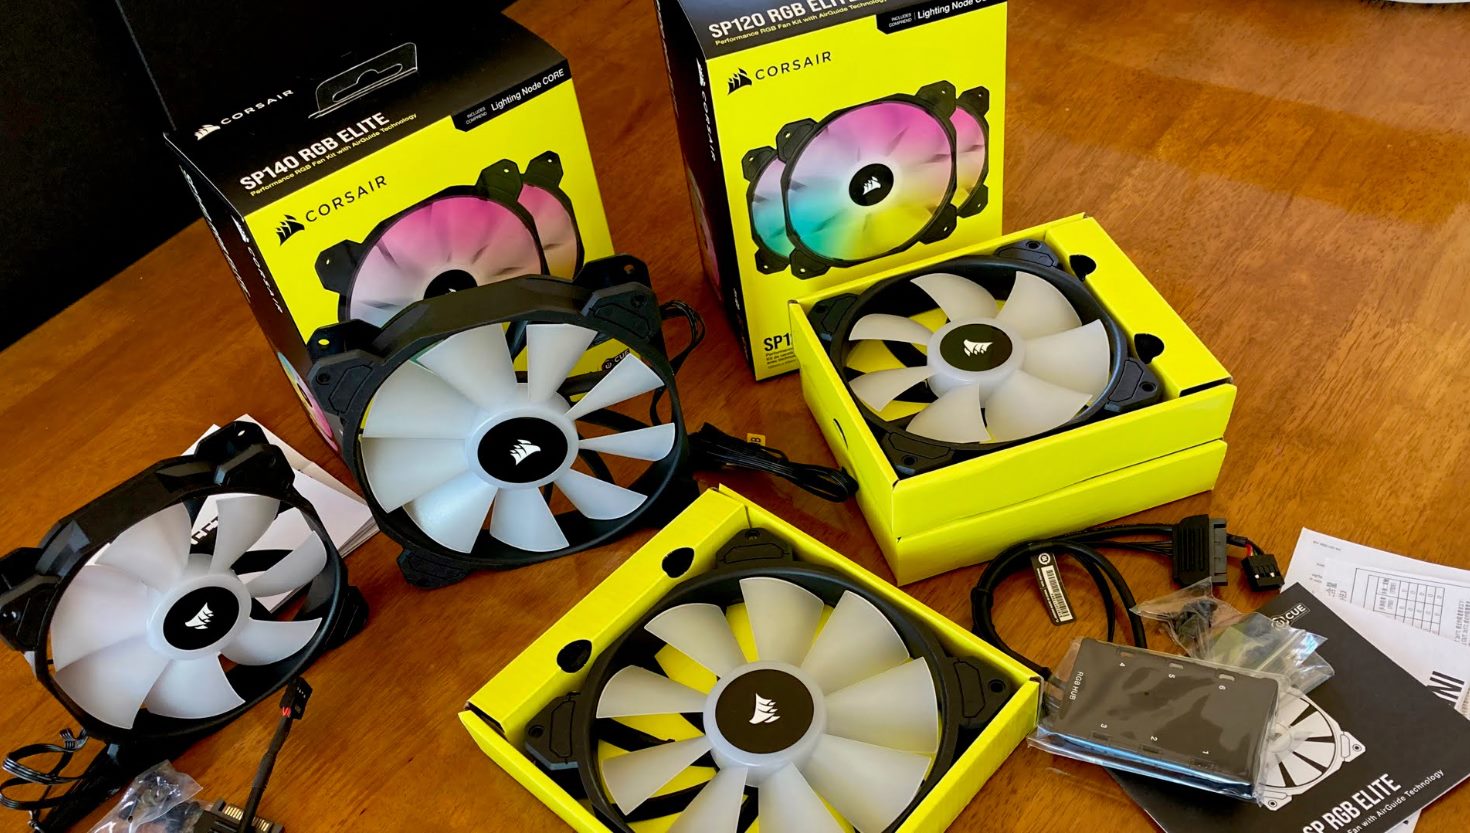
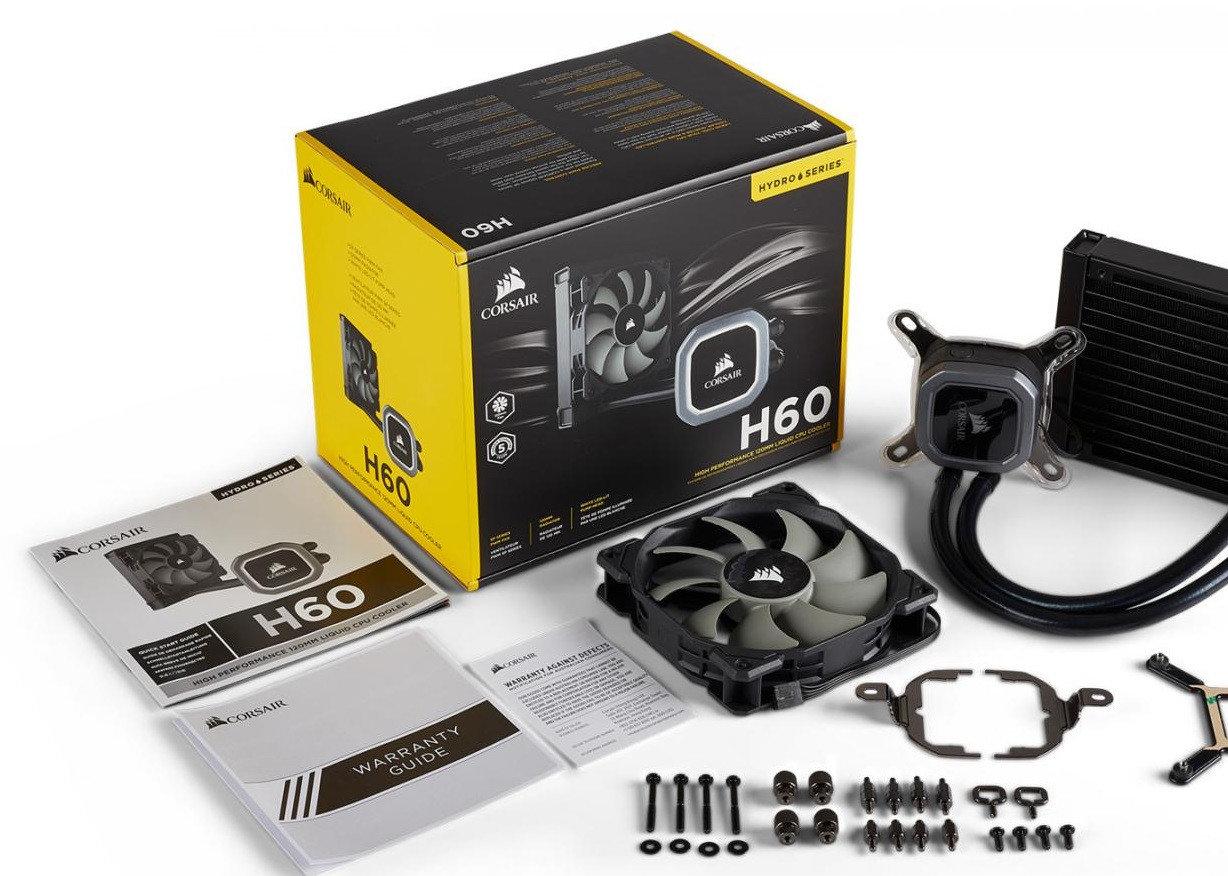
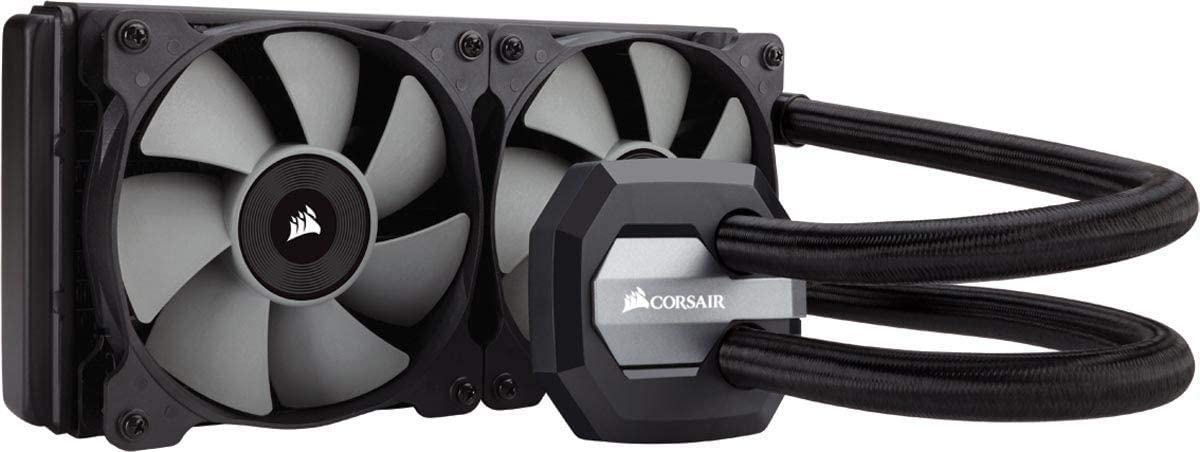
- Corsair All-In-One CPU Cooler: This tutorial is specifically for Corsair All-In-One CPU coolers, so make sure you have the compatible model.
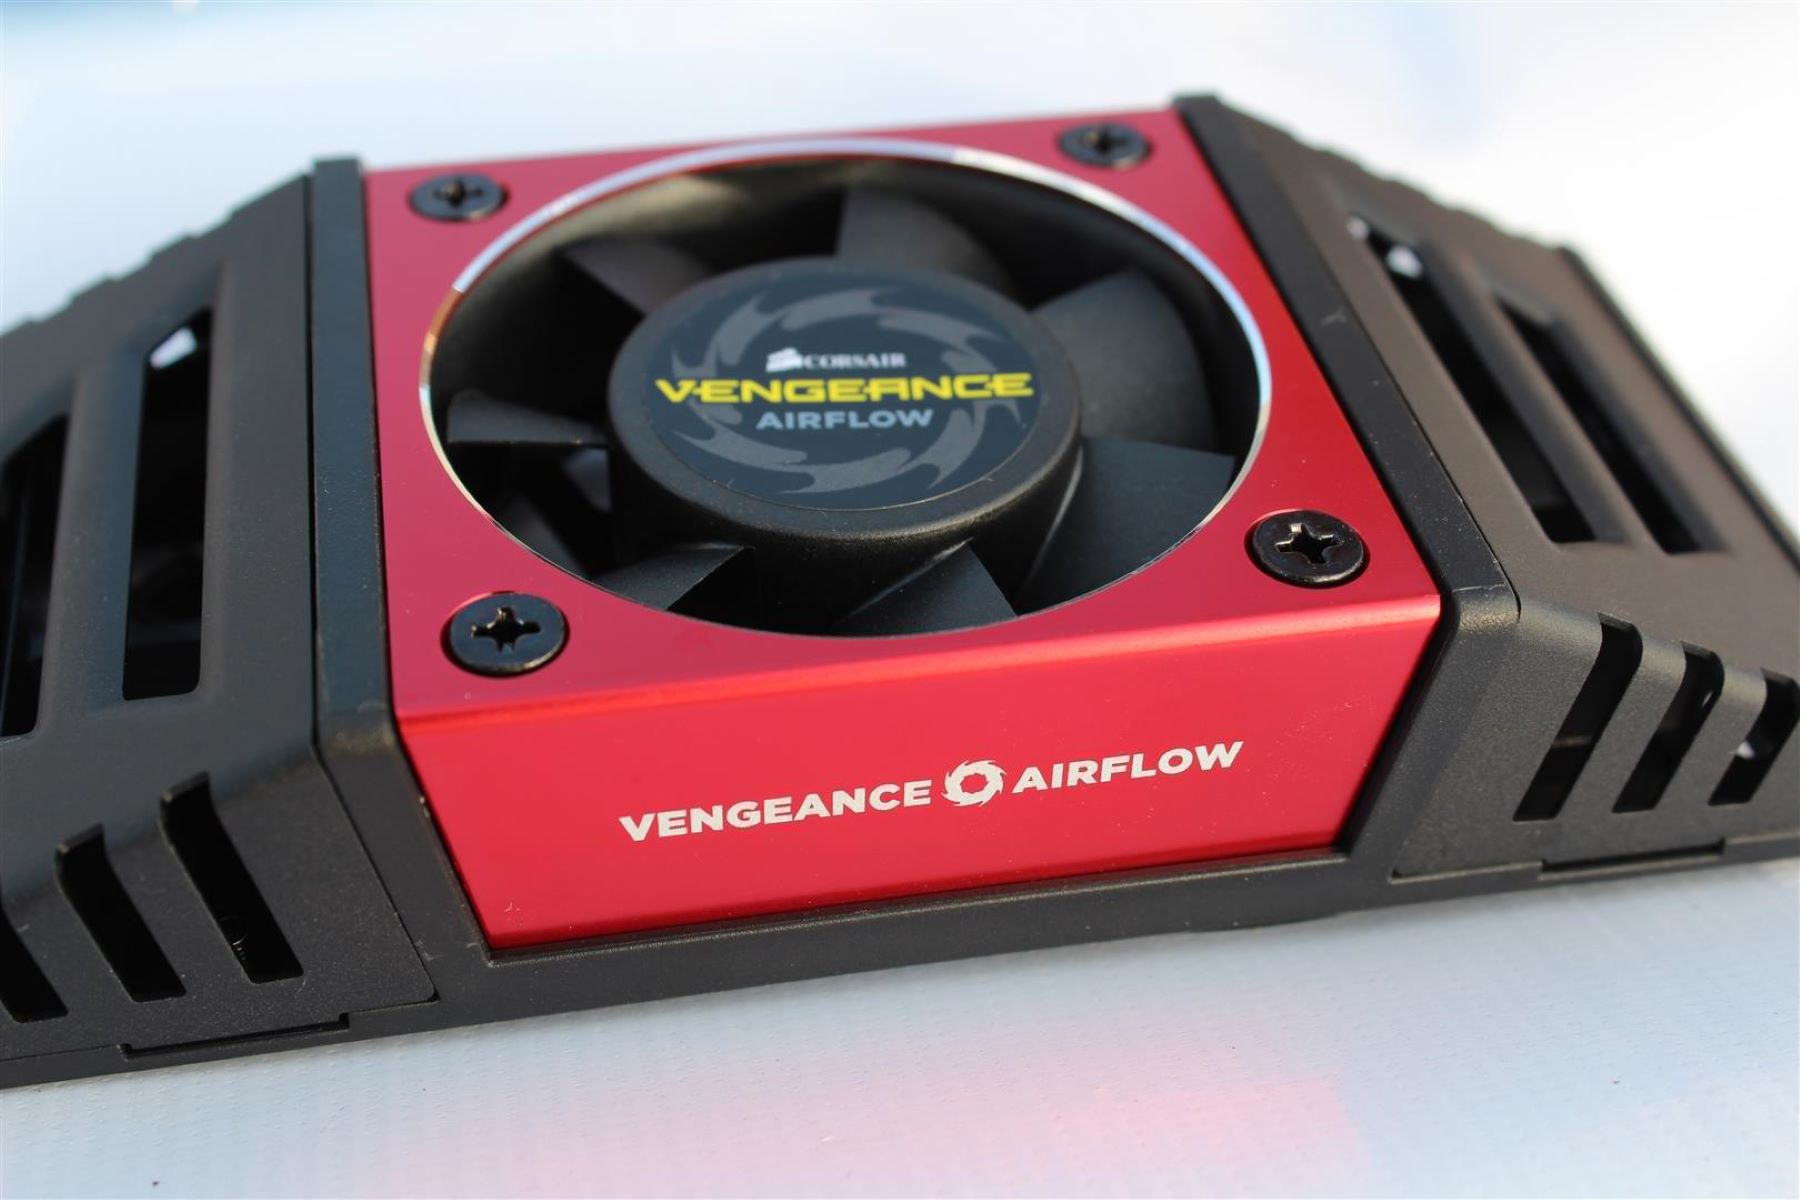
- New Fan: Choose a fan of your preferred color that is compatible with your Corsair All-In-One CPU cooler. Make sure to check the size and connector type before purchasing.
- Screwdriver: Depending on your cooler model, you may need a Phillips screwdriver or another type of screwdriver to open the case and remove the old fan.
- Anti-static Wrist Strap (Optional): To protect your hardware from any potential static electricity damage, using an anti-static wrist strap is recommended.
- Clean Cloth: It’s a good idea to have a clean cloth on hand to remove any dust or debris from the cooler and fan before installation.
By having these items ready, you’ll be prepared to tackle each step with confidence and ensure a smooth and successful fan color change.
Step 1: Opening the Cooler
The first step in changing the fan color on your Corsair All-In-One CPU cooler is to open the cooler itself. Follow these instructions:
- Make sure your computer is turned off and unplugged from the power source. This is crucial to avoid any electrical mishaps.
- Locate the screws that secure the CPU cooler to the CPU socket. There are typically four screws holding the cooler down.
- Using the appropriate screwdriver, carefully remove the screws one by one. Be gentle to avoid damaging the cooler or other components.
- Once the screws are removed, gently lift the CPU cooler away from the CPU socket. Some coolers may have thermal compound or paste between the cooler and CPU, so be cautious not to smear or drop any of it.
With the cooler opened, you can now move on to the next step of removing the old fan.
Step 2: Removing the Old Fan
Now that you have opened the cooler, it’s time to remove the old fan. Here’s how:
- Examine the fan carefully and locate the wires connected to it. There will typically be two wires: one for power and one for controlling the fan speed.
- Disconnect the wires from the fan by gently pulling them out. Take note of the connectors so you can properly reconnect the new fan later.
- Next, locate the screws or clips that hold the fan in place on the cooler. Slowly and carefully remove the screws or unclip the fan from its position.
- Once the fan is detached, set it aside in a safe place. You may want to hold onto it in case you need to revert to the original fan in the future.
With the old fan removed, you can move on to the exciting step of installing the new fan with your desired color.
Step 3: Installing the New Fan
Now that you have removed the old fan, it’s time to install the new fan and give your CPU cooler a fresh and vibrant look. Follow these steps for a successful installation:
- Take your new fan and examine it to ensure it’s the correct size and compatible with your Corsair All-In-One CPU cooler.
- Align the screw holes or clips on the new fan with the corresponding holes or attachment points on the cooler.
- Insert the screws or secure the clips to firmly attach the new fan to the cooler. Be careful not to overtighten the screws to avoid damaging the fan or the cooler.
- If your new fan has wires for power and fan speed control, align them with the corresponding connectors on the cooler. Gently push the connectors into place until they are securely attached.
Once the new fan is properly installed, you are ready to move on to the next step of connecting the fan to the power supply.
Step 4: Connecting the Fan to the Power Supply
Now that the new fan is securely installed on your Corsair All-In-One CPU cooler, it’s time to connect it to the power supply. Follow these steps:
- Locate the cables from your new fan that are specifically meant for power and fan speed control.
- Identify the corresponding connectors on your power supply unit (PSU) or motherboard for fan connectivity.
- Carefully plug the power cable connector from the new fan into the appropriate port on the PSU or motherboard.
- If your fan has a separate cable for fan speed control, connect it to the designated port on the PSU or motherboard for controlling the fan’s RPM.
- Double-check that all connections are secure and properly seated. Ensure that there are no loose cables or connectors that could interfere with the fan’s performance.
With the fan properly connected to the power supply, you are ready for the final step of closing your CPU cooler.
Step 5: Closing the Cooler
Now that you have successfully installed and connected the new fan on your Corsair All-In-One CPU cooler, it’s time to close the cooler and complete the process. Follow these steps:
- Ensure that the CPU socket area is clean and free from any debris or thermal paste residue. If needed, use a clean cloth to wipe away any leftover material.
- Align the cooler with the CPU socket, making sure that the screw holes on the cooler align with the mounting holes around the socket.
- Gently lay the CPU cooler back onto the CPU socket, taking care not to apply too much pressure.
- Using the appropriate screwdriver, insert and tighten the screws back into their respective holes to secure the cooler in place. Start with a diagonal pattern to ensure even pressure distribution.
- Double-check that all screws are properly tightened but avoid over-tightening to prevent damage.
Once the CPU cooler is securely in place, your fan color change process is complete! You can now power on your computer and enjoy the refreshed look of your Corsair All-In-One CPU cooler with its brand new fan.
Conclusion
Changing the fan color on your Corsair All-In-One CPU cooler is a great way to personalize your computer and give it a stylish touch. With just a few simple steps, you can transform the look of your CPU cooler to match your desired aesthetic or overall theme.
Throughout this guide, we’ve walked you through the process of opening the cooler, removing the old fan, installing the new fan, connecting it to the power supply, and closing the cooler. By following these steps carefully, you can ensure a successful fan color change without causing any damage to your hardware.
Remember, before you start the process, it’s important to refer to the manufacturer’s instructions specific to your Corsair All-In-One CPU cooler model. This will ensure that you have the necessary information for a smooth installation.
Now that you have completed the process, take a moment to admire your newly customized Corsair All-In-One CPU cooler. It not only adds a visually appealing element to your computer but also helps to keep your CPU cool and running efficiently.
We hope this guide has been helpful in assisting you with changing the fan color on your Corsair All-In-One CPU cooler. Enjoy the new look and showcase your style and creativity through your computer setup!