Introduction
Welcome to this guide on how to change the language on your tablet from Spanish to English. Whether you’ve recently purchased a tablet with the default language set to Spanish or accidentally changed the language and need to switch it back to English, this step-by-step tutorial will walk you through the process.
Language settings can vary slightly depending on the brand and model of your tablet. However, most tablets have a similar interface and options, so you should be able to follow these instructions regardless of the specific device you’re using.
Changing the language on your tablet can be particularly useful if you’re more comfortable navigating in English or if you’re sharing the device with someone who primarily uses English. Understanding how to access and modify language settings will give you greater control over your tablet’s interface and ensure a seamless user experience.
Now let’s dive into the step-by-step process of changing the language on your tablet from Spanish to English.
Step 1: Accessing the Settings Menu
The first step in changing the language on your tablet from Spanish to English is to access the settings menu. On most tablets, you can do this by locating the gear icon, which represents the settings, on your home screen or app drawer. Some tablets may have a different icon or label for the settings menu, but it is usually easily recognizable.
Once you’ve located the settings icon, tap on it to open the settings menu. This will bring up a list of various options and settings for your tablet.
In some cases, you may need to swipe down from the top of the screen to access the quick settings panel and then tap on the settings icon from there. This method may differ depending on the brand and model of your tablet, so keep an eye out for any specific instructions or variations.
If you’re unable to find the settings icon on your home screen or app drawer, you can also try going through the notification panel. Swipe down from the top of the screen to open the panel, and look for a gear or settings icon among the options displayed. Tapping on this icon will take you directly to the settings menu.
Once you’ve successfully accessed the settings menu, you’re ready to proceed to the next step in changing the language on your tablet to English.
Step 2: Finding the Language Settings
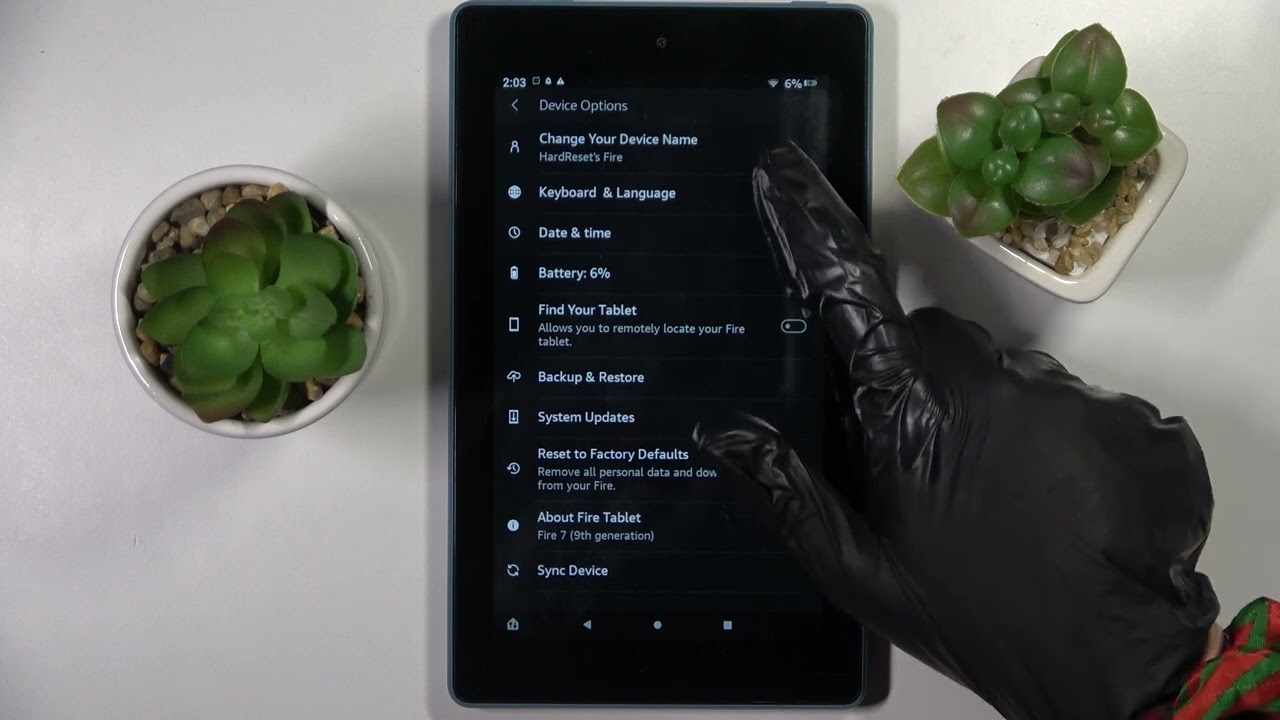
After accessing the settings menu on your tablet, your next task is to locate the language settings. The exact location of these settings may vary slightly depending on the brand and model of your tablet, but they are typically located within the “System” or “General” settings.
Scroll through the settings menu to find the section labeled “Language” or “Language & Input.” It may be located under a “System” or “General” category, or it might have its own separate section.
Once you’ve found the language settings, tap on it to enter the language preferences menu. Here, you will be able to view and modify the current language settings of your tablet.
If you’re having trouble finding the language settings, you can try using the search function within the settings menu. Look for a magnifying glass or search icon, usually located at the top of the settings page. Tap on it and search for keywords like “language” or “display” to quickly locate the language settings.
Some tablets may also have language settings accessible directly from the notification panel or quick settings panel. Swipe down from the top of the screen and look for a language option among the quick access icons. Tapping on it will take you to the language settings.
Once you’ve successfully located the language settings, you’re ready to proceed to the next step of changing your tablet’s language to English.
Step 3: Changing the Language to English
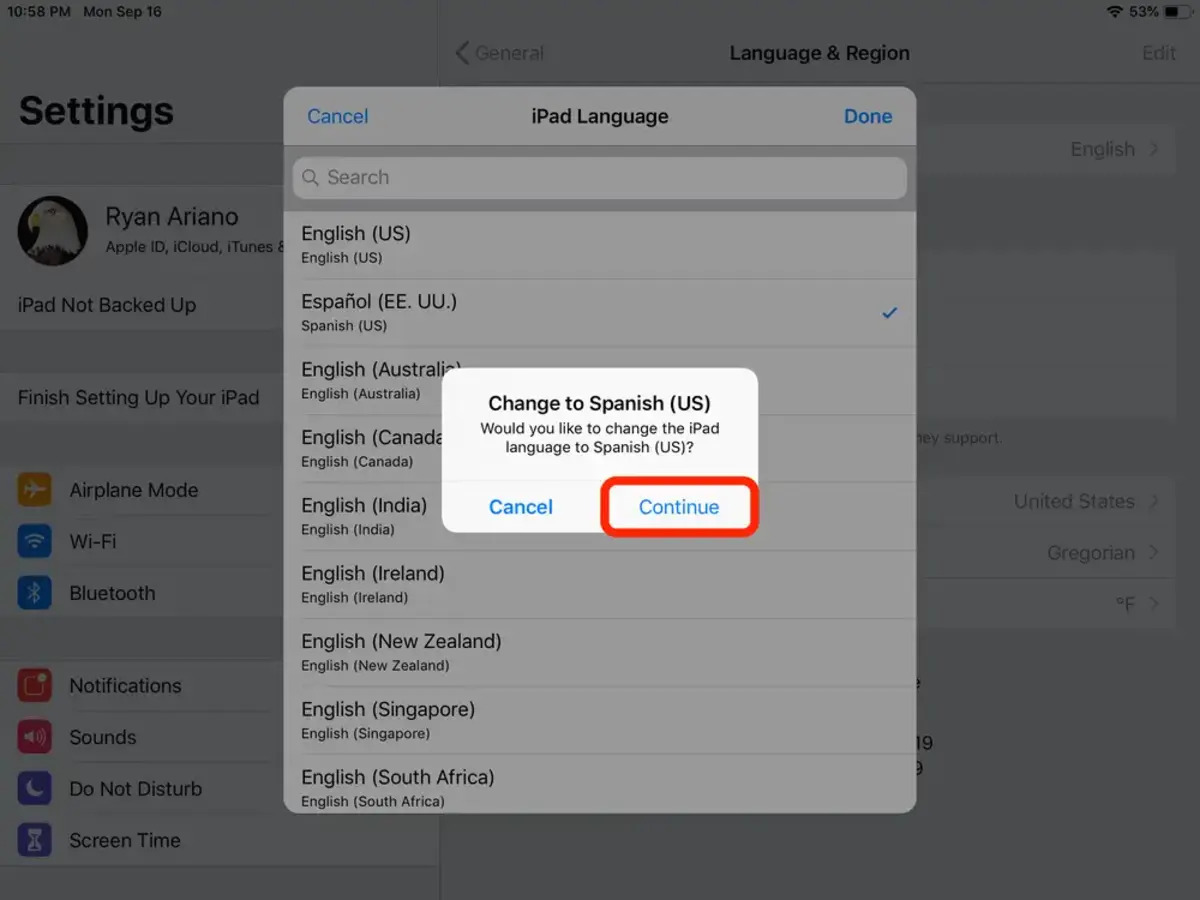
Now that you’ve found the language settings on your tablet, it’s time to change the language to English. Within the language settings menu, you will see a list of available languages.
Scroll through the list and look for English or English (United States) as an option. The specific English variant may vary depending on your location and region. Tap on the English language option to select it as your preferred language.
In some cases, you may need to tap on an “Add Language” or “Add” button to access the list of available languages. Once you’ve added English to the list, make sure to tap on it to set it as your primary language.
Keep in mind that as soon as you select English as the language, the on-screen text will change to English, making it easier for you to navigate and understand the interface.
After selecting English as the language, you may have the option to customize other language-related preferences, such as the regional format or keyboard layout. Feel free to make any additional adjustments according to your preferences.
It’s worth noting that once you change the language to English, the buttons and options in the settings menu may also change their wording to English. So, if you’re having trouble navigating within the settings menu after changing the language, look for familiar English terms.
Once you’ve successfully changed the language to English, you’re almost done! But before wrapping up, let’s move on to the next step to ensure that the language change is confirmed.
Step 4: Confirming the Language Change
After changing the language to English on your tablet, it’s important to confirm that the language change has been applied successfully. This step will ensure that your tablet’s system language and interface are now in English.
To confirm the language change, simply exit the settings menu and go back to your tablet’s home screen. Take a moment to observe the interface and menus. You should now see that the text, icons, and labels are all displayed in English.
If you notice that some elements are still in Spanish or any other language, don’t worry. It’s possible that certain apps or system menus may not immediately reflect the language change. In most cases, though, the majority of the interface should now be in English.
To further confirm the language change, you can open various apps such as the web browser, email client, or any other commonly used application. Check whether the text and prompts within these apps are now displayed in English.
If you encounter any app or menu that is still in Spanish, it’s likely that the language settings within that particular app need to be adjusted separately. Refer to the app’s settings or preferences menu to change the language within that specific app.
By confirming the language change in different apps and menus, you can be confident that the overall language of your tablet has been successfully changed to English.
Now that you’ve confirmed the language change, let’s move on to the final step to ensure that the language change is reflected throughout your tablet’s system.
Step 5: Verifying Language Change in Apps and Menus
Once you’ve changed the language on your tablet to English and confirmed the change in the system interface, it’s essential to verify that the language change is reflected in various apps and menus.
Start by exploring different apps on your tablet, such as the settings menu, calendar, contacts, and messaging apps. Pay close attention to the text, buttons, and prompts within these apps to ensure they are now displayed in English.
Additionally, navigate through various system menus, such as the notification panel, app drawer, and quick settings panel. Check if the text and labels within these menus are displayed in English.
If you come across any app or menu that still displays text in Spanish or any other language, it’s possible that the language settings within that specific app need to be adjusted separately.
To change the language settings within individual apps, open the app and locate its own settings or preferences menu. Look for an option to change the language, and select English or the preferred language of your choice.
Keep in mind that not all apps may have language settings that can be modified. In such cases, the language of the app will usually follow the system language you have set on your tablet.
By thoroughly checking different apps and menus, you can ensure that the language change you made is reflected throughout the entire system of your tablet.
Now that you have successfully verified the language change in various apps and menus, you can confidently enjoy using your tablet in English.
Congratulations! You have completed all the necessary steps to change the language on your tablet from Spanish to English. Whether you’re more comfortable navigating in English or you’re sharing the device with someone who primarily uses English, this modification will enhance your tablet experience.
Conclusion
Changing the language on your tablet from Spanish to English may initially seem like a daunting task, but by following these step-by-step instructions, you can accomplish it with ease. By accessing the settings menu, finding the language settings, changing the language to English, confirming the language change, and verifying it in various apps and menus, you have successfully modified the language of your tablet.
Having the ability to navigate your tablet in your preferred language, such as English, is essential for a seamless and enjoyable user experience. Whether you’re more comfortable with English or sharing the device with someone who primarily uses English, this change will make using your tablet more convenient and accessible.
Remember, language settings may vary slightly depending on the brand and model of your tablet, but the overall process should remain similar. If you encounter any difficulties or variations during the language change, refer to the user manual or support resources provided by the tablet’s manufacturer.
Now that you’re equipped with the knowledge of how to change the language on your tablet, feel free to explore and enjoy your device in English! Customize your settings, download your favorite apps, and make the most out of your tablet experience in your preferred language.
Thank you for following this guide, and we hope it has been helpful in assisting you with changing the language on your tablet from Spanish to English.


