Introduction
Welcome to the guide on how to change the battery in the HP Spectre Ultrabook. The battery in your laptop is an essential component that powers your device, allowing you to work, browse the internet, and enjoy your favorite multimedia content. Over time, the battery’s performance may degrade, resulting in shorter battery life and reduced overall efficiency.
In this article, we will walk you through the steps required to safely replace the battery in your HP Spectre Ultrabook. Whether you are experiencing issues with your current battery or simply looking to upgrade to a higher-capacity option, this guide will provide you with the necessary knowledge and instructions to successfully complete the battery replacement process.
Please note that performing any kind of hardware change on your device requires caution and attention to detail. If you are not comfortable working with computer components or have limited experience, it is recommended to seek professional assistance. However, if you are confident in your abilities and want to save money by performing the battery replacement yourself, this guide is here to help.
Before we dive into the step-by-step instructions, let’s go over the tools and materials you will need to have on hand to complete this task.
Tools and Materials Needed
Before getting started, gather the following tools and materials:
- Phillips screwdriver
- Anti-static wrist strap
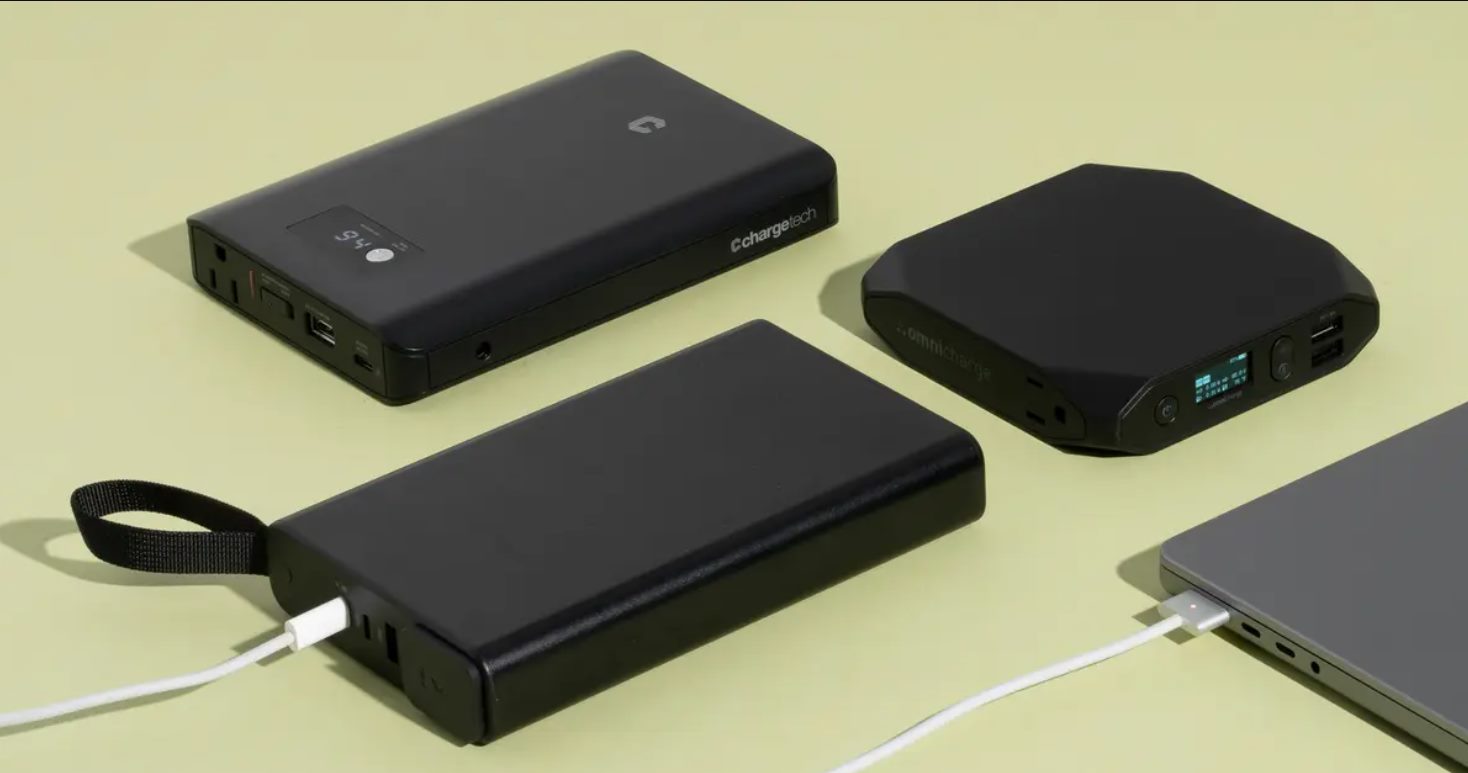
- Replacement battery (compatible with your HP Spectre Ultrabook model)
- Clean cloth
The Phillips screwdriver is essential for removing the back cover and accessing the battery compartment. Make sure you have the correct size to fit the screws on your laptop.
An anti-static wrist strap is important to prevent any static electricity discharge that could potentially damage the internal components of your laptop. It keeps you grounded and reduces the risk of static electricity damaging sensitive electronics.
Additionally, you will need a replacement battery that is compatible with your specific HP Spectre Ultrabook model. Check the manufacturer’s specifications or consult the user manual to ensure you purchase the correct battery.
A clean cloth will come in handy for wiping down any dust or debris from the laptop and keeping the work area clean as you complete the battery replacement process.
Now that you have all the necessary tools and materials, let’s move on to the next section, which covers the safety precautions you should follow before beginning the battery replacement.
Step 1: Safety Precautions
Before starting the battery replacement process, it is crucial to take the following safety precautions to protect yourself and your HP Spectre Ultrabook:
- Turn off your laptop: Make sure that your HP Spectre Ultrabook is completely powered off. Shutting down the laptop ensures that there is no electrical current running through the device while you work on it.
- Unplug the power adapter: Disconnect the power adapter from your laptop and unplug it from the power source. This step ensures that there is no power supply connected to the device, reducing the risk of electric shock.
- Ground yourself: Wear an anti-static wrist strap and attach it to a metal object to ground yourself. This dissipates any static electricity in your body, preventing discharge that may damage the internal components of the laptop.
- Choose a clean and well-lit workspace: Find a clean, uncluttered surface to work on. Ideally, choose a well-lit area that allows you to clearly see the components of your laptop and perform the necessary tasks effectively.
- Remove any accessories: Disconnect any peripherals or accessories from your laptop, such as USB drives, external hard drives, or headphones. Removing these items minimizes the risk of accidental damage during the battery replacement process.
- Handle components with care: Always handle the laptop and its components with care. Avoid applying excessive force or pressure, as it may cause damage. Additionally, be cautious of sharp edges or protruding parts that could potentially cause injury.
By following these safety precautions, you will create a safe working environment and minimize the risk of accidents or damage to your HP Spectre Ultrabook. Once you have ensured your safety, you can proceed to the next step, which involves shutting down your laptop.
Step 2: Shutting Down the HP Spectre Ultrabook
Properly shutting down your HP Spectre Ultrabook is essential before proceeding with the battery replacement. Follow these steps:
- Save your work: Save any open documents or files you are working on and close all applications.
- Disconnect from external devices: If you have any peripherals or external devices connected to your laptop, such as a keyboard, mouse, or monitor, safely disconnect them.
- Shut down the laptop: Click on the “Start” button in the bottom left corner of the screen, then select “Shut down” from the options. Wait for the operating system to shut down completely.
- Verify power off: After the laptop has powered down, press the power button to ensure it does not turn on. If the laptop remains off, you can proceed to the next step.
Shutting down your HP Spectre Ultrabook properly prevents any potential data loss or damage to the system during the battery replacement process. It also ensures that the laptop is not using any power, making it safer to work with the internal components.
Now that you have successfully shut down your laptop, let’s move on to the next step, which involves removing the back cover to access the battery compartment.
Step 3: Removing the Back Cover
To access the battery compartment, you’ll need to remove the back cover of your HP Spectre Ultrabook. Follow the steps below:
- Flip over your laptop: Turn your laptop upside down with the bottom facing up.
- Locate the screw holes: Look for the screw holes on the back cover. These are typically located near the corners or along the edges of the laptop.
- Unscrew the screws: Use a Phillips screwdriver to carefully unscrew the screws from the back cover. Keep track of the screws and place them in a safe location, as you’ll need them later.
- Remove the back cover: Once all the screws are removed, gently pry open the back cover using your fingers or a flat, non-metallic tool. Take your time and apply even pressure to avoid damaging the cover or any internal components.
- Set aside the back cover: Place the removed back cover in a safe and clean area, ensuring it doesn’t get scratched, damaged, or exposed to any moisture.
With the back cover successfully removed, you can now proceed to the next step, which involves locating the battery within your HP Spectre Ultrabook.
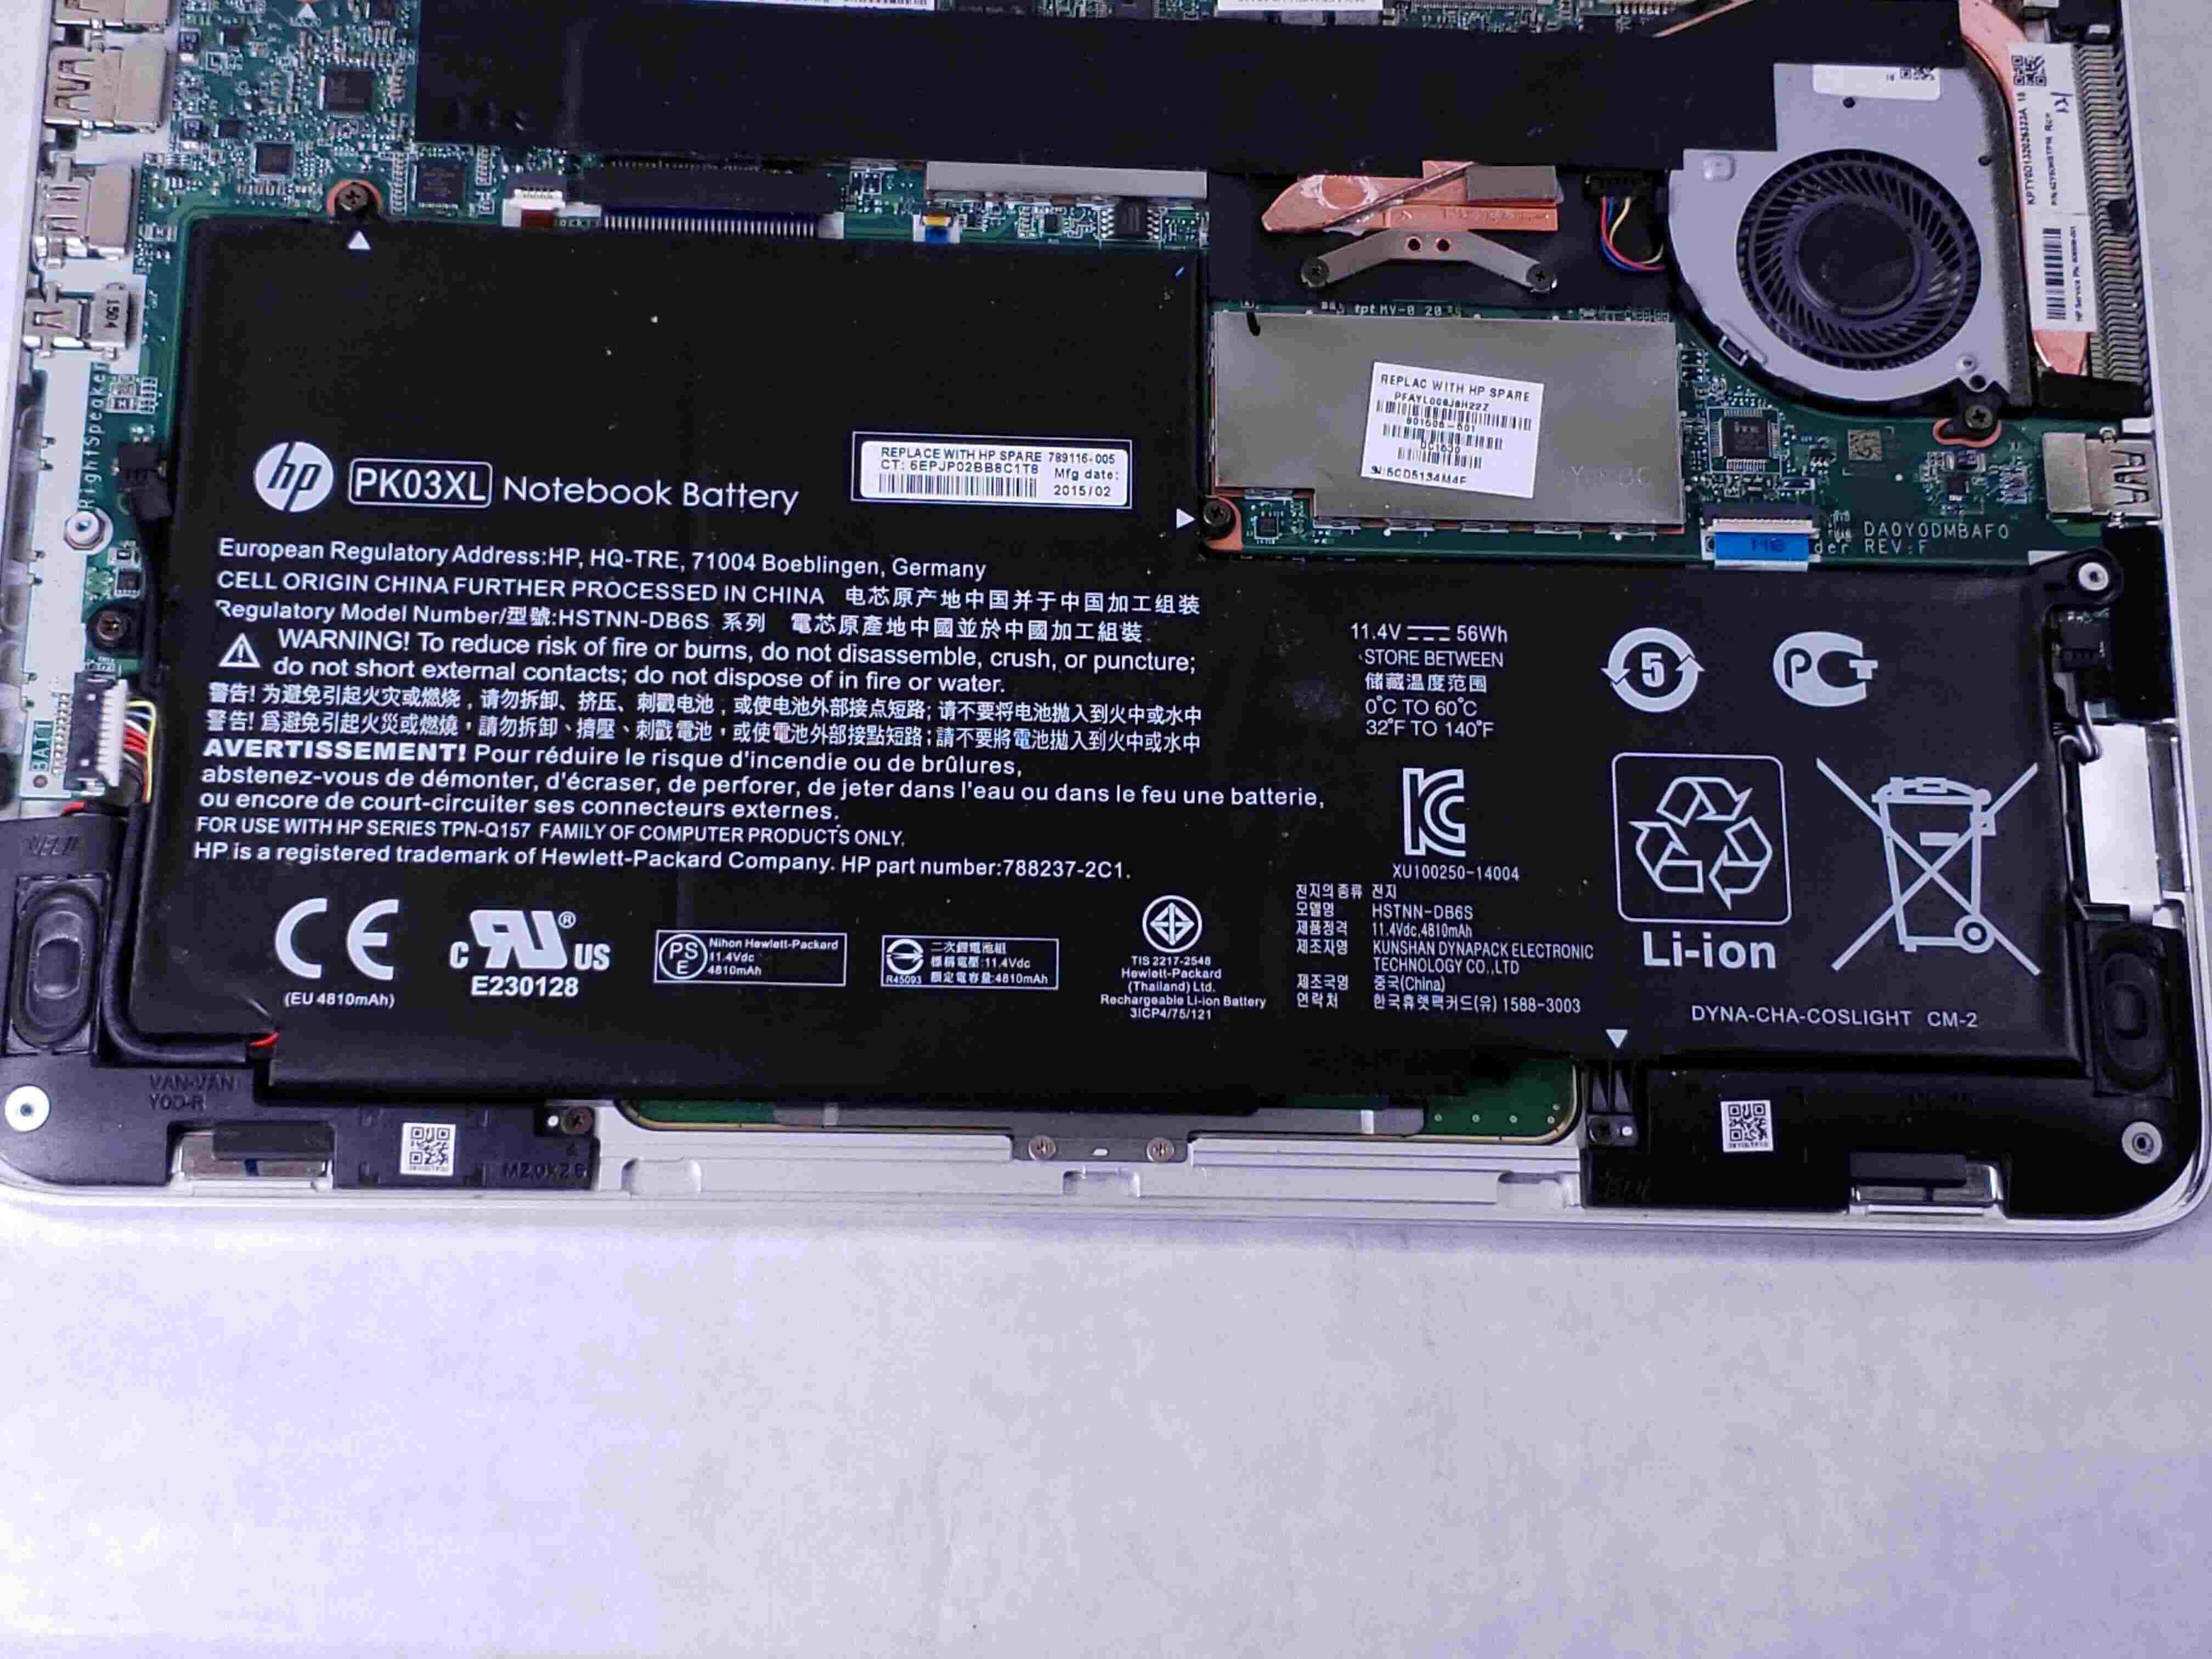
Step 4: Locating the Battery
Once you have removed the back cover, you can now locate the battery within your HP Spectre Ultrabook. Follow these steps:
- Inspect the internal components: Take a moment to familiarize yourself with the layout of the internal components of your laptop. Observe any labels or markings that can help you identify the battery.
- Refer to the user manual: If you are unsure about the precise location of the battery, refer to the user manual that came with your HP Spectre Ultrabook. It should provide detailed diagrams and instructions on how to locate the battery within your specific model.
- Identify the battery: Look for a rectangular or square-shaped object, usually attached with wires or connectors, situated near the center or bottom of the laptop. This is likely to be your laptop’s battery.
- Take note of any connectors or clips: Notice if there are any connectors or clips securing the battery in place. These may need to be disconnected or released before you can remove the battery.
Locating the battery is an important step to ensure you replace the correct component. By following these steps and referring to the user manual, you will be able to confidently identify the battery within your HP Spectre Ultrabook.
Now that you have located the battery, you can move on to the next step, which involves disconnecting the battery from the laptop.
Step 5: Disconnecting the Battery
Before replacing the battery, you need to disconnect it from your HP Spectre Ultrabook. Follow these steps:
- Ensure the laptop is powered off: Make sure your laptop is completely powered off before proceeding with this step.
- Locate the battery connectors: Look for the connectors attached to the battery. These are usually small plastic or metal components that connect the battery to the motherboard of your laptop.
- Detach the connectors: Gently disconnect the connectors by either sliding them out or carefully pulling them apart. Take care not to use excessive force that may damage the connectors or cables.
- Set the battery aside: Once the connectors are detached, carefully lift the battery out of its compartment and set it aside.
It’s important to be cautious and gentle when disconnecting the battery to avoid causing any damage to the connectors or cables. Take your time and ensure that all the connectors are properly detached before attempting to remove the battery.
With the battery successfully disconnected, you are now ready to proceed to the next step, which involves installing the new battery into your HP Spectre Ultrabook.
Step 6: Installing the New Battery
Now that you have disconnected the old battery, it’s time to install the new battery into your HP Spectre Ultrabook. Follow these steps:
- Ensure the laptop is powered off: As a safety precaution, make sure your laptop is completely powered off before proceeding with this step.
- Take the new battery: Carefully take the new battery that you have purchased, ensuring it is compatible with your specific HP Spectre Ultrabook model.
- Align the connectors: Orient the new battery in the correct position, aligning the connectors with the corresponding slots or ports in the laptop’s battery compartment. Be cautious and ensure a proper fit without using excessive force.
- Attach the connectors: Once the battery is properly aligned, gently attach the connectors to their respective ports. Make sure they are secure and fully inserted. Take care not to bend or damage the connectors during this process.
- Seat the battery: Press the battery down gently, ensuring it is seated securely in the battery compartment. Be mindful not to apply excessive pressure that may cause damage.
It is crucial to handle the new battery with care and follow the proper alignment and connection procedure to ensure a successful installation. Take your time and double-check that all connections are secure before proceeding to the next step.
Now that you have installed the new battery, you can proceed to the next step, which involves reassembling your HP Spectre Ultrabook.
Step 7: Reassembling the HP Spectre Ultrabook
After successfully installing the new battery, it’s time to reassemble your HP Spectre Ultrabook. Follow these steps:
- Retrieve the back cover: Pick up the back cover that you set aside earlier.
- Align the cover: Hold the back cover over the laptop’s body, ensuring that all the screw holes align with their corresponding positions on the laptop.
- Reattach the screws: Using a Phillips screwdriver, carefully insert and tighten each screw into its respective hole. Start with one screw and gradually work your way around, tightening them evenly. Take care not to overtighten, as it may damage the screws or the laptop’s body.
- Check for secure fit: After all the screws are tightened, gently press down on the back cover to ensure it is securely in place. Confirm that there are no loose or uneven areas.
Reassembling the HP Spectre Ultrabook involves aligning the back cover correctly and securely fastening it with the screws. Take your time during this step to ensure a proper fit and tightness of the screws.
With the HP Spectre Ultrabook successfully reassembled, you can proceed to the final step, which involves testing the new battery’s functionality.
Step 8: Testing the New Battery
Now that you have replaced the battery and reassembled your HP Spectre Ultrabook, it’s time to test the functionality of the new battery. Follow these steps:
- Connect the power adapter: Plug in the power adapter to the laptop and connect it to a power source.
- Charge the battery: Allow the new battery to charge for a sufficient amount of time, typically a couple of hours or as recommended by the manufacturer. This ensures that the battery reaches its maximum capacity.
- Power on the laptop: Press the power button to turn on your HP Spectre Ultrabook. The laptop should start up without any issues.
- Check battery status: Once the laptop is powered on, locate the battery icon or check the battery status in the operating system. Verify that the battery is being detected and that it is charging or fully charged.
- Test battery life: Disconnect the power adapter and use your laptop on battery power alone. Monitor the battery life and observe if it meets your expectations. This will give you an indication of the new battery’s performance.
Testing the new battery ensures that it is functioning properly and provides the expected battery life. Keep an eye on the battery status icon and monitor how long the battery lasts under typical usage conditions. If you notice any issues, such as drastically shortened battery life or abnormal behavior, consult the user manual or seek assistance.
With the new battery successfully tested, you have completed the process of changing the battery in your HP Spectre Ultrabook. Enjoy longer battery life and improved performance for your laptop!
Conclusion
Congratulations on successfully changing the battery in your HP Spectre Ultrabook! By following the step-by-step instructions in this guide, you have gained the knowledge and confidence to replace the battery on your own. Not only does this save you money, but it also allows you to enjoy longer battery life and improved performance for your laptop.
Throughout the process, we emphasized the importance of safety precautions, such as shutting down the laptop, grounding yourself, and handling components with care. These precautions are crucial to protect yourself and your device from any potential accidents or damage.
Remember, it is essential to have the proper tools and materials, including a Phillips screwdriver, an anti-static wrist strap, a replacement battery, and a clean cloth. Using the correct tools and following the instructions ensures a smooth and successful battery replacement process.
After removing the back cover and disconnecting the old battery, you carefully installed the new battery and reassembled your HP Spectre Ultrabook. The final step involved testing the functionality of the new battery, checking battery status, and monitoring its performance during regular usage.
If you encounter any issues during the battery replacement process or have concerns about your laptop’s performance, do not hesitate to consult the user manual or contact the manufacturer’s support for assistance.
Thank you for using this guide. We hope it has been helpful in guiding you through the battery replacement process for your HP Spectre Ultrabook. Enjoy your newly installed battery and extended usage time with your laptop!