Introduction
Welcome to the world of virtual assistants! If you’re an Android user and have been using Samsung’s Bixby as your default virtual assistant, you might be looking to make a switch. Google Assistant, known for its versatility and extensive capabilities, is a popular choice for many Android users. In this guide, we’ll walk you through the process of changing from Bixby to Google Assistant, allowing you to enjoy a new virtual assistant experience on your device.
Switching from one virtual assistant to another may seem like a daunting task, but fear not! We’ll break down the steps for you so that you can easily transition to Google Assistant and start enjoying its amazing features. So, without further ado, let’s dive into the process of changing from Bixby to Google Assistant!
Whether you’re looking for a more intuitive voice-controlled experience or seeking a broader range of functionality, Google Assistant has got you covered. From setting reminders and alarms to answering questions and controlling smart home devices, Google Assistant offers a wealth of features that can simplify and enhance your day-to-day tasks.
Before we delve into the steps, it’s worth noting that the availability and functionality of Google Assistant may vary depending on your device and Android version. However, the general process remains relatively consistent across most devices, so you should be able to follow along regardless of your specific setup.
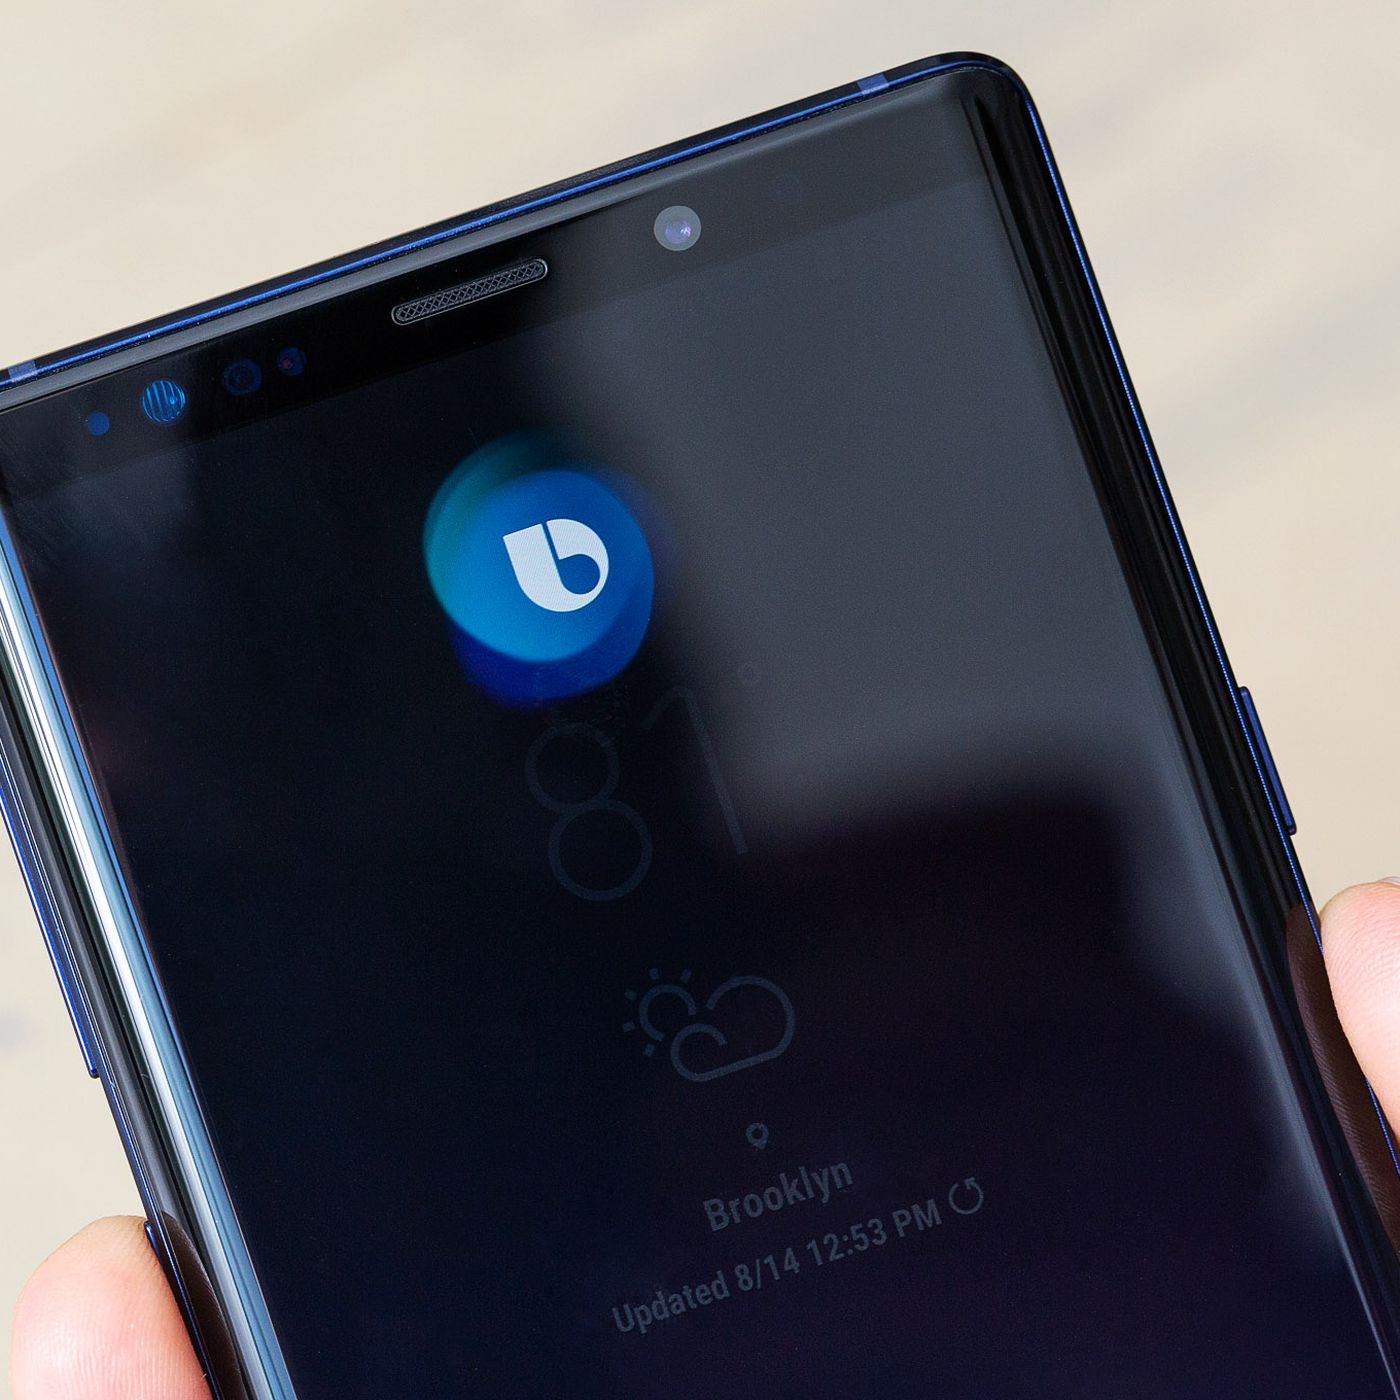
Step 1: Access Bixby Settings
The first step in changing from Bixby to Google Assistant is to access the Bixby settings on your Android device. Here’s how you can do it:
- Unlock your Android device and navigate to the home screen.
- Swipe down from the top of the screen to open the notification panel.
- Tap on the gear icon in the top-right corner to open the Settings app.
- Scroll down and find the “Apps” or “Applications” option and tap on it.
- In the Apps menu, locate and tap on “Bixby” from the list of installed apps.
- You will now be taken to the Bixby settings page, where you can make changes and disable Bixby.
Once you have accessed the Bixby settings page, you are one step closer to switching to Google Assistant. In the next step, we will guide you through disabling the Bixby voice wake-up feature, which will allow you to seamlessly integrate Google Assistant into your device.
Note: The location of the Bixby settings may vary slightly depending on your device model and Android version. If you are unable to find the settings as described, refer to your device’s user manual or perform a quick internet search for specific instructions tailored to your device.
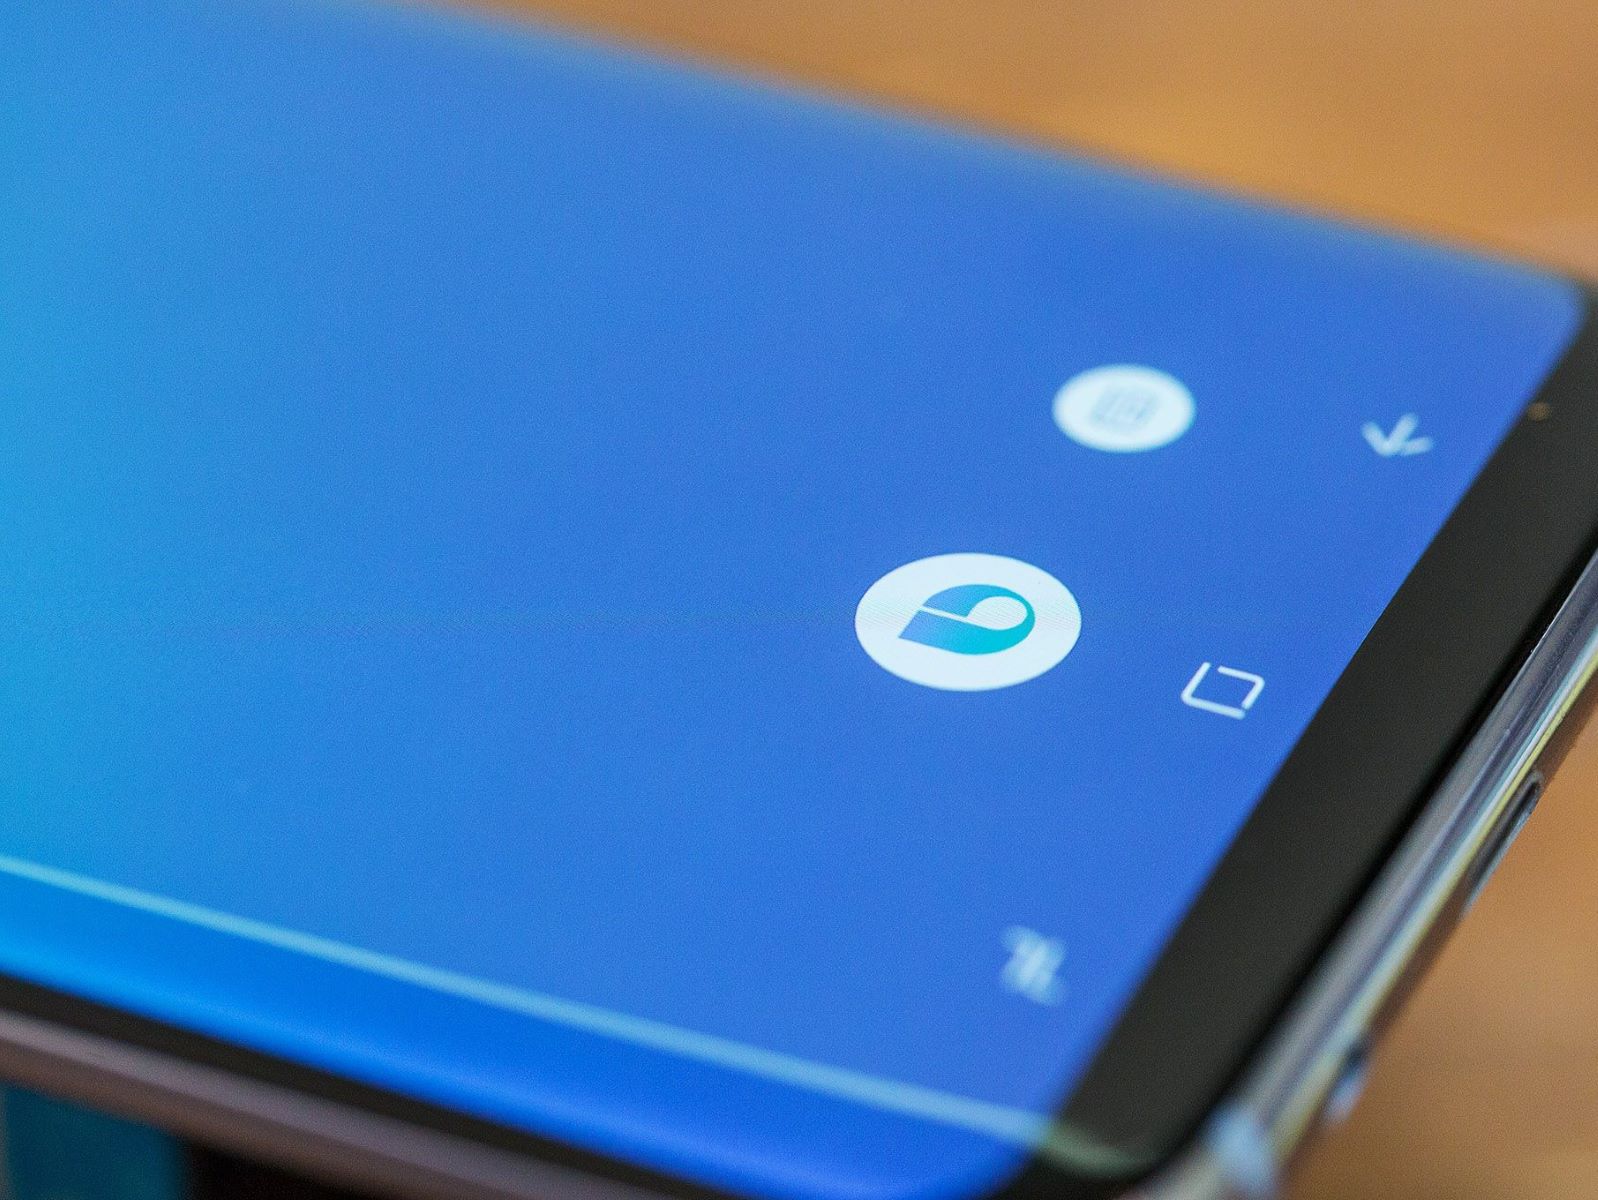
Step 2: Disable Bixby Voice Wake-Up
Now that you have accessed the Bixby settings, the next step is to disable the Bixby voice wake-up feature. This will prevent Bixby from interfering with Google Assistant’s voice activation. Follow these steps to disable Bixby voice wake-up:
- On the Bixby settings page, find the option labeled “Voice wake-up” or “Bixby Voice” and tap on it.
- In the Voice wake-up settings, you will see a toggle switch to enable or disable the feature. Make sure the toggle switch is set to the “Off” position to disable Bixby voice wake-up.
- You may be prompted to confirm your decision to disable Bixby voice wake-up. Review the information provided and tap on “Turn Off” or “Disable” to confirm.
By disabling the Bixby voice wake-up feature, you are ensuring that Bixby won’t respond to voice commands and will allow Google Assistant to take over voice control on your device. This is an important step in switching to Google Assistant as your primary virtual assistant.
If you encounter any issues or are unable to find the specific settings mentioned above, refer to the user manual for your device or perform a quick internet search for instructions tailored to your device model and Android version.
Step 3: Set Up Google Assistant
With Bixby disabled, it’s time to set up Google Assistant as your new virtual assistant. Follow the steps below to get started:
- On your Android device, navigate to the Google Play Store.
- Search for the “Google Assistant” app and tap on it to open the app’s page.
- Tap on the “Install” or “Get” button to download and install the Google Assistant app on your device.
- Once the installation is complete, locate the Google Assistant app on your home screen or app drawer and tap on it to open the app.
- Follow the on-screen prompts to set up Google Assistant. You may be asked to grant permissions, sign in to your Google account, and customize certain preferences.
- Once the setup process is complete, you are ready to start using Google Assistant!
During the setup process, you may have the option to enable Google Assistant’s voice activation feature. This allows you to activate Google Assistant by saying a specific phrase or using a certain gesture. If you choose to enable voice activation, make sure to follow the on-screen instructions to set it up according to your preferences.
Now that you have successfully installed and set up Google Assistant, you can take full advantage of its extensive capabilities and enjoy a seamless virtual assistant experience on your Android device.
It’s worth noting that Google Assistant may offer additional features and integrations that you can explore and customize to suit your specific needs. Feel free to dive into the app settings and explore the various options available to enhance your Google Assistant experience.
Step 4: Customize Google Assistant Settings
Now that you have set up Google Assistant, it’s time to personalize and customize its settings to tailor it to your preferences. Follow these steps to customize your Google Assistant settings:
- Open the Google Assistant app on your Android device.
- Tap on the profile icon or your profile picture in the top-right corner of the screen to access your account settings.
- In the Account settings, you will find various options to customize Google Assistant. Tap on “Settings” to proceed.
- Explore the different sections and options within the Settings menu to customize Google Assistant according to your desired preferences.
- Some key areas you may want to customize include language preferences, voice options, preferred services and apps, and privacy settings.
- Under the Voice settings, you can choose the voice for Google Assistant and adjust the speech speed to your liking.
- Within the Preferred apps settings, you can select the default apps for certain actions, such as setting alarms or playing music.
- Take your time to review the available options and make the necessary adjustments to make Google Assistant work best for you.
Customizing the settings allows you to personalize your Google Assistant experience and optimize it for your specific needs and preferences. Whether you prefer a male or female voice, want to connect specific services and apps, or adjust the privacy settings, take advantage of the customization options to make Google Assistant truly yours.
Remember that you can always revisit the settings menu to make further adjustments and explore any new features or options that may become available with future updates to the Google Assistant app.
Step 5: Adjust Voice Activation for Google Assistant
One of the most convenient features of Google Assistant is its voice activation capability. By adjusting the voice activation settings, you can easily activate Google Assistant without needing to manually open the app. Follow these steps to adjust the voice activation for Google Assistant:
- Open the Google Assistant app on your Android device.
- Tap on the profile icon or your profile picture in the top-right corner of the screen to access your account settings.
- In the Account settings, tap on “Assistant” to access the Assistant settings.
- Scroll down and tap on “Voice Match” to adjust the voice activation settings.
- Under Voice Match, you will have the option to train the Assistant to recognize your voice and enable voice activation.
- Follow the on-screen instructions to train Google Assistant to recognize your voice by speaking a specific phrase multiple times.
- Once trained, you can toggle on the “Hey Google” option to activate Google Assistant by saying the trigger phrase.
- You can also choose whether to allow Google Assistant to respond when your screen is locked or when your device is in standby mode.
Adjusting the voice activation settings for Google Assistant gives you the freedom to use your voice to effortlessly interact with your device and access the assistant’s features. By training the assistant to recognize your voice, you can ensure that voice commands are only triggered by your voice and enhance the security of the feature.
Experiment with different voice commands and explore the capabilities of Google Assistant. From setting reminders and alarms to checking the weather forecast and sending messages, Google Assistant can assist you in various tasks and make your daily life more efficient.
Keep in mind that you can always revisit the Assistant settings to make further adjustments to the voice activation settings or explore any new features and enhancements that may be introduced in future updates.
Conclusion
Congratulations! You have successfully changed from Bixby to Google Assistant on your Android device. By following the steps outlined in this guide, you have seamlessly transitioned to a new virtual assistant experience that offers a wide range of capabilities and customization options.
Switching to Google Assistant allows you to take advantage of its versatile features, from voice-activated commands to personalized settings and integrations with various services and apps. It’s a virtual assistant designed to simplify your life and provide you with the information and assistance you need at your fingertips.
Remember to explore the settings within Google Assistant to further customize your experience. From adjusting voice options to connecting preferred apps, tailoring Google Assistant to your preferences will enhance its functionality and make it a valuable tool in your daily routine.
If you ever decide to revert back to Bixby or switch to another virtual assistant in the future, you can always follow similar steps to make the transition smooth and effortless.
So, enjoy your journey with Google Assistant! Whether you need help with productivity, entertainment, or just answering questions, Google Assistant is there to assist you every step of the way.