Introduction
Welcome to the world of voice assistants! With advancements in technology, our devices can now understand and respond to our voice commands, making our lives easier and more convenient. One popular voice assistant that has gained immense popularity is Bixby, developed by Samsung. However, if you prefer using Amazon Alexa, you may be wondering if it’s possible to change Bixby to Alexa on your device. Well, the good news is that it is indeed possible to make this switch!
Alexa is a versatile voice assistant that offers a wide range of functionalities, from answering your questions to controlling your smart home devices and much more. By changing Bixby to Alexa on your device, you can fully enjoy the benefits of this powerful virtual assistant. In this article, we will guide you through the steps to change Bixby to Alexa, allowing you to make the most out of your device.
Before we dive into the process, it’s important to note that the steps may vary depending on the device and the specific software version you are using. However, the general principles remain the same. So, let’s get started on changing Bixby to Alexa and unleashing the full potential of your device!
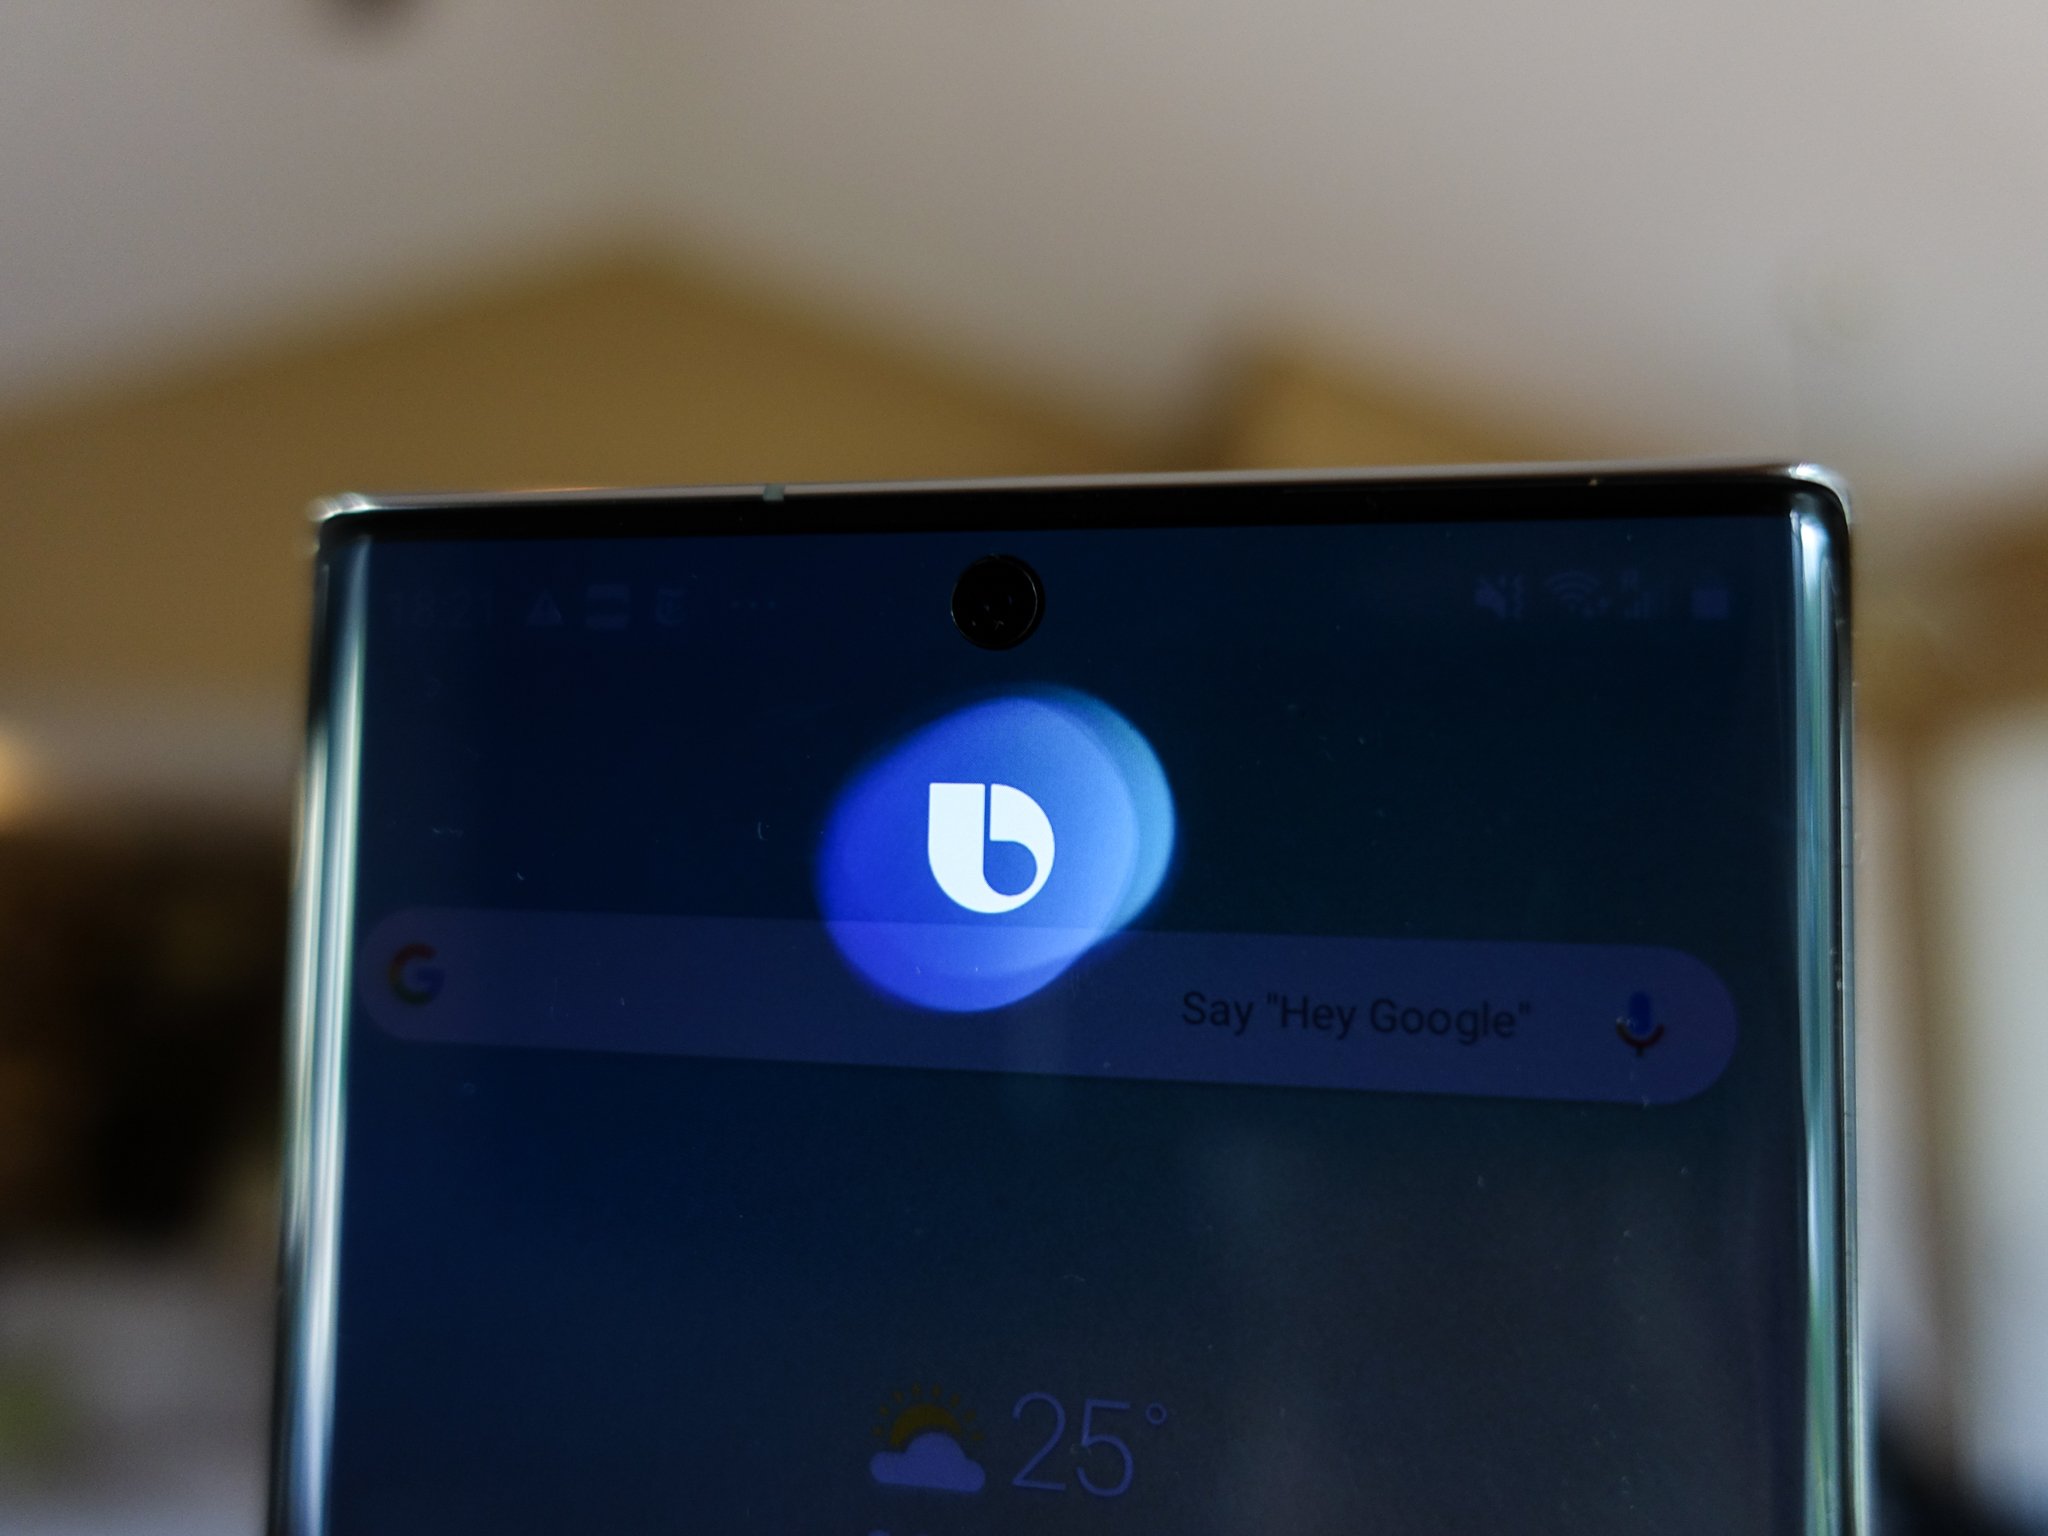
Step 1: Disable Bixby Voice
The first step in changing Bixby to Alexa is to disable the Bixby Voice feature on your device. Bixby Voice is the default voice assistant on Samsung devices, so by disabling it, we can make room for Alexa to take over. Here’s how you can do it:
- On your device, locate the Bixby button. It’s usually located on the side of the device or at the bottom of the display.
- Press and hold the Bixby button. This will launch the Bixby Voice feature.
- In the Bixby Voice interface, locate the menu icon, usually represented by three vertical dots, and tap on it to access the settings.
- Within the settings, you should see an option to disable Bixby Voice. Tap on it to turn off the feature.
- You may be prompted to confirm the action. Just follow the on-screen instructions to disable Bixby Voice completely.
Once you have successfully disabled Bixby Voice, you have cleared the way for Alexa to become the default voice assistant on your device. However, keep in mind that disabling Bixby Voice may limit some of the functionalities that are specific to Bixby. But if you are eager to switch to Alexa, this step is crucial in the process.
With Bixby Voice disabled, your device will now be ready for the next step: installing the Alexa app. So, let’s move on to the next stage of the process.
Step 2: Install the Alexa App
To utilize Alexa as your default voice assistant, you’ll need to install the Alexa app on your device. The Alexa app serves as a gateway for accessing and managing Alexa’s features and settings. Follow these steps to install the app:
- Open the app store on your device. For Android users, this is the Google Play Store, while iOS users can use the Apple App Store.
- Search for the “Amazon Alexa” app in the app store’s search bar.
- Once you find the app, click on “Install” to begin the installation process. Depending on your internet connection and device, the installation may take a few moments.
- After the installation is complete, open the Alexa app on your device.
- Sign in to the app using your Amazon account. If you don’t already have an account, you will need to create one.
Congratulations! You have successfully installed the Alexa app on your device. This app will serve as the platform for interacting with Alexa and customizing its settings to your preferences. With the app now installed, let’s move on to the next step: setting up Alexa as the default assistant.
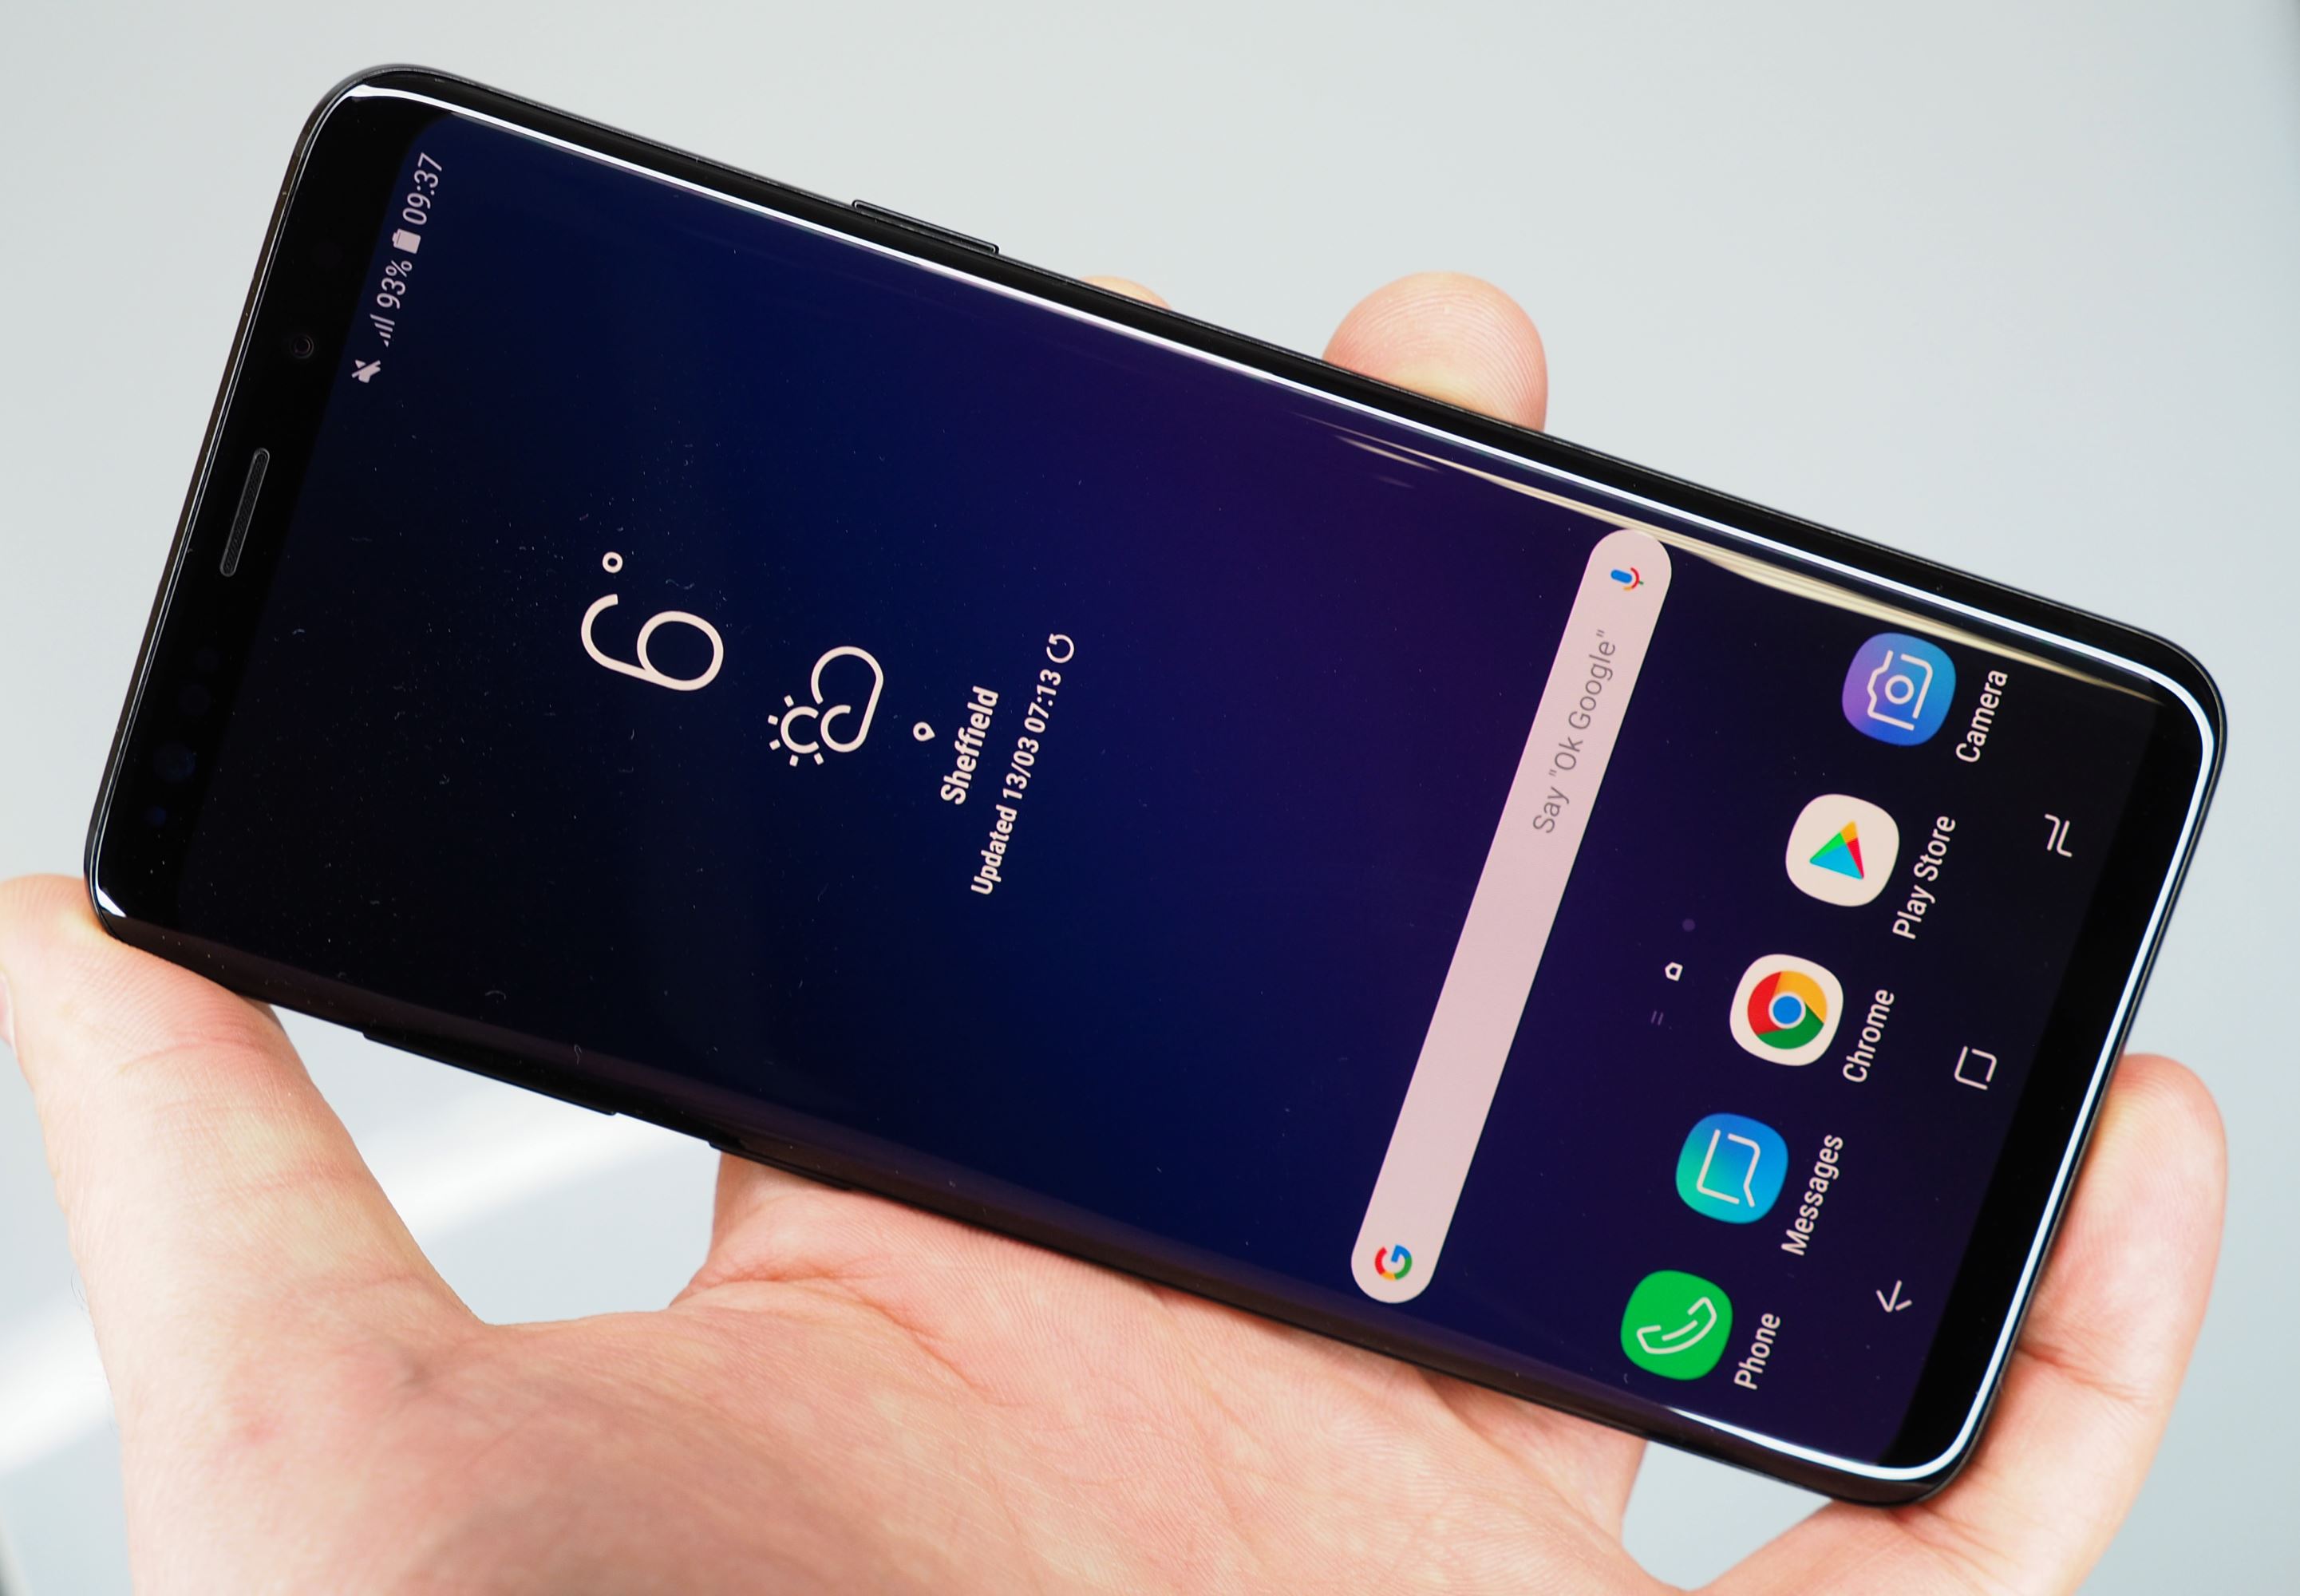
Step 3: Set up Alexa as Default Assistant
Now that you have the Alexa app installed, it’s time to set up Alexa as the default voice assistant on your device. Here’s how you can do it:
- Open the Settings app on your device.
- Scroll down and locate the section that manages voice assistant settings. It may be named “Voice and Speech,” “Default Assist & Voice Input,” or something similar.
- Within the voice assistant settings, you should see an option to select the default assistant. Tap on it.
- A list of available voice assistants will appear. Look for “Alexa” in the list and select it as your default.
- Confirm your selection by tapping “OK” or “Confirm.”
By following these steps, you have successfully set up Alexa as the default voice assistant on your device. This means that whenever you trigger the voice assistant, whether it’s by voice command or using a designated button, Alexa will be the one to respond and assist you.
Now that you have made this important adjustment, let’s move on to the next step where you can further customize and personalize your Alexa experience on your device.
Step 4: Customize Alexa Settings
With Alexa as your default voice assistant, it’s time to customize its settings to fit your preferences and requirements. The Alexa app provides a wide range of customization options, allowing you to personalize your experience with this voice assistant. Here are some key settings you can customize:
- Wake Word: Choose the wake word that triggers Alexa. By default, it is set to “Alexa,” but you can change it to “Amazon,” “Echo,” or “Computer,” depending on your preference.
- Skill Management: Explore and enable various skills within the Alexa app. Skills are additional features and functionalities that enhance Alexa’s capabilities, such as controlling smart home devices, playing games, and providing news updates.
- Music and Media Preferences: Link your preferred music streaming services, such as Spotify or Amazon Music, and set your default music provider. You can also customize settings for video services, audiobooks, and podcasts.
- Device Connectivity: Connect your Alexa-enabled devices, such as smart speakers or displays, to control and manage them through the app. You can also set up routines to automate tasks and create a seamless smart home experience.
- Privacy and Security: Review and manage the privacy settings for Alexa, such as controlling the collection and usage of your data. You can also review your voice recordings and delete them if desired.
These are just a few examples of the many settings you can customize within the Alexa app. Take some time to explore the options available and tailor Alexa to your specific needs. By customizing these settings, you can optimize your experience and make the most out of Alexa on your device.
Now that you have personalized Alexa according to your preferences, we are almost at the final stage. Let’s move on to the last step, where you can fully enjoy Alexa on your device.
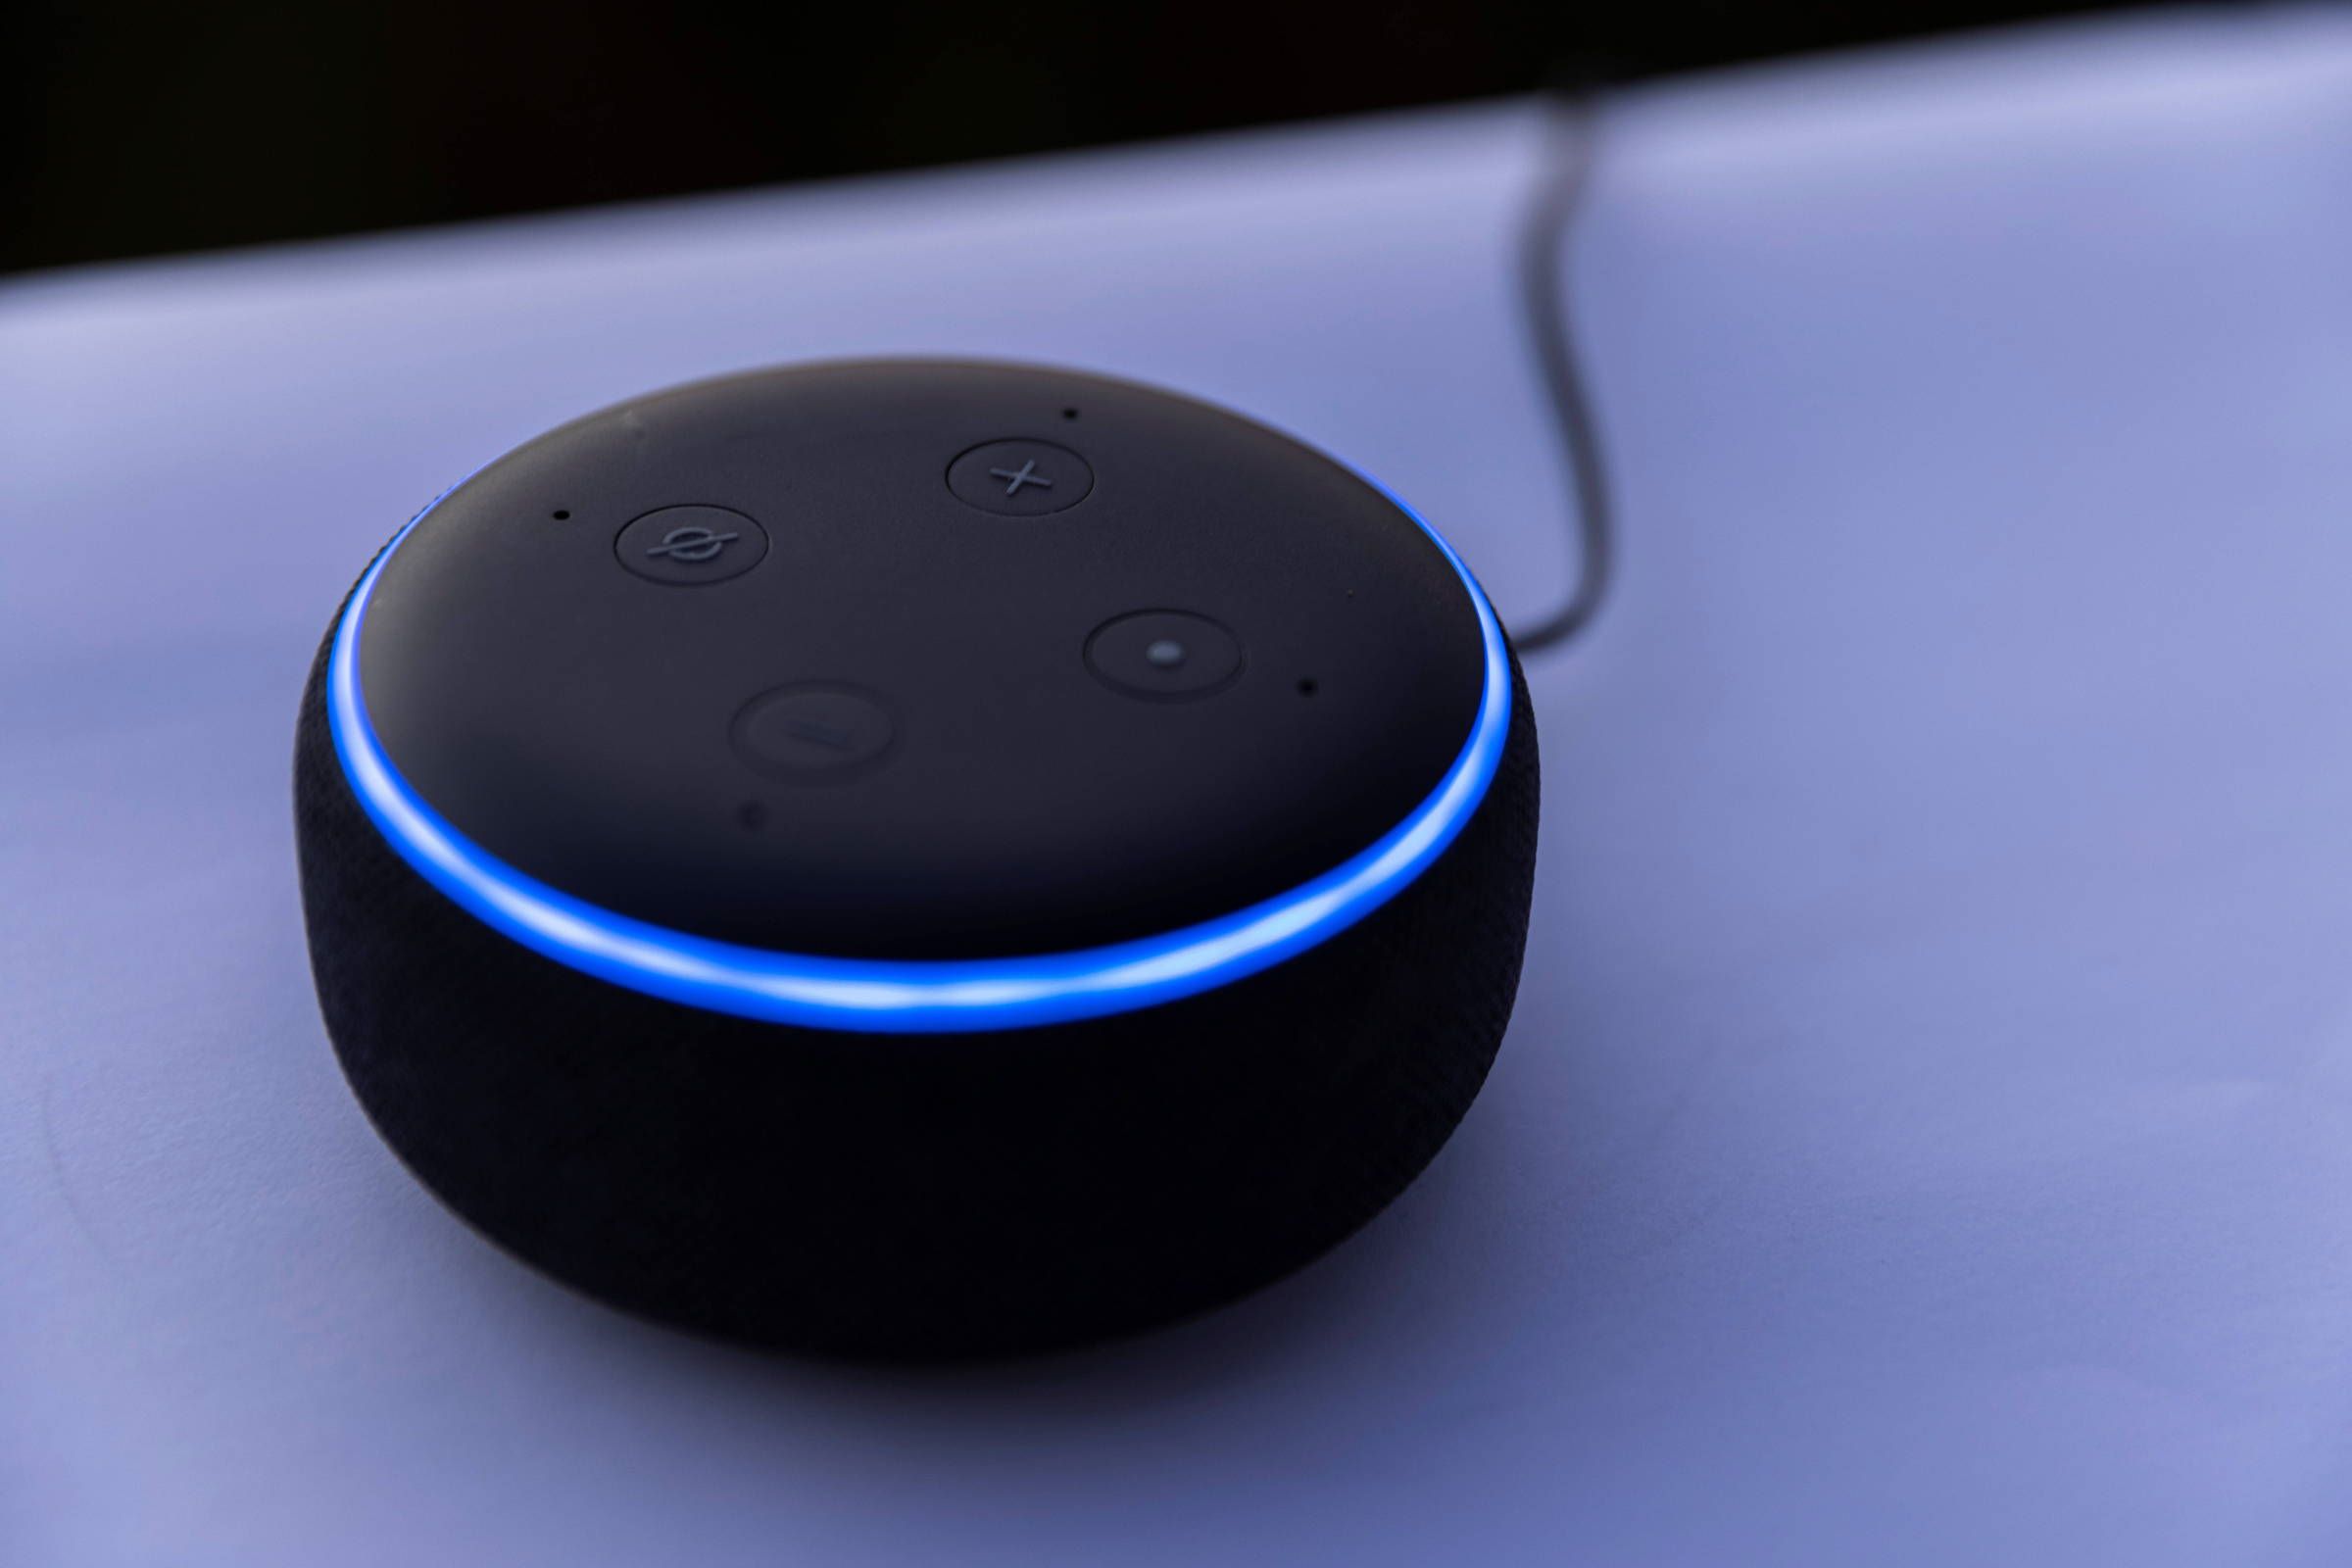
Step 5: Enjoy Alexa on Your Device!
Congratulations! You have successfully changed Bixby to Alexa on your device. Now it’s time to sit back, relax, and enjoy the benefits of this powerful voice assistant. Here are some exciting ways you can fully utilize Alexa on your device:
- Get Information: Ask Alexa questions and get instant answers on a wide range of topics, such as weather updates, sports scores, and trivia.
- Smart Home Control: Use Alexa to control your smart home devices, from adjusting the thermostat to turning on the lights, all with simple voice commands.
- Entertainment: Enjoy your favorite music, podcasts, and audiobooks by asking Alexa to play them from your preferred streaming services.
- Reminders and Alarms: Set reminders, timers, and alarms to help you stay organized and manage your time effectively.
- Productivity: Use Alexa to create to-do lists, schedule appointments, and even make hands-free phone calls.
These are just a few examples of what Alexa can do for you. Perhaps one of the most intriguing aspects of Alexa is its ability to learn and improve over time. The more you interact with Alexa, the better it becomes at understanding your preferences and providing personalized recommendations.
Remember, to activate Alexa, simply use the wake word you set during the customization process. For instance, if you chose “Alexa” as the wake word, say “Alexa, what’s the weather like today?” to get the information you need. Alexa will be at your service, ready to assist you with anything you require.
So go ahead, explore the endless possibilities of Alexa on your device and make the most out of this incredible voice assistant. Enjoy the convenience, efficiency, and enjoyment that comes with having Alexa by your side!
Conclusion
In this guide, we have walked you through the process of changing Bixby to Alexa on your device. By disabling Bixby Voice, installing the Alexa app, setting up Alexa as the default assistant, customizing its settings, and enjoying its capabilities, you have successfully made the switch to Alexa.
With Alexa as your new voice assistant, you can now experience a whole new level of convenience, functionality, and personalization on your device. Whether it’s getting instant information, controlling your smart home devices, enjoying your favorite media, or increasing your productivity, Alexa has it all covered.
Remember to explore the settings within the Alexa app to customize your experience even further. From choosing a preferred wake word to managing skills, music preferences, and device connectivity, you can tailor Alexa to your specific needs and preferences.
We hope that this guide has been helpful in assisting you with changing Bixby to Alexa on your device. Embrace the power of voice technology and enjoy the seamless integration of Alexa into your daily life. Let Alexa be your go-to virtual assistant, ready to help and assist you whenever you need it.
Now, go ahead and make the most out of Alexa on your device. Unlock its full potential, and discover the endless possibilities it brings to your fingertips. Embrace the future of voice assistants and enjoy the convenience, efficiency, and enjoyment that comes with having Alexa by your side.