Introduction
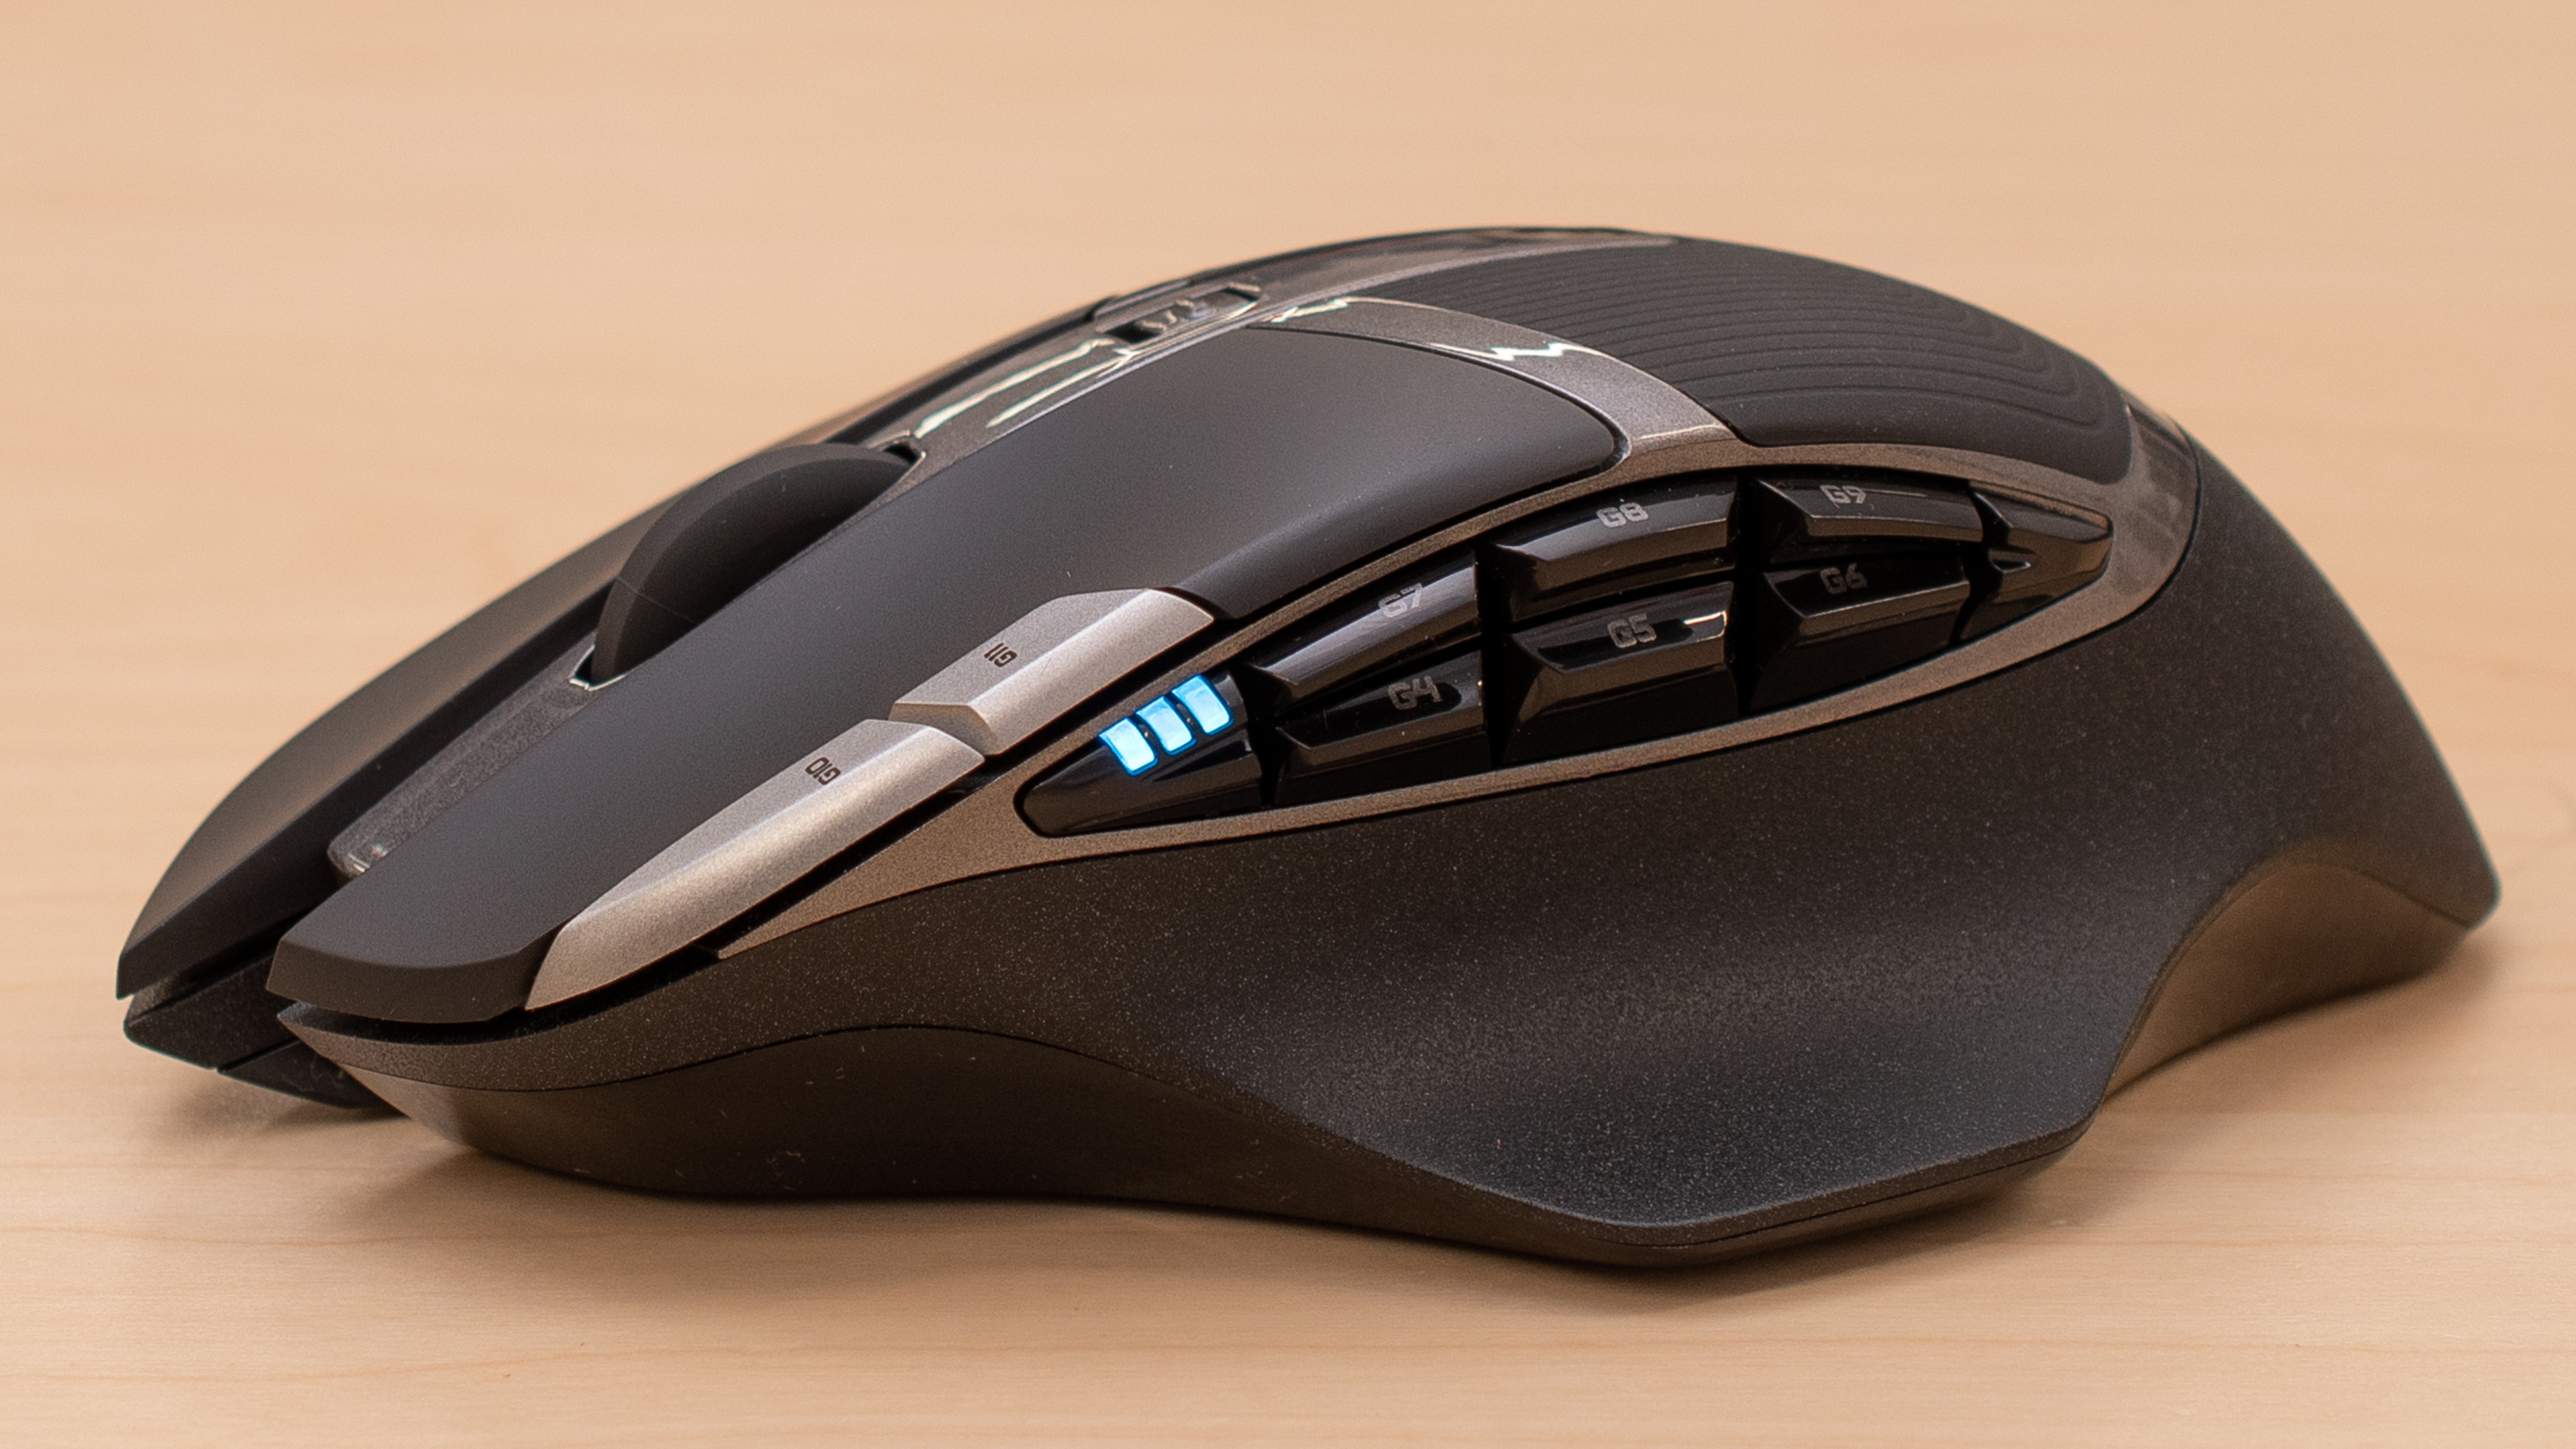
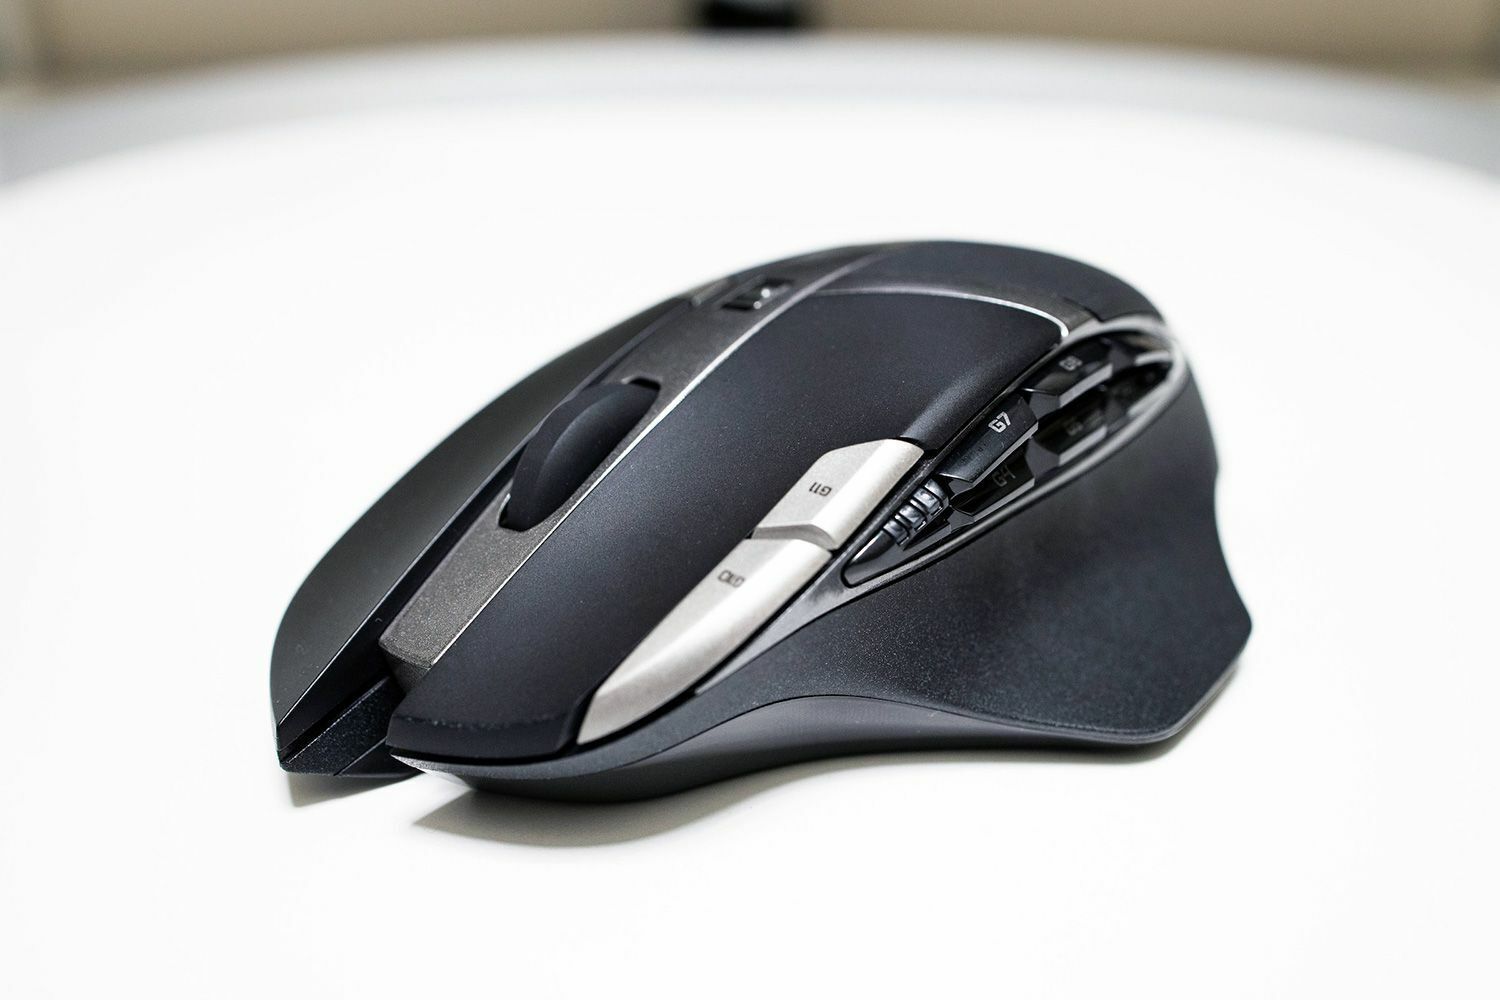
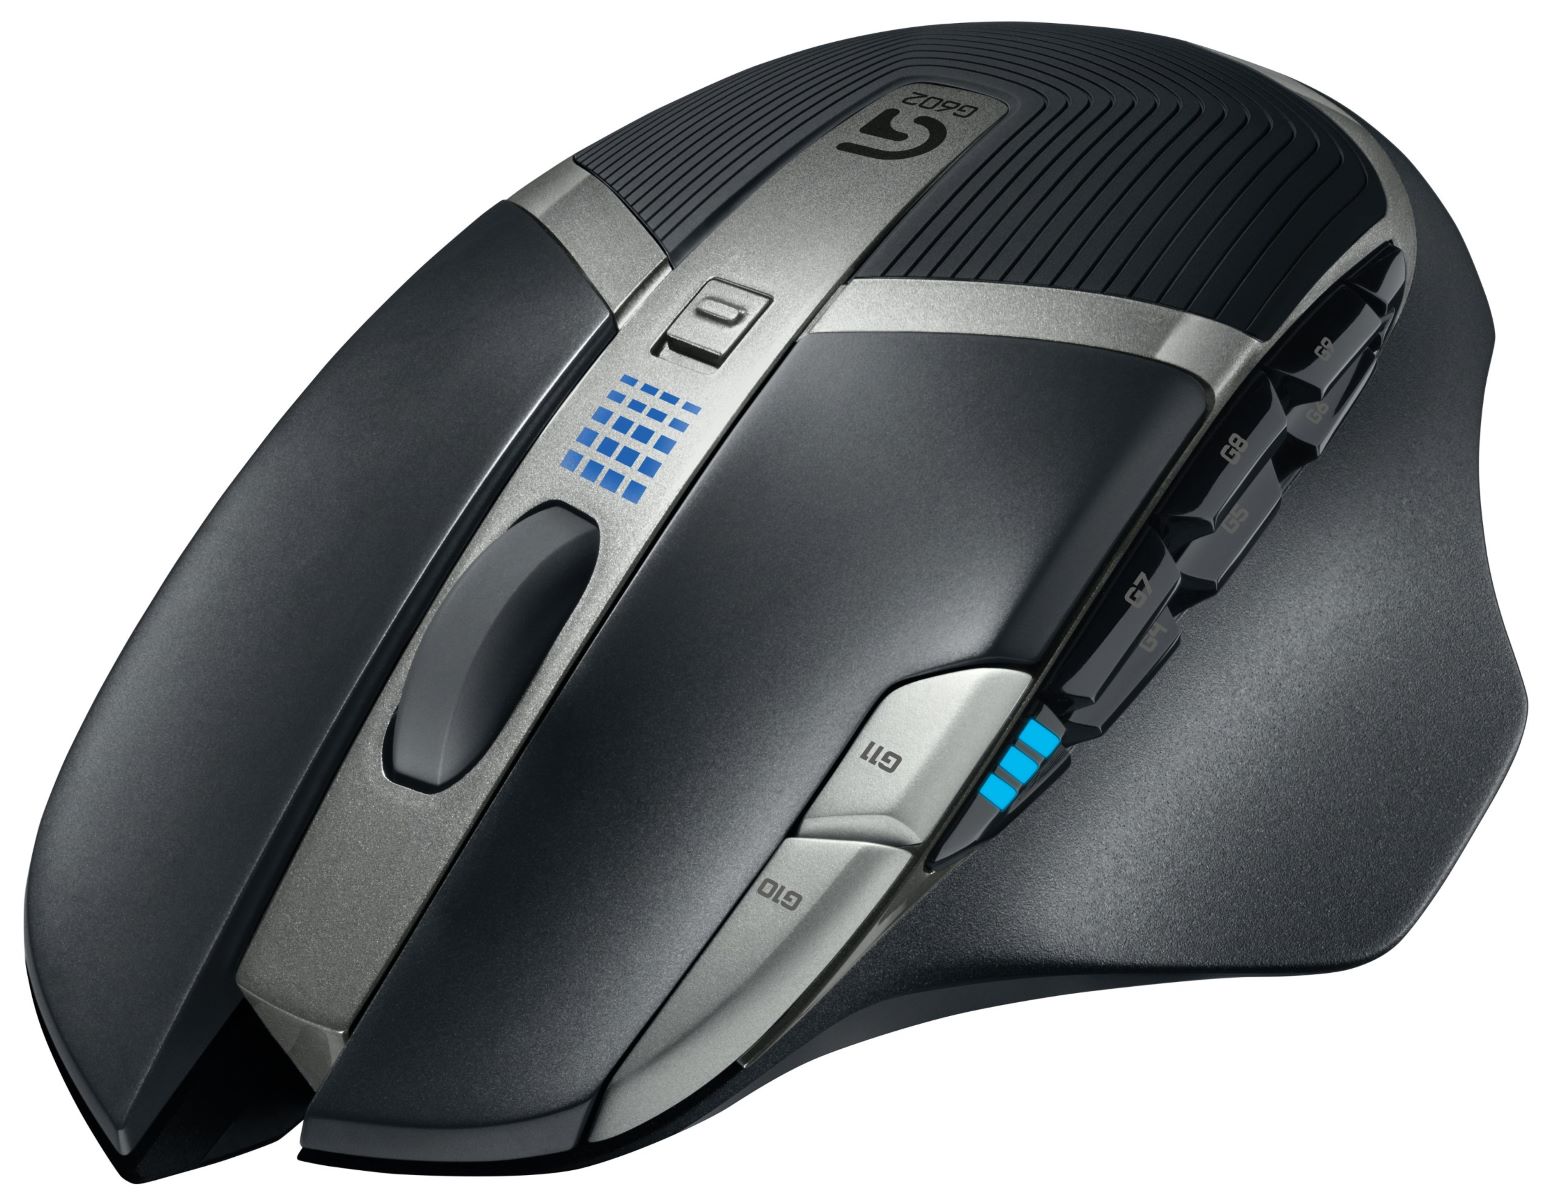
The Logitech G602 is a popular gaming mouse known for its impressive performance and customizable features. One of the key elements that can greatly impact your gaming experience is the DPI (dots per inch) setting on your mouse. DPI determines how sensitive the mouse is to movement, allowing you to adjust the cursor speed and accuracy according to your preference.
In this article, we will guide you through the process of changing the DPI on your Logitech G602 mouse. Whether you want to increase the DPI for more precise aiming in first-person shooter games or decrease it for smoother movement in strategy games, we have got you covered. By customizing the DPI settings, you can optimize your gaming performance and take your gameplay to the next level.
Changing the DPI on the Logitech G602 is a straightforward process that can be done using the Logitech Gaming Software. This software provides a user-friendly interface that allows you to personalize various aspects of your mouse, including DPI settings, button assignments, and lighting effects. By following the steps outlined in this guide, you will be able to customize the DPI on your Logitech G602 mouse in no time.
So, if you are ready to take control of your gaming experience and tailor your mouse sensitivity to suit your needs, let’s dive into the step-by-step instructions on how to change the DPI on your Logitech G602!
Step 1: Install Logitech Gaming Software
The first step in changing the DPI on your Logitech G602 mouse is to install the Logitech Gaming Software. This software provides you with the necessary tools and settings to customize your mouse to your liking.
To get started, you will need to visit the Logitech website and navigate to the support section. Look for the Logitech Gaming Software or download link specifically designed for your Logitech G602 mouse model. Ensure that you are downloading the latest version of the software compatible with your operating system.
Once you have downloaded the Logitech Gaming Software installation file, locate the file on your computer and double-click on it to begin the installation process. Follow the on-screen prompts to complete the installation. It is important to note that the Logitech Gaming Software may require administrator privileges to install correctly. Therefore, ensure that you have the necessary permissions before proceeding.
After the installation is complete, you are ready to move on to the next step in the process. The Logitech Gaming Software will serve as the central hub for all the customization options available for your Logitech G602 mouse, including the ability to adjust the DPI settings to your preference.
Now that you have successfully installed the Logitech Gaming Software, you are one step closer to customizing your Logitech G602 mouse. In the next step, we will guide you through the process of connecting your Logitech G602 mouse to your computer.
Step 2: Connect Logitech G602
Before you can begin customizing the DPI settings on your Logitech G602 mouse, you need to ensure that it is properly connected to your computer.
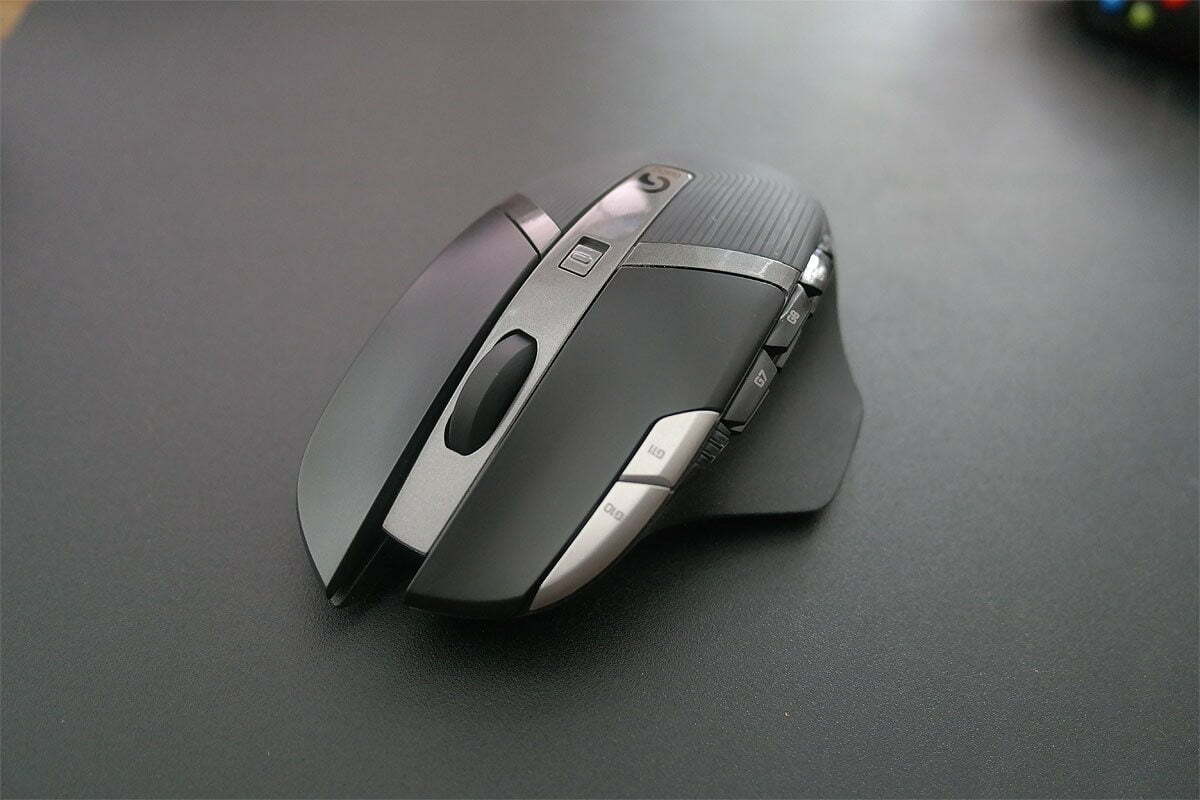
To connect your Logitech G602 mouse, locate the USB wireless receiver that came with your mouse. This receiver is used to wirelessly connect your mouse to your computer and provides a stable and lag-free connection.
Insert the USB wireless receiver into an available USB port on your computer. It is recommended to use a USB 2.0 port for optimal performance. Once the receiver is connected, turn on your Logitech G602 mouse by sliding the power switch located on the bottom of the mouse to the “On” position.
After turning on your mouse, it will automatically search for the USB wireless receiver and establish a connection. This process may take a few seconds, so be patient.
Once the connection between your Logitech G602 mouse and the USB wireless receiver is established, a small LED light on the top of the mouse will start blinking, indicating a successful connection.
Now that your Logitech G602 mouse is connected to your computer, you can move on to the next step, where we will walk you through accessing the Logitech Gaming Software to customize the DPI settings.
Step 3: Access Logitech Gaming Software
Now that your Logitech G602 mouse is connected to your computer, it’s time to access the Logitech Gaming Software to begin customizing the DPI settings.
To launch the Logitech Gaming Software, you can either locate the desktop shortcut (if you chose to create one during the installation process) or navigate to it through the Start menu or Applications folder.
Once the Logitech Gaming Software is open, you will be greeted with a clean and intuitive user interface. The software will automatically detect your Logitech G602 mouse and display it as the active device.
Click on the Logitech G602 mouse icon to access the various customization options available for your mouse. This will open up a dedicated settings page where you can fine-tune the DPI settings and explore other customization options.
Within the Logitech Gaming Software, you will find an array of options to personalize your mouse, including programmable buttons, lighting effects, and advanced settings. For now, let’s focus on changing the DPI settings by proceeding to the next step.
With the Logitech Gaming Software open and your Logitech G602 mouse selected, you are now ready to customize the DPI settings to your liking. In the following step, we will guide you through the process of adjusting the DPI settings and applying the changes.
Step 4: Customize DPI Settings
With the Logitech Gaming Software open and your Logitech G602 mouse selected, you can now customize the DPI settings according to your preferences.
On the settings page for your Logitech G602 mouse, you will find a section specifically dedicated to DPI settings. This section allows you to adjust the DPI levels and assign them to the different DPI shift buttons on your mouse.
To begin customizing your DPI settings, locate the DPI slider or numerical input field. You can drag the slider to increase or decrease the DPI values, or enter a specific numerical value to define the sensitivity of your mouse.
It’s worth noting that the Logitech G602 mouse supports multiple DPI levels, giving you the flexibility to switch between different sensitivity options on the fly. This can be particularly useful in gaming scenarios that require precise aiming or fast-paced movements.
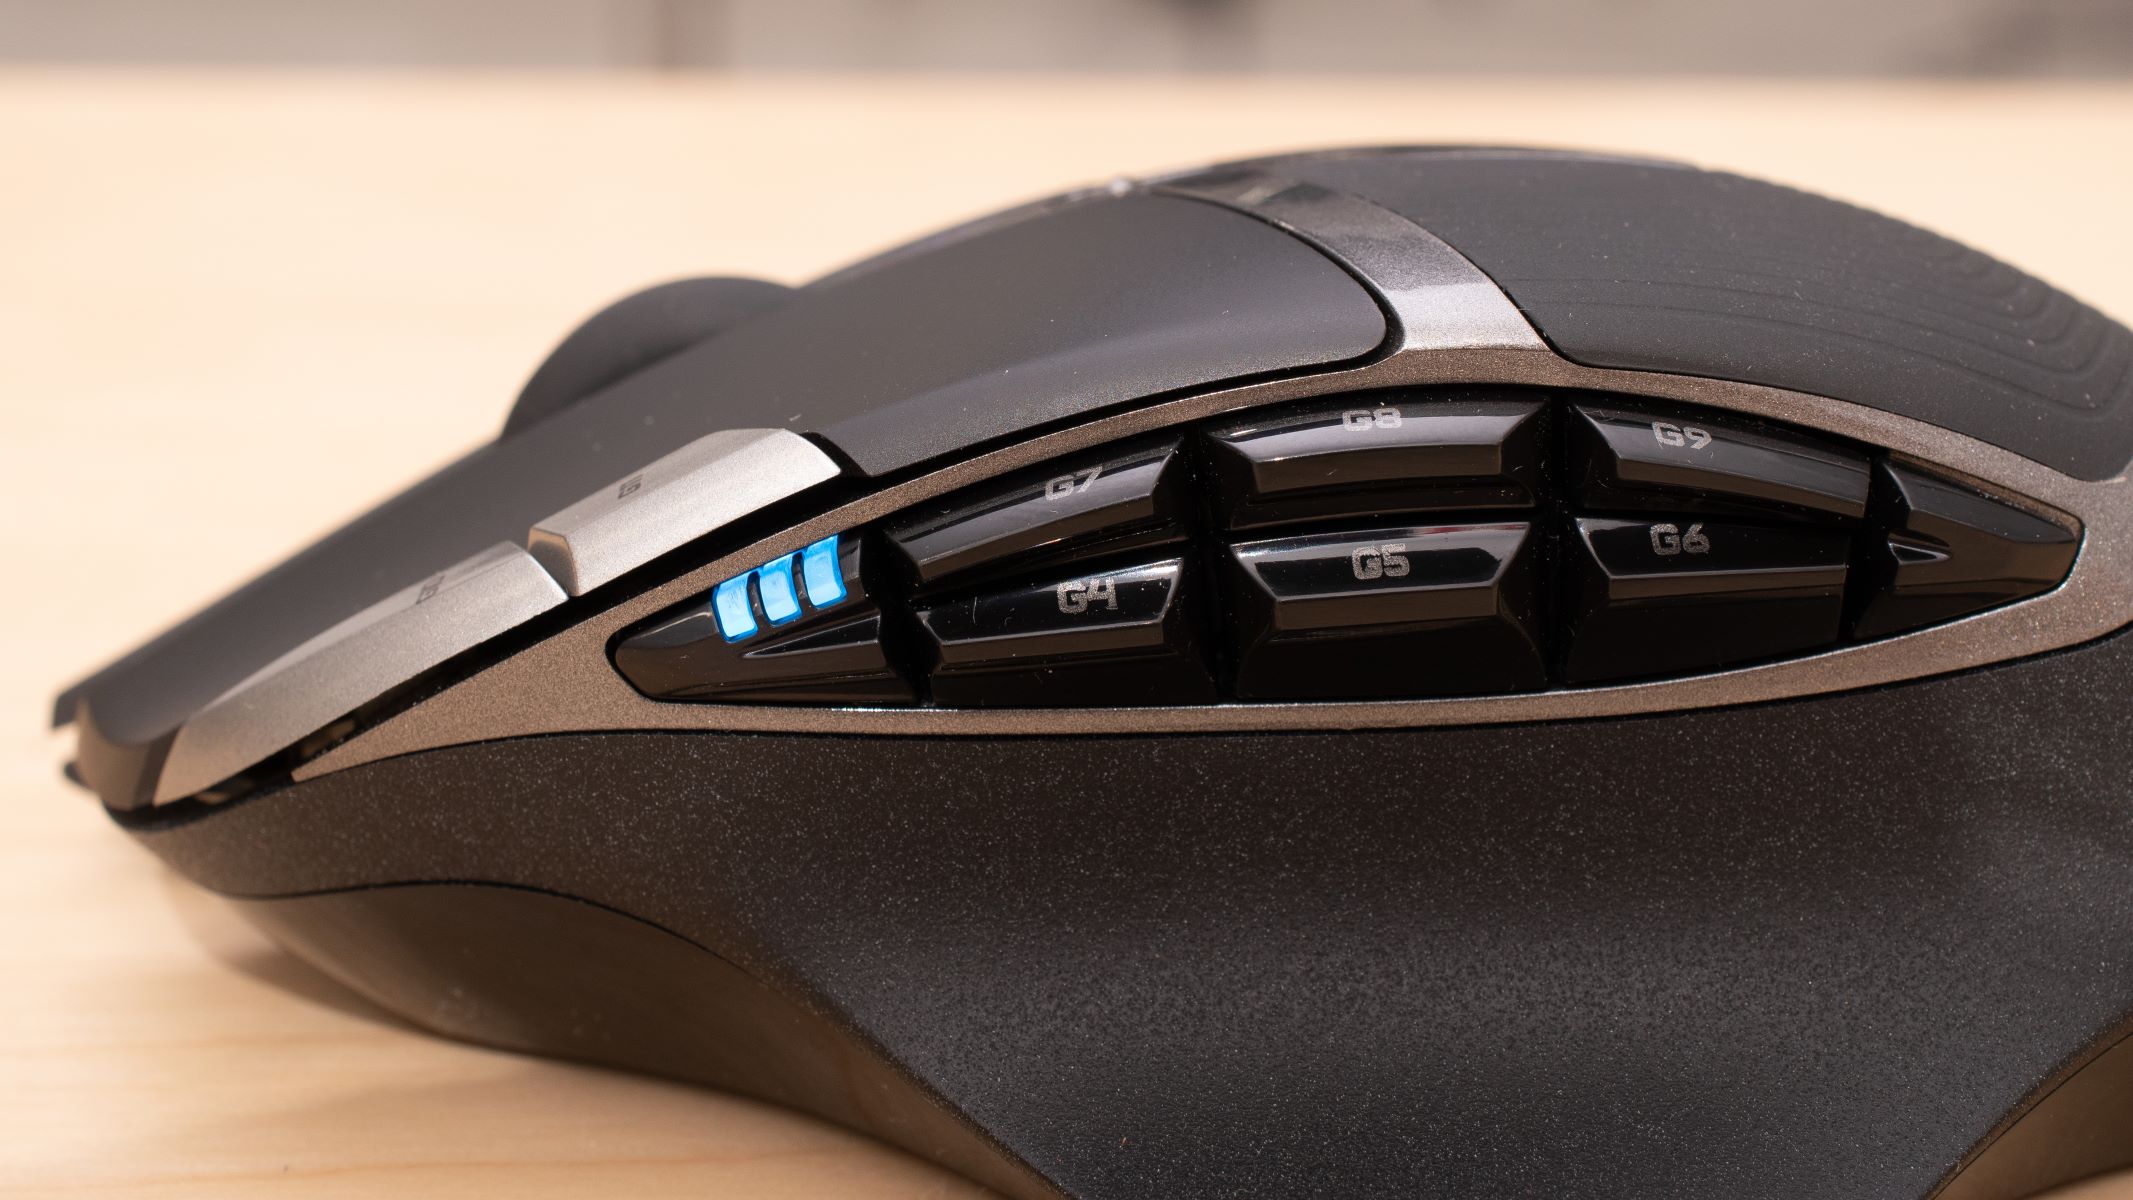
Once you have set the desired DPI levels, you can assign them to the DPI shift buttons on your Logitech G602 mouse. These buttons are typically located near your thumb and allow you to toggle between different DPI settings with ease.
Click on the DPI shift button option within the Logitech Gaming Software and follow the prompts to assign the desired DPI levels to the corresponding buttons on your mouse. You may choose to assign different DPI levels for different gaming scenarios or personal preferences.
Furthermore, the Logitech Gaming Software also provides the option to configure additional settings such as pointer speed, acceleration, and scroll wheel sensitivity. Explore these options to further fine-tune your mouse to suit your preferences and gameplay style.
Once you have customized the DPI settings to your liking, proceed to the next step to learn how to test and apply the changes you made to your Logitech G602 mouse.
Step 5: Test and Apply Changes
After customizing the DPI settings on your Logitech G602 mouse, it’s important to test and apply the changes to ensure they meet your expectations.
To test the new DPI settings, open a program or game that allows you to move the cursor or character on-screen. Take note of how the mouse responds to your movements and gauge whether the sensitivity is at a comfortable level.
Experiment with different DPI levels to find the sweet spot that suits your needs. If you find that the cursor is moving too slowly or quickly, return to the Logitech Gaming Software and adjust the DPI settings accordingly.
Once you are satisfied with the new DPI settings, click on the “Apply” or “Save” button within the Logitech Gaming Software to apply the changes to your Logitech G602 mouse. This will ensure that the new DPI settings are retained even after restarting your computer.
It’s also a good idea to test the DPI shift buttons that you assigned earlier. Toggle between different DPI levels using these buttons to see how they affect the mouse sensitivity. This will allow you to quickly switch between different DPI settings based on your needs during gameplay.
Take your time to fine-tune the DPI settings until you find the ideal sensitivity that enhances your gaming experience. Remember, everyone has different preferences, so it’s important to find what works best for you.
Now that you have successfully tested and applied the new DPI settings on your Logitech G602 mouse, you are ready to fine-tune the DPI options even further in the next step.
Step 6: Fine-tune DPI Options
While you may have already customized the DPI settings on your Logitech G602 mouse, it’s important to note that these settings are not set in stone. You can always fine-tune the DPI options further to optimize your gaming experience.
Return to the Logitech Gaming Software and access the DPI settings page for your Logitech G602 mouse. Take a moment to reassess the current DPI levels and determine if any adjustments are needed.
One approach to fine-tuning the DPI options is to experiment with different sensitivity levels. Test your mouse’s response to various DPI values to see if any adjustments enhance your comfort and control during gameplay.
Furthermore, consider the specific requirements of the games or tasks you perform with your Logitech G602 mouse. You may find that certain games benefit from higher DPI levels for precise aiming, while others require lower DPI levels for smoother and more accurate movements.
Additionally, keep in mind that the DPI sensitivity you choose may also be influenced by the size and resolution of your monitor. A higher DPI setting might be more suitable for larger displays or higher resolutions, while lower DPI settings may suffice for smaller screens.
Lastly, don’t hesitate to seek input from fellow gamers or explore online forums and communities dedicated to Logitech G602 mouse users. These platforms provide a wealth of knowledge and experiences that can help you fine-tune your DPI options and discover additional tips and tricks.
Remember that the ideal DPI setting is a personal preference, and it may take some time and experimentation to find the perfect balance for your gaming needs. By fine-tuning the DPI options, you can optimize the performance of your Logitech G602 mouse and enhance your overall gaming experience.
Congratulations! You have successfully learned how to change the DPI on your Logitech G602 mouse and fine-tune the DPI options. Utilize this newfound knowledge to customize your mouse sensitivity and dominate your gaming sessions in style.
Conclusion
Customizing the DPI settings on your Logitech G602 mouse can greatly enhance your gaming experience, allowing you to find the perfect balance of sensitivity and precision. By following the step-by-step instructions outlined in this guide, you can easily change the DPI settings and fine-tune them to suit your preferences.
Starting with the installation of the Logitech Gaming Software, you gained the necessary tools to customize your Logitech G602 mouse. Connecting the mouse to your computer and accessing the software were the initial steps in the process.
You then proceeded to customize the DPI settings, adjusting them to your desired sensitivity level. By assigning different DPI levels to the DPI shift buttons, you gained the flexibility to switch between settings on the fly, depending on your gaming needs.
After testing and applying the changes, you had the opportunity to fine-tune the DPI options further. Experimenting with different sensitivity levels and considering the specific requirements of your games allowed you to optimize your Logitech G602 mouse to your liking.
Remember, finding the perfect DPI setting is a personalized process that may require some trial and error. Take the time to assess your comfort and control while gaming, and don’t hesitate to adjust the settings to find what works best for you.
Now that you have mastered the art of changing the DPI on your Logitech G602 mouse, you are ready to elevate your gaming performance and dominate the virtual battleground. Enjoy the newfound precision and responsiveness that comes with customizing your DPI settings and seize victory in your favorite games!


