Introduction
Are you looking to change the country associated with your Playstation account? Whether you have relocated to a new country, want to access region-specific content, or simply need to update your account information, it’s important to know the steps involved in changing your country in your Playstation account.
Your Playstation account country setting determines the availability of certain games, apps, and features. By changing your country, you can access content that may be restricted in your current location. Additionally, it allows you to receive customer support specific to your new country, ensuring a better gaming experience.
While changing your country in a Playstation account may sound complex, it’s actually a straightforward process. In this article, we will guide you through the simple steps required to change your country in your Playstation account. Whether you’re a Playstation novice or an experienced gamer, rest assured that this guide will help you navigate the process with ease.
Note: Before proceeding, ensure that you have a stable internet connection and access to the email associated with your Playstation account. You’ll need these to confirm and verify the changes made to your account.
Step 1: Log in to your Playstation account
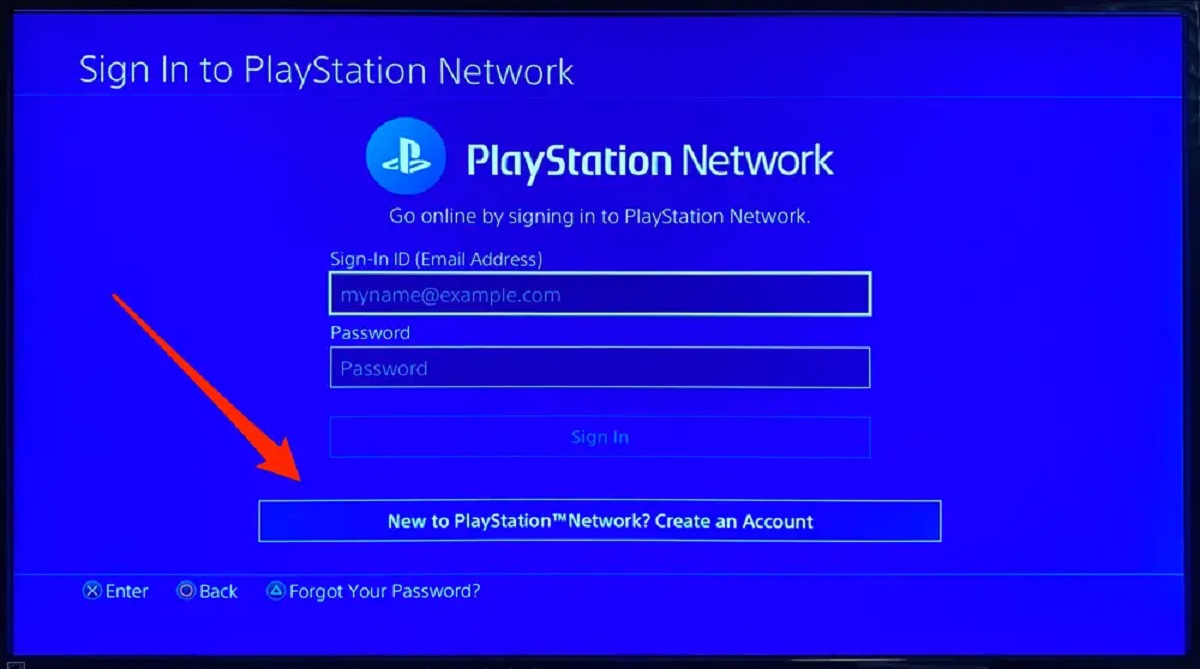
The first step to changing your country in your Playstation account is to log in to your account. Open your web browser and visit the official Playstation website. Click on the “Sign In” button located at the top right corner of the page.
Enter your email address and password associated with your Playstation account, then click on the “Sign In” button to proceed. If you have forgotten your password, you can click on the “Forgot your password?” link and follow the instructions to reset it.
Note: If you are already logged in, skip to the next step.
After successfully logging in, you will be redirected to the account dashboard, where you can manage various settings and preferences of your Playstation account.
Pro-tip: Ensure that you are logged into the correct Playstation account that you want to change the country for. It’s important to double-check this to avoid any unintended changes to the wrong account.
Now that you are logged in to your Playstation account, you’re ready to proceed to the next step and change your country settings.
Step 2: Go to Account Settings
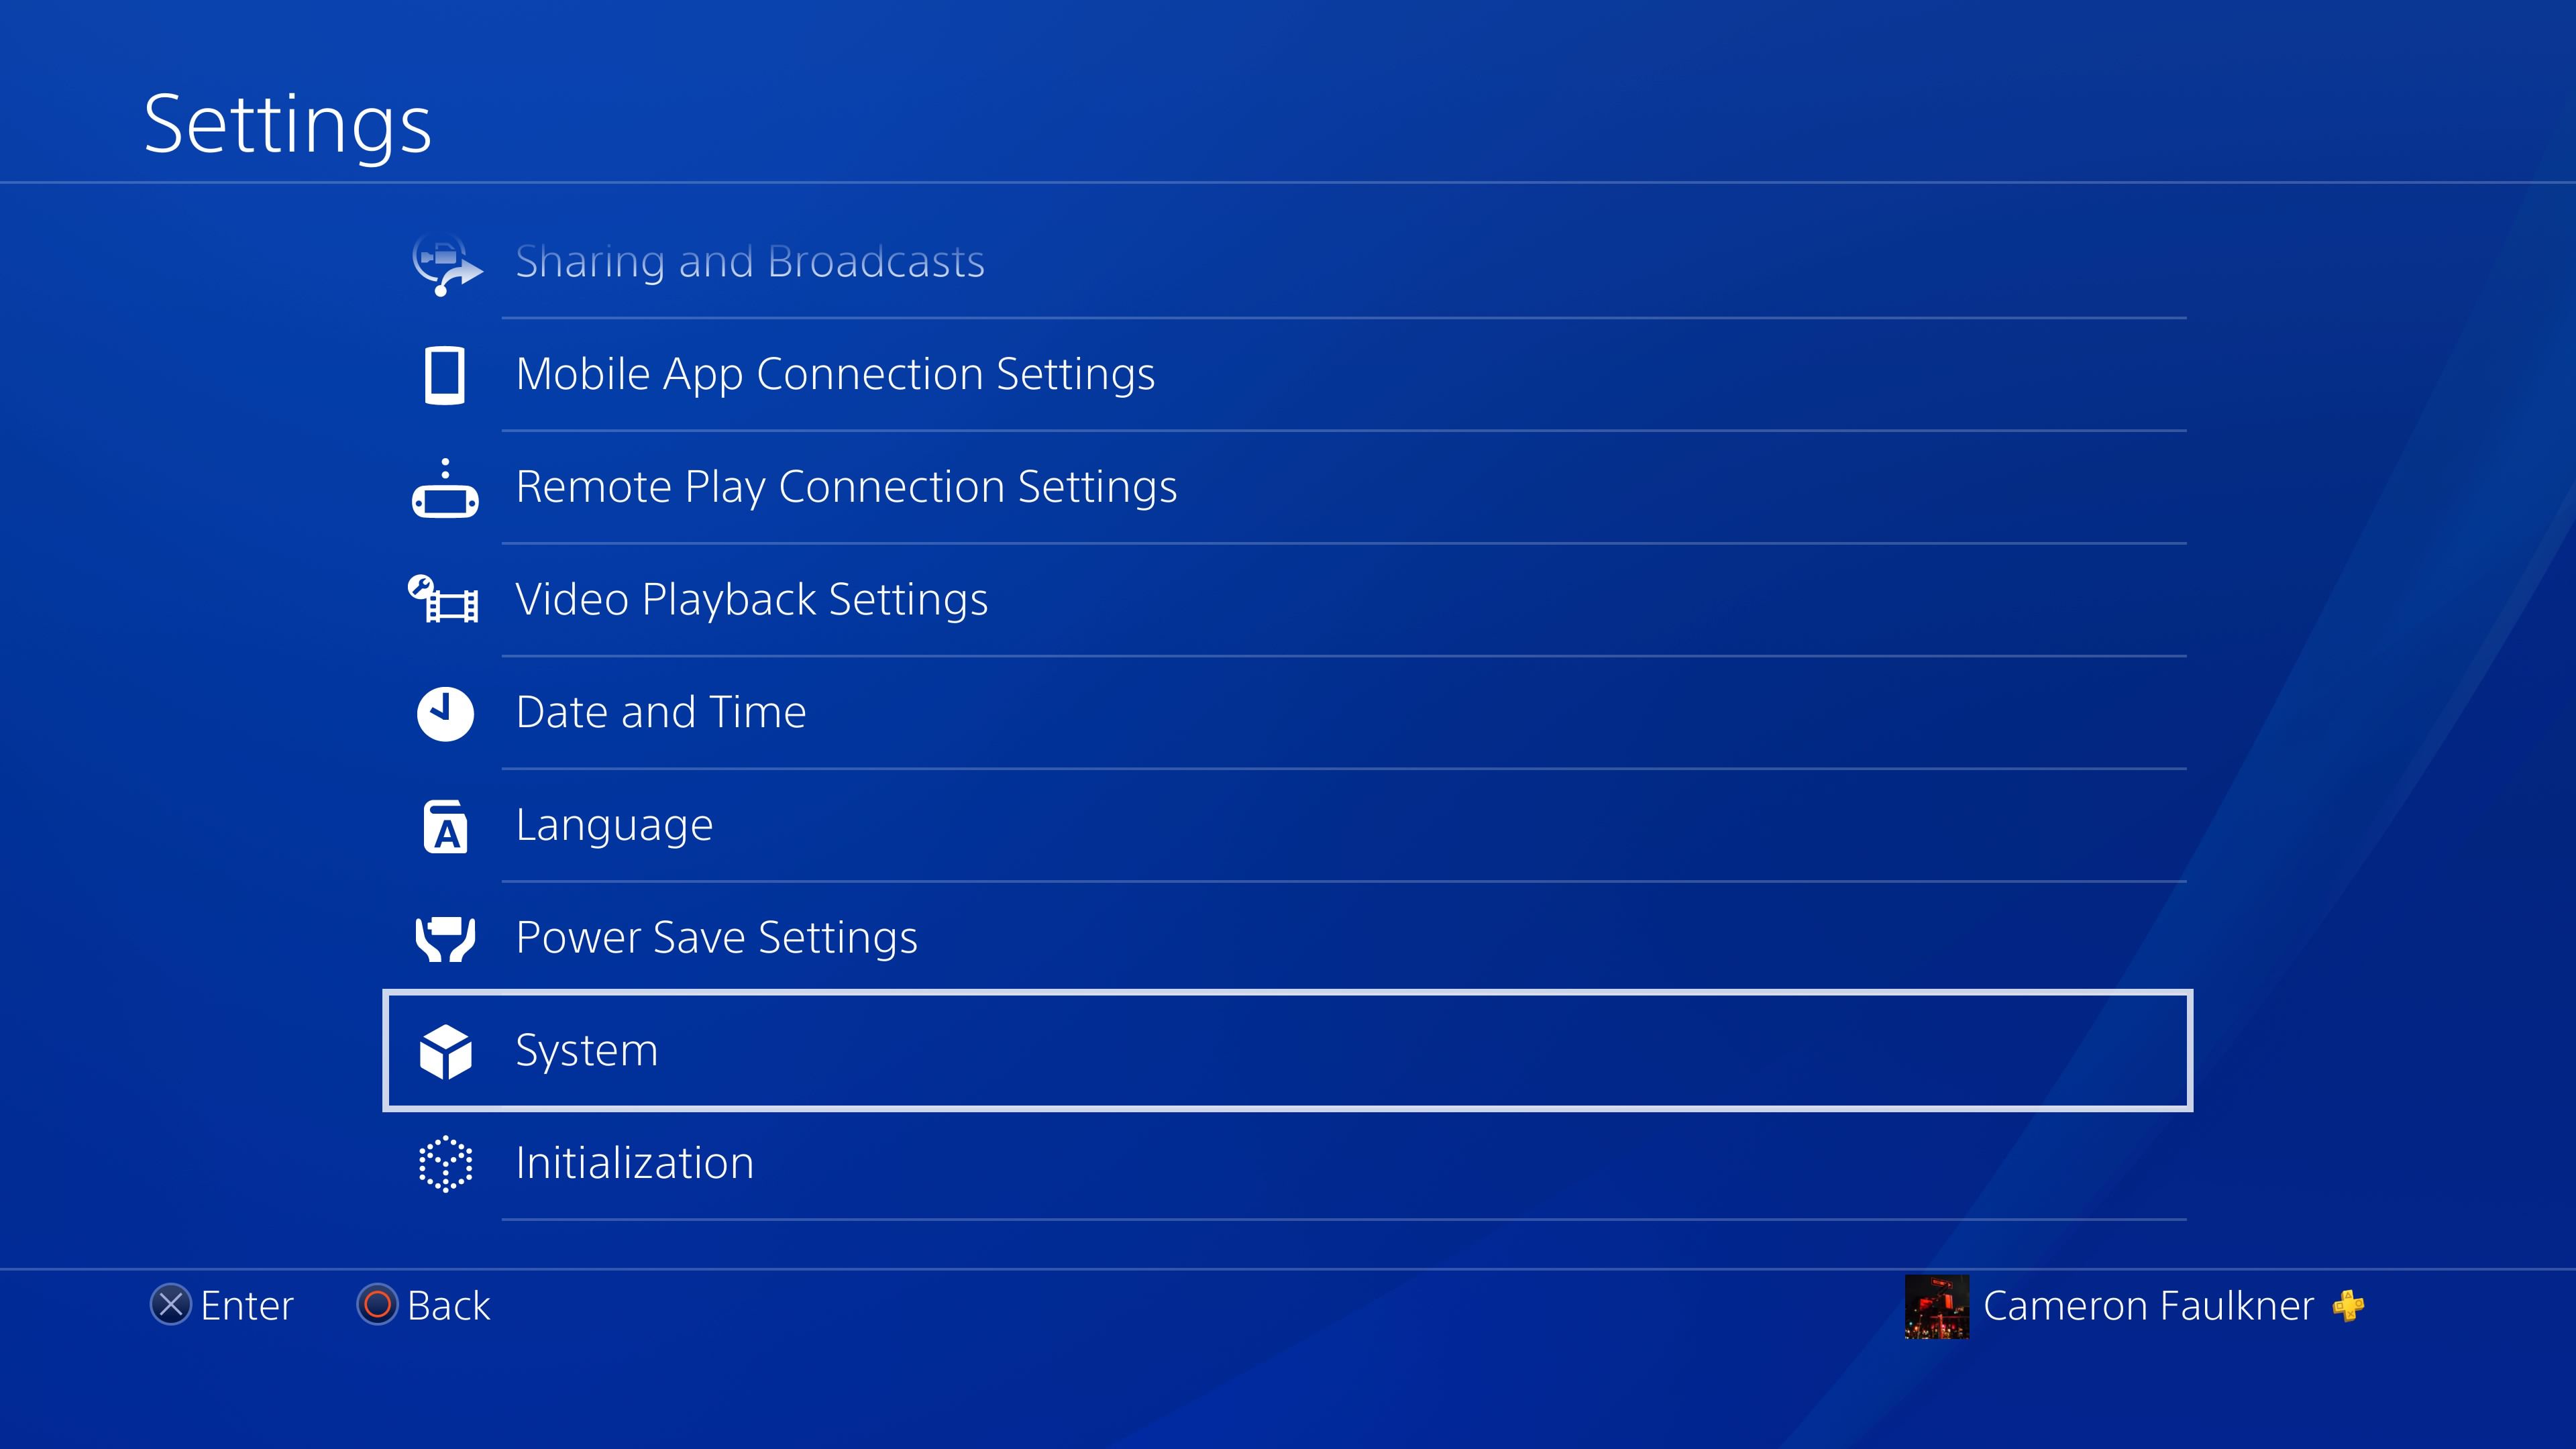
Once you’re logged in to your Playstation account, navigate to the account settings page to access the options for changing your country.
In the account dashboard, look for the settings icon or the “Account” tab. Click on it to expand the menu and reveal additional account options.
From the account options, select “Settings” or “Account Settings” to proceed to the settings page.
On the settings page, you will find a list of different categories related to your Playstation account settings. These categories may include personal information, privacy settings, payment methods, and more.
Note: The exact layout and organization of the settings page may vary slightly depending on the version of the Playstation website or app you are using.
Scroll through the settings categories and look for the “Account Information” section or a similar category that contains the option to change your country settings.
Once you have located the appropriate section, you’re ready to move on to the next step and edit your country information.
Step 3: Select ‘Edit’ under the ‘Country/Region’ section
After navigating to the account settings page, find the section labeled “Country/Region” or a similar option that pertains to your country settings.
Look for an “Edit” button or a pencil icon next to the country information. Click on it to begin editing your country settings.
A pop-up window or a new page will appear, allowing you to make changes to your country/region information. This is where you can select a new country from the available options.
Take a moment to review the instructions or any additional information provided regarding the country change process. It’s important to understand any implications or limitations that may arise from changing your country settings.
Note: Depending on your current location and the countries available for selection, you may see different options for your new country. Make sure to choose the country that best suits your needs.
Once you have read and understood the instructions, proceed to the next step to choose your new country.
Step 4: Choose a new country from the drop-down menu
In the pop-up window or new page where you are editing your country settings, you will find a drop-down menu containing a list of available countries.
Click on the drop-down menu to see the list of countries and regions that you can choose from.
Scroll through the list and look for the country that you want to associate with your Playstation account. If you cannot find your desired country in the list, it may not be available for selection.
Once you have identified your new country, click on it to select it from the drop-down menu.
Take a moment to double-check your selection to ensure that you have chosen the correct country. Making an incorrect selection may lead to complications or limitations in accessing certain content or features.
Note: When changing your country, keep in mind that some content, including games and apps, may not be available in every country. Make sure to research the availability of the content you are interested in before finalizing your country selection.
After selecting your new country, you’re ready to move on to the next step and confirm the changes you have made.
Step 5: Confirm the changes and provide necessary information
After selecting your new country from the drop-down menu, you will need to confirm the changes you have made to your Playstation account.
In the pop-up window or on the page where you made your country selection, review the information displayed. Make sure that the new country you have chosen is accurately reflected.
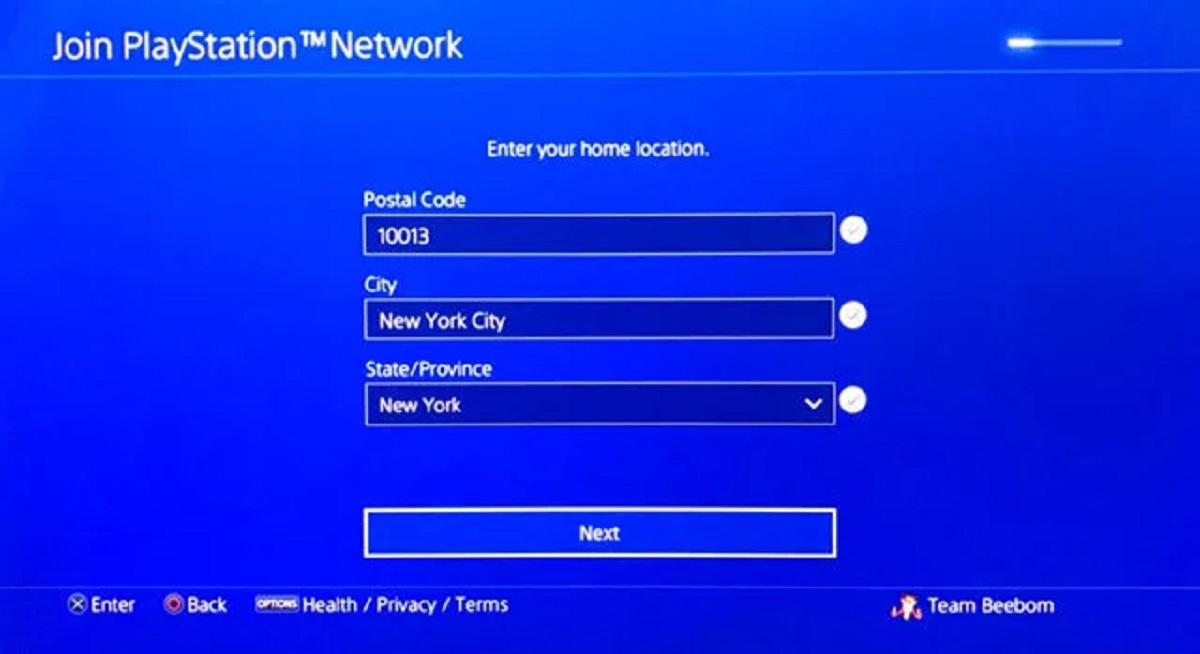
Next, you may be required to provide additional information or verify your identity to confirm the change. This may include entering your postal code or address details for the new country.
Fill in the required information accurately and completely. Take the time to double-check the details before proceeding to ensure there are no errors.
Be aware that providing false information or using an address in a country where you do not reside can violate Playstation’s terms of service and may lead to account suspension or closure.
Once you have entered the necessary information, click on the “Confirm” or “Save” button to proceed. The changes to your country settings will be saved and your account will be updated accordingly.
Note: Depending on your specific situation and the changes being made, you may be prompted to provide additional verification or undergo a review process. Follow any instructions or requests from Playstation to complete this process.
With the changes confirmed and the necessary information provided, you’re ready to move on to the next step and wait for the country change to be processed.
Step 6: Wait for the change to be processed
After confirming the changes to your country settings in your Playstation account, the next step is to wait for the change to be processed.
Be aware that the processing time for country changes can vary depending on various factors, including server load and administrative review. It may take a few minutes, hours, or even a couple of days for the change to be reflected in your account.
During this waiting period, it is important to be patient and refrain from making any further changes to your account settings. Making additional changes before the previous change is processed can lead to complications or errors in your account.
While waiting, consider checking your email inbox regularly. Playstation may send you a notification or confirmation email regarding the country change. Follow any instructions provided in the email if necessary.
If you need to access region-specific content or features before the country change is fully processed, you may need to wait until the change is complete. In the meantime, you can explore other available games and features in your Playstation account.
If you have any concerns or questions about the processing time or encounter any issues during this stage, consider contacting Playstation customer support for assistance. They will be able to provide you with more information on the status of your country change and any further steps required.
Once the change has been processed, you’re almost ready to enjoy your new country settings on your Playstation account. The final step involves restarting your Playstation console, which we will cover in the next step.
Step 7: Restart your Playstation console
After the country change in your Playstation account has been processed, it’s important to restart your Playstation console to ensure that the new settings take effect.
Before restarting, make sure that any games or applications running on your console are closed. Saving your progress and exiting the games properly will help prevent any data loss or errors.
To restart your Playstation console, follow these steps:
- Press and hold the power button on your console until it turns off completely.
- Wait for a few seconds, then press the power button again to turn the console back on.
Your Playstation console will go through the normal startup sequence, and when it’s fully booted up, your new country settings will be applied.
If you have multiple Playstation consoles, make sure to restart each one to ensure that the changes are reflected across all devices.
Note: If you encounter any issues or errors after restarting your console, try troubleshooting steps such as clearing the cache or performing a power cycle.
Once your Playstation console has restarted and the new country settings have been applied, you can now enjoy the region-specific content, features, and support associated with your new country.
Take this opportunity to explore the gaming experiences and opportunities available in your newly selected country. Discover new games, connect with other players, and immerse yourself in the diverse gaming culture that your new country has to offer.
With your Playstation console restarted, you have successfully completed the process of changing your country in your Playstation account. Enjoy your gaming adventures in your new country!
Step 8: Enjoy your new country settings on your Playstation account
Congratulations! You have successfully changed the country in your Playstation account and can now begin enjoying all the benefits of your new country settings.
With the country change complete, you’ll have access to region-specific content, games, apps, and features that were previously unavailable. This opens up a whole new world of gaming possibilities and experiences.
Take this opportunity to explore the Playstation Store and discover games that may have been restricted in your previous country. You can now access a wider range of titles, including region-exclusive releases and special promotions.
Additionally, you will now have access to customer support services specific to your new country. If you ever encounter any issues or need assistance, you can reach out to local support channels dedicated to your region.
Keep in mind that your new country settings may also affect the language and pricing displayed in the Playstation Store. Take some time to familiarize yourself with the new currency, language options, and any cultural nuances that may enhance your gaming experience.
Don’t forget to update your payment information, if necessary, to ensure smooth transactions in your new country’s currency. You can do this by accessing the account settings page and selecting the appropriate payment options for your region.
Lastly, stay up-to-date with the latest news and updates relevant to your new country. Follow official Playstation social media accounts and join gaming communities specific to your region to connect with fellow gamers and keep abreast of local events.
Now that you have successfully changed the country in your Playstation account, it’s time to fully embrace the gaming opportunities and experiences that await you in your new country. Get ready for more fun, adventure, and unforgettable gaming moments!
Conclusion
Changing the country in your Playstation account can open up a world of new gaming possibilities and experiences. Whether you have relocated to a new country, want access to region-specific content, or simply need to update your information, following the steps outlined in this guide will help you successfully change your country settings.
From logging in to your Playstation account and accessing the account settings, to selecting a new country from the drop-down menu and confirming the changes, the process is relatively straightforward. However, it’s important to be patient during the waiting period for the change to be processed and to restart your Playstation console to ensure the new settings take effect.
Once the country change is complete, you can enjoy region-specific games, apps, features, and customer support services tailored to your new country. Take the time to explore the Playstation Store, discover new games, and connect with other players in your new gaming community.
Remember to update your payment information, if necessary, and stay informed about the latest news and updates relevant to your new country. By embracing your new country settings, you can enhance your gaming experience and make the most out of what Playstation has to offer.
Changing your country in your Playstation account is just the beginning of an exciting journey. So, go ahead, grab your controller, and embark on a gaming adventure in your new country!