Introduction
Changing your phone number on PlayStation is a simple yet important task to ensure that your account information is up to date. Whether you have switched to a new number or want to update your existing one, it’s essential to keep your contact details accurate for security purposes and to receive important notifications. In this guide, we will walk you through the step-by-step process of changing your phone number on PlayStation.
Having the correct phone number associated with your PlayStation account allows you to receive text messages for password resets, security alerts, and other account-related notifications. It also helps in verifying your identity and provides an additional layer of security for your online gaming experience.
The process of changing your phone number on PlayStation is straightforward and can be done in just a few minutes. You’ll need access to a web browser and your PlayStation Network (PSN) account login details. By following the steps outlined in this guide, you can ensure that your contact information is always up to date, making it easier for PlayStation to reach you when necessary.
Step 1: Accessing the Account Settings
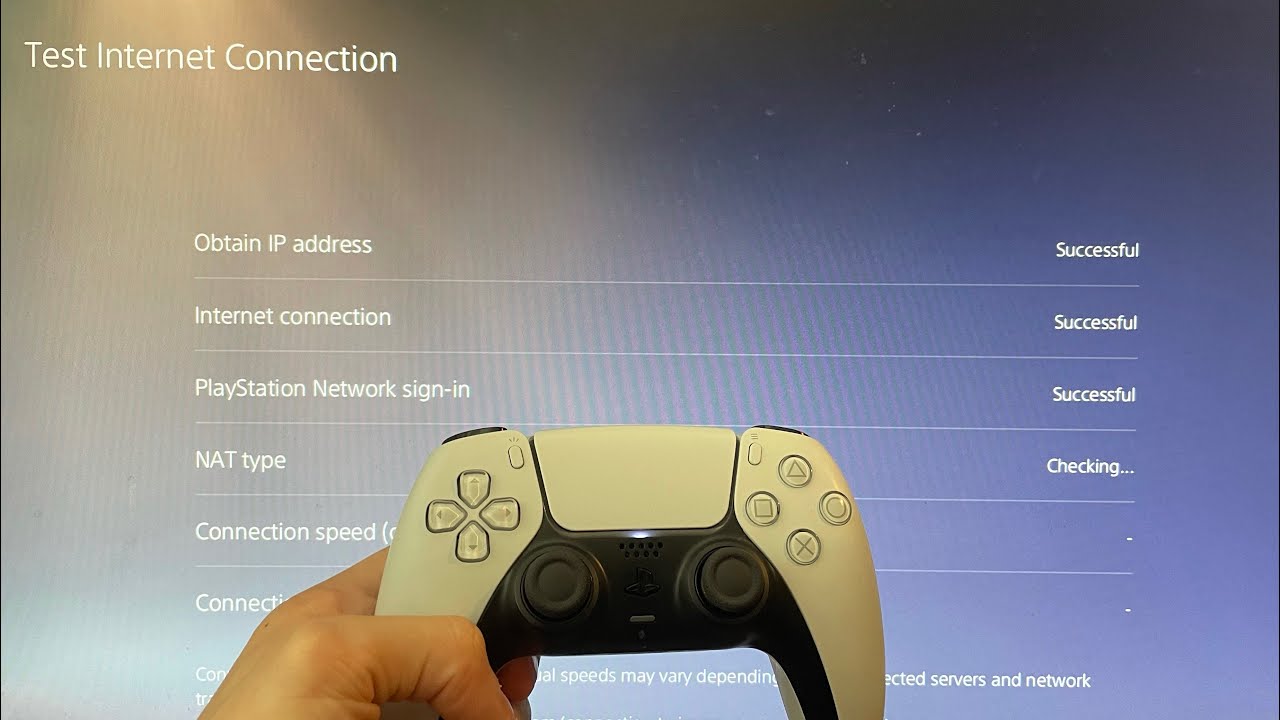
The first step to changing your phone number on PlayStation is accessing your account settings. To do this, ensure that you have a stable internet connection and follow these steps:
- Open a web browser of your choice on your computer or mobile device.
- Go to the official PlayStation website at www.playstation.com.
- Click on the “Sign In” button located at the top right corner of the website to log in to your PlayStation Network (PSN) account. Enter your login credentials, including your email address and password, and click “Sign In”.
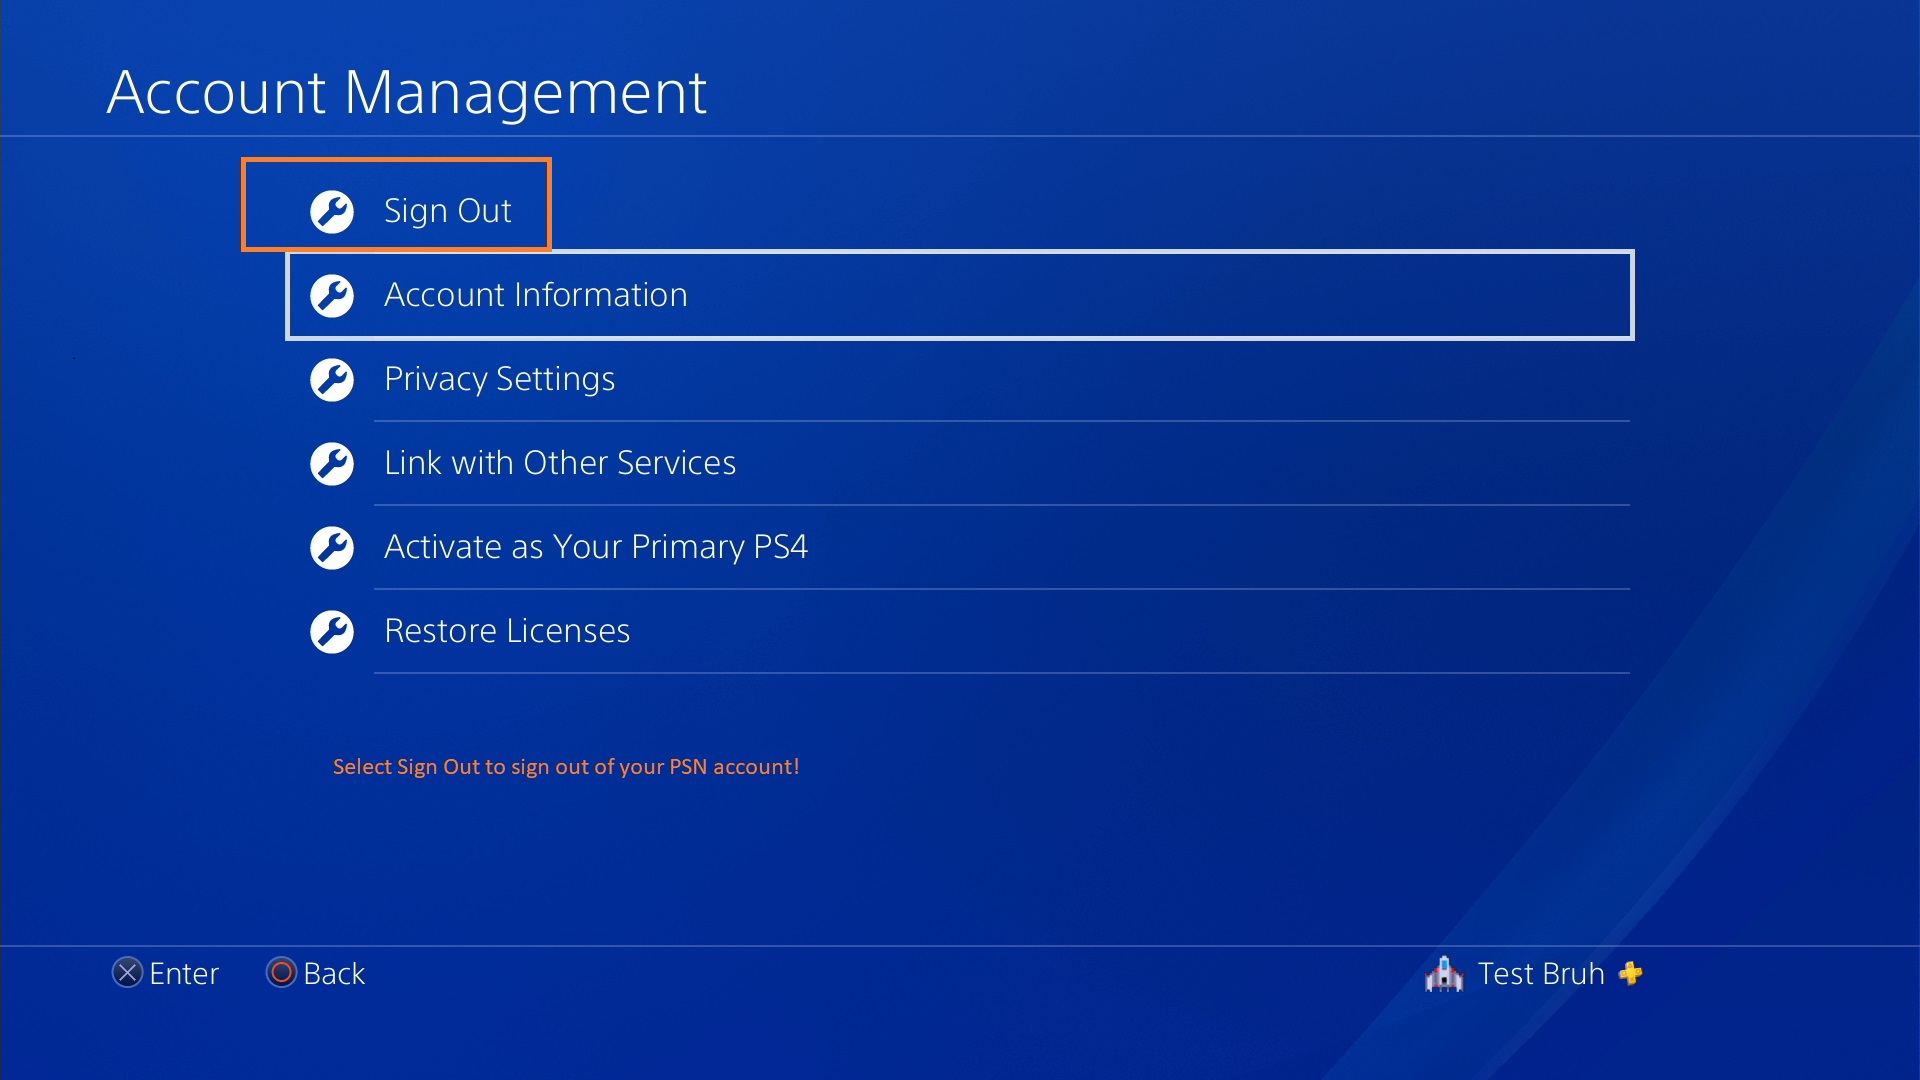
- Once you’re signed in, click on your profile picture, which is usually located in the top right corner of the screen, and select “Account Settings” from the dropdown menu.
- You will be directed to the Account Settings page, where you can manage various aspects of your account, including personal information, privacy settings, and payment options.
By successfully completing this step, you will be on your way to changing your phone number on PlayStation. The next step will guide you through selecting the “Account Information” option, where you can make the necessary changes to your contact details.
Step 2: Selecting the “Account Information” Option
Once you have accessed your account settings on PlayStation, the next step is to select the “Account Information” option. This will allow you to make changes to your phone number. Follow these instructions:
- On the Account Settings page, navigate to the left-hand sidebar and locate the “Account” tab.
- Click on the “Account” tab to expand the options.
- Within the “Account” tab, you will find various sub-categories related to your account information.
- Look for and select the “Account Information” option.
Choosing the “Account Information” option will bring you to a new page where you can manage your personal details, including your phone number. Proceed to the next step to learn how to navigate to the specific area where you can edit your phone number.
Step 3: Navigating to “Profile” and “Account” Tab
After selecting the “Account Information” option in the previous step, you will now need to navigate to the “Profile” and “Account” tab to continue with the process of changing your phone number on PlayStation. Follow these steps:
- On the “Account Information” page, locate the tabs at the top of the screen.
- Look for and click on the “Profile” tab.
- Once you are on the “Profile” tab, you will see different sections related to your personal information.
- Navigate to the “Account” section within the “Profile” tab.
- Click on the “Account” section to access it.
By reaching the “Account” section within the “Profile” tab, you are one step closer to editing your phone number on PlayStation. In the next step, we will explore how to make the necessary changes to your contact details.
Step 4: Editing Phone Number
Now that you have navigated to the “Account” section within the “Profile” tab, you can proceed with editing your phone number on PlayStation. Follow these instructions:
- In the “Account” section, locate the “Edit” or “Edit Phone Number” option.
- Click on the “Edit” button to initiate the editing process.
- A form or a text field will appear, allowing you to enter your new phone number.
- Enter your new phone number in the provided field.
- Double-check your input to ensure that the number is accurate.
During this step, it’s essential to be careful and precise when entering your new phone number. Make sure to include the correct country code and area code, if applicable. If you make any mistakes, your changes may not be saved, and you may encounter difficulties in the verification process.
Once you have entered your new phone number, move on to the next step to confirm and save the changes you’ve made to your contact details on PlayStation.
Step 5: Confirming the Changes
After editing your phone number on PlayStation, the final step is to confirm and save the changes you have made. Follow these instructions to complete the process:
- Review the new phone number you have entered to ensure its accuracy.
- If everything looks correct, click on the “Save” or “Confirm” button.
- Wait for a confirmation message or notification that your changes have been saved.
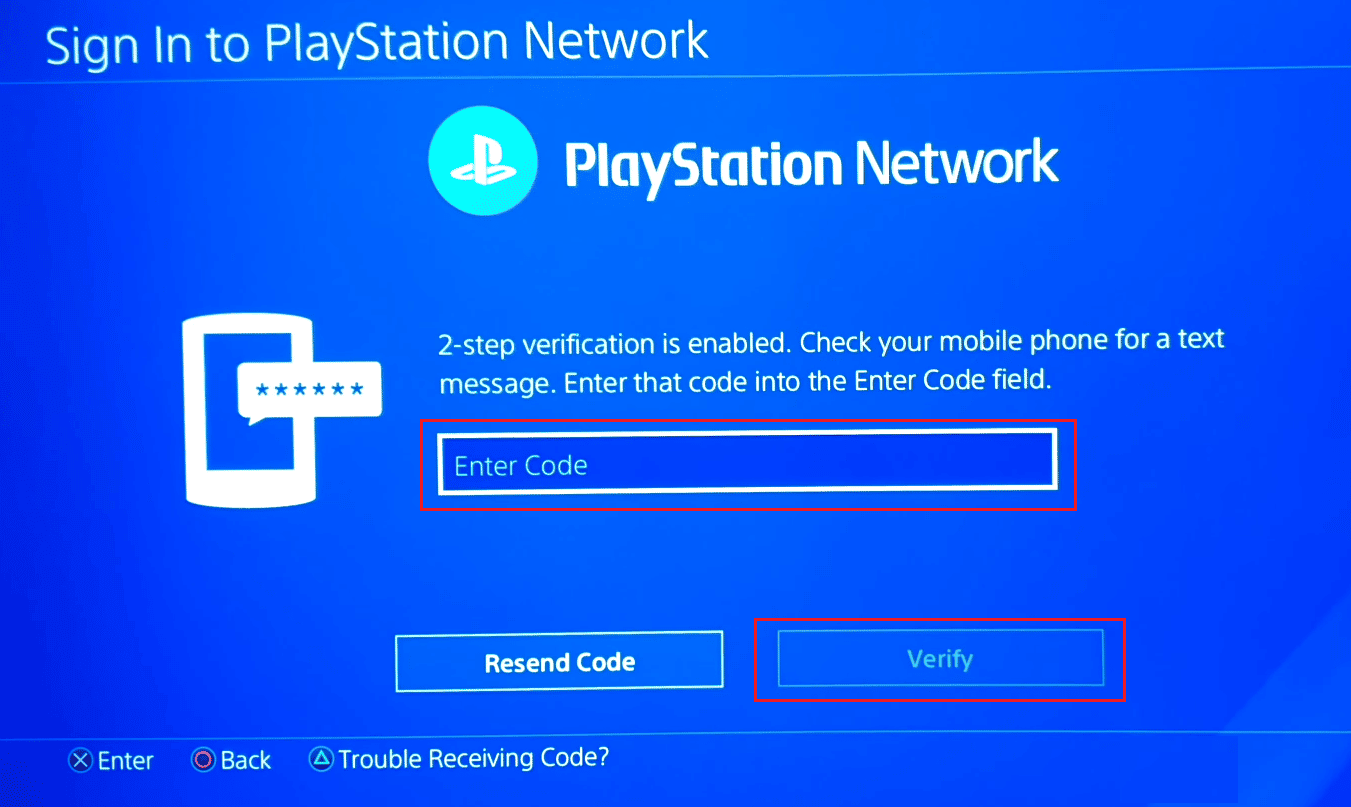
- If prompted, follow any additional verification steps, such as entering a verification code sent to your new phone number.
- Once the changes are successfully confirmed and saved, you will receive a confirmation message on the screen.
It’s important to note that the confirmation process may vary depending on your region or account security settings. PlayStation may require additional steps, such as email verification or account password confirmation, to ensure the security of your account.
By confirming the changes to your phone number, you have successfully updated your contact details on PlayStation. This ensures that you will receive important notifications and can easily recover your account if needed. Remember to keep your phone number updated to maintain a secure and seamless gaming experience.
Conclusion
Changing your phone number on PlayStation is a simple and important task to keep your account information up to date. By following the step-by-step guide provided in this article, you can easily update your contact details within a few minutes. Remember, having the correct phone number associated with your PlayStation account ensures that you receive essential notifications, enhances the security of your account, and simplifies the account recovery process.
In summary, to change your phone number on PlayStation, you need to first access your account settings and then navigate to the “Account Information” option. From there, you can proceed to the “Profile” and “Account” tab and edit your phone number. After entering your new phone number, make sure to review and confirm the changes to save them. Following these steps will ensure that your contact details on PlayStation are accurate and up to date.
Remember to keep your phone number updated in the future if it changes to continue receiving important communications from PlayStation. This will ensure a seamless and secure gaming experience. By staying proactive and keeping your account information current, you can make the most of your gaming journey on PlayStation.