Introduction
Welcome to this guide on how to change your boot drive to an SSD. If you’re looking to significantly improve the performance and speed of your computer, upgrading from a traditional hard drive (HDD) to a solid-state drive (SSD) is a great option. An SSD offers faster boot times, quicker file access, and overall improved system responsiveness. In this article, we’ll explore the benefits of making this change and walk you through the step-by-step process to seamlessly switch your boot drive to an SSD.
Upgrading to an SSD can transform your computing experience. Gone are the days of waiting for your system to start up or files to load. With an SSD as your boot drive, you can expect lightning-fast boot times, near-instantaneous application launches, and reduced file transfer times. Your computer will be more responsive and efficient, allowing you to get your work done faster and enjoy a smoother overall user experience.
Before you embark on this journey, it’s essential to be prepared. In the following sections, we will cover the necessary steps to ensure a successful transition to an SSD. This includes gathering the required tools and software, backing up your data, creating a system image or cloning your existing drive, physically installing the SSD, connecting and configuring it properly, and finally, setting the SSD as your boot drive.
We understand that the process may appear daunting at first, especially if you’re not familiar with computer hardware. However, with clear instructions and a systematic approach, changing your boot drive to an SSD can be a relatively straightforward process. So, let’s dive in and unlock the full potential of your computer with the blazing speed of an SSD!
Benefits of Changing Boot Drive to SSD
Switching your boot drive to an SSD offers a multitude of benefits that can vastly improve your computer’s performance. Below are some of the key advantages of making this change:
- Speed: The most significant advantage of an SSD is its speed. Compared to traditional HDDs, SSDs use flash memory to store and retrieve data, resulting in significantly faster read and write speeds. This translates to faster boot times, shorter application load times, and quicker file transfers.
- Improved System Responsiveness: With an SSD, your computer will feel more responsive and snappy. Opening and switching between applications will be seamless, and you’ll experience smoother multitasking capabilities. Whether you’re a gamer, a creative professional, or just a regular computer user, the improved system responsiveness will make your overall computing experience more enjoyable.
- Reduced Power Consumption: SSDs consume less power compared to traditional HDDs. This results in lower energy consumption, increased battery life for laptops, and reduced heat generation. By using an SSD as your boot drive, you contribute to a more energy-efficient computing environment.
- Durability: Traditional HDDs consist of moving parts that are susceptible to wear and tear, while SSDs have no moving parts. This makes SSDs more durable and resistant to physical shocks and vibrations. Your data will be better protected, reducing the risk of data loss due to mechanical failures.
- No Noise: Without any moving parts, SSDs operate silently. Say goodbye to the humming and whirring sounds commonly associated with HDDs. With an SSD as your boot drive, you’ll enjoy a quieter computing experience.
Overall, changing your boot drive to an SSD brings a significant performance boost to your computer. The speed, improved system responsiveness, reduced power consumption, durability, and silent operation make it a worthwhile upgrade. Now that we’ve explored the benefits, let’s move on to the steps required to prepare for the change and make a seamless transition to an SSD.
Preparing for the Change
Before diving into the process of changing your boot drive to an SSD, it’s essential to take some preparatory steps to ensure a smooth and successful transition. Here are the key things you need to do to get ready:
- Research and Compatibility: Start by researching and ensuring that your computer is compatible with an SSD. Check the manufacturer’s website or user manual to verify compatibility and find any specific instructions or recommendations for installing an SSD.
- Storage Requirements: Determine the storage capacity you require for your new SSD. Consider your current storage needs and factor in any anticipated future requirements. SSDs are available in various capacities, so choose one that suits your needs.
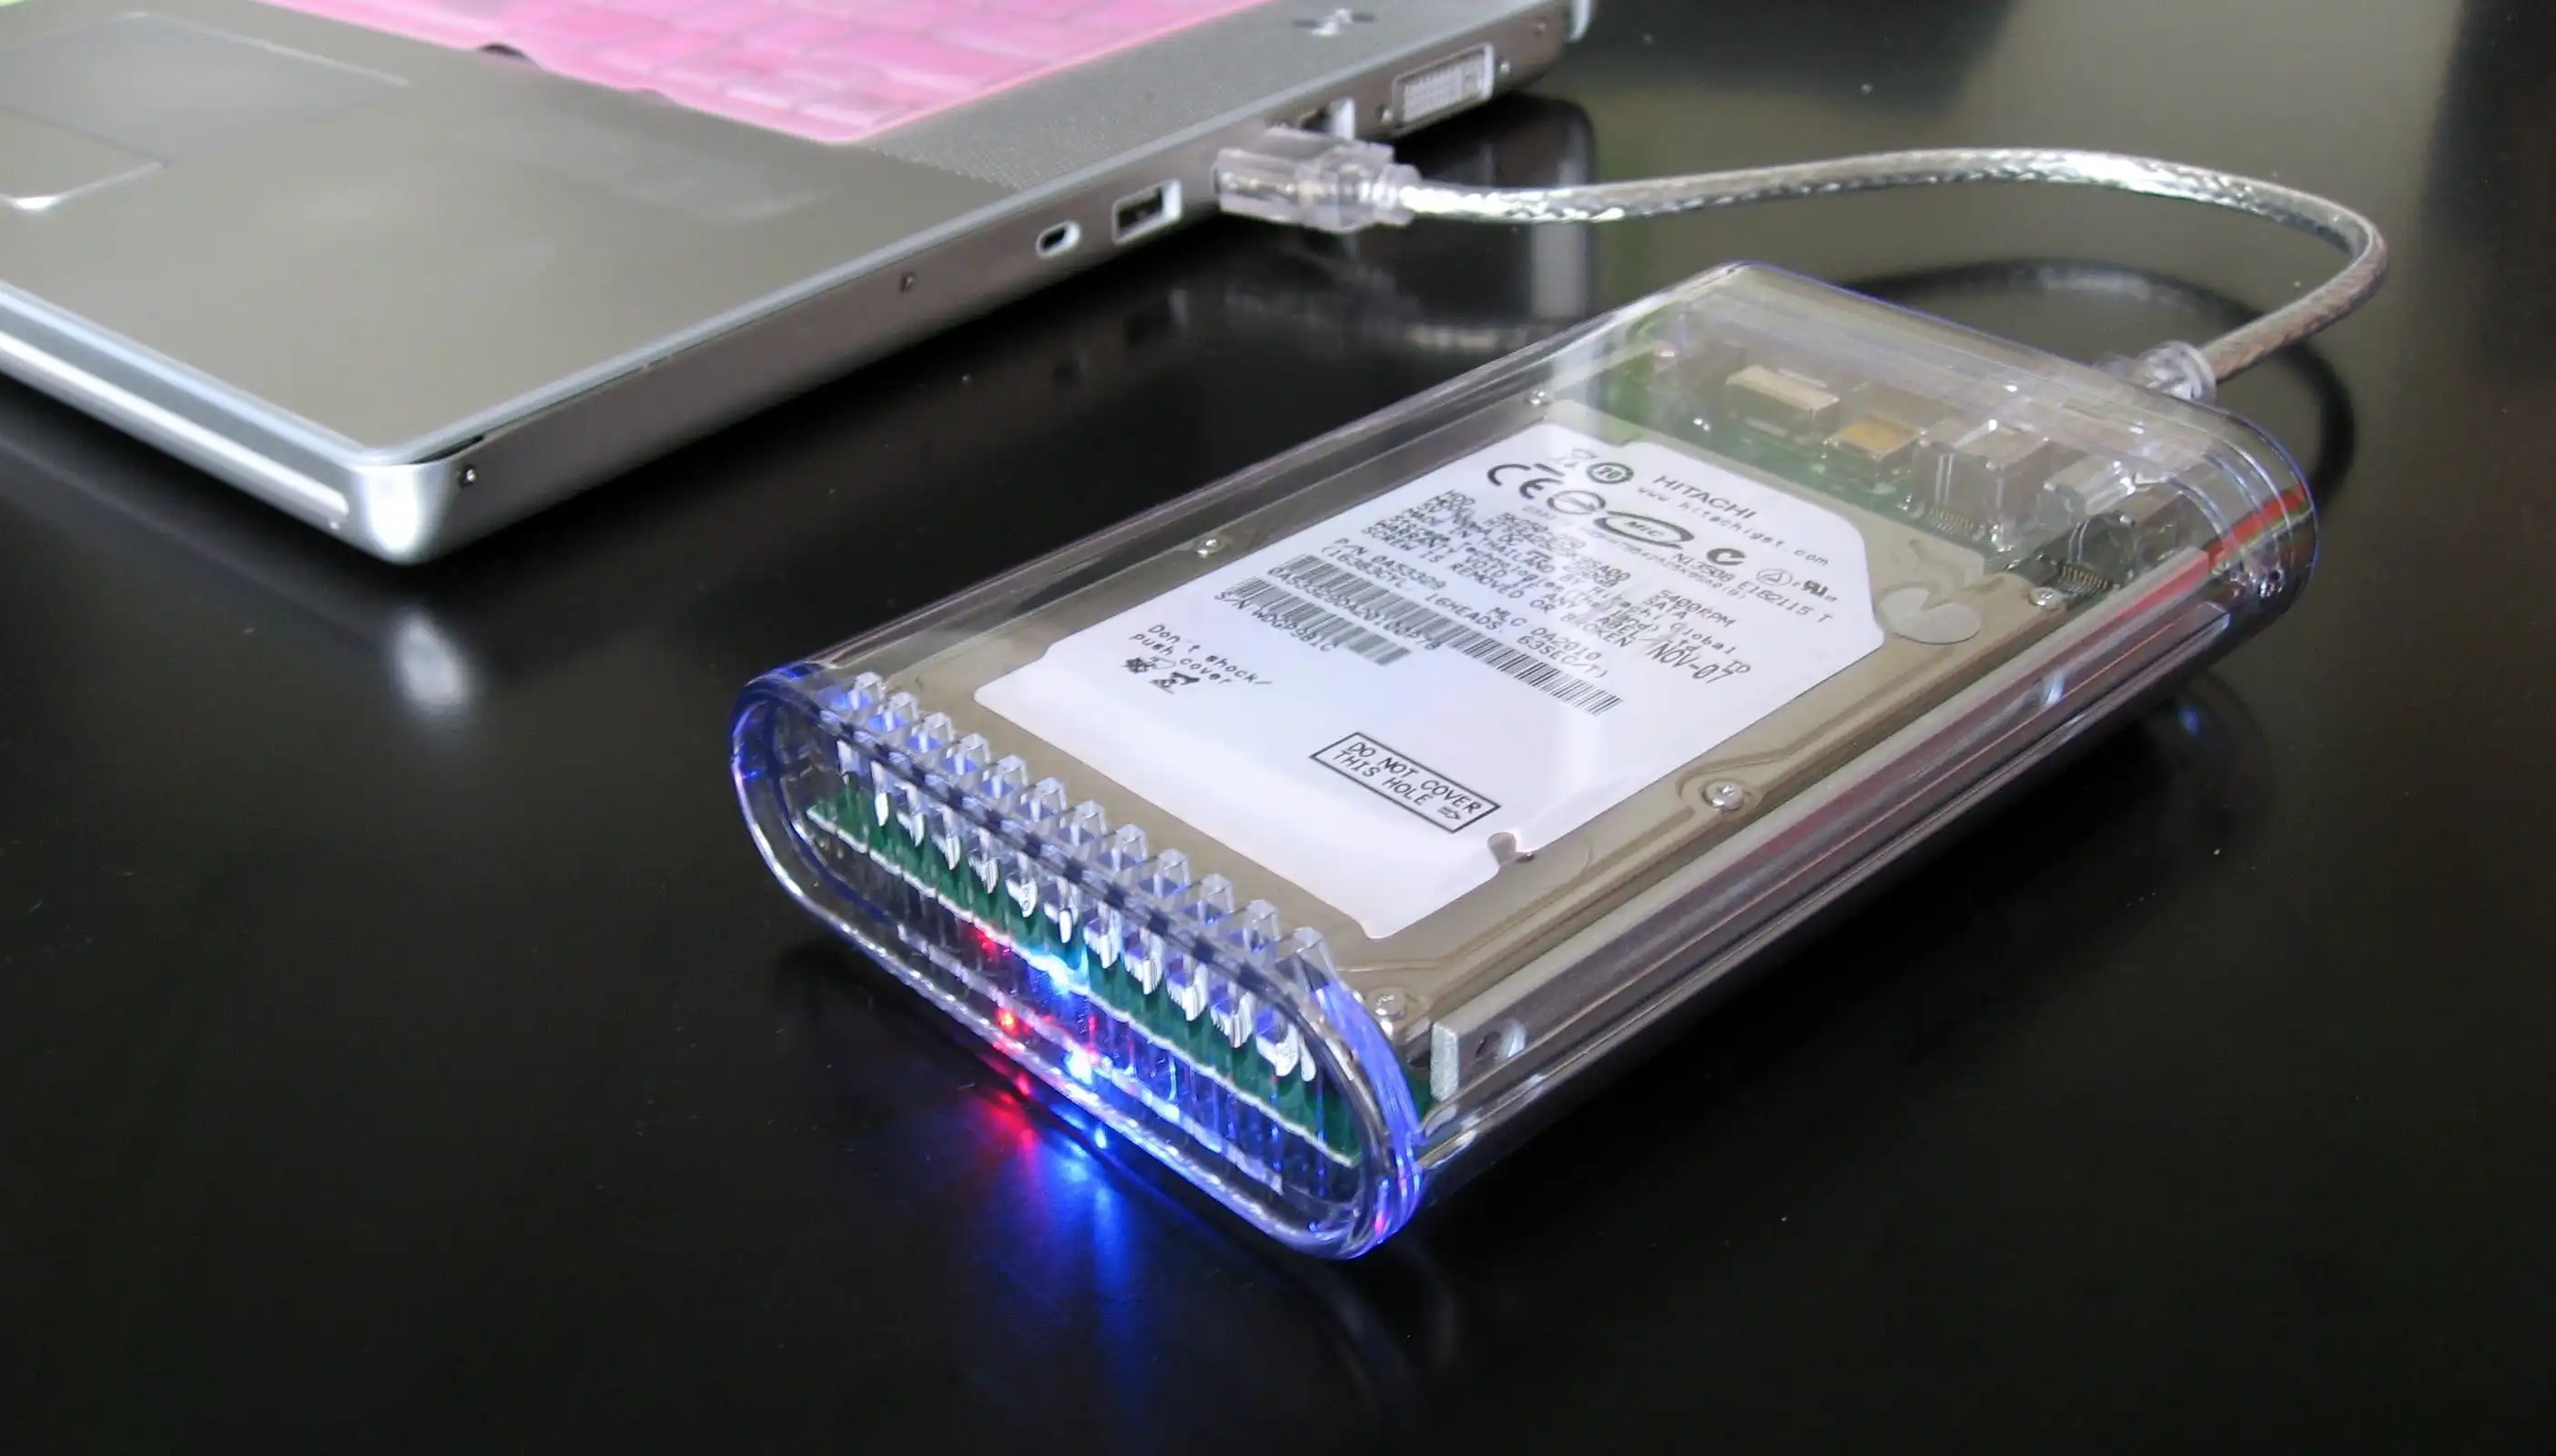
- Transfer Options: Determine how you want to transfer your data from the old boot drive to the new SSD. Options include creating a system image, cloning the drive, or reinstalling the operating system and applications from scratch. Each method has its pros and cons, so evaluate which option works best for you.
- Gather Necessary Tools and Software: Assemble the necessary tools and software for the installation. This may include a screwdriver, SATA cables, mounting brackets, and any data migration or cloning software. Ensure that you have everything you need before starting the process.
- Backup Your Data: Before making any changes to your computer’s boot drive, it’s crucial to back up your data. Create a backup of your important files, documents, and media to an external drive or cloud storage service. This ensures that even if something goes wrong during the process, you won’t lose valuable data.
- Check for Firmware Updates: Check for any firmware updates for your SSD. Visit the manufacturer’s website and download the latest firmware version if available. Updating the firmware can fix bugs, improve performance, and enhance compatibility.
By following these preparatory steps, you set yourself up for a successful boot drive change to an SSD. Researching compatibility, determining storage requirements, deciding on transfer options, gathering the necessary tools, backing up your data, and checking for firmware updates ensure that you are ready to proceed with the installation process. Now that you’re fully prepared, we can move on to the next steps of transferring your data and physically installing the SSD.
Determine Compatibility and Transfer Requirements
Before proceeding with the installation of your new SSD, it is crucial to determine the compatibility of your computer with the SSD and understand the transfer requirements for your data. Let’s explore these two aspects in detail:
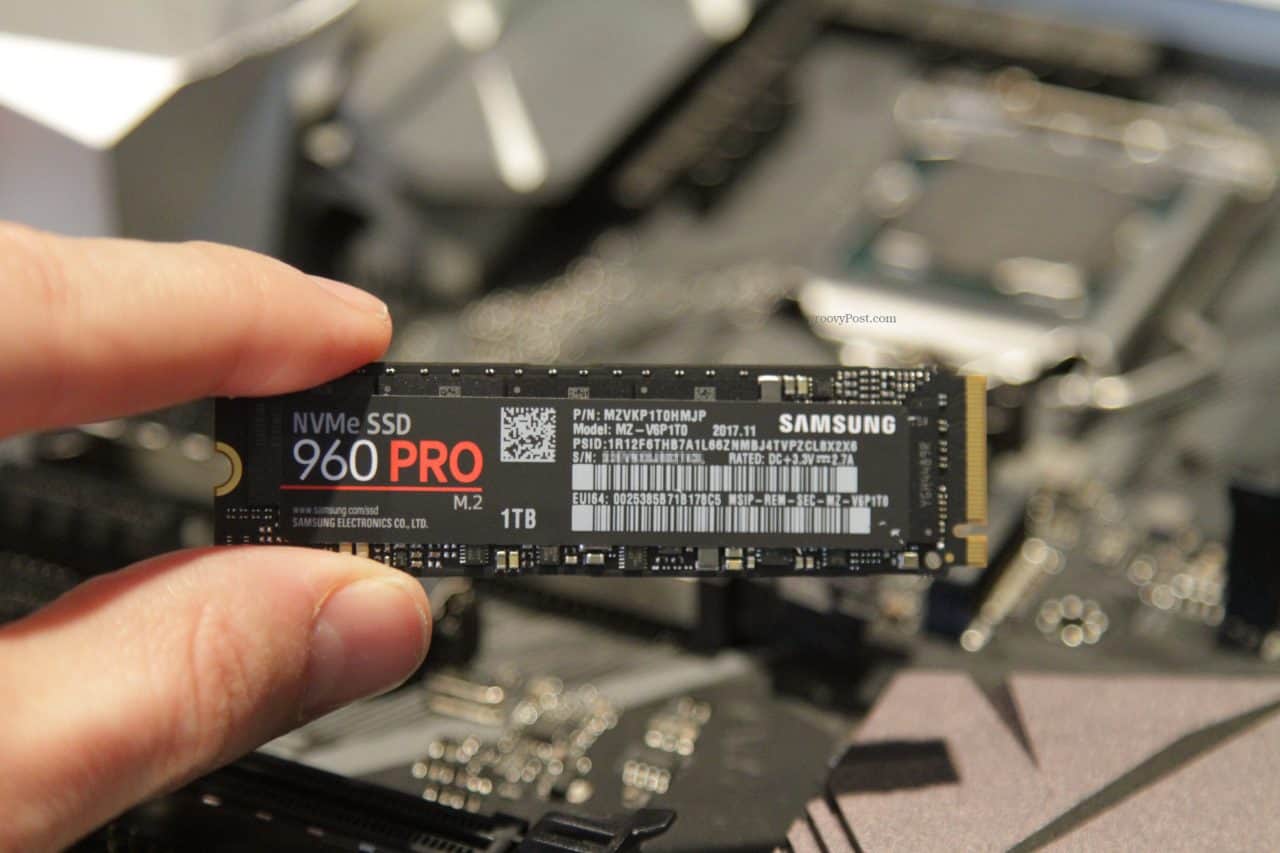
- Compatibility: Check the compatibility of your computer with the SSD you intend to install. Verify the type of interface your computer supports, which is typically SATA (Serial ATA) or NVMe (Non-Volatile Memory Express). SATA SSDs connect using a standard SATA data cable and power connector, while NVMe SSDs use an M.2 connector or PCIe slot. Ensure that your computer has the necessary connectors to accommodate the SSD you plan to install.
- Data Transfer: Next, consider how you will transfer your data from the current boot drive to the new SSD. There are a few options available:
- System Image: Creating a system image involves taking a complete snapshot of your current boot drive, including the operating system, applications, settings, and data. You can then restore this image onto the new SSD, effectively transferring everything in one go. However, this method requires additional storage space to store the system image.
- Clone: Cloning involves making an exact copy of your current boot drive onto the new SSD. This method requires software that can clone the entire drive, ensuring that all files, partitions, and settings are replicated on the SSD. Cloning is a convenient option as it transfers everything in one step, and you don’t need to reinstall your operating system or applications.
- Fresh Install: A fresh install involves reinstalling the operating system and applications from scratch onto the new SSD. With this method, you start with a clean slate and only transfer your essential data files manually. While this option may take more time and effort, it can be seen as an opportunity to declutter your system and start fresh.
By determining the compatibility of your computer with the selected SSD and understanding the different data transfer options available, you can choose the method that suits your needs best. Whether you opt for a system image, cloning, or a fresh install, each approach has its advantages and considerations. Take some time to decide which method aligns with your preferences and requirements for a successful boot drive change to an SSD. With these aspects clarified, we can move on to the next steps of gathering the necessary tools and software for the installation.
Gather Necessary Tools and Software
Before you begin the process of changing your boot drive to an SSD, it’s essential to gather all the necessary tools and software. Having everything ready in advance will help streamline the installation process and ensure a successful transition. Here are the essential items you will need:
- Screwdriver: Depending on your computer’s design, you may need a screwdriver to open the case and access the internal components. Check the type of screws used and have the appropriate screwdriver on hand.
- SATA Cables: If you’re installing a SATA SSD, ensure that you have the necessary SATA cables to connect the SSD to your motherboard. Typically, these cables come with either your motherboard or the SSD itself, but it’s always good to check beforehand.
- Mounting Brackets: Some SSDs may require mounting brackets or adapters to fit properly in your computer’s case. Check the specifications of your SSD and see if any additional mounting brackets or adapters are needed, and acquire them if necessary.
- Data Migration or Cloning Software: If you have decided to transfer your data from the old boot drive to the new SSD using a system image or cloning method, you will need data migration or cloning software. There are several reputable software options available, such as Acronis True Image, EaseUS Todo Backup, or Macrium Reflect.
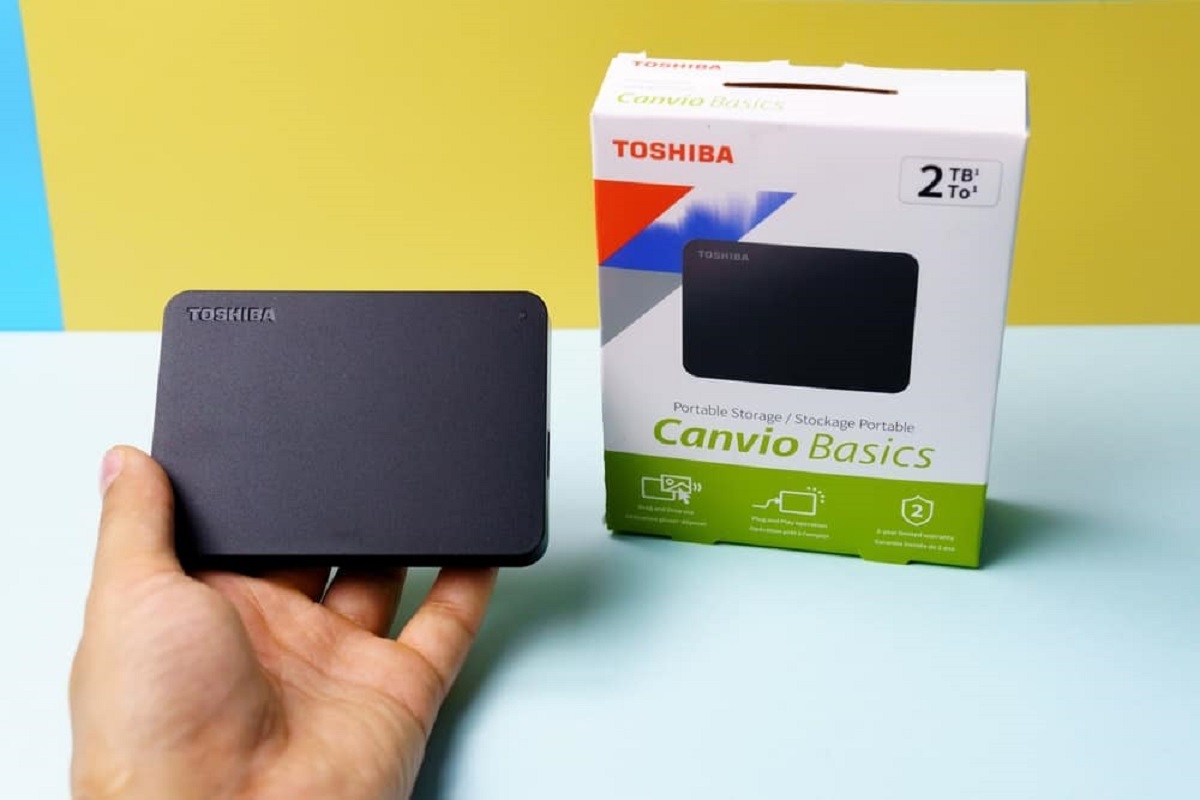
- External Drive or Cloud Storage: If you plan on creating a system image or backing up your data before the transfer, you’ll need an external drive or cloud storage to store your files temporarily. Ensure that you have sufficient storage space available to accommodate your data backup.
- Operating System Installation Media: If you decide to perform a fresh install on the new SSD, make sure you have the installation media for your operating system. This can be a DVD or a USB drive containing the installation files. You may need to create this media beforehand if you don’t already have it.
By gathering these essential tools and software before starting the SSD installation process, you can minimize interruptions and ensure a smooth transition. Double-check the compatibility of your tools and software with your specific computer and SSD model. Being prepared with the necessary equipment will make the installation process easier and more efficient. With everything ready, you can proceed to the next steps, such as backing up your data and creating a system image or clone of your current boot drive.
Backup Your Data
Before making any changes to your computer’s boot drive, it is crucial to back up your data. This step ensures that you don’t lose any important files or documents during the transition to the new SSD. Here are some important considerations when backing up your data:
- Identify Critical Files: Take some time to identify the files and folders that contain critical data, such as documents, photos, videos, and any other files that you cannot afford to lose. This ensures that you prioritize backing up the most important information.
- Choose a Backup Method: Determine the backup method that suits your needs best. You can choose between local backups and cloud backups. Local backups involve storing your data on an external hard drive or another storage device, while cloud backups involve uploading your data to a remote server using a cloud storage service like Google Drive, Dropbox, or OneDrive.
- Use Backup Software: Consider using backup software to streamline the process and ensure that your data is backed up efficiently. Backup software provides features like automatic scheduling, incremental backups, and encryption for added security. Popular backup software options include Acronis True Image, EaseUS Todo Backup, and Macrium Reflect.
- Create Multiple Backup Copies: It’s always a good idea to have multiple backup copies of your data in case of hardware failure or other unforeseen events. Consider creating multiple backups on different storage devices or utilizing both local and cloud backup methods for added redundancy.
- Test the Backup: After completing the backup process, it’s essential to test the backed-up data to ensure its integrity. Verify that you can access and restore files from the backup to confirm that the backup was successful and your data is properly backed up.
- Keep the Backup Secure: If your data contains sensitive information, make sure to keep your backup secure. If using external hard drives, store them in a safe location. If using cloud storage, enable two-factor authentication and choose a strong, unique password to protect your data.
Backing up your data is a crucial step to safeguard your important files and documents. By identifying critical files, choosing a backup method, using backup software, creating multiple backup copies, testing the backup, and keeping it secure, you can ensure that your data is protected during the transition to the new SSD. With your data safely backed up, you can proceed with confidence to the next steps of creating a system image or clone of your current boot drive.
Create a System Image or Clone
Once you have backed up your data, it’s time to transfer your operating system, applications, and files to the new SSD. There are two primary methods for accomplishing this: creating a system image or cloning your current boot drive. Here’s how you can proceed with each option:
- Create a System Image: To create a system image, you will need backup software that supports this feature. Start by launching the backup software and selecting the option to create a system image backup. Choose the destination where you want to save the system image, such as an external hard drive or a network location. Follow the software’s instructions to initiate the backup process. This may take some time depending on the size of your data. Once the system image backup is complete, be sure to verify its integrity and accessibility before proceeding to the next steps.
- Clone Your Boot Drive: Cloning involves making an exact copy of your current boot drive onto the new SSD. This method requires cloning software, which you can find from reputable providers. Install and launch the cloning software, and then select the option to clone your boot drive. Choose the source drive (your current boot drive) and the destination drive (the new SSD). Ensure that you have selected the correct target drive, as cloning will erase all data on the destination drive. Start the cloning process and wait for it to complete. Once the cloning is finished, verify that the new SSD contains an exact copy of the original boot drive.
Whether you choose to create a system image or clone your boot drive, both methods allow you to transfer your operating system, applications, and other files to the new SSD seamlessly. These methods eliminate the need for a fresh installation and ensure that everything is preserved, including settings and preferences. After creating a system image or completing the cloning process, you are well-prepared to proceed with physically installing the SSD into your computer.
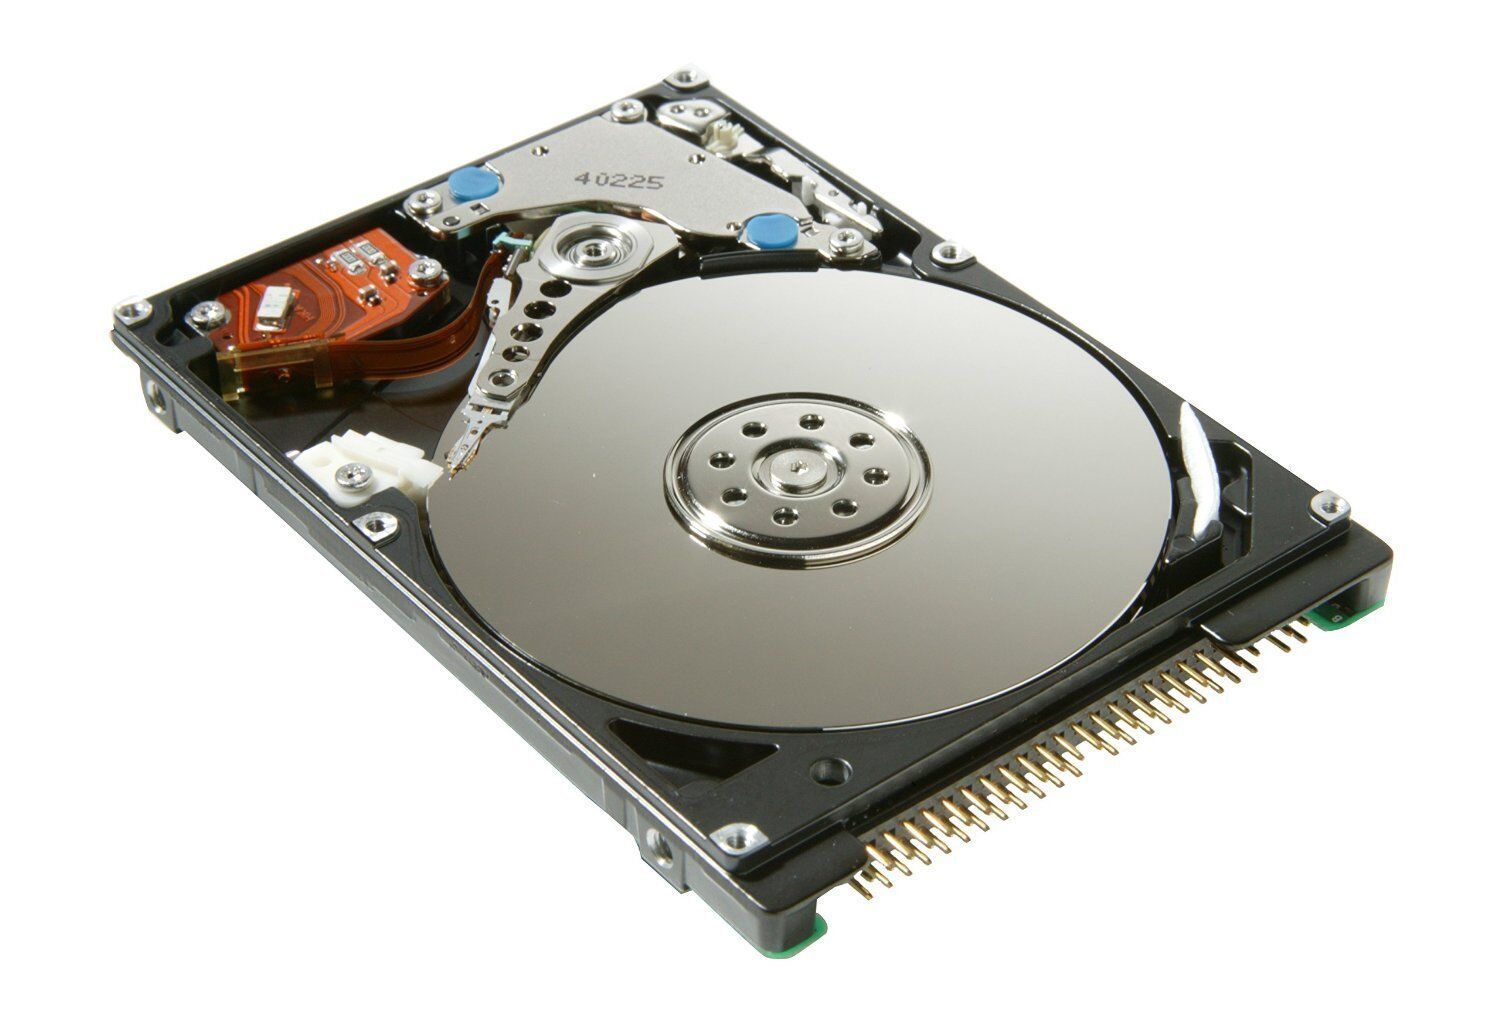
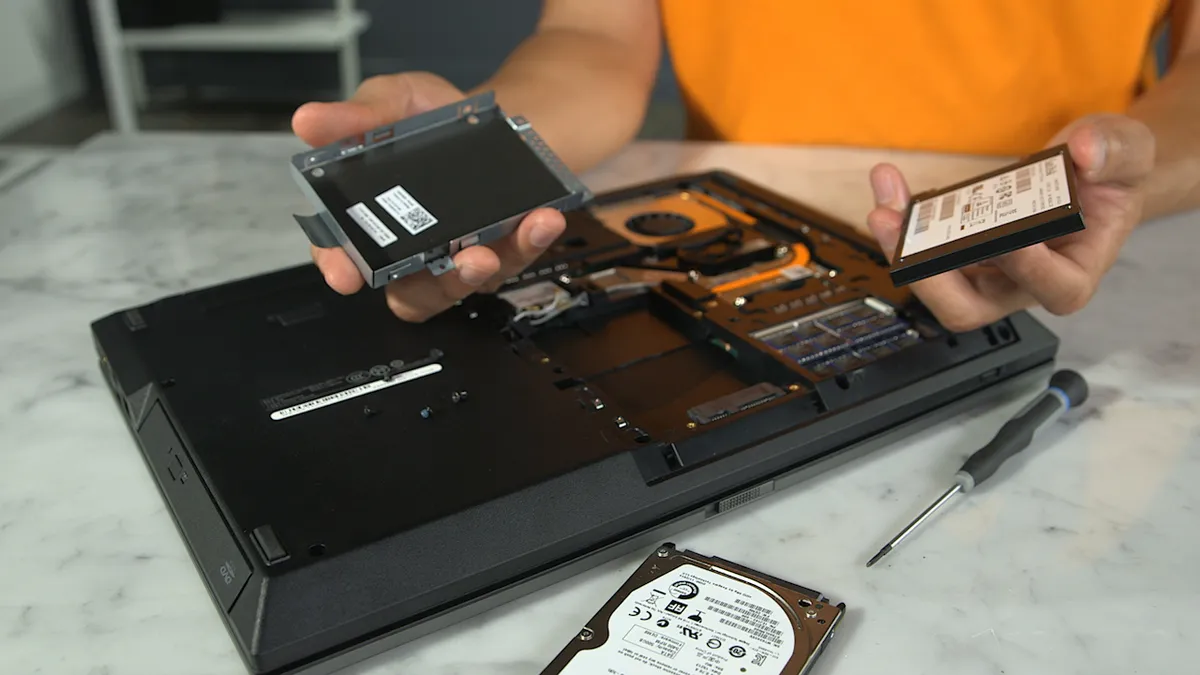
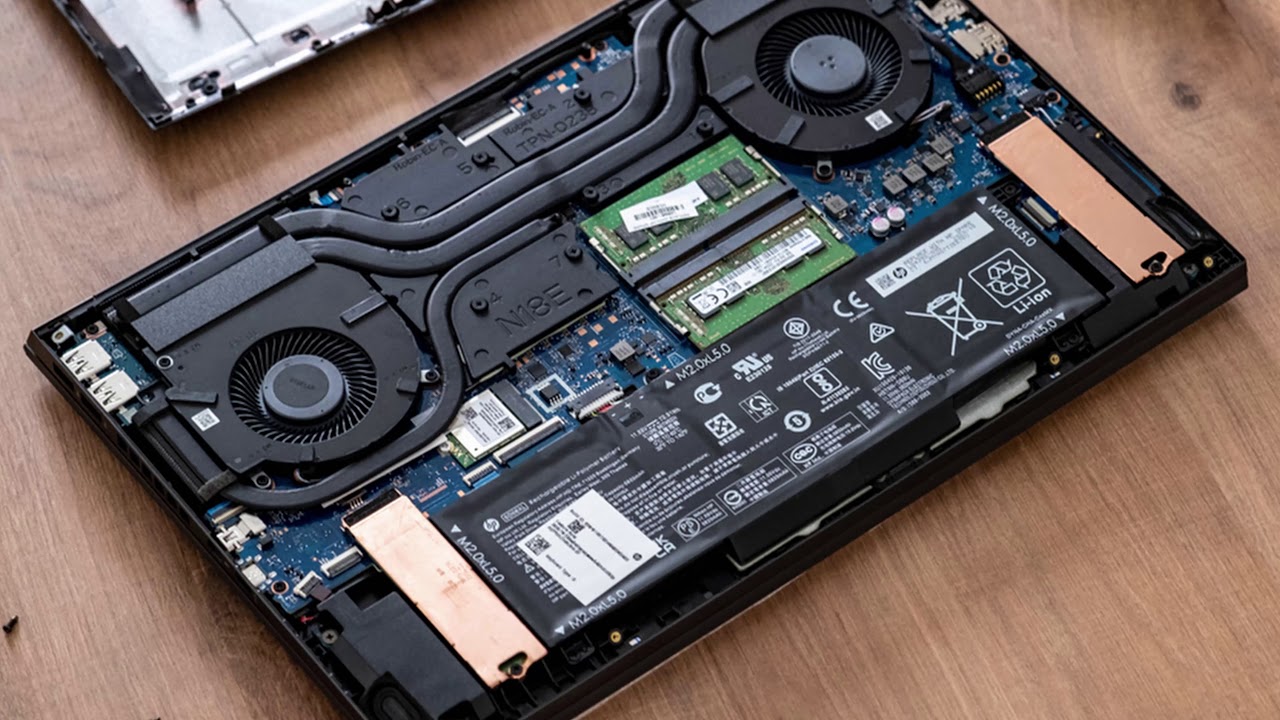
Physically Install the SSD
Now that you have prepared your system and data for the transition, it’s time to physically install the SSD in your computer. Follow these steps to ensure a successful installation:
- Power Off Your Computer: Before working with any hardware components, shut down your computer properly and disconnect the power cable.
- Open the Computer Case: Depending on your computer model, you may need to remove screws or use a latch or lever to open the case. Refer to the manufacturer’s instructions or search for specific instructions for opening your computer’s case.
- Locate the SATA Ports: Identify the SATA ports on your motherboard. These ports are used to connect storage devices, including SSDs. Refer to your motherboard’s documentation to identify the SATA ports and their locations.
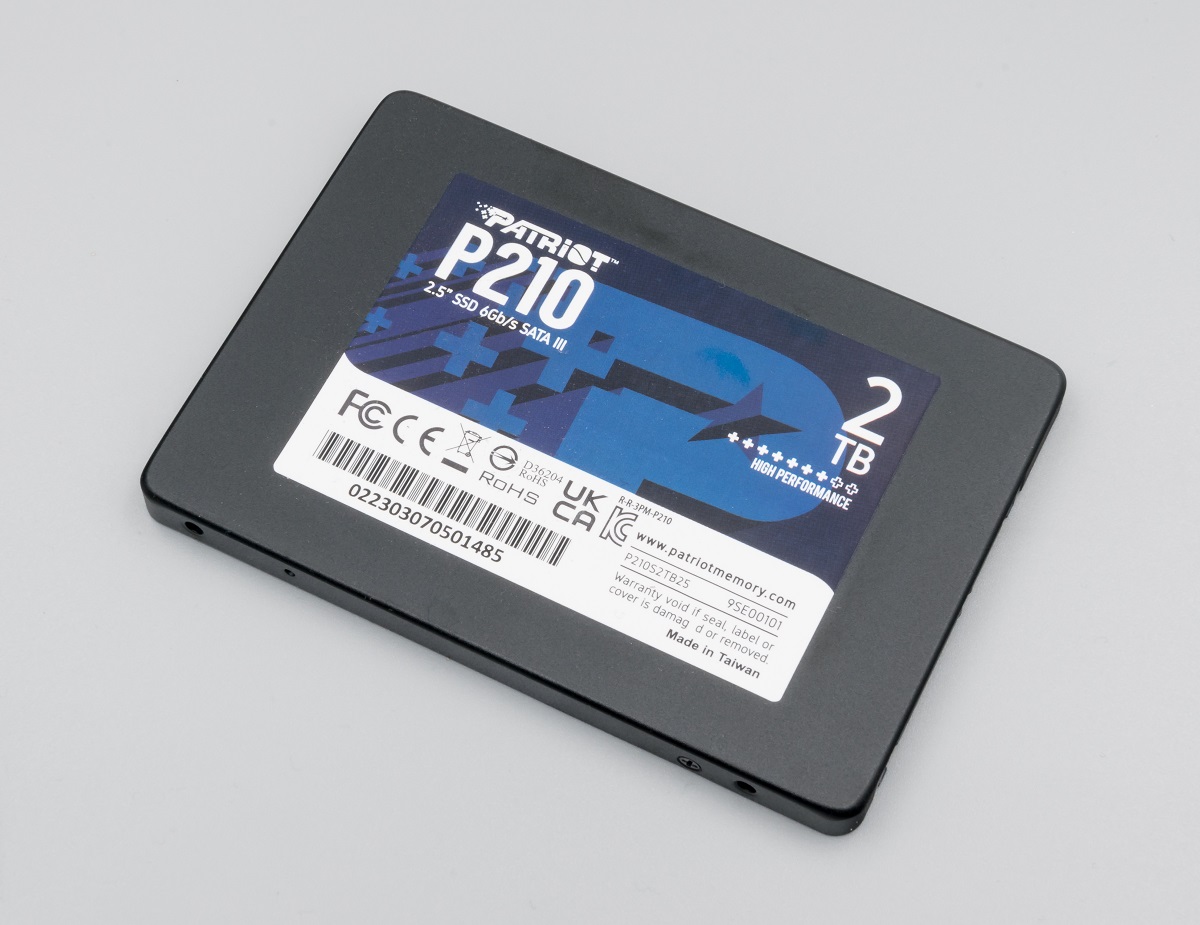
- Prepare the SSD: If the SSD does not come with a pre-installed bracket, attach the appropriate mounting bracket to the SSD. Consult the SSD’s manual or the manufacturer’s instructions for specific details on how to mount the drive.
- Connect the SSD: Connect one end of a SATA data cable to an available SATA port on the motherboard, and connect the other end to the SSD. Ensure a secure connection. Additionally, connect the power cable to the SSD to provide it with power.
- Secure the SSD: If necessary, use screws or brackets to secure the SSD in place inside the computer case. Ensure that it is firmly and securely mounted, but be cautious not to overtighten the screws, as this may damage the SSD.
- Close the Computer Case: Once the SSD is properly installed, close the computer case and fasten any screws or latches to secure it. Ensure that everything is properly aligned and connected.
- Reconnect Power and Start Up: Reconnect the power cable to your computer and turn it on. The system should detect the new SSD during the startup process.
By following these steps carefully, you can successfully install the SSD into your computer. Ensure that all connections are secure, and the SSD is firmly mounted. Once the SSD is installed, you can proceed with configuring and setting it as the main boot drive to take advantage of its improved performance. The following section will guide you through the process of connecting and configuring the SSD.
Connect and Configure the SSD
After physically installing the SSD in your computer, the next step is to connect and configure it properly to ensure it functions as the main boot drive. Follow these steps to connect and configure the SSD:
- Power Off Your Computer: Before working with any internal components, shut down your computer and disconnect the power cable.
- Open the BIOS or UEFI Setup: Restart your computer and access the BIOS or UEFI setup by pressing the designated key during startup. The exact key to access the setup varies depending on the computer manufacturer and model. Common keys include F2, Del, Esc, or F12. Consult your computer’s manual or search online for the specific key to access the setup.
- Locate the Boot Order: In the BIOS or UEFI setup, locate the boot order or boot sequence settings. This menu determines the order in which your computer looks for a bootable device. Ensure that the SSD is listed among the boot options.
- Set the SSD as the First Boot Device: Once you have located the boot order settings, set the SSD as the first boot device. This ensures that your computer boots from the SSD rather than the previous boot drive. Use the on-screen instructions or refer to the BIOS or UEFI manual to set the SSD as the primary boot device.
- Save and Exit: After setting the SSD as the first boot device, save the changes made in the BIOS or UEFI setup and exit the menu. The computer will restart.
- Verify the Boot Drive: During the restart, pay attention to the screen to ensure that the computer boots from the SSD. The system should load faster, indicating that the boot drive has been successfully changed to the SSD.
- Run the Operating System: Once the computer has booted successfully from the SSD, log into your operating system. Verify that the operating system and all applications function properly. You may be required to reactivate your operating system or reinstall certain drivers, depending on your computer configuration.
By connecting and configuring the SSD correctly in the BIOS or UEFI setup, you can ensure that the computer boots from the new SSD as the main boot drive. This step is crucial to fully utilize the speed and performance benefits offered by the SSD. After successfully configuring the SSD, you can proceed to the next step of testing the boot drive change to ensure everything functions as expected.
Set the SSD as the Boot Drive
After connecting and configuring the SSD, the next step is to set it as the boot drive in your operating system. By designating the SSD as the boot drive, your computer will prioritize it when starting up, resulting in faster boot times and improved overall performance. Here’s how you can set the SSD as the boot drive:
- Open the Disk Management Utility: In Windows, open the Disk Management utility by right-clicking on the Start menu and selecting “Disk Management.” Mac users can open the Disk Utility by navigating to “Applications,” then “Utilities,” and selecting “Disk Utility.”
- Locate the SSD: In the Disk Management utility, locate the SSD. It should appear as a separate disk, indicating that it has been recognized by the operating system. Take note of the disk number or label for easier identification.
- Assign a Drive Letter (Windows Only): If the SSD does not have a drive letter assigned, right-click on the SSD and select “Change Drive Letter and Paths.” Choose an available drive letter and click “OK” to assign it.
- Format the SSD (If Necessary): If the SSD is new or has not been formatted, you may need to format it before it can be used. Right-click on the SSD and select “Format” (Windows) or “Erase” (Mac). Follow the prompts to format the drive with your desired file system and allocation unit size.
- Update Boot Drive Priority (Windows Only): In Windows, open the BIOS or UEFI setup by restarting your computer and pressing the designated key. Enter the boot order settings and set the SSD as the top priority boot device. Save the changes and exit the BIOS or UEFI setup.
- Restart Your Computer: After making the necessary changes in the disk management utility and BIOS or UEFI setup, restart your computer to apply the changes.
- Verify Boot Drive: During the restart, pay attention to the startup process and loading screen. The system should now boot from the SSD, and you should notice faster boot times. Once the operating system has fully loaded, confirm that the SSD is recognized as the boot drive in the system information or settings.
By setting the SSD as the boot drive in both the disk management utility and the BIOS or UEFI setup, you ensure that your computer prioritizes the SSD for booting. This step is essential to take full advantage of the speed and performance benefits offered by the SSD. Once you have successfully set the SSD as the boot drive, you are ready to continue using your computer with significantly improved performance and responsiveness.
Test the Boot Drive Change
After setting the SSD as the boot drive, it’s essential to test the changes and confirm that everything is functioning correctly. Testing the boot drive change ensures that your computer starts up from the SSD without any issues. Here’s how you can perform a boot drive test:
- Restart Your Computer: Begin by restarting your computer to initiate the boot process.
- Pay Attention to Startup Time: Observe the startup time closely. If the boot drive change was successful, you should notice a significant decrease in the time it takes for your computer to boot up. The SSD’s faster read and write speeds should result in a quicker overall startup process.
- Verify Operating System and Application Accessibility: Once your computer has finished booting up, check that your operating system and applications are accessible and functioning normally. Open a few applications and ensure they load quickly without any errors.
- Check for Data Accessibility: Confirm that all of your data, including files and documents, are accessible from the new boot drive. Test opening various files and folders to ensure that they open without any issues.
- Perform Basic Tasks: Carry out some basic tasks to ensure that your computer is operating smoothly with the new boot drive. Open web browsers, access network resources, and perform activities that you typically do on your computer to verify that all functions are working as expected.
- Run System Performance Tests (Optional): If desired, you can run system performance tests and benchmarks to compare the performance of your computer before and after the boot drive change. This step is particularly useful for evaluating performance improvements and ensuring that the SSD is delivering the expected speed enhancements.
By testing the boot drive change, you can ensure that your computer is successfully booting from the SSD and that all your data and applications are accessible. If you encounter any issues during the testing process, refer to the troubleshooting tips in the next section. However, if everything runs smoothly and your computer performs at an improved speed, congratulations! You have successfully changed your boot drive to an SSD and can now enjoy the enhanced performance and responsiveness that the SSD provides.
Additional Considerations and Troubleshooting Tips
While changing your boot drive to an SSD is generally a straightforward process, there are a few additional considerations and troubleshooting tips that can help ensure a smooth transition. Here are some important points to keep in mind:
- Verify Firmware Updates: After installing the SSD, check the manufacturer’s website for any firmware updates. Keeping the firmware up to date can address potential bugs, improve compatibility, and enhance performance.
- Driver Updates: Ensure that all device drivers, especially those related to the SSD and storage controllers, are up to date. Visit the manufacturer’s website or use suitable driver update software to download and install the latest drivers. This can help avoid compatibility issues and ensure optimal performance.
- Partition Alignment: Pay attention to the proper partition alignment on the SSD, especially if you performed a fresh installation or manually partitioned the drive. Incorrect partition alignment can impact performance. Use disk management tools or consult official documentation to ensure correct alignment, typically with an offset of 1MB or multiples of 4KB.
- TRIM Support: Verify that TRIM support is enabled for your SSD. TRIM helps maintain the performance of the drive by allowing the operating system to inform the SSD which data blocks are no longer in use. This step is usually automatic in modern operating systems, but it’s a good idea to double-check and enable TRIM if necessary.
- Check for Resource Conflicts: In rare cases, changing the boot drive to an SSD might cause resource conflicts with other hardware components in your computer. Monitor your system for any unusual behavior, such as random crashes or errors, and investigate if any conflicts arise. Consult the manufacturer’s support documentation or seek assistance from forums or technical support.
- Seeking Professional Help: If you encounter persistent issues or are unsure about any step of the process, consider seeking professional assistance. A computer technician or specialist can provide expert guidance and resolve any complex issues that may arise during the boot drive change.
By considering these additional points and troubleshooting tips, you can navigate any potential challenges and ensure a successful boot drive change to an SSD. Remember to take your time, follow the instructions carefully, and double-check any settings or configurations. With proper attention to these considerations, you can maximize the benefits of your new SSD and enjoy a faster and more efficient computing experience.
Conclusion
Congratulations on successfully changing your boot drive to an SSD! By following the steps outlined in this guide, you have unlocked the full potential of your computer and can now enjoy faster boot times, improved system responsiveness, and overall enhanced performance. Here’s a recap of the key points covered:
We started by discussing the benefits of changing the boot drive to an SSD, highlighting its speed, improved system responsiveness, reduced power consumption, durability, and noiseless operation. These advantages make the upgrade to an SSD a worthwhile investment.
Next, we walked through the preparatory steps, including determining compatibility and transfer requirements, gathering necessary tools and software, and backing up your data. These steps ensure that you are ready for a smooth and successful transition to an SSD.
We then covered the process of creating a system image or clone to transfer your data from the old boot drive to the new SSD. Depending on your preference, you can choose the method that suits your needs best.
After physically installing the SSD and connecting it to your computer, we discussed how to set the SSD as the boot drive in both the BIOS or UEFI setup and the operating system. This step ensures that your computer prioritizes the SSD for booting, maximizing its speed and performance benefits.
Finally, we emphasized the importance of testing the boot drive change to confirm that everything is functioning properly. By observing the startup time, verifying the accessibility of the operating system and applications, and performing basic tasks, you can ensure that the boot drive change was successful.
Remember to consider additional factors such as firmware updates, driver updates, proper partition alignment, and resource conflicts. These considerations and troubleshooting tips can help you address any potential issues and optimize the performance of your SSD.
Thank you for following this guide, and we hope that you enjoy the improved speed and responsiveness of your computer with the new SSD as the boot drive. Feel free to refer back to this guide or seek professional assistance if you encounter any difficulties during the process. Happy computing!