Introduction
Welcome to this guide on how to charge an Otterbox power bank. If you’re a proud owner of an Otterbox power bank, you already know how important it is to have a reliable source of portable power. Whether you’re traveling, working, or enjoying outdoor activities, a fully charged power bank can be a lifesaver when your devices run low on battery.
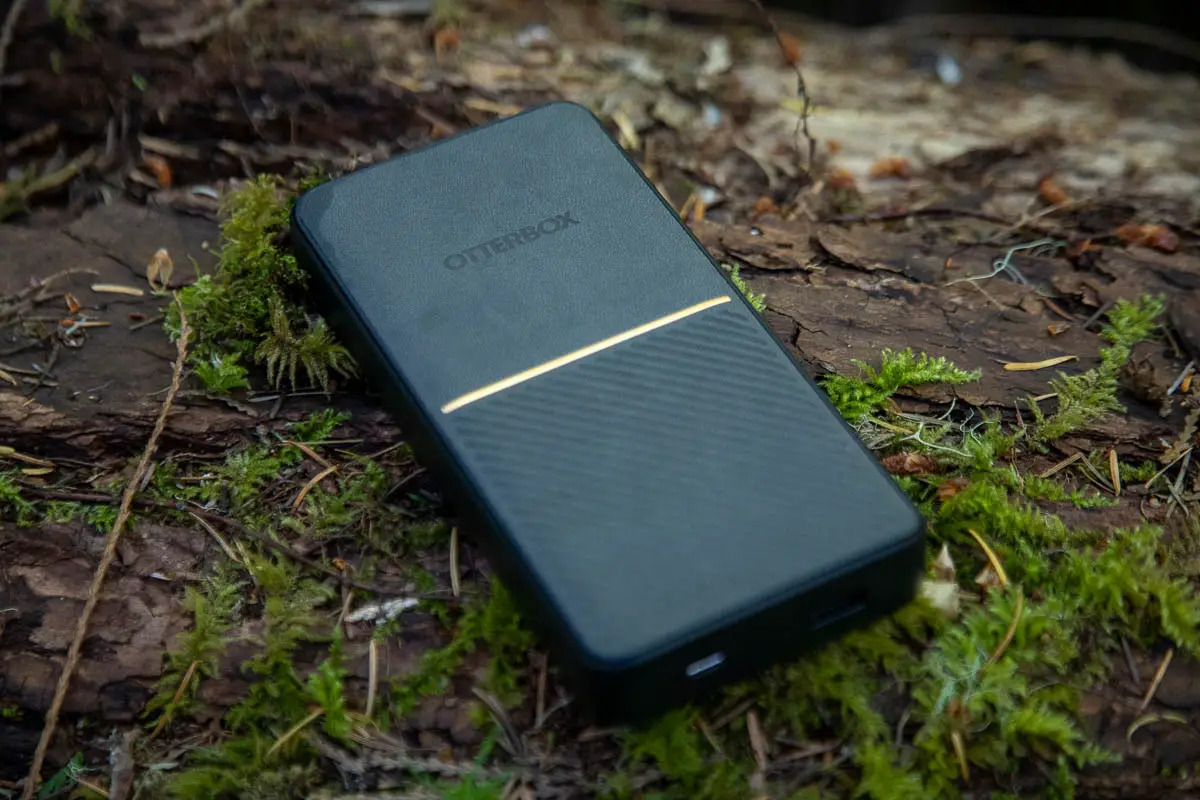
The Otterbox power bank is known for its durability, efficiency, and high-quality design. It’s designed to provide you with extended battery life for your smartphones, tablets, and other USB-powered devices. Charging your Otterbox power bank correctly ensures that you always have power on-the-go.
In this guide, we will walk you through the step-by-step process of charging your Otterbox power bank. We’ll cover everything from gathering the necessary equipment to safely disconnecting the power bank when the charging process is complete. So, let’s dive in and ensure that your Otterbox power bank is always ready to keep your devices charged and running.
Step 1: Gather the necessary equipment
Before you start charging your Otterbox power bank, make sure you have all the necessary equipment at hand. Having the right tools will ensure a smooth and efficient charging process. Here’s what you will need:
- Otterbox power bank: Of course, you’ll need your Otterbox power bank itself. Make sure it’s in good working condition and has enough battery capacity to charge your devices.
- Charging cable: You will need a USB-to-micro USB cable or a USB-C cable, depending on the model of your Otterbox power bank. This cable is used to connect the power bank to your devices for charging. If your power bank comes with a cable, use that. Otherwise, make sure you have a reliable and high-quality charging cable that is compatible with your power bank.
- Wall adapter or USB port: You have two options for supplying power to your Otterbox power bank. You can either connect it to a wall adapter, which is plugged into a power outlet, or you can connect it directly to a USB port on your computer, laptop, or car charger. Make sure you have a suitable wall adapter or access to a USB port for charging.
Gathering these essential components before you start charging will save you time and help ensure a successful charging session. Now that you have everything ready, let’s move on to the next step: ensuring your power bank is charged.
Step 2: Ensure the power bank is charged
Before connecting your Otterbox power bank to any device for charging, it’s essential to ensure that the power bank itself is fully charged. Here are the steps to follow:
- Check the power bank’s battery level: Most Otterbox power banks come with LED indicators that display the battery level. Check these indicators to see if the power bank needs to be charged. If the LED lights are low or not lit at all, it’s time to recharge the power bank.
- Connect the power bank to a power source: Use the provided charging cable and connect one end to the power bank’s input port. Then, plug the other end into a wall adapter or a USB port on your computer or laptop. Ensure that the power source is working properly and supplying electricity.
- Monitor the charging process: While the power bank is being charged, keep an eye on the LED indicators. They will usually light up or flash to indicate that charging is in progress. The LED lights may turn solid or stop flashing once the power bank is fully charged, depending on the model.
- Time for a full charge: The time it takes to fully charge an Otterbox power bank varies depending on its capacity and the power source’s output. As an estimation, it can take anywhere from a few hours to overnight to achieve a full charge. Refer to your power bank’s user manual for specific charging time recommendations.
Once your Otterbox power bank is fully charged and the LED lights indicate so, you’re ready to move on to the next step: connecting the power bank to your device and initiating the charging process.
Step 3: Connect the power bank to your device
Now that your Otterbox power bank is fully charged, it’s time to connect it to your device for charging. Follow these steps to ensure a secure and reliable connection:
- Locate the power bank’s output ports: Depending on the model of your Otterbox power bank, it may have one or multiple USB output ports. These ports are where you will connect your charging cable to charge your device.
- Choose the appropriate charging cable: Select the charging cable that matches the port on your device. If you’re charging a smartphone or tablet with a micro USB port, use a USB-to-micro USB cable. For devices with USB-C ports, use a USB-C cable. Ensure that the cable is in good condition and properly functioning.
- Connect the charging cable to the power bank: Plug the USB end of the cable into one of the power bank’s output ports. Make sure it is securely connected, as a loose connection may result in interrupted charging.
- Connect the charging cable to your device: Take the appropriate end of the charging cable (micro USB or USB-C) and connect it to your device’s charging port. Again, make sure it is firmly connected to establish a solid charging connection.
- Ensure a stable connection: Once the power bank and your device are connected, double-check the connections to make sure they are secure. Avoid putting strain on the cables and ports to prevent accidental disconnection during the charging process.
Once you have successfully connected your Otterbox power bank to your device, you’re ready to move on to the next step: initiating the charging process. This step will ensure that your device’s battery receives the power it needs to recharge effectively.
Step 4: Begin the charging process
Now that your Otterbox power bank is connected to your device, it’s time to start the charging process. Follow these simple steps to begin charging:
- Check the power bank’s battery level: Ensure that the LED indicators on your Otterbox power bank are lit up or flashing, indicating that it has adequate charge. This will ensure that the power bank is ready to deliver power to your device.
- Power on your device: If your device is turned off or in sleep mode, power it on to initiate the charging process. Make sure the device is unlocked and active during charging. Some devices may display a charging icon when connected to a power source.
- Monitor the charging progress: While your device is charging, keep an eye on the battery level indicator on the device’s screen. Depending on your device’s settings, you may also receive notifications about the charging status. This will help you track how much charge your device is gaining from the power bank.
- Avoid using your device heavily: While charging, it’s best to minimize using power-intensive applications or running multiple tasks simultaneously. This will allow the power bank to deliver a steady flow of power to your device, maximizing the charging efficiency.
- Charge until your device’s battery level is satisfactory: Continue charging your device until the battery level has reached your desired threshold. Once you’re satisfied with the charge, you can disconnect the power bank and use your device as needed.
It’s important to note that the charging time will vary depending on the device’s battery capacity, the power bank’s output, and other factors. Ideally, keep your device connected to the power bank until it reaches a comfortable battery level.
Now that you have initiated the charging process, let’s move on to the final step: disconnecting the power bank once the charging is complete.
Step 5: Disconnect the power bank when charging is complete
Once your device has reached the desired battery level, it’s time to disconnect the Otterbox power bank. Follow these steps to safely disconnect the power bank:
- Power off your device: Before disconnecting the power bank, it’s a good practice to power off your device. This helps prevent any potential data loss or damage that could occur due to sudden disconnection.
- Remove the charging cable: Gently unplug the charging cable from your device’s charging port. Take care not to pull or twist the cable forcefully to avoid damaging the port or the cable itself.
- Unplug the charging cable from the power bank: Similarly, remove the charging cable from the power bank’s output port. Make sure to hold the power bank securely while removing the cable to prevent any accidental drops or damage.
- Store the power bank and cable: Once the power bank is disconnected, store it safely in a cool and dry place. Keep the charging cable neatly coiled to avoid any tangles or damage. Proper storage ensures that the power bank is protected and ready for future use.
By following these steps, you can ensure a safe and hassle-free disconnection process for your Otterbox power bank. Properly disconnecting the power bank not only protects your device and the power bank itself but also extends their lifespan.
Congratulations! You have successfully learned how to charge your Otterbox power bank and keep your devices powered on the go. Remember, always read the user manual provided with your power bank for specific instructions and safety guidelines.
Now that you are equipped with the knowledge of charging your Otterbox power bank, you can confidently enjoy the convenience and reliability it offers. So go ahead, charge your devices anytime and anywhere with your fully charged Otterbox power bank!
Conclusion
Charging your Otterbox power bank is a simple and straightforward process that ensures you always have a reliable source of portable power for your devices. By following the steps outlined in this guide, you can confidently charge your power bank and keep your devices powered on the go.
Remember to gather all the necessary equipment before you start, ensuring that you have your Otterbox power bank, a suitable charging cable, and a wall adapter or USB port. Checking the power bank’s battery level and fully charging it before connecting it to your device is crucial for an efficient charging experience.
Once you’ve connected your power bank to your device, monitor the charging process to ensure a stable connection and avoid heavy usage of your device. Charging times may vary, so be patient and let the power bank do its job.
Once your device reaches the desired battery level, it’s important to disconnect the power bank safely. Power off your device, remove the charging cable from both the device and the power bank, and store the power bank and cable in a secure place for future use.
With this knowledge, you can make the most of your Otterbox power bank and ensure uninterrupted power for your devices whenever you need it.
Now enjoy the freedom of staying connected and powered up on your adventures, travels, and daily activities with your reliable Otterbox power bank!