Introduction
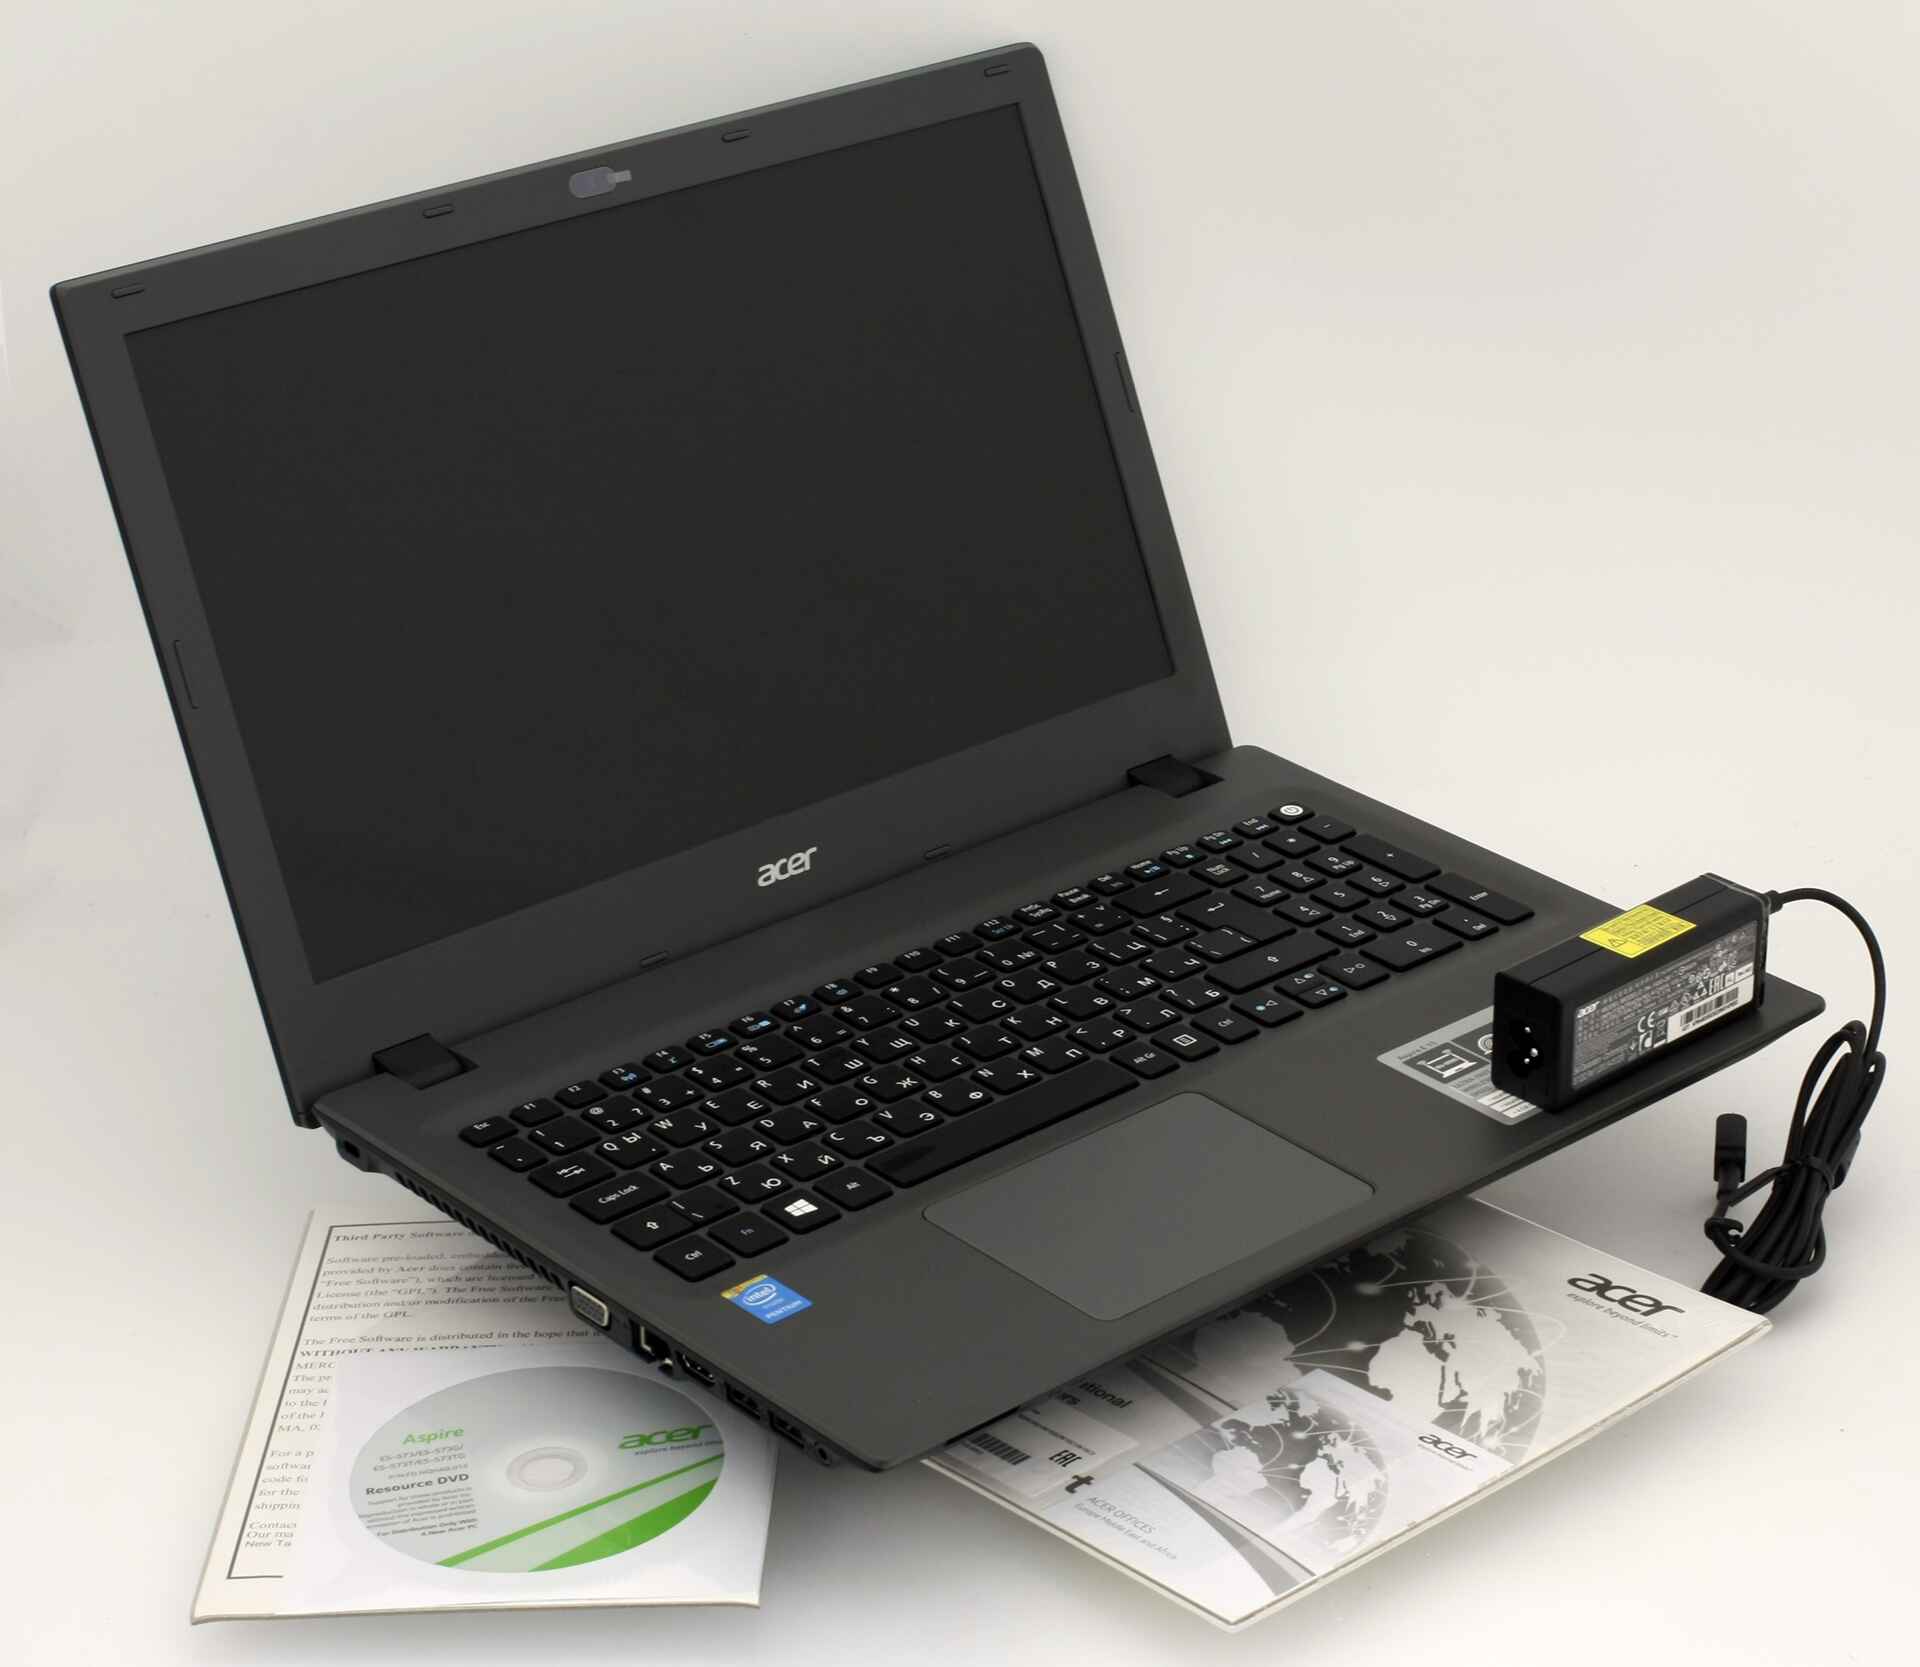
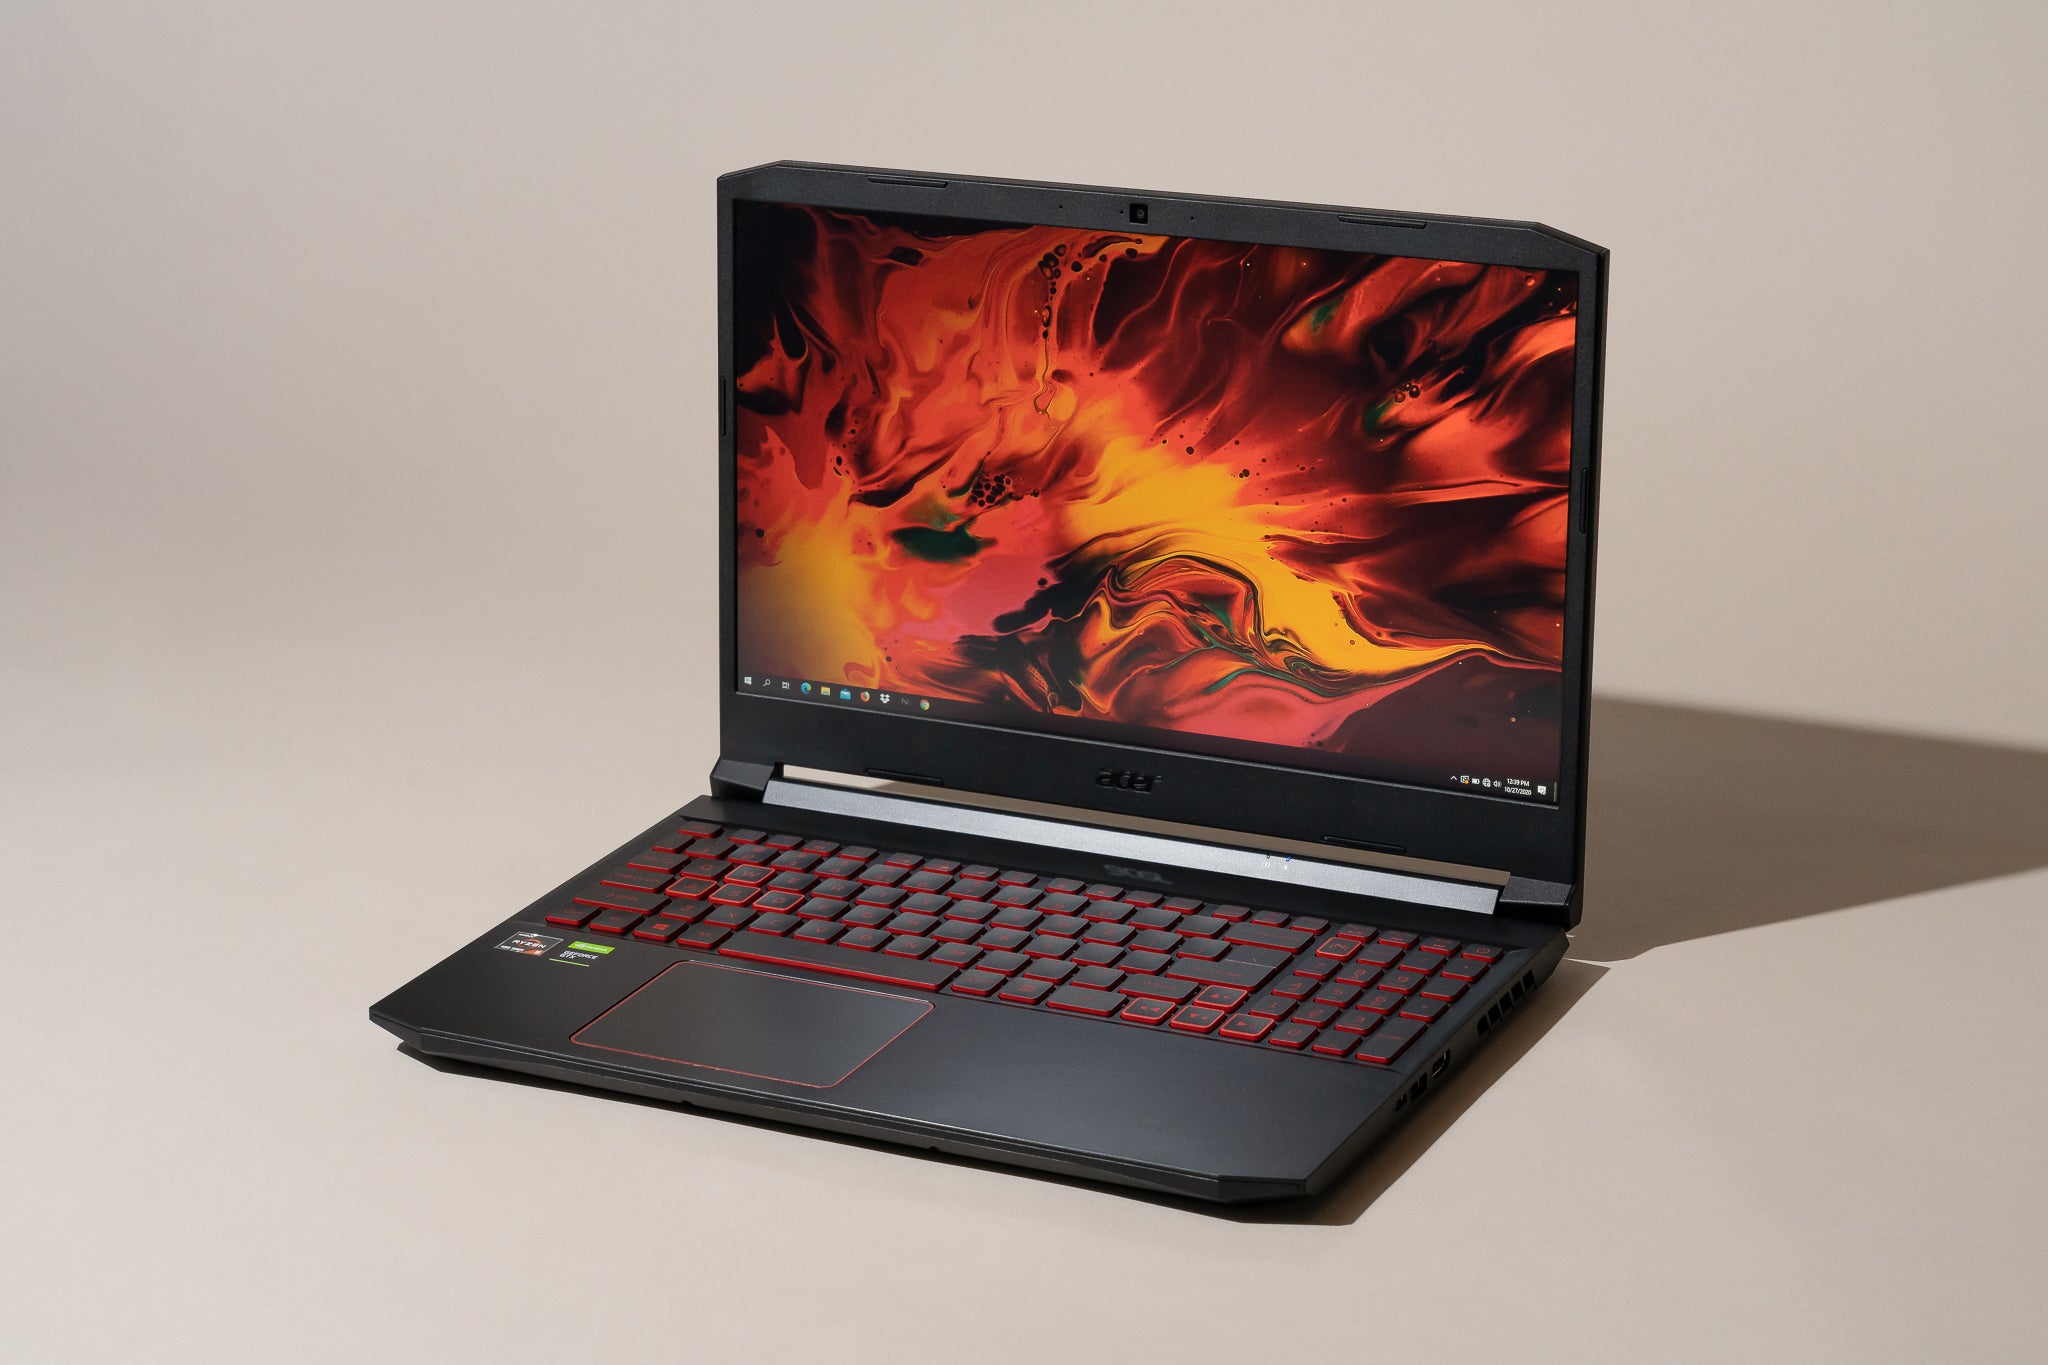
Welcome to the world of gaming! If you’re a proud owner of the Aspire E 15 laptop and looking to amp up its gaming capabilities, you’re in the right place. With a few strategic upgrades and optimizations, you can transform your Aspire E 15 into a powerful gaming machine that can handle the latest titles with ease.
While the Aspire E 15 is a budget-friendly laptop, it doesn’t mean you have to compromise on gaming performance. By carefully selecting the right upgrades and making some tweaks, you can unlock the full potential of this laptop for an immersive gaming experience.
In this guide, we will explore various upgrade options and techniques to boost your Aspire E 15’s gaming performance. From upgrading the RAM to optimizing system settings, we’ll cover everything you need to know to turn your laptop into a gaming powerhouse.
It’s worth noting that while these upgrades and optimizations can significantly enhance your gaming experience, they may require some technical know-how. If you’re not comfortable working with hardware or making advanced software changes, it’s always a good idea to consult a professional or service center.
Now that we’ve covered the basics, let’s dive into the exciting world of upgrading your Aspire E 15 into a gaming laptop. Strap in, hold on, and get ready to take your gaming adventures to the next level!
Choosing the Right Upgrades
Before diving into the specific upgrades, it’s important to assess your gaming needs and prioritize which areas of your Aspire E 15 need improvement. While you may not be able to upgrade every component, focusing on the most impactful upgrades will give you the best bang for your buck.
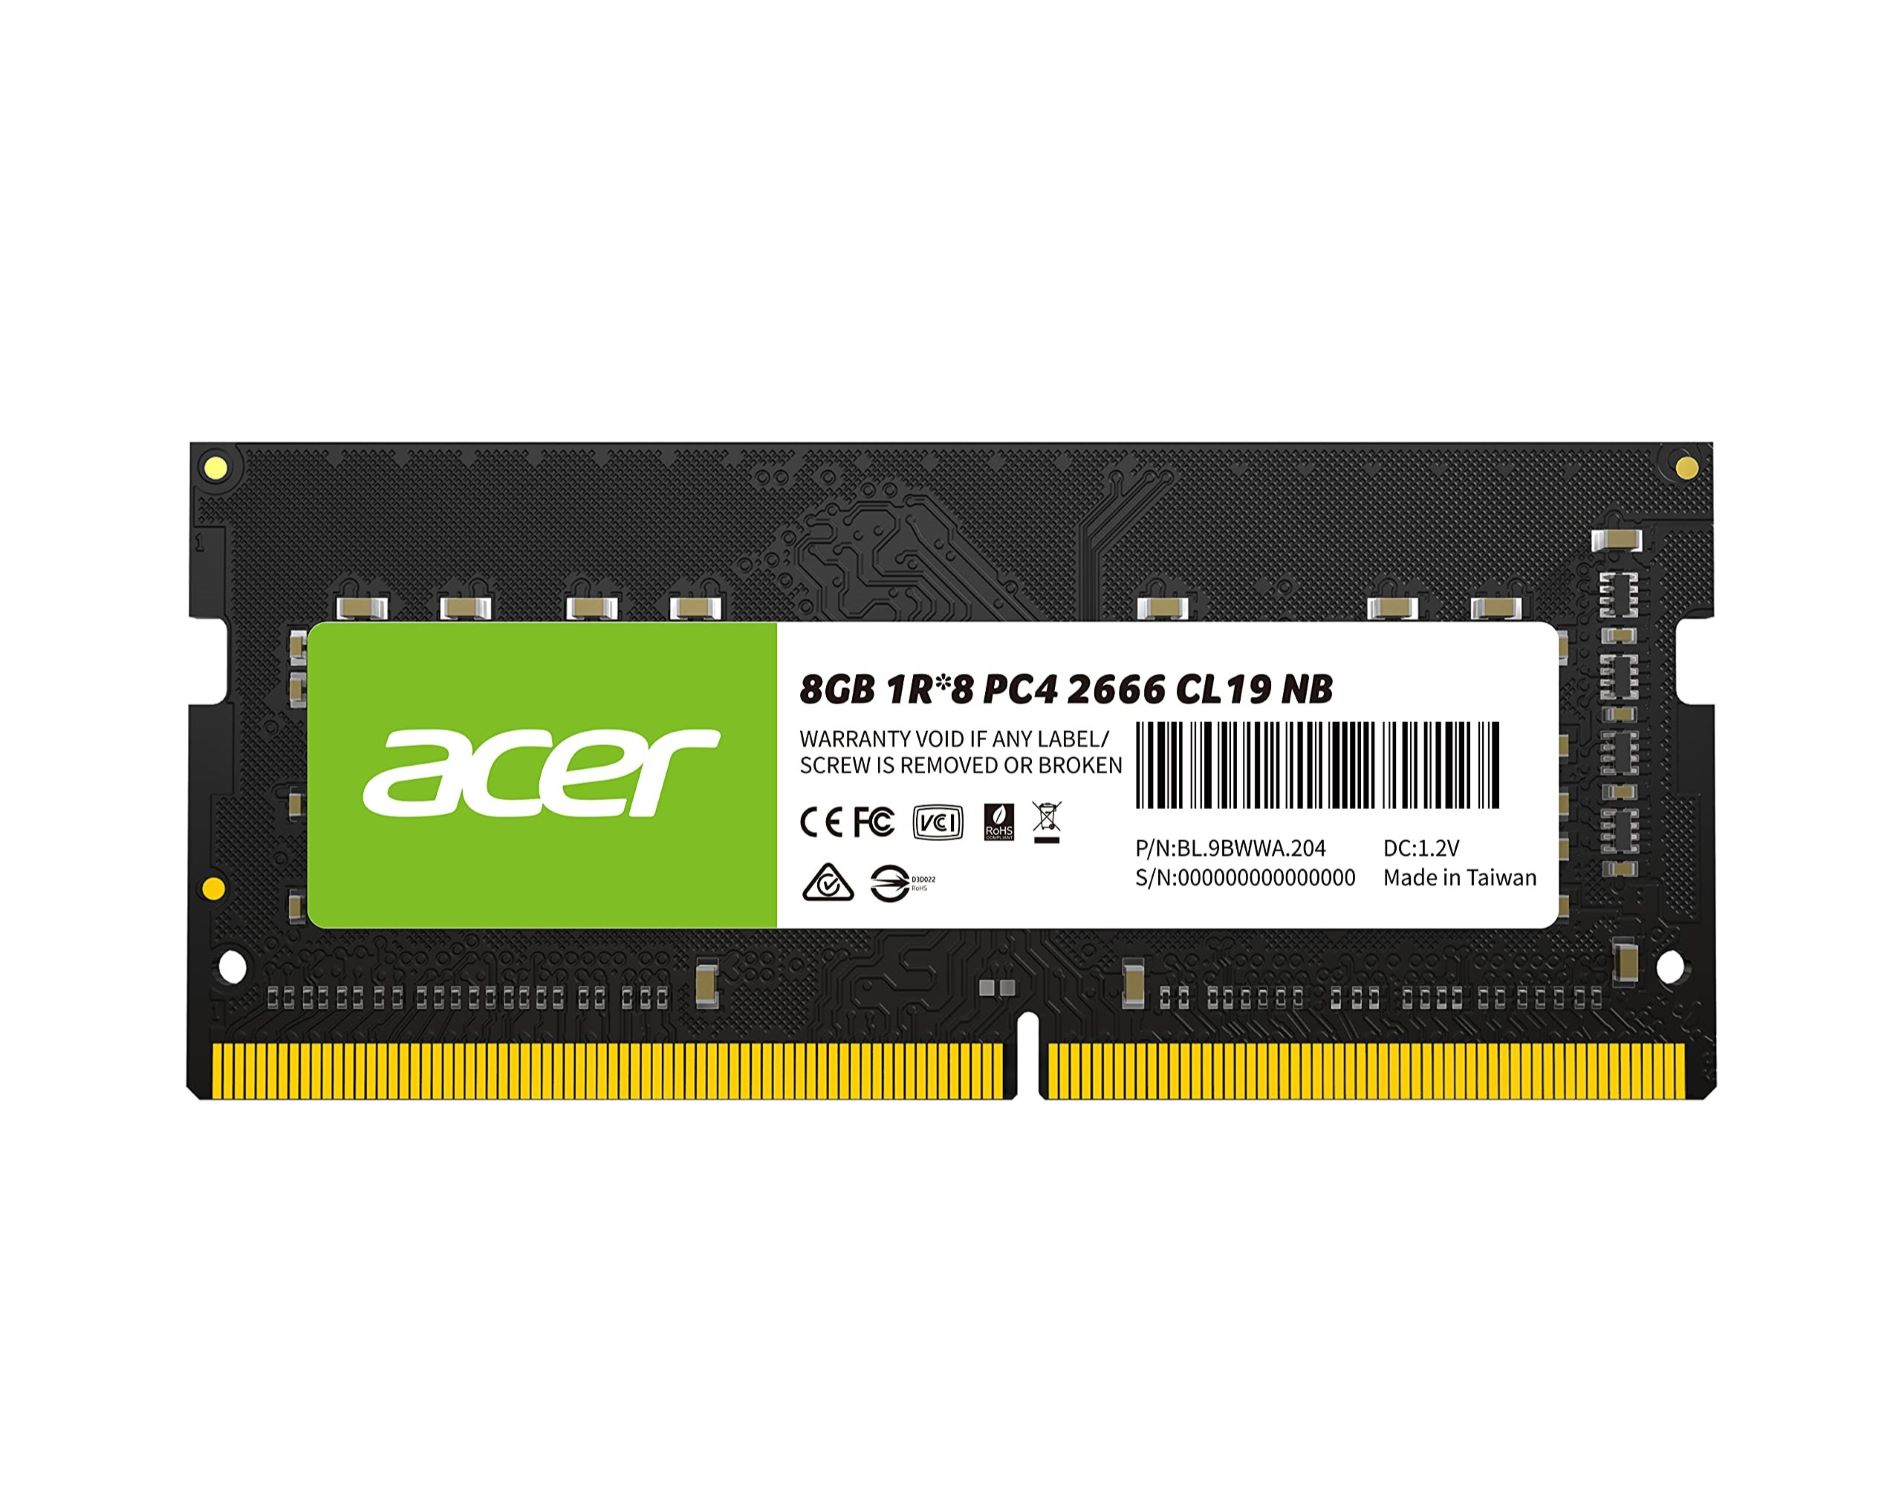
The first thing to consider is the RAM. Upgrading the RAM can significantly improve your laptop’s multitasking abilities and overall performance. Look for compatible RAM modules that offer a higher capacity and faster speed than the existing ones. Aim for at least 8GB of RAM, although 16GB or even 32GB may be preferable for more demanding games.
Next, consider the storage options. The Aspire E 15 comes with a standard hard drive, which can be a significant bottleneck for gaming performance. Upgrading to a solid-state drive (SSD) can greatly enhance load times and overall system responsiveness. Additionally, you can opt for a hybrid drive that combines the speed of an SSD with the storage capacity of a traditional hard drive.
Another crucial component to consider is the graphics card. While the Aspire E 15 comes with an integrated graphics card, upgrading to a dedicated graphics card can dramatically improve gaming performance. However, it’s important to ensure compatibility with your laptop’s motherboard before making any purchases. You may need to do some research or consult with a professional to find the right graphics card for your specific model.
Lastly, consider the potential for overclocking your CPU and GPU. Overclocking involves pushing these components beyond their default settings to achieve higher performance. However, this can increase heat generation and put additional stress on your laptop. Ensure that you have adequate cooling and monitoring systems in place before attempting to overclock your laptop.
By carefully choosing and prioritizing these upgrades, you’ll be well on your way to transforming your Aspire E 15 into a gaming beast. In the following sections, we’ll dive deeper into each upgrade option, providing step-by-step instructions and tips to help you along the way.
Upgrading the RAM
Upgrading the RAM in your Aspire E 15 is one of the most effective ways to boost its gaming performance. The additional RAM allows your laptop to handle more data simultaneously, resulting in smoother gameplay and faster load times. Here’s how you can upgrade the RAM:
- Research the compatible RAM modules: Check the specifications of your laptop to determine the maximum capacity and type of RAM it supports. Look for reputable brands that offer reliable and compatible RAM modules.
- Prepare the necessary tools: Ensure you have an antistatic wrist strap, a small screwdriver, and a clean workspace to carry out the upgrade.
- Power down and disconnect: Shut down your laptop and unplug it from the power source. It’s essential to discharge any static electricity by touching a grounded metal object before proceeding.
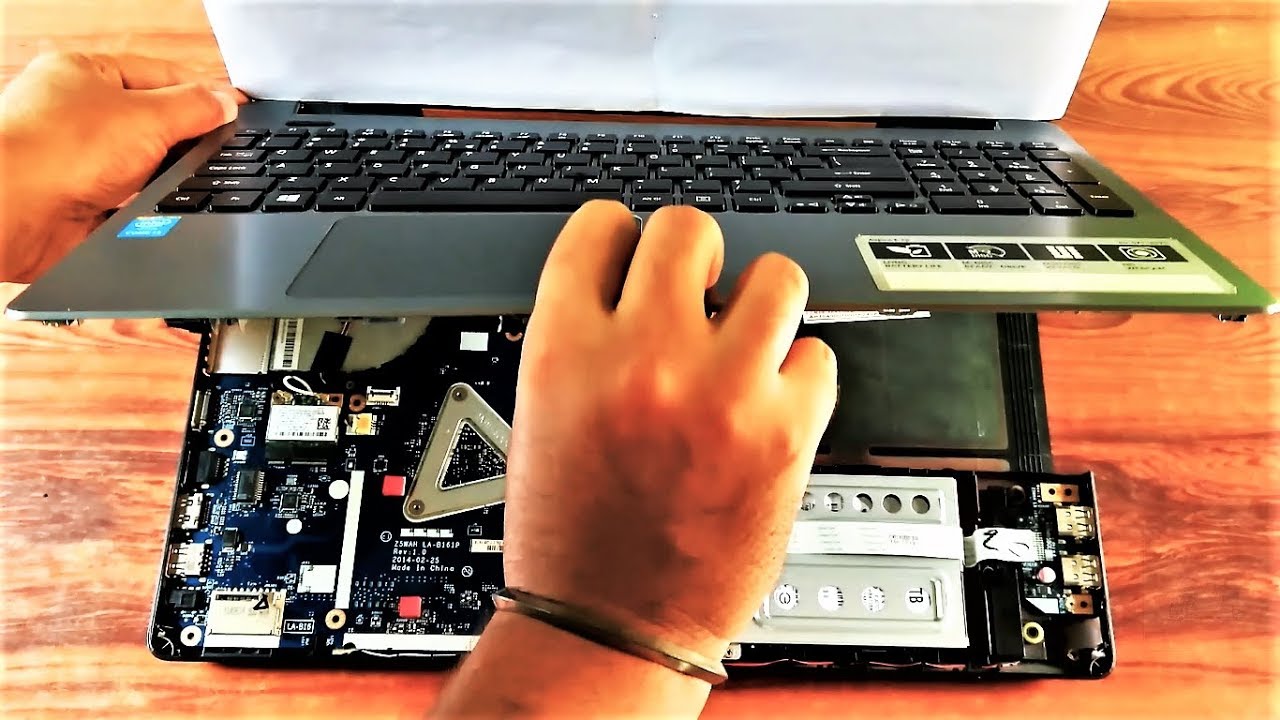
- Locate the RAM slots: Most laptops have easily accessible RAM slots on the bottom panel. Consult your laptop’s manual or online resources if you’re unsure about the location.
- Remove the existing RAM module: Gently spread the retention clips on either side of the module until it pops up at a 45-degree angle. Slide it out carefully and set it aside in a safe place.
- Insert the new RAM module: Align the notch on the module with the slot and insert it at a 45-degree angle. Apply even pressure on both ends until it clicks into place. Ensure that the retention clips secure the module.
- Close and test: Put the bottom panel back on and secure it with the screws. Power on your laptop and check the system properties or Task Manager to verify that the new RAM module is recognized.
It’s important to note that upgrading the RAM alone may not result in a significant performance boost if other components are limiting your gaming experience. Consider upgrading other components or optimizing your system settings for a more comprehensive improvement.
By following these steps and choosing the right RAM module, you can easily upgrade the RAM in your Aspire E 15 and enjoy a smoother gaming experience. Let’s move on to the next section to explore another crucial upgrade option.
Installing a Solid State Drive (SSD)
Upgrading to a solid-state drive (SSD) can significantly improve the gaming performance of your Aspire E 15. SSDs offer faster read and write speeds compared to traditional hard drives, resulting in quicker boot times, reduced game load times, and overall improved system responsiveness. Here’s how you can install an SSD in your laptop:
- Research and choose an SSD: Look for a compatible SSD that suits your storage needs and budget. Consider factors like capacity, speed, and reliability when making your selection.
- Prepare the necessary tools: You’ll need a small screwdriver, an antistatic wrist strap, and a clean workspace for the installation.
- Back up your data: Before installing the SSD, make sure to back up all your important files and data to avoid any data loss during the process.
- Power down and disconnect: Shut down your laptop, unplug it from the power source, and discharge static electricity by grounding yourself.
- Locate the existing hard drive: The existing hard drive is usually located on the bottom panel of the laptop. Refer to your laptop’s manual or online resources for the exact location.
- Remove the existing hard drive: Unscrew the screws holding the hard drive in place. Gently disconnect the SATA connector and lift the hard drive out of its slot.
- Install the SSD: Slide the SSD into the same slot and connect the SATA cable. Secure it in place using the screws you removed earlier.
- Replace the bottom panel and power on: Put the bottom panel back on, secure it with the screws, and power on your laptop. Make sure that the SSD is detected in the BIOS or system settings.
- Transfer data and reinstall OS (optional): If you want to transfer your data from the old hard drive to the new SSD, you can use cloning software or manually copy the files. You may also need to reinstall the operating system on the SSD for optimal performance.
After successfully installing the SSD, you will benefit from improved game loading times and smoother overall system performance. Remember to properly store and dispose of any replaced hardware according to environmental regulations.
Now that you’ve upgraded the RAM and installed an SSD, let’s explore another upgrade option to further elevate your Aspire E 15’s gaming capabilities.
Replacing the Hard Drive with a Hybrid Drive
If you’re looking for a balance between storage capacity and speed, replacing your Aspire E 15’s hard drive with a hybrid drive is a great option. A hybrid drive combines the large storage capacity of a traditional hard drive with the speed and responsiveness of a solid-state drive (SSD). Here’s how you can replace the hard drive with a hybrid drive:
- Research and choose a hybrid drive: Look for a hybrid drive that is compatible with your laptop’s specifications and offers a good balance of storage capacity and SSD caching.
- Prepare the necessary tools: You’ll need a small screwdriver, an antistatic wrist strap, and a clean workspace for the installation.
- Back up your data: Before replacing the hard drive, make sure to back up all your important files and data to avoid any data loss during the process.
- Power down and disconnect: Shut down your laptop, unplug it from the power source, and discharge static electricity by grounding yourself.
- Locate the existing hard drive: The hard drive is typically located on the bottom panel of the laptop. Consult your laptop’s manual or online resources for the exact location.
- Remove the existing hard drive: Unscrew the screws holding the hard drive in place. Gently disconnect the SATA connector and lift the hard drive out of its slot.
- Install the hybrid drive: Slide the hybrid drive into the same slot and connect the SATA cable. Secure it in place using the screws you removed earlier.
- Replace the bottom panel and power on: Put the bottom panel back on, secure it with the screws, and power on your laptop. Ensure that the hybrid drive is detected in the BIOS or system settings.
- Transfer data and reinstall OS (optional): If you want to transfer your data from the old hard drive to the new hybrid drive, you can use cloning software or manually copy the files. You may also need to reinstall the operating system on the hybrid drive for optimal performance.
By replacing the hard drive with a hybrid drive, you’ll benefit from the increased storage capacity for your gaming library, while still enjoying improved performance thanks to the SSD caching feature. The hybrid drive is a cost-effective solution that strikes a balance between speed and storage.
With the RAM, SSD, and hybrid drive upgrades, your Aspire E 15 is well on its way to becoming a gaming powerhouse. In the next section, we’ll explore another crucial upgrade option to further enhance your gaming experience.
Upgrading the Graphics Card
One of the most significant upgrades you can make to boost your gaming performance is upgrading the graphics card in your Aspire E 15. While the laptop comes with an integrated graphics card, upgrading to a dedicated graphics card can take your gaming experience to a whole new level. Here’s how you can upgrade the graphics card:
- Research compatible graphics cards: It’s important to find a graphics card that is compatible with your laptop’s motherboard. Check your laptop’s specifications or consult the manufacturer to determine which graphics cards are supported.
- Prepare the necessary tools: You’ll need a small screwdriver, thermal paste, an antistatic wrist strap, and a clean workspace for the installation.
- Back up your data: Before proceeding with the upgrade, it’s always a good idea to back up your important files and data to ensure they are safe.
- Power down and disconnect: Shut down your laptop, unplug it from the power source, and ground yourself to discharge any static electricity.
- Locate the existing graphics card: Depending on the laptop model, the graphics card may be located underneath the keyboard or accessible via a side panel. Refer to your laptop’s manual or online resources for specific instructions.
- Remove the existing graphics card: Unscrew any retaining screws and gently disconnect the graphics card from its slot. Take note of any cables or connectors that need to be disconnected.
- Install the new graphics card: Insert the new graphics card into the slot and secure it with the retaining screws. Reconnect any cables or connectors that were disconnected.
- Apply thermal paste: Apply a small amount of thermal paste on the GPU to ensure optimal heat transfer between the graphics card and the cooling system.
- Reassemble and test: Put everything back together, making sure all screws are tightened. Power on your laptop and install the latest graphics drivers for your new graphics card.
Upgrading the graphics card can significantly improve your laptop’s gaming performance by providing dedicated graphics power. It allows for smoother gameplay, higher graphics settings, and better frame rates in demanding games.
Keep in mind that upgrading the graphics card in a laptop is not as straightforward as in a desktop computer. It is crucial to research compatibility and consult with professionals if needed. Additionally, be aware that some laptops may have soldered or non-upgradable graphics cards.
With the upgraded RAM, SSD, hybrid drive, and graphics card, your Aspire E 15 is now equipped to handle the most demanding games. In the next sections, we’ll explore further optimizations and enhancements to maximize your gaming experience.
Overclocking the CPU and GPU
If you’re looking to squeeze out every ounce of performance from your Aspire E 15, overclocking the CPU (Central Processing Unit) and GPU (Graphics Processing Unit) can provide a noticeable boost in gaming performance. Overclocking involves running these components at higher clock speeds than their default values, resulting in increased performance. However, it’s important to approach overclocking cautiously and with proper knowledge. Here’s how you can overclock the CPU and GPU:
- Research your laptop’s capabilities: Determine whether your laptop’s CPU and GPU are overclockable. Some laptops may have locked BIOS settings or lack adequate cooling for overclocking.
- Install monitoring software: Install software like MSI Afterburner or Intel Extreme Tuning Utility to monitor temperature, clock speeds, and voltages while overclocking.
- Adjust BIOS settings: Restart your laptop and enter the BIOS settings by pressing the designated key during startup (usually Del or F2). Look for settings related to CPU and GPU performance, such as base clock and voltage.
- Start with small increments: Increase the clock speed of the CPU or GPU by small increments (usually 5-10% at a time) and run stability tests to ensure proper functioning.
- Monitor temperatures and stability: Keep a close eye on temperature readings and stability during stress tests or gaming sessions. If temperatures exceed safe limits or system stability is compromised, revert to the previous settings.
- Fine-tune and test: If your laptop handles the initial overclock well, you can continue increasing the clock speeds in small increments and repeat stability tests until you achieve optimal performance.
- Keep a balance: Remember that overclocking increases heat generation and power consumption. Ensure adequate cooling and monitor your system’s power supply to prevent any potential issues.
It’s important to note that overclocking can void your laptop’s warranty and may potentially cause damage if not done properly. Consult manufacturer forums, guides, and expert opinions to ensure you have the necessary knowledge and precautions before attempting to overclock your laptop.
Overclocking the CPU and GPU can provide a tangible boost in gaming performance, allowing your Aspire E 15 to handle more demanding games with improved frame rates and smoother gameplay. However, always prioritize the stability and temperature of your system over pushing for extreme overclocks.
In the next sections, we’ll explore more ways to optimize your Aspire E 15 for gaming and unlock its full potential.
Optimizing System Settings for Gaming
Aside from hardware upgrades and overclocking, optimizing your Aspire E 15’s system settings can have a significant impact on gaming performance. By tweaking specific settings, you can ensure that your laptop is running at its best for a smooth and enjoyable gaming experience. Here are some optimization tips:
- Update drivers: Make sure all your drivers, including graphics, sound, and chipset drivers, are up to date. Outdated drivers can cause compatibility issues and hinder performance.
- Disable unnecessary background applications: Close any unnecessary applications and processes running in the background. These can consume system resources and impact gaming performance.
- Adjust power settings: Set your power plan to “High Performance” in the Windows power options. This ensures that your laptop utilizes its full potential and doesn’t throttle performance to save power.
- Optimize visual effects: Adjust the visual effects settings in Windows to prioritize performance over visual appeal. Disable features such as animations and transparency effects.
- Manage startup programs: Limit the number of programs that launch at startup. This frees up system resources and reduces the time it takes for your laptop to boot up.
- Monitor and adjust temperature: Keep an eye on the temperature of your CPU and GPU during gaming sessions. Use software like HWMonitor or SpeedFan to monitor temperatures and ensure they stay within safe limits.
- Disable unnecessary services: Disable any unnecessary services and background processes that may consume CPU and memory resources. You can do this through the Windows Services manager.
- Manage in-game settings: Adjust the in-game graphics settings to find the right balance between performance and visual quality. Experiment with different settings to achieve smooth gameplay without sacrificing visuals.
- Defragment and optimize your hard drive: Regularly defragment and optimize your hard drive to ensure files are stored efficiently and improve overall system performance.
By optimizing these system settings, you can maximize your Aspire E 15’s gaming performance and ensure a seamless gaming experience. Remember to periodically check for updates and make necessary adjustments based on the requirements of the games you play.
In the next section, we’ll explore how installing game-enhancing software can further enhance your gaming experience on the Aspire E 15.
Installing Game-Enhancing Software
In addition to hardware upgrades and system optimization, installing game-enhancing software can further enhance the gaming experience on your Aspire E 15. These software applications are designed to optimize in-game performance, customize game settings, and improve overall gameplay. Here are some game-enhancing software options to consider:
- Game boosters: Game boosters such as Razer Cortex, MSI Afterburner, or Game Fire can help optimize system resources, close unnecessary background processes, and allocate more power to games, resulting in smoother and more responsive gameplay.
- FPS counters: FPS (frames per second) counters like FRAPS or NVIDIA GeForce Experience can display real-time frame rate information on your screen. This helps you monitor performance and make adjustments to graphics settings for optimal gameplay.
- Graphics driver software: Graphics card manufacturers like NVIDIA and AMD provide driver software that includes features like automatic game optimizations, custom graphics settings, and performance monitoring.
- Game capture and streaming software: Software like OBS Studio or XSplit enables you to capture gameplay footage, stream it to online platforms, and customize various streaming settings to showcase your gaming sessions to others.
- Custom resolution and aspect ratio tools: Some games may not offer specific resolution or aspect ratio options. Tools like Custom Resolution Utility (CRU) can help you create custom resolutions or tweak existing ones to suit your display preferences.
- Modding platforms: Modding platforms such as Steam Workshop or Nexus Mods provide a wide range of user-created modifications or enhancements for games. These mods can improve graphics, add new features, or tweak gameplay mechanics, allowing you to tailor your gaming experience to your liking.
Each of these software applications serves a specific purpose in optimizing and enhancing your gaming experience. It’s important to choose the ones that align with your needs and complement the hardware and system settings you have in place.
Remember to regularly update these software applications to benefit from the latest features and improvements. Additionally, be cautious when downloading and installing software from unofficial sources to avoid malware or compatibility issues.
By installing game-enhancing software, you can further unlock the potential of your Aspire E 15 and maximize your gaming experience. In the final section, we’ll wrap up our guide and summarize the key points discussed.
Conclusion
Congratulations! You have successfully learned how to transform your Aspire E 15 into a gaming laptop. By strategically upgrading the RAM, installing an SSD or hybrid drive, upgrading the graphics card, overclocking the CPU and GPU, optimizing system settings, and installing game-enhancing software, you have unleashed the full potential of your laptop for an immersive and enjoyable gaming experience.
Upgrading the RAM has improved multitasking capabilities and overall performance, while installing an SSD or hybrid drive has significantly enhanced load times and system responsiveness. Upgrading the graphics card has provided dedicated graphics power, and overclocking the CPU and GPU have boosted performance even further.
Optimizing system settings and installing game-enhancing software have ensured that your Aspire E 15 is running at its best and delivering optimal gaming performance. By adjusting power settings, managing startup programs, and customizing graphics settings, you have fine-tuned your laptop for smooth gameplay.
Remember, when performing hardware upgrades or making changes to system settings, it’s essential to exercise caution and research compatibility to avoid any potential issues. If you’re unsure or uncomfortable with the process, seek assistance from professionals or service centers to ensure a smooth and safe upgrade process.
Now, armed with your upgraded and optimized Aspire E 15, you’re ready to embark on thrilling gaming adventures and tackle the latest titles with confidence. Enjoy the immersive gameplay, stunning visuals, and smooth performance that your transformed gaming laptop can deliver.
Happy gaming!


