Introduction
Google Workspace, formerly known as G Suite, is a powerful collection of productivity tools that help businesses streamline their operations and collaborate effectively. Within the Google Workspace platform, administrators play a crucial role in managing user accounts, setting up organizational policies, and ensuring the smooth functioning of all the services.
However, there may come a time when you need to change the admin for your Google Workspace account. This could be due to employee turnover, restructuring within the organization, or a need for different individuals to handle administrative tasks. In such cases, it is important to understand the steps involved in changing the admin and how to add or remove a new admin.
This article will walk you through the process of changing the admin on Google Workspace, providing you with a step-by-step guide to ensure a seamless transition. Whether you are a small business owner, a system administrator, or an IT professional, this information will be valuable in managing and maintaining your Google Workspace account.
Before we dive into the steps, it’s important to note that changing the admin on Google Workspace requires administrative access to the Google Admin Console. Only users with the necessary privileges can perform these actions. So be sure to have the appropriate credentials and permissions before proceeding with the instructions.
Step 1: Accessing the Google Admin Console
The Google Admin Console is the central hub for managing your Google Workspace account. To change the admin, you must first access the Admin Console. Here’s how you can do it:
- Open a web browser and navigate to https://admin.google.com.
- Enter your admin email address and password to sign in to the Admin Console. Make sure you have the necessary administrative privileges to perform account management tasks.
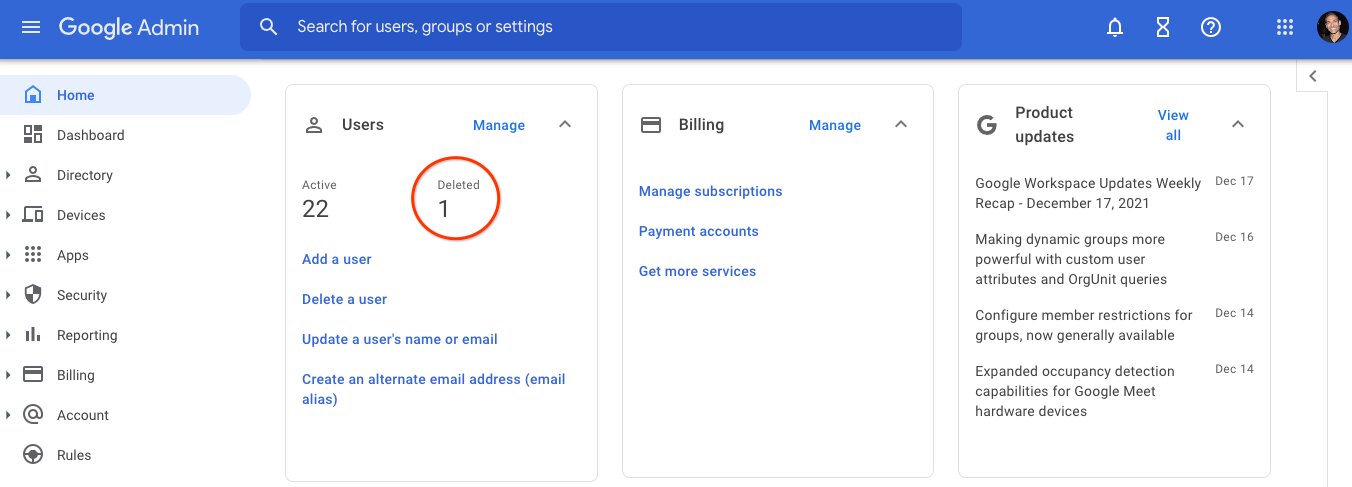
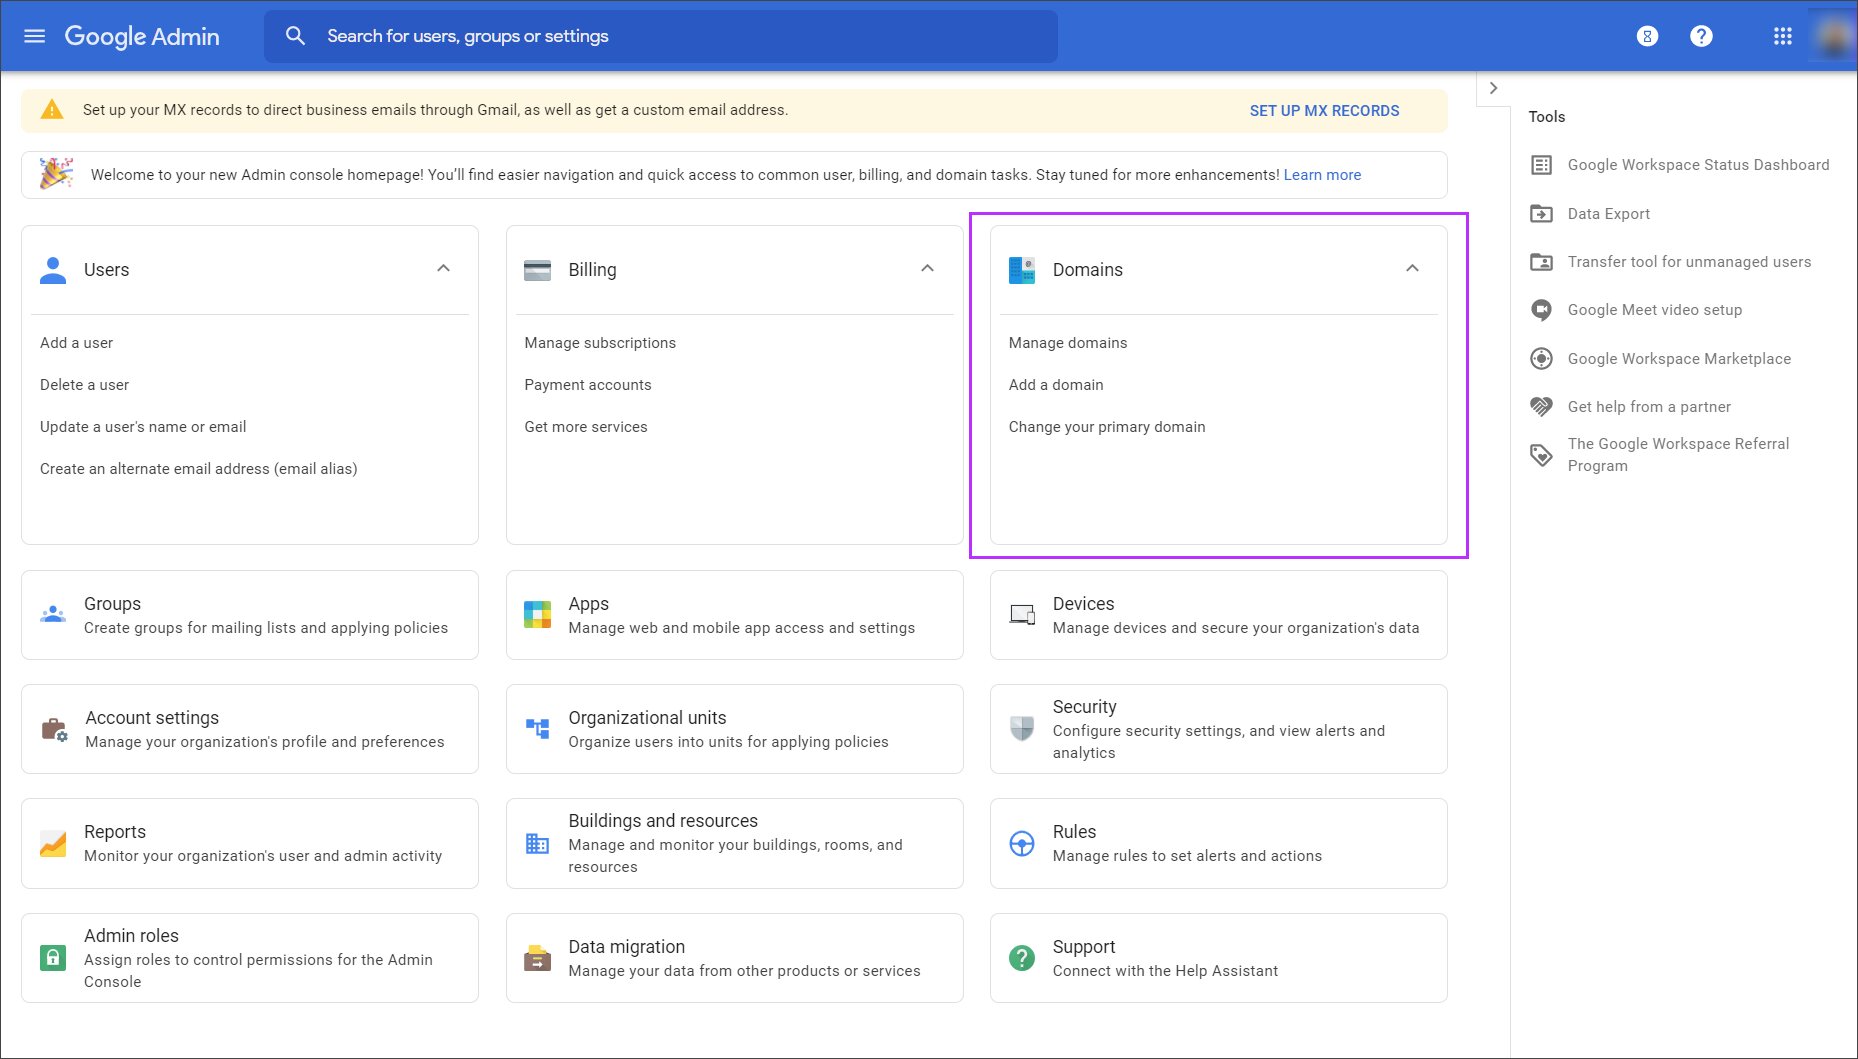
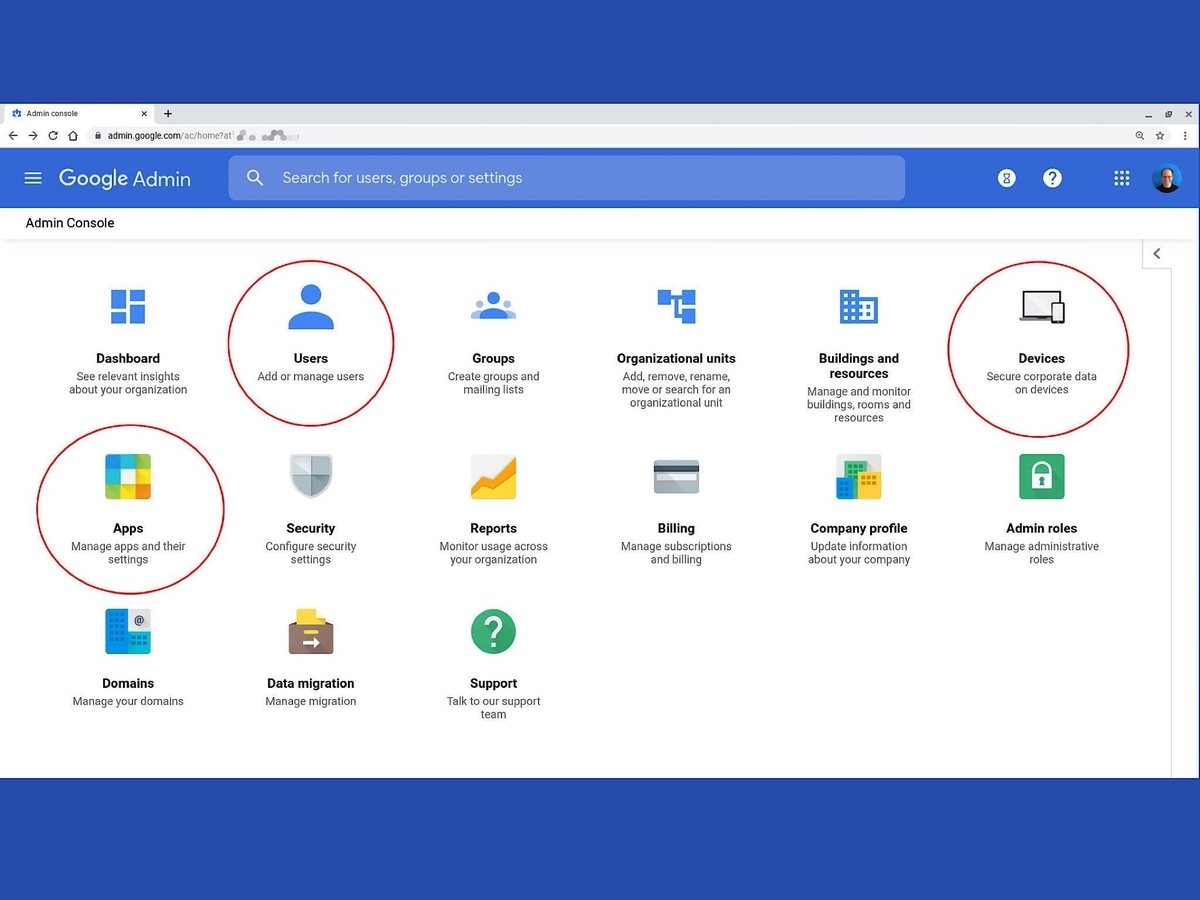
- Once you have successfully logged in, you will be directed to the Admin Console home page. This is where you can access various administrative settings and tools.
- Take a moment to familiarize yourself with the Admin Console interface. The left sidebar contains a menu with different categories, such as Users, Billing, Apps, etc.
- To proceed with changing the admin, click on the “Users” option in the sidebar. This will open a submenu with additional user-related options.
- Select “Active users” from the submenu. This will display a list of all the active users in your Google Workspace account.
- Now, you are ready to move on to the next step of finding the user you want to change the admin for.
By following these steps, you can easily access the Google Admin Console and prepare to make changes to the admin settings of your Google Workspace account. Having a clear understanding of how to navigate the Admin Console is essential in efficiently managing user accounts and maintaining control over your organization’s data and settings.
Step 2: Finding the User You Want to Change the Admin for
Once you have accessed the Google Admin Console, the next step is to locate the user for whom you want to change the admin role. Here’s how you can do it:
- In the Admin Console sidebar, click on the “Users” option to expand the submenu.
- Select “Active users” from the submenu. This will display a list of all the active users in your Google Workspace account.
- Use the search bar at the top of the page to search for the specific user you want to change the admin for. You can search by the user’s name or email address.
- Alternatively, you can browse through the list of active users to find the one you are looking for. The list is usually sorted alphabetically by default.
Once you have located the user, you are ready to proceed with changing their admin role. It is important to ensure that you have identified the correct user before making any changes. Double-check their name and email address to avoid any mistakes.
Additionally, if you are unable to find the user in the “Active users” list, they may be suspended or have a different user status. In this case, you may need to navigate to the “Suspended users” or “Recently deleted users” section in the Admin Console sidebar to find and manage their account accordingly.
By following these steps, you can easily locate the user you wish to change the admin role for. The ability to find and manage specific user accounts is crucial in maintaining the overall security and accessibility of your Google Workspace environment.
Step 3: Changing the Admin Role
With the user you want to change the admin role for in sight, it’s time to proceed with modifying their role in the Google Workspace account. Here’s how you can change the admin role:
- In the Admin Console, navigate to the user’s account by following the steps outlined in Step 2.
- Click on the user’s name to access their account details and settings.
- In the user’s account page, click on the “Admin roles and privileges” tab or a similar option, depending on your Google Workspace version.
- Locate the current admin role assigned to the user and click on it to modify.
- A pop-up window or a new page will appear, displaying the available admin roles and privileges you can assign to the user. Choose the desired admin role for the user based on their responsibilities and access requirements.
- Review the description and responsibilities of the selected admin role to ensure it aligns with the user’s intended function within the organization.
- If you are unsure about which admin role to assign, click on the “Learn more” or similar link to access additional details and guidelines provided by Google Workspace.
- Once you have selected the appropriate admin role, click on the “Assign” or similar button to save the changes.
- The admin role for the user will now be updated, granting them the specified administrative privileges and access rights within the Google Workspace account.
It is essential to carefully choose the admin role and consider the responsibilities and requirements of the user’s position within the organization. By assigning the appropriate admin role, you can ensure that users have access to the necessary tools and permissions while maintaining the security and integrity of your Google Workspace account.
Step 4: Adding a New Admin
In some cases, you may need to add a new admin to your Google Workspace account to distribute administrative responsibilities or accommodate organizational changes. Here’s how you can add a new admin:
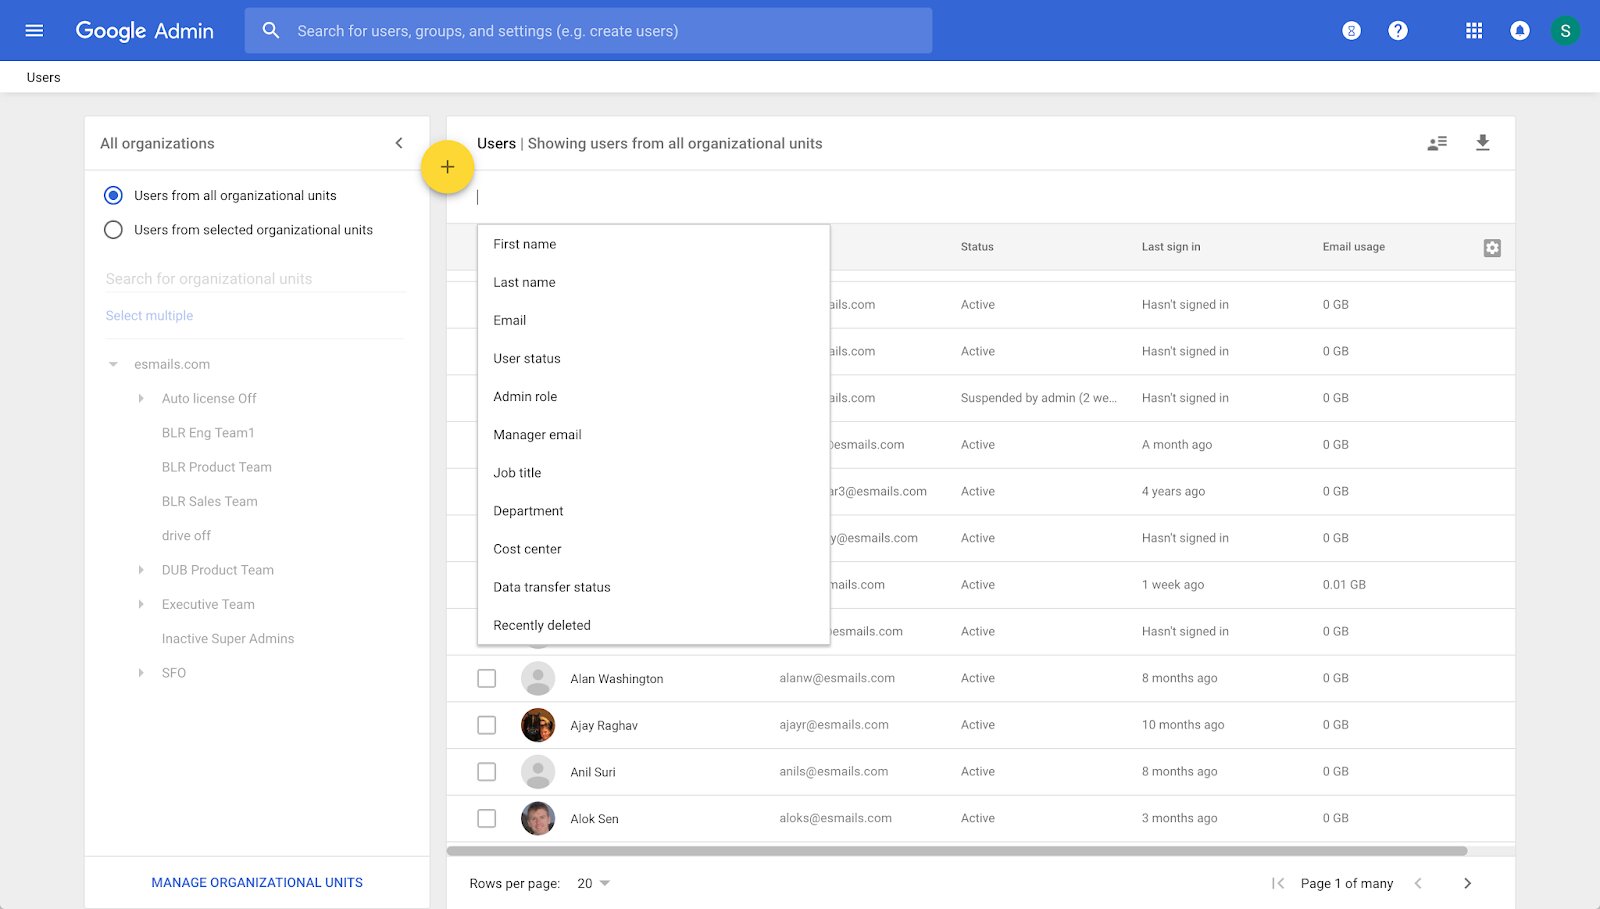
- In the Admin Console, navigate to the “Users” section and select “Active users” from the submenu.
- Click on the “+ Add New User” button or a similar option, depending on your Google Workspace version.
- Fill in the required information for the new admin user, such as their name, email address, and password. You can also specify additional details, such as their phone number and job title.
- Under the “Admin roles and privileges” section, choose the appropriate admin role for the new user. This will determine their administrative privileges and access rights within the Google Workspace account.
- Review the chosen admin role and its corresponding responsibilities to ensure it aligns with the new user’s intended function in the organization.
- If needed, you can customize the admin role by selecting specific privileges and settings from the available options. This allows you to tailor the admin role to meet the requirements of the new admin’s position.
- After confirming the details and admin role, click on the “Save” or similar button to add the new admin to your Google Workspace account.
- The new admin account will be created, and they will receive an email notification with instructions on how to set up their Google Workspace account.
By following these steps, you can easily add a new admin to your Google Workspace account. Adding a new admin can help distribute administrative tasks and empower individuals to manage specific areas of the account effectively.
Remember to consider the responsibilities, access requirements, and trustworthiness of the individual before assigning them an admin role. It’s important to maintain security measures and protect sensitive data within your Google Workspace account.
Step 5: Removing an Admin
There may be situations where you need to remove an admin from your Google Workspace account. This could be due to personnel changes, role adjustments, or any other reasons that require the removal of administrative access. Here’s how you can remove an admin:
- In the Admin Console, navigate to the “Users” section and select “Active users” from the submenu.
- Locate the admin user that you want to remove from the Google Workspace account.
- Click on the admin user’s name to access their account details and settings.
- In the user’s account page, navigate to the “Admin roles and privileges” tab or a similar option.
- Locate the admin role assigned to the user and click on the “Remove” or similar option.
- A confirmation dialog box will appear asking you to confirm the removal of the admin role. Review the details of the action.
- Click on the “Remove” or similar button to proceed with removing the admin role from the user’s account.
- The admin role will be removed, and the user will no longer have administrative access within the Google Workspace account.
When removing an admin, it’s essential to ensure that the individual no longer requires administrative privileges and access to sensitive data. Regularly reviewing and adjusting admin roles can help maintain the security and integrity of your Google Workspace account.
It’s worth noting that removing an admin role does not delete the user’s account or affect their access to other services. They will still be able to access their email, files, and other features associated with their user account. If needed, you can individually manage the user’s access to specific services through other administrative settings.
By following these steps, you can easily remove an admin from your Google Workspace account. It’s important to carefully consider the impact of removing an admin and ensure that the changes align with your organization’s requirements and security policies.
Conclusion
Managing the admin roles within your Google Workspace account is essential for maintaining control and security over your organization’s data and settings. Whether you need to change the admin for a user, add a new admin, or remove an existing one, following the right steps is crucial.
In this article, we have walked you through the process of changing the admin on Google Workspace, providing a step-by-step guide for each stage. By accessing the Google Admin Console, locating the user you want to modify, changing the admin role, adding a new admin, or removing an admin, you can effectively manage the administrative responsibilities within your Google Workspace account.
Remember, while performing these actions, it’s important to consider the specific roles and responsibilities of the admins, ensuring that they have the appropriate access and privileges required for their respective positions. Regularly reviewing and updating admin roles can help maintain the security and efficiency of your Google Workspace environment.
By following the steps outlined in this article, you can confidently handle admin role changes within your Google Workspace account, ensuring that your organization operates smoothly and securely.
As your business evolves, it’s essential to stay proactive in managing administrative access and adapting to the changing needs of your organization. By being familiar with the Google Admin Console and its features, you can effectively manage user accounts, control data access, and optimize the usage of Google Workspace services.
We hope this guide has been helpful in enabling you to change, add, and remove admins in your Google Workspace account. By mastering these steps, you are well-equipped to maintain the integrity and security of your Google Workspace environment, empowering your team to collaborate and thrive.