Introduction
When setting up Google Workspace for your business, one crucial step is to verify your domain ownership. Verifying your domain not only establishes your ownership and credibility but also unlocks a variety of powerful features and tools.
In this article, we will guide you through the process of verifying your domain for Google Workspace. By following these steps, you can ensure a seamless setup and gain access to all the benefits Google Workspace has to offer.
Verifying your domain might sound like a complicated task, but don’t worry – Google provides multiple methods to make the process as straightforward as possible. Whether you prefer uploading an HTML file, adding a TXT record, using an HTML tag, or even leveraging Google Analytics or Google Tag Manager, there’s a method that will suit your needs.
Before diving into the different verification methods, it’s important to understand why domain verification is important for Google Workspace. By verifying your domain, you are essentially proving to Google that you own the domain associated with your business. This not only helps protect your account from unauthorized access but also enables you to utilize various Google Workspace services with confidence.
Once your domain is verified, you can access a wide range of features such as Gmail for Business, Google Drive, Google Calendar, and Google Docs, to name a few. These tools can significantly enhance your team’s collaboration, communication, and productivity.
Now that we understand the importance of domain verification and the benefits it brings, let’s delve into the step-by-step process of verifying your domain for Google Workspace.
Why Verify Your Domain for Google Workspace?
Verifying your domain for Google Workspace is an essential step to fully leverage the features and benefits of this powerful suite of productivity tools. Let’s explore the reasons why domain verification is crucial:
1. Establish Ownership and Credibility: Verifying your domain proves to both Google and your users that you have legitimate ownership and control over the domain associated with your business. This instills trust and credibility, making your organization appear more professional in the eyes of your clients and collaborators.
2. Enhanced Security: By verifying your domain, you add an extra layer of security to your Google Workspace account. This helps prevent unauthorized access and safeguards sensitive company data and communications.
3. Access to Google Workspace Services: Once your domain is successfully verified, you unlock a plethora of powerful tools and services offered by Google Workspace. These include professional email addresses with your domain (@yourcompany.com), cloud storage and collaboration with Google Drive, and seamless integration with other Google productivity apps like Google Docs, Sheets, and Calendar.
4. Collaborative Workflows: With domain verification, you enable your team to collaborate more efficiently within the Google Workspace environment. This facilitates real-time editing, commenting, and collaboration on documents, spreadsheets, and presentations, streamlining workflows and enhancing productivity.
5. Branding Opportunities: Verifying your domain allows you to customize the appearance of your Google Workspace services with your company’s branding. You can brand your email addresses, login pages, and collaborative documents, creating a cohesive and professional image for your business.
6. Access to Admin Controls: Domain verification grants you administrative controls over user accounts and email settings, enabling easy management and customization for your organization. You can create and manage user accounts, allocate storage quotas, and set email routing options, among other administrative tasks.
By verifying your domain for Google Workspace, you unlock a world of possibilities for your business, from streamlined collaboration and increased security to enhanced branding and administrative control. Now, let’s dive into the step-by-step process of verifying your domain ownership for Google Workspace.
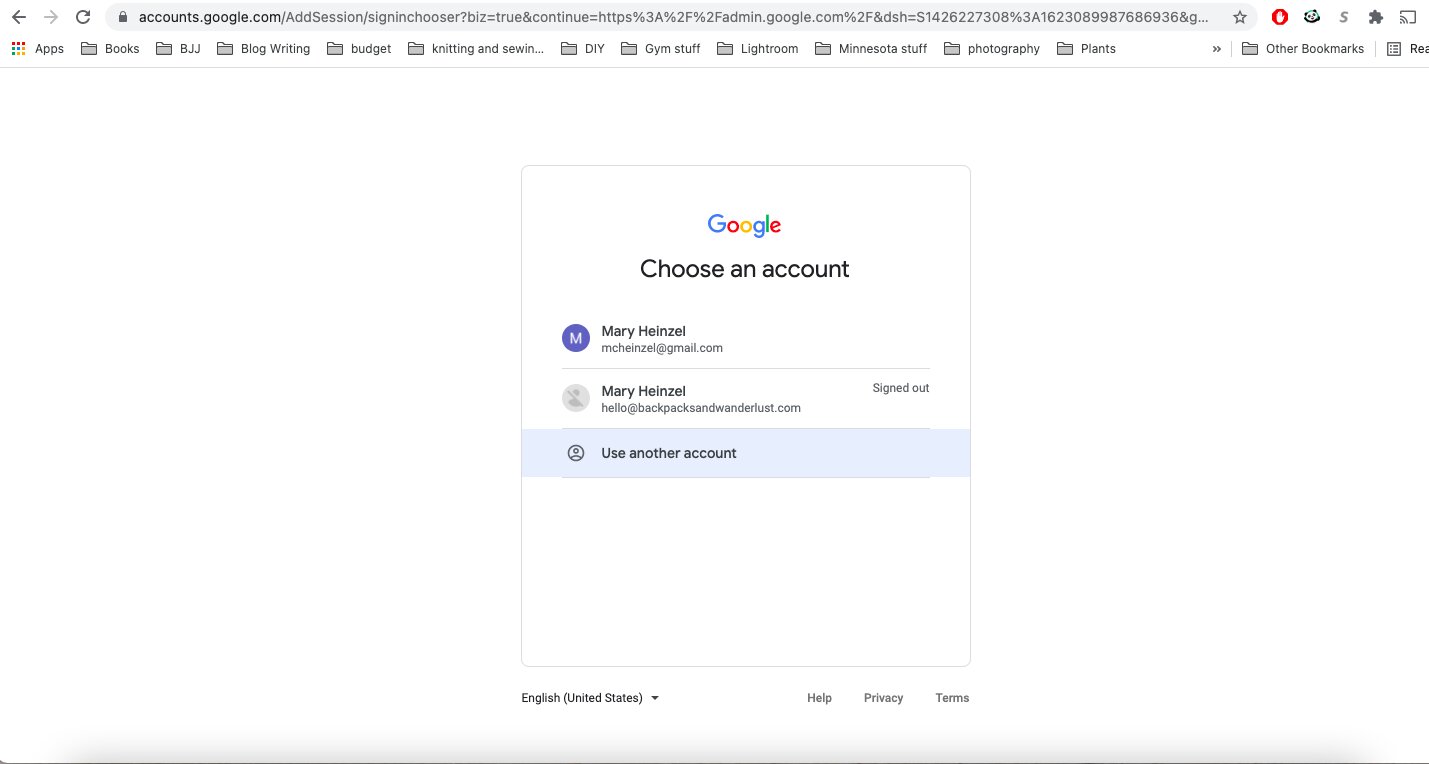
Step 1: Sign in to your Google Admin console
The first step in verifying your domain for Google Workspace is to sign in to your Google Admin console, which is the central hub for managing your organization’s Google Workspace settings and services.
Here’s how you can access the Google Admin console:
- Open your web browser and navigate to https://admin.google.com.
- Enter your Google Workspace admin email address and password.
- Click the “Sign in” button to access the Admin console.
Make sure you are logging in with the account that has administrative privileges for your organization’s Google Workspace setup.
Once you have successfully signed in, you will be taken to the Admin console dashboard, where you can manage various settings and configurations for your organization’s Google Workspace services.
Now that you’ve accessed the Admin console, you’re ready to move on to the next step in the verification process. In the following step, we will guide you through accessing the Domains page in the Admin console.
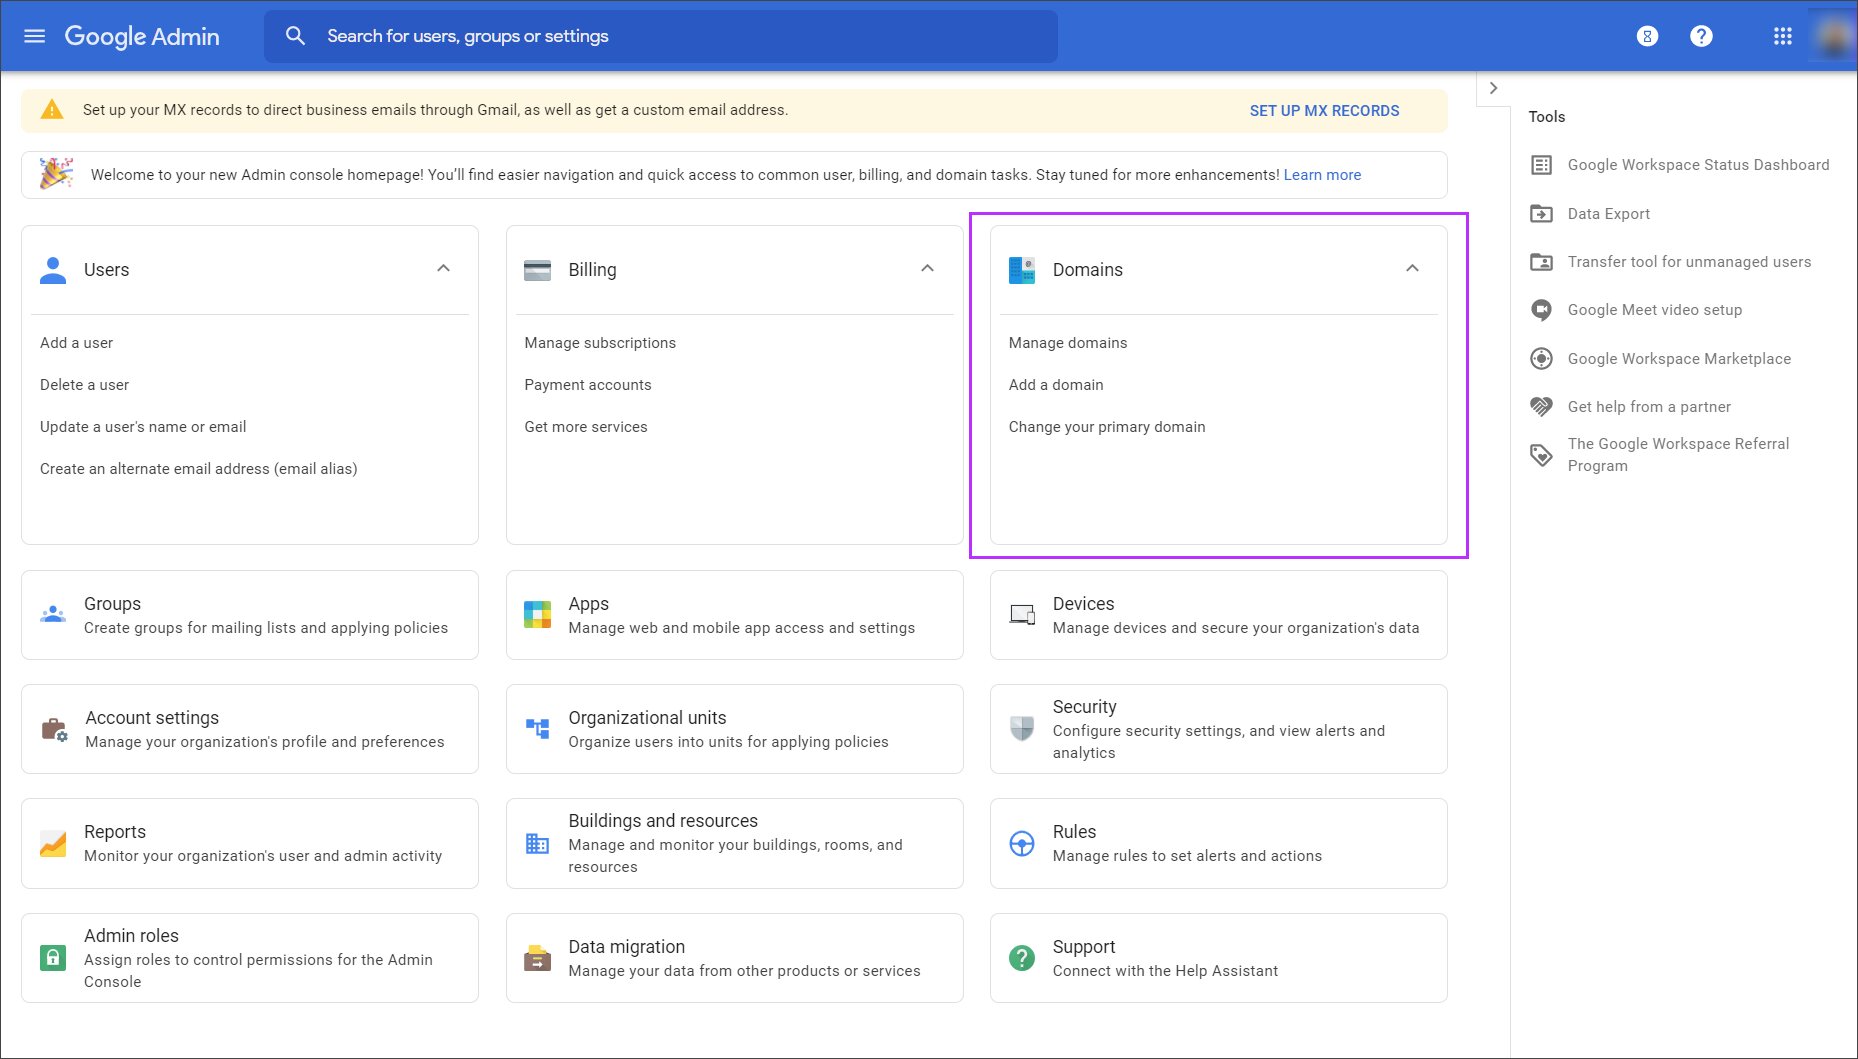
Step 2: Go to the Domains page
After signing in to your Google Admin console, the next step in verifying your domain for Google Workspace is to navigate to the Domains page. This is where you can manage and add domains associated with your organization.
Follow the steps below to access the Domains page:
- On the Admin console dashboard, look for the “Domains” icon or link. It is usually located in the “Domains” or “Setup” section, but the exact placement may vary depending on your console’s configuration.
- Click on the “Domains” icon or link to access the Domains page.
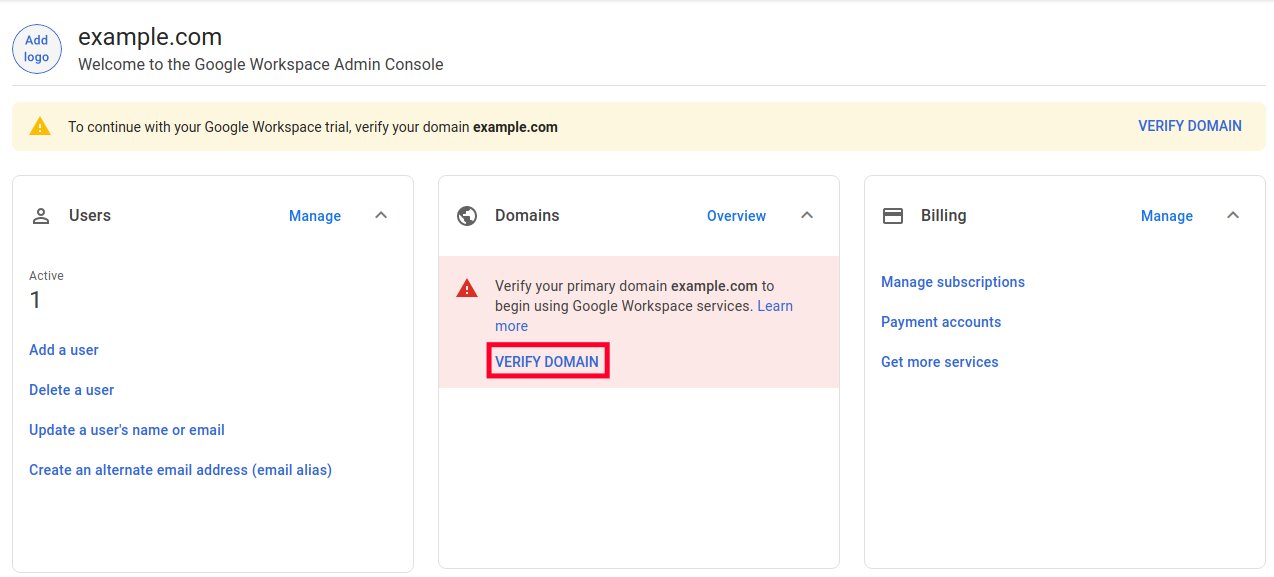
Once you are on the Domains page, you will see a list of any existing domains associated with your organization. This page allows you to manage various domain-specific settings, including verification and DNS configuration.
If you haven’t added your domain to Google Workspace yet, you can click on the “Add a domain” button to proceed with adding and verifying your domain. In the next step, we will guide you through the process of adding a domain.
It’s important to note that only domains that you have ownership or administrative rights to can be verified and added to your Google Workspace account. If you don’t have control over the domain you want to verify, ensure that you have the necessary permissions before proceeding.
Now that you have accessed the Domains page, you’re ready to move on to the next step, where we’ll guide you through the process of adding a domain for Google Workspace.
Step 3: Add a domain
After accessing the Domains page in your Google Admin console, the next step in verifying your domain for Google Workspace is to add the domain you want to verify. This allows Google to recognize and associate your domain with your organization’s Google Workspace account.
Follow the step-by-step process below to add a domain:
- On the Domains page, click on the “Add a domain” button. This will open the domain setup wizard.
- Enter the domain name you want to add. For example, if your domain is “example.com,” enter “example.com” in the provided field.
- Click the “Continue” button to proceed to the next step.
- You will be prompted to verify domain ownership. Keep this page open, as we will explore various methods to verify domain ownership in the next steps.
It’s important to note that you must have ownership or administrative rights to the domain you are trying to add. If you don’t have control over the domain, contact the authorized personnel or domain provider to gain access.
Once you have successfully added the domain, you are now ready to move on to the next step: verifying domain ownership. In the following steps, we will explore various methods provided by Google to verify domain ownership, such as HTML file upload, TXT record, HTML tag, Google Analytics, and Google Tag Manager.
Now that you have added your domain, let’s proceed to the verification methods in Step 4 to verify domain ownership and complete the setup process.
Step 4: Verify domain ownership
After adding your domain to Google Workspace, the next crucial step is to verify domain ownership. Verification helps Google confirm that you have the authority to manage and make changes to the domain associated with your Google Workspace account.
Google provides several methods to verify domain ownership. Choose the method that suits you best:
Method 1: HTML file upload
This method involves uploading an HTML file to your website’s root directory. Google will check for the presence of this file to verify ownership.
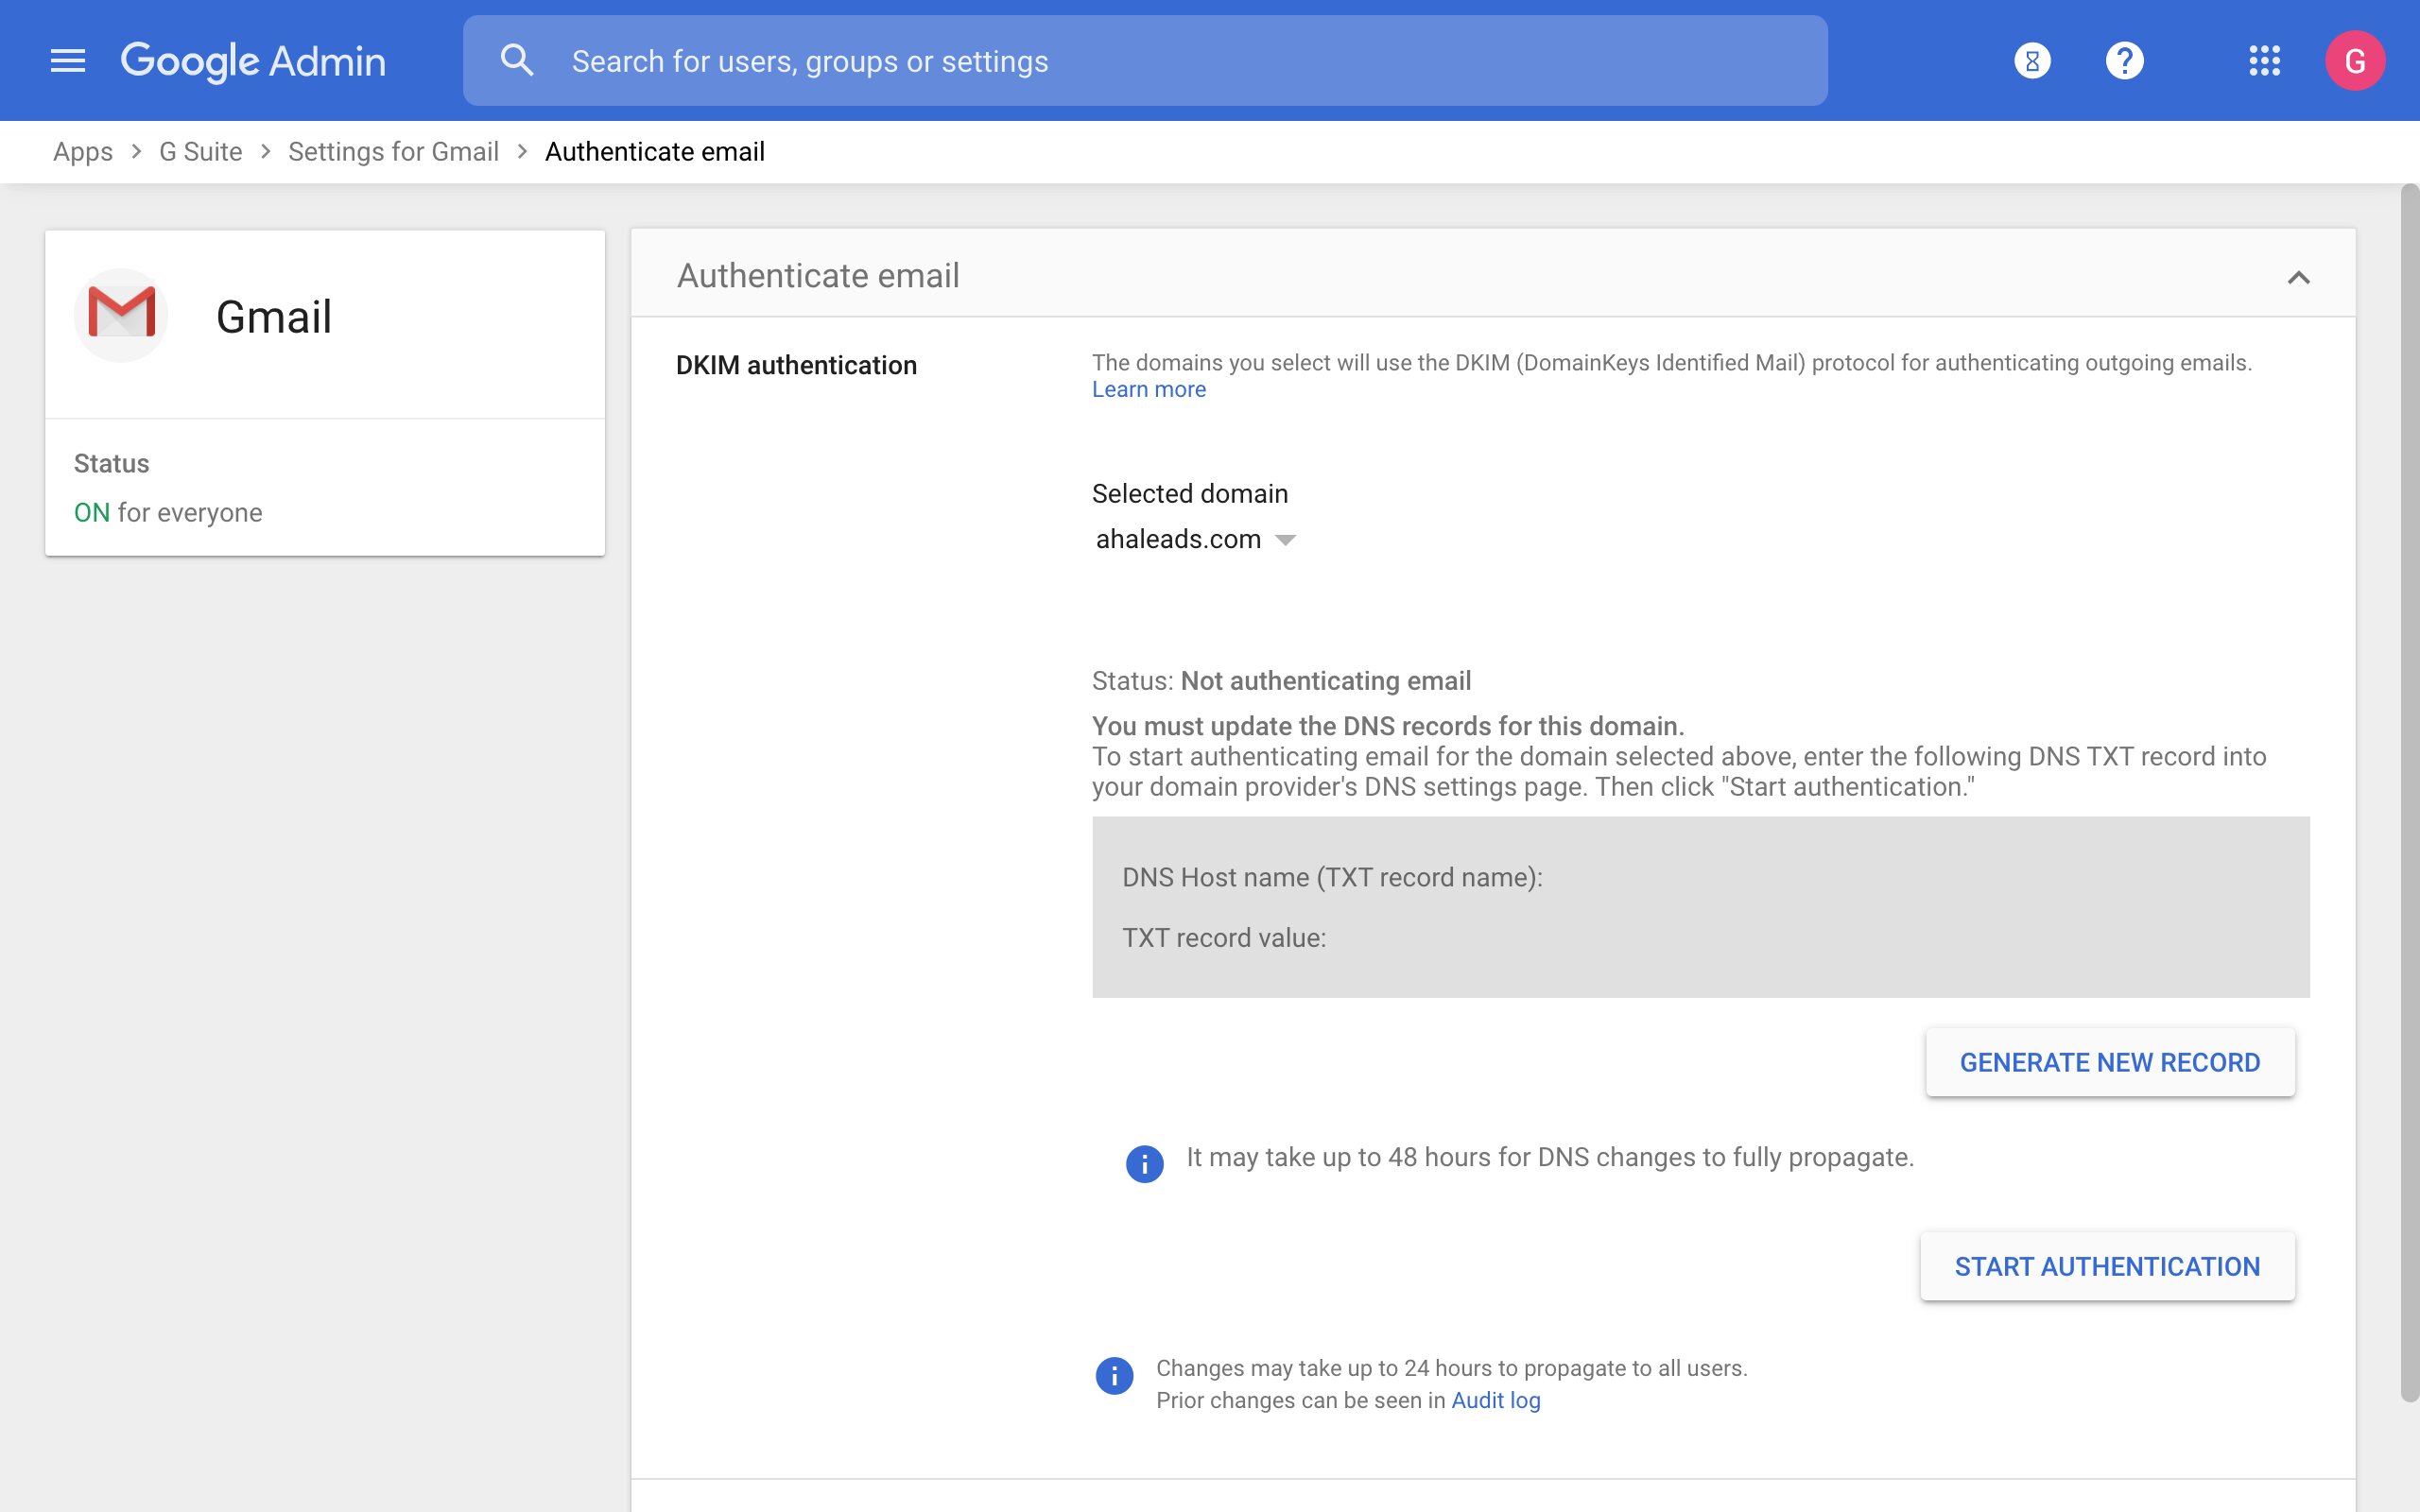
Method 2: TXT record
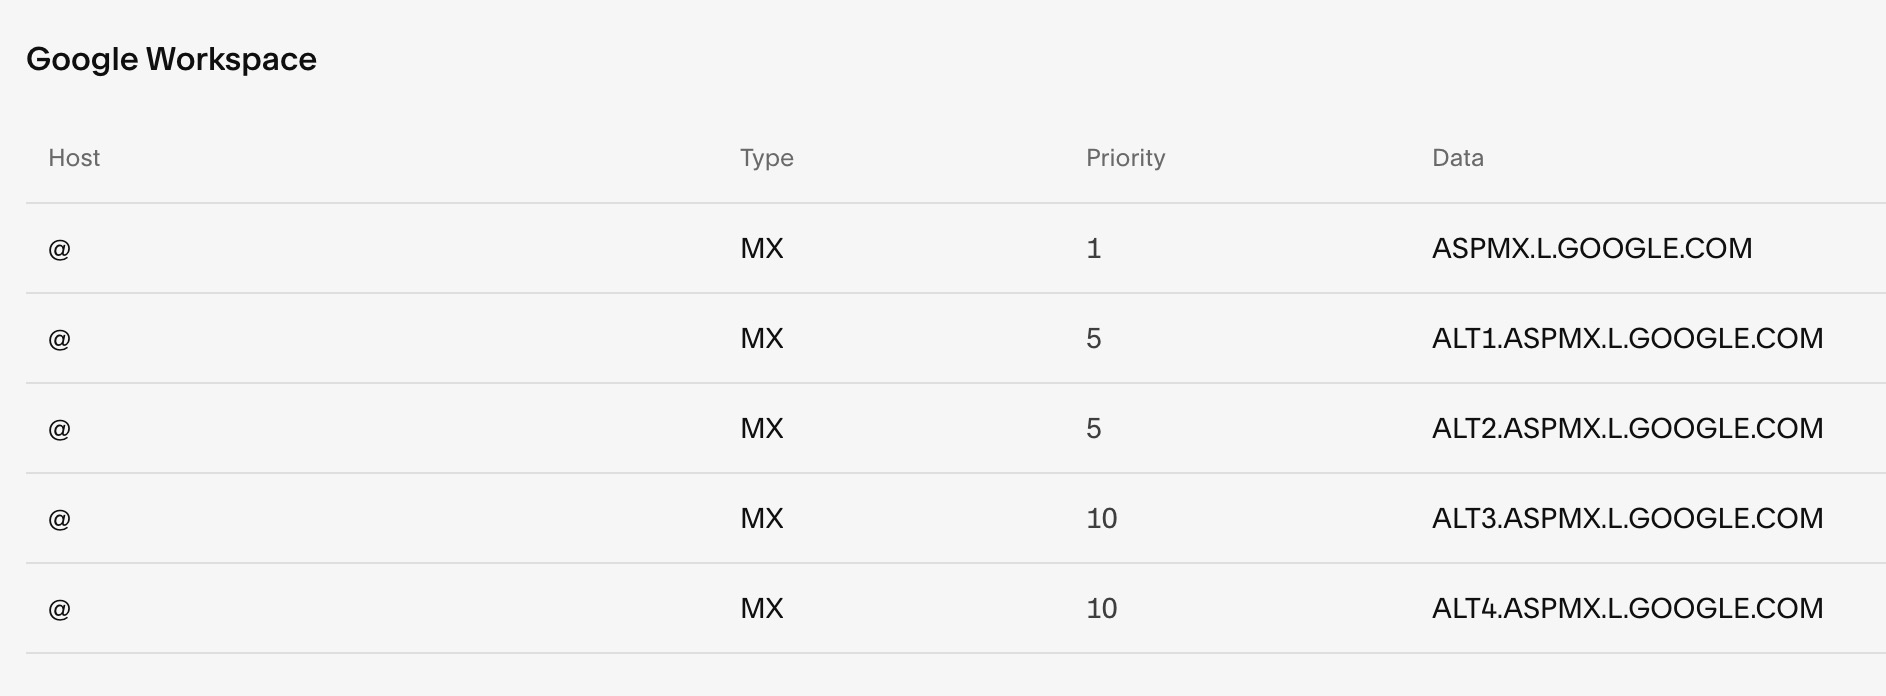
In this method, you’ll need to add a TXT record to your domain’s DNS settings. The TXT record contains a specific verification code provided by Google.
Method 3: HTML tag
With this method, you will need to add an HTML tag to your website’s homepage. Google will search for this tag during the verification process.
Method 4: Google Analytics
If you have Google Analytics set up for your domain, you can use it to verify ownership. This method requires you to have administrative access to the Google Analytics account associated with your domain.
Method 5: Google Tag Manager
If you are using Google Tag Manager for your domain, you can use it to verify ownership. Similar to the Google Analytics method, this requires administrative access to your Google Tag Manager account.
It’s important to note that the specific steps for each verification method may vary. Google provides detailed instructions for each method within the Google Workspace admin console.
Once you have selected and completed the verification method, return to the verification page in the Google Workspace admin console. Click the “Verify” button or follow any additional instructions provided by Google to complete the verification process.
If the verification is successful, Google will recognize your domain ownership, and you can start utilizing the full range of Google Workspace services for your organization.
If you encounter any issues or have difficulties with the verification process, Google provides comprehensive troubleshooting resources to help you resolve any verification-related problems.
Now that you have verified your domain ownership, you can proceed with configuring and customizing your Google Workspace services according to your organization’s needs.
Method 1: HTML file upload
One of the methods provided by Google to verify domain ownership for Google Workspace is the HTML file upload method. This method requires you to upload an HTML file to your website’s root directory. Google will then check for the presence of this file to confirm your ownership of the domain.
Follow the steps below to verify your domain ownership using the HTML file upload method:
- Sign in to your Google Admin console.
- Go to the Domains page by clicking on the “Domains” icon or link.
- Select the domain you want to verify.
- Click on the “Verify” button next to the HTML file upload method.
- Download the HTML verification file provided by Google.
- Upload the HTML file to the root directory of your website using an FTP client or the file manager provided by your web hosting provider.
- After uploading the file, return to the verification page in the Google Admin console.
- Click on the “Verify” button to complete the verification process.
Once you click the “Verify” button, Google will check for the presence of the uploaded HTML file in the root directory of your website. If the file is found, the verification will be successful, and your domain ownership will be verified.
It’s important to keep the HTML file in place even after verification to ensure continuous domain ownership verification. Removing the file may result in the domain losing its verified status.
If you encounter any issues during the verification process or if the verification fails, review the troubleshooting resources provided by Google. These resources can help you address common issues and ensure a successful verification.
Now that you have completed the verification using the HTML file upload method, you can proceed with utilizing the full range of Google Workspace services for your domain. Enjoy the enhanced collaboration, productivity, and communication features that Google Workspace has to offer!
Method 2: TXT record
Another method provided by Google to verify domain ownership for Google Workspace is the TXT record method. This method involves adding a TXT record to your domain’s DNS settings, which contains a unique verification code provided by Google.
Follow the steps below to verify your domain ownership using the TXT record method:
- Sign in to your Google Admin console.
- Go to the Domains page by clicking on the “Domains” icon or link.
- Select the domain you want to verify.
- Click on the “Verify” button next to the TXT record method.
- Copy the TXT record provided by Google.
- Access your domain’s DNS management interface through your domain registrar or DNS hosting provider.
- Add a new TXT record with the name/hostname and value provided by Google.
- Save the DNS changes.
- After making the DNS changes, return to the verification page in the Google Admin console.
- Click on the “Verify” button to complete the verification process.
Once you click the “Verify” button, Google will check for the presence of the added TXT record in your domain’s DNS settings. If the TXT record is found and matches the provided verification code, the verification will be successful, and your domain ownership will be verified.
It may take some time for the DNS changes to propagate and for Google to recognize the updated record. DNS propagation typically takes a few hours but can sometimes take up to 48 hours.
If you encounter any issues during the verification process or if the verification fails, refer to the troubleshooting resources provided by Google. These resources can help you address common issues and ensure a successful verification.
Now that your domain ownership has been successfully verified using the TXT record method, you can proceed with utilizing the full range of Google Workspace services for your domain. Enjoy the benefits of enhanced collaboration, productivity, and communication offered by Google Workspace!
Method 3: HTML tag
The HTML tag method is another effective way to verify domain ownership for Google Workspace. This method involves adding a unique HTML tag provided by Google to the homepage of your website. Google will then scan the page and confirm the presence of the HTML tag to verify your domain ownership.
Follow the steps below to verify your domain ownership using the HTML tag method:
- Sign in to your Google Admin console.
- Go to the Domains page by clicking on the “Domains” icon or link.
- Select the domain you want to verify.
- Click on the “Verify” button next to the HTML tag method.
- Copy the unique HTML tag provided by Google.
- Access the HTML source code of your website’s homepage using a text editor or a website builder tool.
- Add the HTML tag provided by Google to the head section of your homepage.
- Save the changes to your homepage’s HTML source code.
- After adding the HTML tag, return to the verification page in the Google Admin console.
- Click on the “Verify” button to complete the verification process.
Once you click the “Verify” button, Google will scan the homepage of your website for the presence of the added HTML tag. If the HTML tag is found, the verification will be successful, and your domain ownership will be confirmed.
Note that it may take some time for Google to scan your website and recognize the added HTML tag. It’s also important to ensure that the tag remains in place even after verification to maintain continuous domain ownership verification.
If you encounter any issues during the verification process or if the verification fails, consult the troubleshooting resources provided by Google. These resources can help you resolve common issues and ensure a successful verification.
Now that you have successfully verified your domain ownership using the HTML tag method, you can start taking full advantage of the Google Workspace services available for your domain. Benefit from enhanced collaboration, productivity, and communication offered by Google Workspace!
Method 4: Google Analytics
If you already have Google Analytics set up for your domain, you can use it to verify domain ownership for Google Workspace. This method requires administrative access to the Google Analytics account associated with your domain.
Follow the steps below to verify your domain ownership using Google Analytics:
- Sign in to your Google Admin console.
- Go to the Domains page by clicking on the “Domains” icon or link.
- Select the domain you want to verify.
- Click on the “Verify” button next to the Google Analytics method.
- If you haven’t installed Google Analytics for your domain yet, follow the instructions provided to set it up.
- Once Google Analytics is set up and tracking data for your domain, return to the verification page in the Google Admin console.
- Click on the “Verify” button to complete the verification process.
When you click the “Verify” button, Google will check the associated Google Analytics account and confirm ownership of the domain. This verification method relies on the fact that only someone with administrative access to the Google Analytics account can modify the tracking code for the domain.
It’s important to note that you must have administrative access to the Google Analytics account associated with your domain to use this method. If you don’t have access, ensure that you have the necessary permissions or contact the appropriate person who can assist you.
If you encounter any issues during the verification process or if the verification fails, consult the troubleshooting resources provided by Google. These resources can help you resolve common issues and ensure a successful verification.
Now that you have successfully verified your domain ownership using Google Analytics, you can take full advantage of the Google Workspace services available for your domain. Enjoy the benefits of enhanced collaboration, productivity, and communication offered by Google Workspace!
Method 5: Google Tag Manager
If you are utilizing Google Tag Manager for your domain, you can use it to verify domain ownership for Google Workspace. This method requires administrative access to the Google Tag Manager account associated with your domain.
Follow the steps below to verify your domain ownership using Google Tag Manager:
- Sign in to your Google Admin console.
- Go to the Domains page by clicking on the “Domains” icon or link.
- Select the domain you want to verify.
- Click on the “Verify” button next to the Google Tag Manager method.
- If you haven’t set up Google Tag Manager for your domain yet, follow the instructions provided by Google to set it up.
- Once Google Tag Manager is set up for your domain, return to the verification page in the Google Admin console.
- Click on the “Verify” button to complete the verification process.
When you click the “Verify” button, Google will check the associated Google Tag Manager account and confirm ownership of the domain. This verification method relies on the fact that only someone with administrative access to the Google Tag Manager account can modify the tags associated with the domain.
It’s important to note that you must have administrative access to the Google Tag Manager account associated with your domain to use this method. If you don’t have access, ensure that you have the necessary permissions or contact the appropriate person who can assist you.
If you encounter any issues during the verification process or if the verification fails, consult the troubleshooting resources provided by Google. These resources can help you address common issues and ensure a successful verification.
Now that you have successfully verified your domain ownership using Google Tag Manager, you can fully utilize the Google Workspace services available for your domain. Enjoy the benefits of enhanced collaboration, productivity, and communication offered by Google Workspace!
Troubleshooting tips
While verifying your domain for Google Workspace, you may encounter some challenges or issues. Here are some troubleshooting tips to help you overcome common hurdles and ensure a successful domain verification:
- Double-check the entered information: Ensure that you have entered the correct domain name, file names, DNS records, or other required information during the verification process. Even a small typo can lead to verification failure.
- Review DNS propagation: If you are using the TXT record or HTML tag method, keep in mind that it may take some time for DNS changes to propagate. Wait for sufficient time before checking the verification status.
- Check DNS settings: Verify that the DNS settings for your domain are correctly configured. Double-check that you have added the correct TXT record or HTML tag to your DNS settings.
- Ensure webserver accessibility: For the HTML file upload method, make sure you have uploaded the file to the correct location on your web server and that it is accessible to Google’s verification systems.
- Verify ownership with a different method: If one verification method fails, try another method that may be more suitable for your specific situation. Google provides various verification options to accommodate different scenarios.
- Confirm administrative access: Make sure you have the necessary administrative access to your Google Admin console, Google Analytics account, or Google Tag Manager account for the verification methods that require access.
- Consult Google’s Help Center: If you encounter persistent issues, refer to the official Google Workspace Help Center for further troubleshooting steps and resources. Google provides detailed documentation to assist with domain verification.
- Reach out to support: If you have exhausted all troubleshooting options and still cannot verify your domain, consider contacting Google Workspace support. They have dedicated support channels to assist with domain verification and other technical issues.
Remember, domain verification is a crucial step in unlocking the full potential of Google Workspace. By following these troubleshooting tips, you can overcome common challenges and successfully verify your domain ownership, enabling you to make the most of Google’s powerful suite of productivity tools.
Conclusion
Verifying your domain for Google Workspace is an essential step that establishes your ownership and credibility, while also granting access to a wide range of powerful tools and features. Throughout this guide, we have explored the step-by-step process of verifying your domain ownership using various methods provided by Google.
We began by emphasizing the importance of domain verification for Google Workspace, highlighting how it enhances security, establishes trust, and unlocks a suite of collaboration and productivity tools. From signing in to the Google Admin console to accessing the Domains page and adding a domain, each step has been outlined to ensure a smooth verification process.
We have also delved into the different verification methods, including HTML file upload, TXT record, HTML tag, Google Analytics, and Google Tag Manager. These methods provide flexibility to choose the most suitable option for your specific situation, whether it involves uploading files, modifying DNS settings, or utilizing existing Google Analytics or Tag Manager accounts.
Additionally, we have provided troubleshooting tips to help you overcome common challenges that may arise during the domain verification process. By double-checking information, reviewing DNS propagation, confirming access permissions, and seeking assistance from Google’s Help Center or support channels, you can overcome obstacles and verify your domain ownership successfully.
Once your domain ownership is verified, you can fully leverage the benefits of Google Workspace, including professional email addresses, collaborative document editing, cloud storage, and administrative controls. These tools enable efficient communication, enhanced productivity, and seamless collaboration within your organization.
Remember, domain verification is a crucial step in the setup process. Taking the time to complete the verification ensures a secure and efficient Google Workspace experience for your organization.
Now that you have a comprehensive understanding of the domain verification process for Google Workspace, you can confidently proceed and enjoy the myriad of benefits that come with it. Embrace the power of Google Workspace and elevate your organization’s productivity and collaboration to new heights!