Introduction
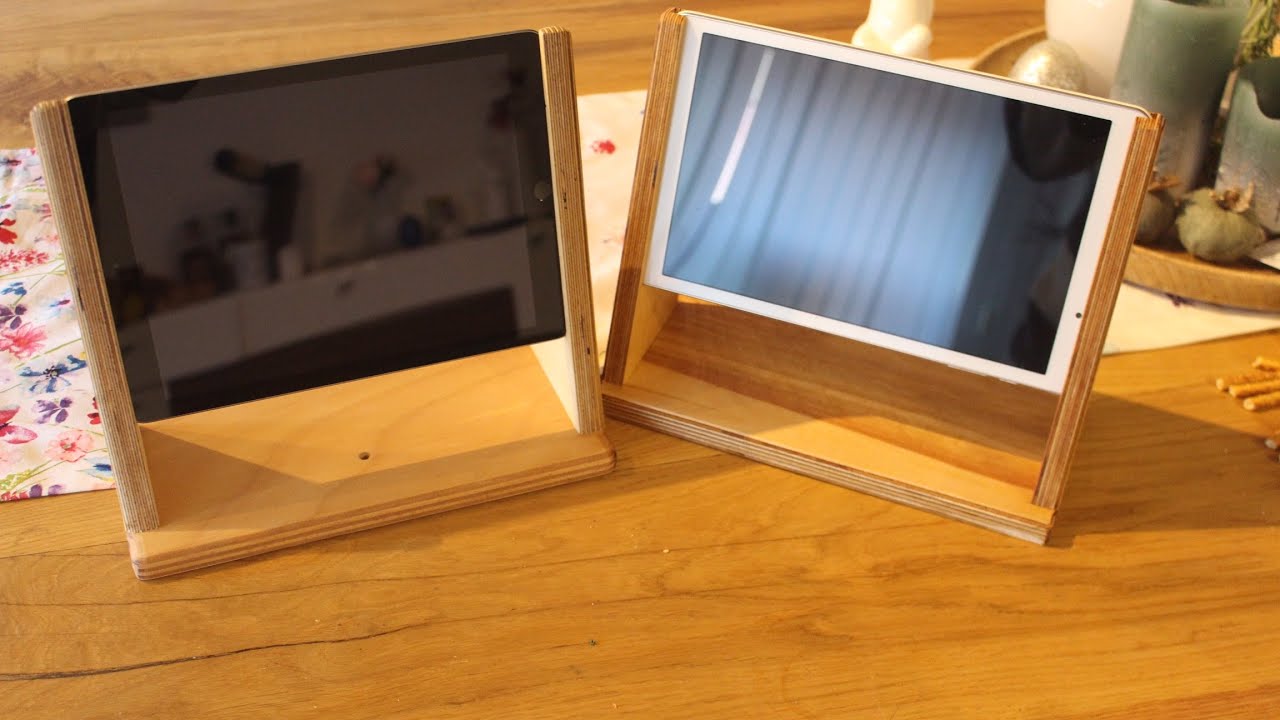
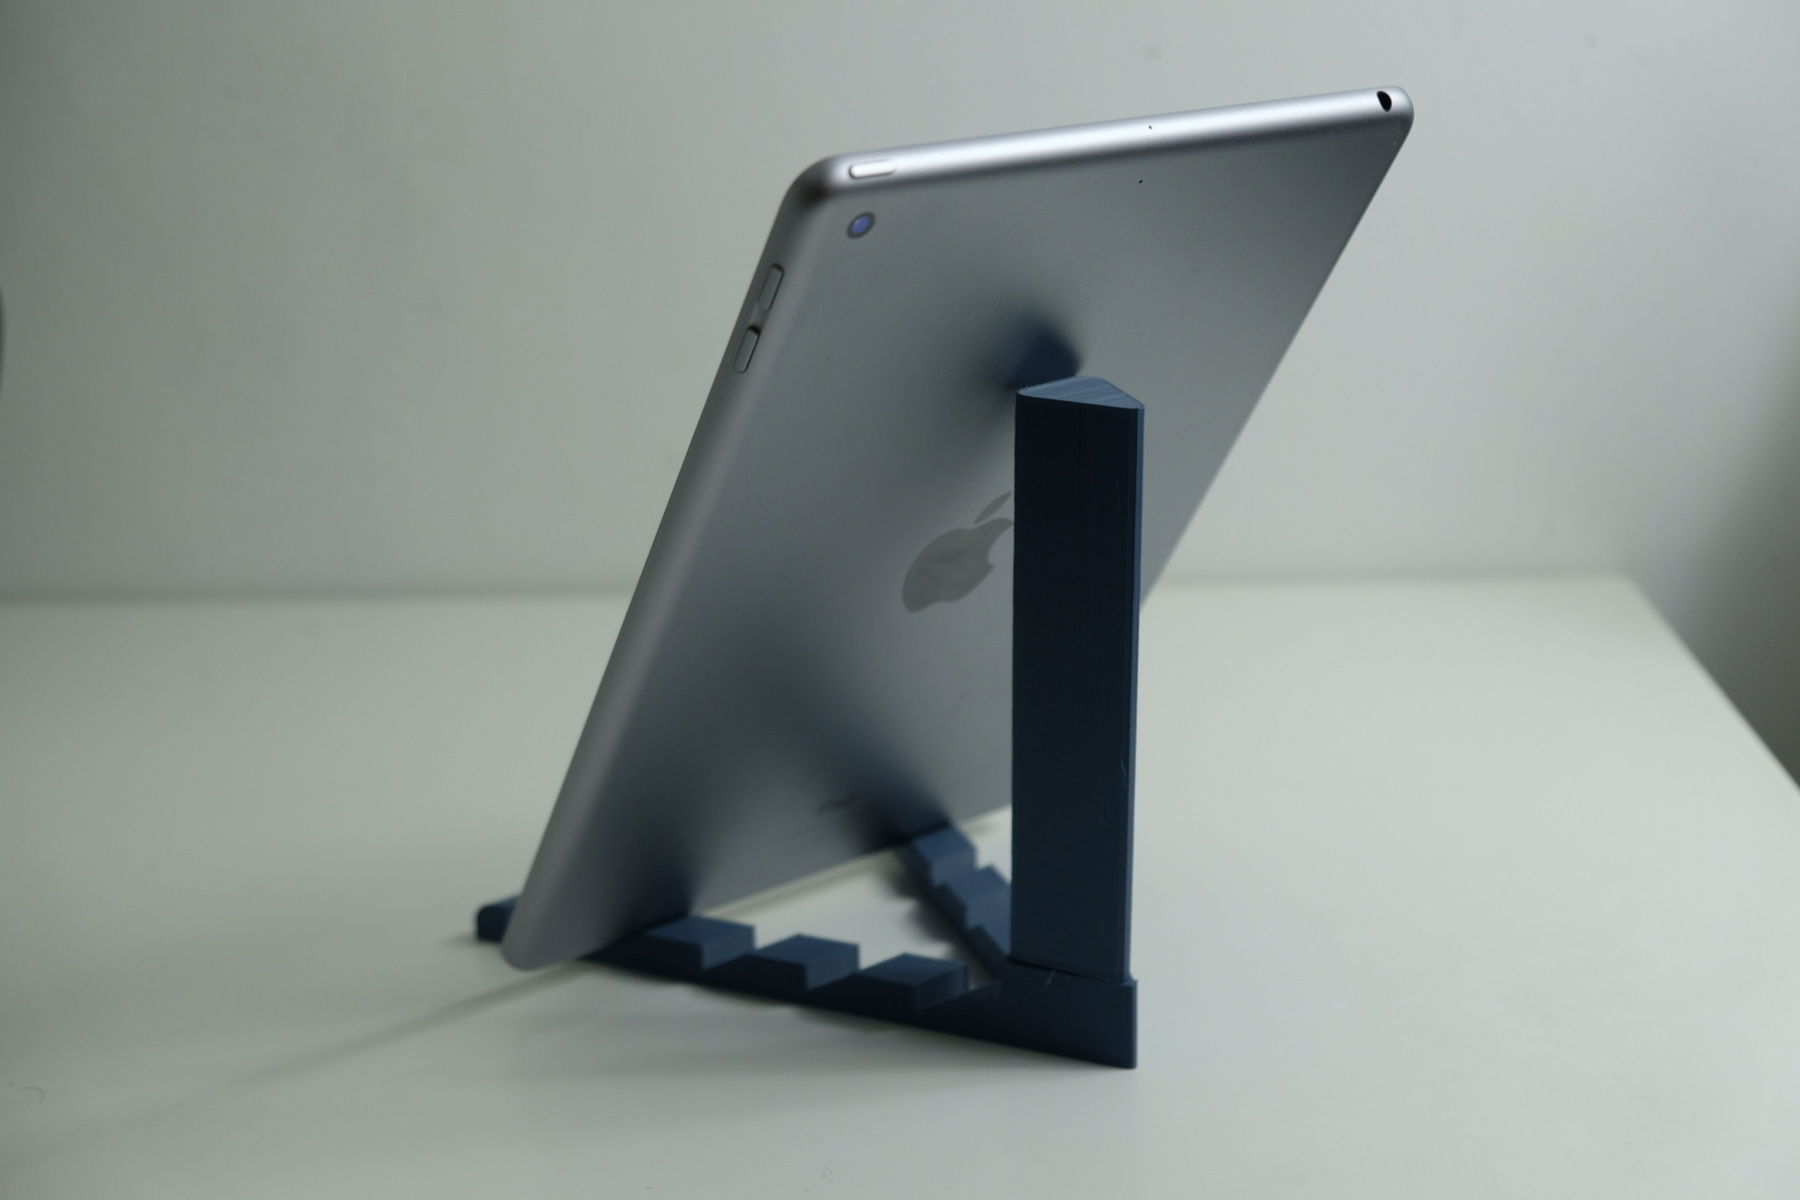
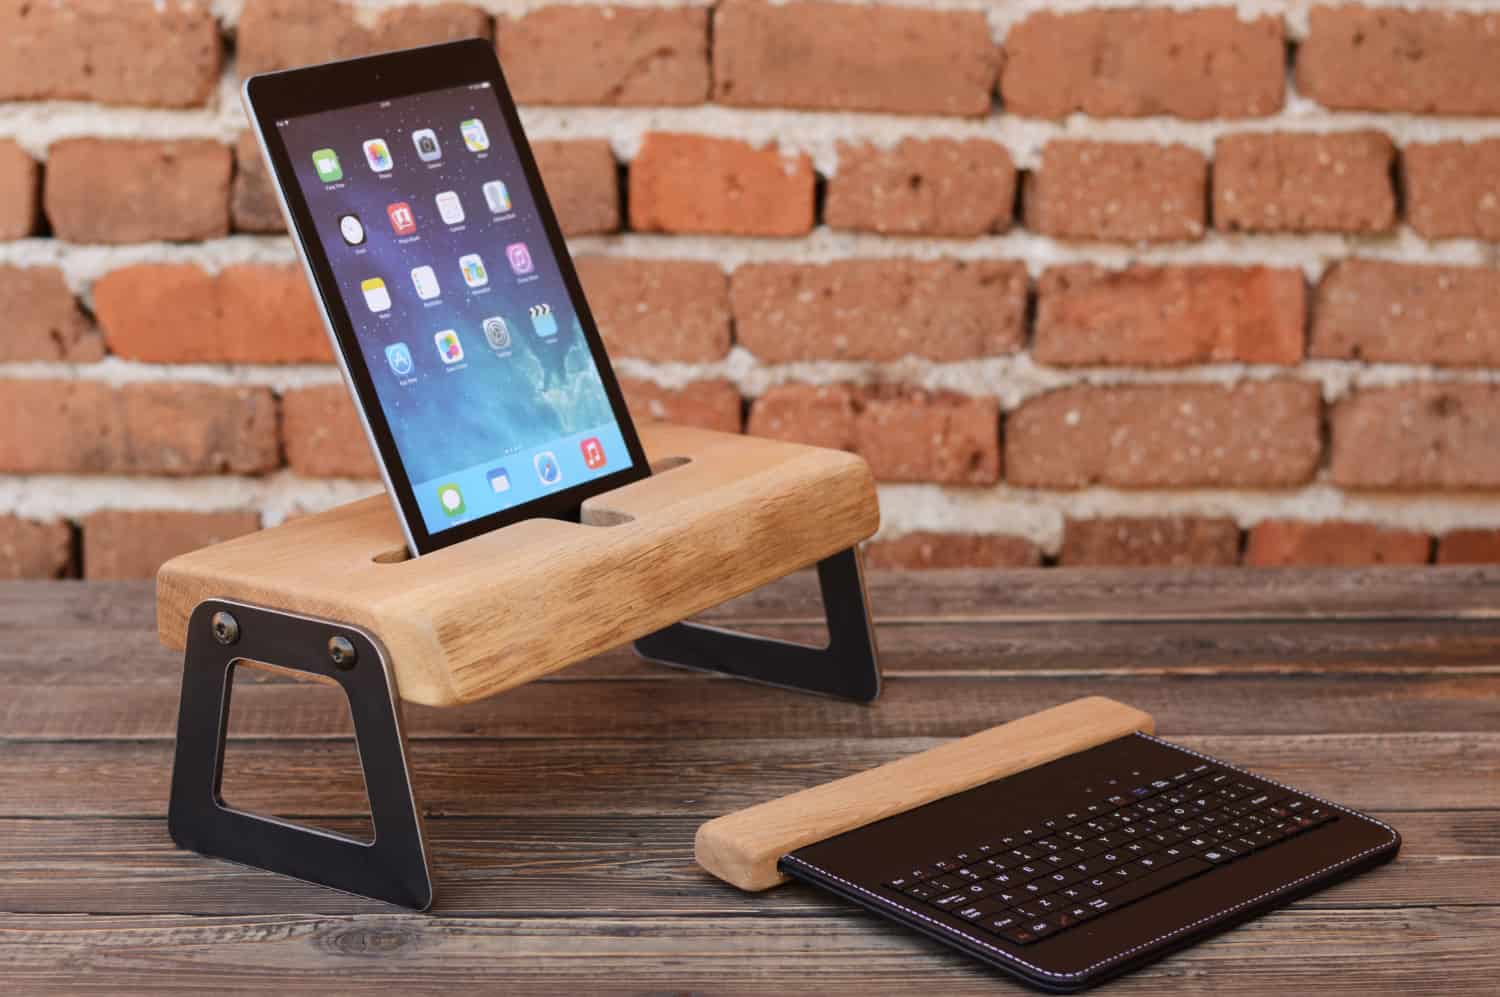
Welcome to our step-by-step guide on how to build your very own tablet stand! Whether you enjoy watching movies, following video tutorials, or simply need a convenient way to view your tablet’s screen while working, a tablet stand is the perfect accessory to enhance your tablet experience.
In today’s digital age, tablets have become an essential part of our lives, serving as portable entertainment hubs, productivity tools, and everything in between. However, it can be a little frustrating to hold your tablet for extended periods or prop it up against random objects to find the right viewing angle.
By constructing your own tablet stand, you can exercise your DIY skills while customizing a solution that perfectly suits your needs. Plus, it’s a great way to repurpose materials and save money compared to purchasing a ready-made stand.
In this guide, we will walk you through the process of building a sturdy and stylish tablet stand. You don’t need to be an expert carpenter; with a few basic tools and materials, you’ll be able to create a practical and eye-catching stand in no time.
So, roll up your sleeves, grab your tools, and let’s get started on this exciting DIY project that will provide you with a functional tablet stand to make your digital experience even better!
Materials Needed
Before diving into the construction process, let’s gather all the materials and tools you’ll need to complete your DIY tablet stand project:
- 1. Piece of wood: Choose a sturdy and thick piece of wood that can support the weight of your tablet. A piece measuring around 12″ x 8″ will work well.
- 2. Saw: You’ll need a saw to cut the wood according to your desired measurements. A handheld saw or a miter saw will do the job.
- 3. Sandpaper: To achieve a smooth and polished finish, grab some sandpaper in various grits, such as 80, 120, and 220.
- 4. Drill: A power drill will come in handy for creating holes for the charging cable or any additional features you may want to add.
- 5. Wood glue: Use wood glue to securely attach the different components of the tablet stand together.
- 6. Clamp or vice: A clamp or vice will help keep the wood steady while you work on it, ensuring accurate cuts and assembly.
- 7. Protective finish or stain: To give your tablet stand a professional and polished look, consider applying a protective finish or stain of your choice. This will also help protect the wood from wear and tear.
- 8. Rubber feet: Adding rubber feet to the bottom of your tablet stand will provide stability and prevent it from slipping on smooth surfaces.
- 9. Measuring tape and pencil: These basic tools will help you measure and mark the wood accurately.
- 10. Safety gear: Don’t forget to wear safety goggles and gloves to protect yourself during the construction process.
Once you have gathered all the necessary materials, you’re ready to move on to the step-by-step instructions for building your very own tablet stand. Let’s get started!
Step 1: Measure and Mark the Wood
The first step in building your tablet stand is to measure and mark the wood according to the desired dimensions. This will ensure that your tablet stand is the perfect size for your tablet and provides a stable and secure platform.
Start by placing your tablet on the wood and deciding on the orientation. You can choose to have your tablet placed vertically or horizontally, depending on your preference.
Using a measuring tape, carefully measure the width and height of your tablet, allowing for a small margin on each side for stability. For example, if your tablet measures 10 inches wide and 8 inches high, you can add an additional half an inch to each dimension to allow for a snug fit.
Once you have the measurements, use a pencil and ruler to mark the dimensions on the wood. Make sure to measure and mark on both sides of the wood to ensure accuracy. Double-check the markings to ensure they match your tablet’s dimensions before moving on to the next step.
It’s always a good idea to measure twice and cut once to avoid any mistakes. Taking the time to accurately measure and mark the wood will ensure that your tablet stand fits your tablet perfectly and provides a stable base for it.
With the wood now properly marked, you’re ready to move on to the next step: cutting the wood according to the measurements.
Step 2: Cut the Wood According to Measurements
Now that you have measured and marked the wood for your tablet stand, it’s time to cut it to the correct dimensions. This step will shape the base of your tablet stand and determine its overall stability and functionality.
Using a saw, carefully follow the marked lines to cut the wood. Make sure to use long, smooth strokes and apply gentle pressure to prevent any splintering or uneven cuts.
If you are using a handheld saw, remember to keep your hand steady and maintain a controlled cutting motion. Alternatively, if you have access to a miter saw, it can provide precise and accurate cuts.
Take your time during this step and ensure that the cuts are straight and aligned with the marked measurements. It’s better to err on the side of caution and cut slightly outside the lines, as you can always trim off extra wood later if needed.
After cutting the wood to the desired dimensions, verify that it fits your tablet properly by placing it on the base. Check that it sits snugly and securely without any wobbling.
If the wood doesn’t fit perfectly, you can use sandpaper to smooth the edges and make small adjustments. Remember to sand gently and evenly to maintain a consistent shape and avoid removing too much material.
Once you are satisfied with the fit, you’ve successfully completed step 2! You now have the base of your tablet stand ready for the next phase of construction.
Step 3: Sand the Wood for a Smooth Finish
Now that you have cut the wood to the desired dimensions, it’s time to sand the surface for a smooth and polished finish. Sanding not only improves the overall appearance of your tablet stand but also ensures that there are no rough edges or splinters that could potentially damage your tablet.
Start by using coarse-grit sandpaper, such as 80 or 120 grit, to remove any imperfections or rough spots on the wood. Hold the sandpaper firmly and move it in a back-and-forth motion, following the grain of the wood. Be sure to sand all the visible surfaces, including the top, bottom, and sides of the tablet stand.
As you progress, gradually switch to finer-grit sandpaper, such as 220 grit, to achieve a smoother finish. Continue sanding until the wood feels velvety and there are no visible rough patches or wood fibers sticking out.
Pay extra attention to the edges of the tablet stand, as these areas tend to require more sanding. Use circular motions with the sandpaper to create rounded and smooth edges, giving your tablet stand a professional look.
Remember to periodically wipe away the dust generated by sanding with a clean cloth or brush. This will ensure that you have a clear view of the wood’s surface and prevent fine dust particles from getting trapped in the finish.
After completing the sanding process, run your hand over the entire tablet stand to ensure a consistent and smooth finish. If you notice any rough areas, go back and sand them until they blend seamlessly with the rest of the wood.
With the wood now sanded to perfection, you’re ready to move on to the next step: attaching the base and back support together.
Step 4: Attach the Base and Back Support Together
With the wood sanded and smooth, it’s time to assemble the base and back support of your tablet stand. This step will provide stability and ensure that your tablet is held securely in place while in use.
Start by applying a thin layer of wood glue along the bottom edge of the back support. Position the back support on the backside of the tablet stand base, aligning them so that they are centered and flush with each other.
Once aligned, press the back support firmly against the base to allow the wood glue to bond the two pieces together. Wipe off any excess glue that may seep out from the edges using a damp cloth or sponge.
To reinforce the bond and ensure a strong connection, you can also use clamps or a vice to hold the two pieces together while the glue dries. This will prevent any shifting or movement that could compromise the stability of the tablet stand.
Allow the wood glue to dry completely according to the manufacturer’s instructions. This usually takes a few hours or overnight. Be patient during this step, as proper drying will ensure a solid and reliable connection between the base and back support.
After the wood glue has dried, remove the clamps or vice and check the bond. Gently wiggle the back support to ensure that it is securely attached to the base. If there is any looseness, apply additional wood glue and reattach with clamps as necessary.
Congratulations! You have successfully attached the base and back support together, bringing your tablet stand one step closer to completion. In the next step, we will drill holes for the charging cable to keep your tablet charged while in use.
Step 5: Drill Holes for the Charging Cable
Now that the base and back support of your tablet stand are securely attached, it’s time to add a convenient feature – a hole for the charging cable. This will allow you to easily charge your tablet while it sits on the stand, keeping it powered up and ready for use.
Start by deciding on the location of the hole. Choose a spot that is near the bottom edge of the base, ensuring that it is easily accessible and won’t interfere with the stability of the tablet stand.
Use a drill bit that is slightly larger than the diameter of your charging cable. Place the drill bit at the chosen location, ensuring it is perpendicular to the wood surface, and begin drilling a hole. Apply firm, but gentle, pressure and let the drill bit work its way through the wood.
Take care not to drill too close to the edge of the base, as it may weaken the wood or cause it to split. Maintain a safe distance from the edge to ensure the structural integrity of your tablet stand.
Once the hole is drilled, gently sand the edges of the hole using fine-grit sandpaper. This will remove any roughness or splinters, ensuring a smooth finish.
Before moving on, test the hole by attempting to pass the charging cable through it. Ensure that the cable fits snugly without any obstruction. If needed, you can enlarge the hole slightly using a larger drill bit or sandpaper.
With the charging cable hole in place, you have added a convenient feature to your tablet stand. This enables you to keep your tablet charged while it sits on the stand, ensuring uninterrupted use. In the next step, we will focus on sanding the edges of the tablet stand for a rounded finish.
Step 6: Sand the Edges for a Rounded Finish
Now that the major components of your tablet stand are assembled, it’s time to focus on the finer details. Sanding the edges of the tablet stand will not only provide a smooth and polished appearance but also ensure a comfortable and ergonomic user experience.
Start by identifying any sharp or rough edges along the sides and corners of the tablet stand. These edges can be uncomfortable to touch and may even pose a risk of splinters.
Using sandpaper with a medium grit, gently sand the edges in a back-and-forth motion. The goal is to soften the edges and create a rounded finish that feels gentle to the touch. Be careful not to apply too much pressure, as this can result in uneven surfaces.
As you sand, periodically run your fingers along the edges to check for smoothness. If you come across any areas that feel rough, continue sanding until the edges are consistently rounded.
It’s important to pay extra attention to the corners of the tablet stand. These areas tend to be the sharpest and most prone to splintering. Use circular motions with the sandpaper to achieve a rounded and comfortable shape.
After sanding with the medium grit sandpaper, switch to a finer grit sandpaper, such as 220 or higher, to achieve a smoother and more refined finish. This will further enhance the appearance of your tablet stand while also ensuring a pleasant tactile experience.
Once you are satisfied with the rounded edges and smoothness of the tablet stand, wipe away any dust or debris with a clean cloth. This will give you a clear view of the results and help prepare the wood for the next step, applying a protective finish or stain.
Congratulations! By sanding the edges of your tablet stand, you have not only improved its overall aesthetic appeal but also enhanced its usability and comfort. In the next step, you’ll have the opportunity to personalize the appearance of your tablet stand with a protective finish or stain.
Step 7: Apply a Protective Finish or Stain
With the construction and sanding of your tablet stand complete, it’s time to add the finishing touch – a protective finish or stain. This step will not only enhance the appearance of your tablet stand but also protect the wood from wear and tear.
Before applying any finish, make sure the wood surface is clean and free of dust. Use a cloth or brush to remove any remaining sanding residue, ensuring that the surface is smooth and ready for treatment.
If you prefer to maintain the natural beauty of the wood, you can opt for a clear protective finish. This will give your tablet stand a glossy or satin sheen while allowing the wood grain to show through.
If you’re looking to add color or change the appearance of the wood, consider using a wood stain. Stains come in a variety of shades and can provide a rich, deep finish that complements your personal taste and style.
Whichever option you choose, always follow the manufacturer’s instructions for application and drying times. Most finishes and stains can be applied using either a brush or a cloth, depending on your preference.
Start by applying a thin, even layer of the finish or stain to all visible surfaces of your tablet stand. Make sure to cover the top, bottom, and sides, including the edges that you sanded in the previous step. Allow the first coat to dry completely.
Depending on the desired level of protection and sheen, you may want to apply additional coats. Each additional coat should be applied in the same manner as the first, allowing sufficient drying time between coats.
As you apply the finish or stain, keep an eye out for any drips or excess product. Promptly remove any drips or excess with a clean cloth or brush to prevent uneven drying or pooling.
Once you have achieved the desired color and level of protection, allow the final coat to dry completely. This may take anywhere from a few hours to overnight, so be patient and avoid handling the tablet stand until it is fully dry.
By applying a protective finish or stain, you not only enhance the beauty of your tablet stand but also increase its durability and longevity. In the next step, we’ll add rubber feet to the bottom of the tablet stand for added stability.
Step 8: Attach Rubber Feet to the Bottom for Stability
To ensure stability and prevent your tablet stand from sliding or scratching surfaces, it’s time to attach rubber feet to the bottom of the stand. These feet will provide traction and cushioning, making your tablet stand safe and secure on any surface.
Start by selecting rubber feet that are suitable for the size and weight of your tablet stand. You can find these feet at hardware stores, online retailers, or in craft supply shops.
Turn your tablet stand upside down and mark the desired locations for the rubber feet on the bottom. It’s typically best to place them at the corners to provide maximum stability.
Apply a small amount of adhesive, such as epoxy or strong glue, to the marked locations on the bottom of the tablet stand. Ensure that the adhesive is evenly distributed and covers the area where the rubber feet will be placed.
Press each rubber foot firmly onto the adhesive, aligning them with the marked locations. Apply gentle pressure to ensure a secure bond between the rubber foot and the tablet stand.
Allow the adhesive to dry completely according to the manufacturer’s instructions. This will usually take a few hours or overnight.
Once the adhesive is fully dry, flip the tablet stand back over and test the stability of the rubber feet. Ensure that they grip the surface and provide a steady and non-slip foundation for your tablet stand.
By attaching rubber feet to the bottom of your tablet stand, you have added an important element of stability and protection. Now, you can confidently place your tablet on any surface without worrying about it sliding or scratching.
In the final step, we’ll test the tablet stand with your tablet to ensure a perfect fit and functionality.
Step 9: Test the Tablet Stand with Your Tablet
Now that you’ve completed the construction and finishing of your tablet stand, it’s time to put it to the test by using it with your tablet. This final step will ensure that your tablet stand fits your device perfectly and provides the desired functionality.
Take your tablet and gently place it on the base of the stand. Adjust the angle of the tablet to your preferred viewing position, whether it’s tilted for watching videos or slightly elevated for typing.
Check that your tablet sits securely and stably on the stand. Ensure that the weight of the tablet is properly supported by the base and that there is no wobbling or slipping.
Test the charging cable hole by connecting your tablet’s charging cable. Make sure the cable fits snugly through the hole and that it doesn’t obstruct or strain the cable.
Try using your tablet in various orientations (landscape or portrait) to ensure that the stand provides an optimal viewing angle for your needs. Adjust the stand’s angle and position as necessary to find the most comfortable and convenient setup.
Pay attention to any additional features you may have incorporated, such as a slot for a stylus or a small shelf for accessories. Ensure that these elements are functional and provide the convenience you intended.
If during the testing phase you encounter any issues or find opportunities for improvement, take note of them. Keep in mind that this is a DIY project, and adjustments can be made to tailor the tablet stand to your specific preferences.
Congratulations! By testing the tablet stand with your tablet, you have confirmed its functionality and suitability for your device. Your DIY tablet stand is now ready to enhance your tablet experience, whether for work, entertainment, or any other purpose you desire.
Feel free to make any final adjustments or personalizations to the tablet stand based on your experience and preferences. Enjoy using your handmade tablet stand with pride and satisfaction!
Conclusion
Congratulations on successfully building your own tablet stand! By following the step-by-step instructions in this guide, you have created a practical and customized solution for enhancing your tablet experience.
Throughout the construction process, you measured and cut the wood, sanded the surfaces for a smooth finish, and assembled the base and back support. You also drilled a hole for the charging cable, rounded the edges, applied a protective finish or stain, attached rubber feet for stability, and tested the stand with your tablet.
By building your own tablet stand, you not only saved money compared to purchasing one but also had the opportunity to personalize it to your liking. You can be proud of your DIY skills and the results of your hard work.
Your tablet stand now provides a stable and secure platform for your tablet, allowing you to comfortably view your screen while watching movies, following tutorials, or working on tasks. The added feature of the charging cable hole ensures that your tablet stays powered up during use.
Remember, you can always further customize your tablet stand based on your needs and preferences. Add additional features, decorations, or personal touches to make it uniquely yours.
We hope this guide has been informative and inspiring, encouraging you to explore your DIY skills and embark on more creative projects. Enjoy using your tablet stand and make the most out of your tablet experience!


