Introduction
Welcome to the world of DIY PC building, where creativity and resourcefulness converge. If you’re on a budget or simply enjoy unique projects, then building a cardboard PC case might be the right endeavor for you. In this guide, we will take you through the step-by-step process of constructing a functional and visually appealing case using nothing more than readily available cardboard and some basic tools.
Why choose a cardboard PC case, you might ask? Well, aside from being a highly cost-effective option, building a cardboard case allows you to unleash your creativity and customize the design according to your preferences. Plus, it’s an excellent way to repurpose materials that might otherwise end up in the recycling bin.
But wait, won’t a cardboard case be flimsy and adversely affect the performance of your computer? Not necessarily. By following the techniques outlined in this guide, you can create a sturdy and dependable case that protects your components while still allowing for proper airflow and ventilation.
Before we dive into the construction process, it’s important to note that while building a cardboard PC case can be a fun and rewarding project, it may not be suitable for everyone. If you’re looking for a long-term, high-performance solution, a traditional PC case made of metal or plastic is the way to go. However, if you’re willing to embrace the novelty and uniqueness of a cardboard case, then let’s get started on this creative journey together.
Gathering Materials
Before you start building your cardboard PC case, it’s essential to gather all the necessary materials. While the main component, of course, is cardboard, you’ll also need a few other items to ensure a successful construction process. Here’s a list of materials you’ll need:
- Cardboard: Look for sturdy cardboard that is preferably corrugated. You can repurpose cardboard boxes or purchase sheets of cardboard from a local craft store.
- Craft Knife or Scissors: A sharp craft knife or a pair of heavy-duty scissors will come in handy for cutting the cardboard into the desired shapes and sizes.
- Ruler or Measuring Tape: Accurate measurements are crucial, so make sure to have a ruler or measuring tape on hand to ensure precise cuts.
- Adhesive: You’ll need a strong adhesive to join the cardboard pieces together. Options include hot glue, strong double-sided tape, or even sturdy adhesive strips.
- Additional Reinforcement: To enhance the durability of your cardboard case, consider using reinforcement materials such as duct tape, wooden dowels, or metal brackets.
- Markers or Pens: These will be useful for marking measurements and cutting lines on the cardboard.
- Computer Components: Don’t forget to have all your computer components ready, including the motherboard, CPU, RAM, graphics card, storage devices, and power supply.
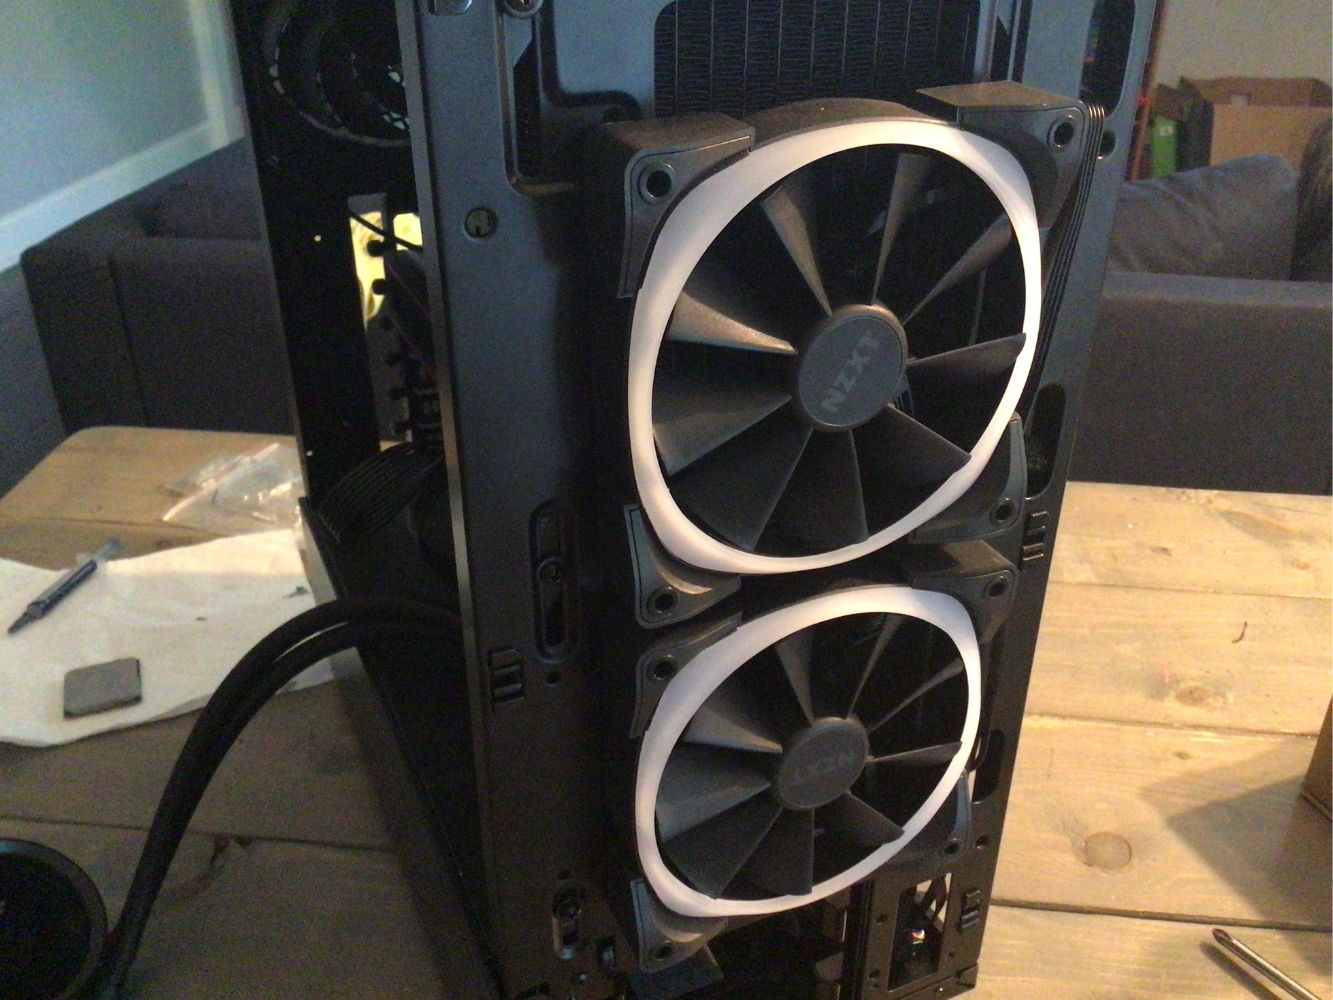
Make sure to check the dimensions and specifications of your computer components to ensure that they will fit properly within the dimensions of your cardboard case. Additionally, consider any specific hardware requirements, such as radiator mounts for liquid cooling systems, and plan your design accordingly.
Once you have gathered all the necessary materials, you’re ready to move on to the next step: measuring and cutting the cardboard pieces for your case.
Measuring and Cutting Cardboard
Now that you have all the materials ready, it’s time to start measuring and cutting the cardboard pieces for your PC case. This step is crucial in ensuring that the case will properly accommodate your components and provide adequate space for cable management. Follow these steps to get started:
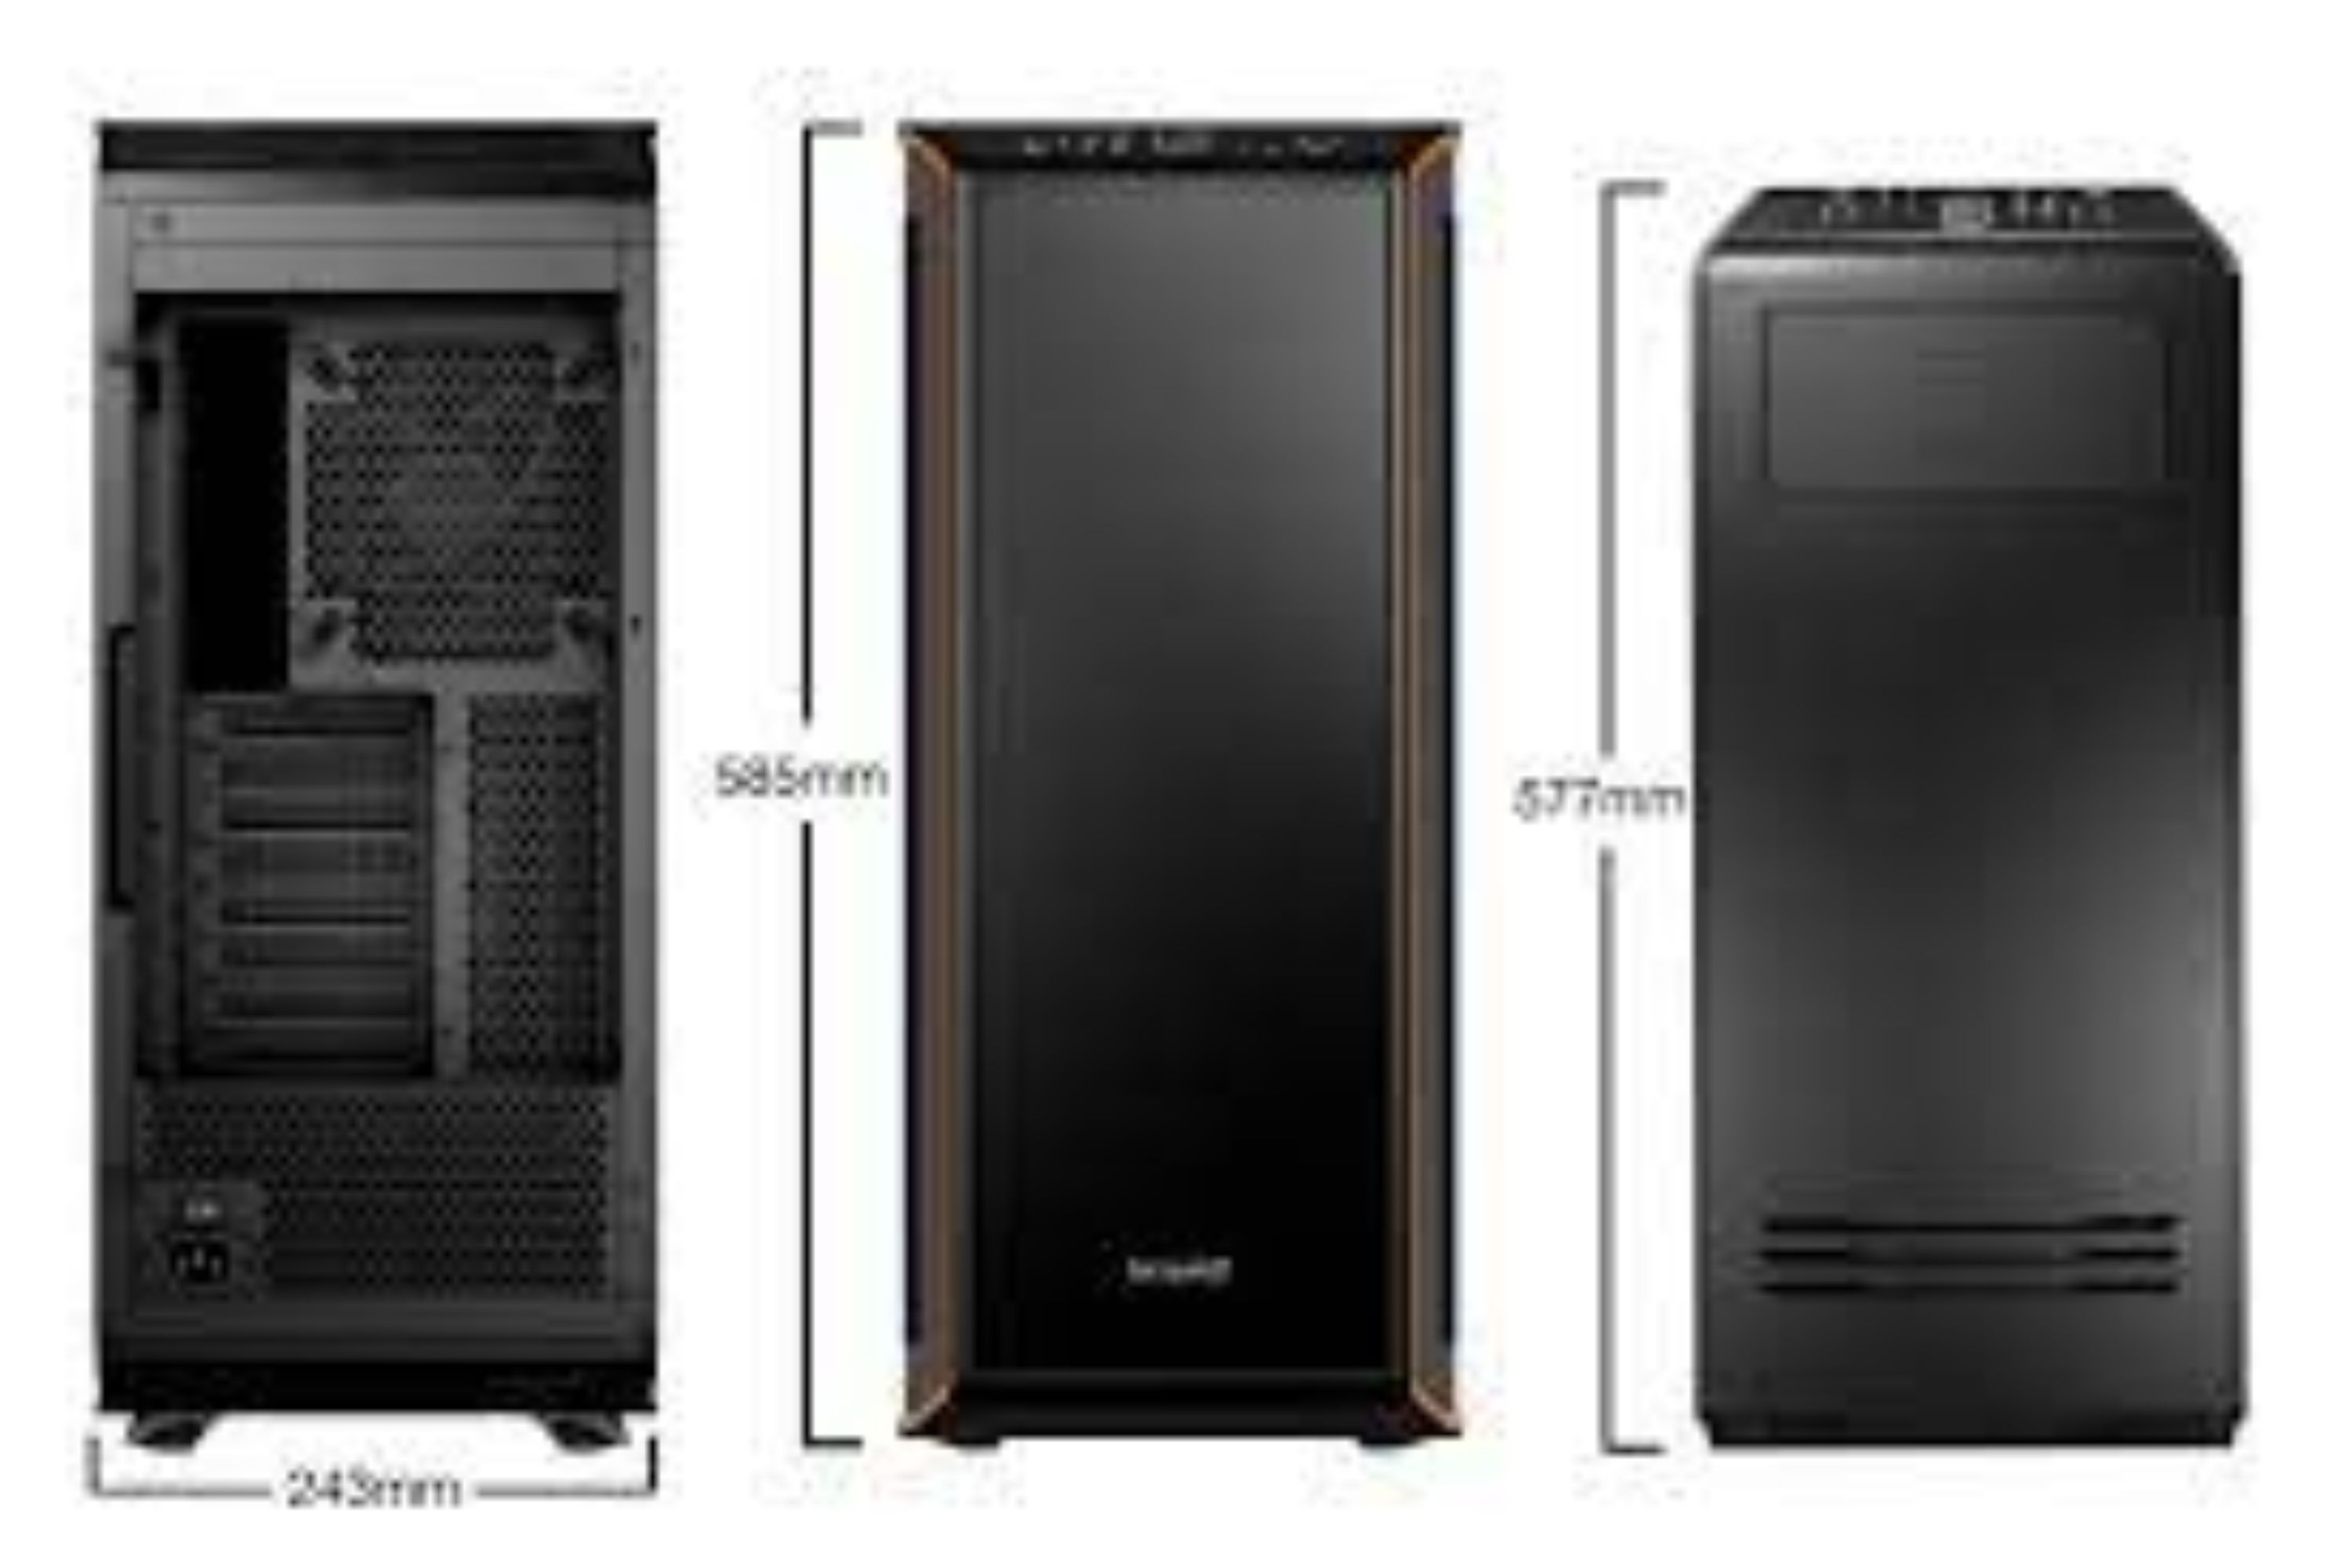
- Begin by measuring the dimensions of your computer components. Take note of the height, length, and width of your motherboard, graphics card, power supply, and any other components that will be housed in the case.
- Use a ruler or measuring tape to mark these dimensions on the cardboard sheets. Be sure to leave some extra space around each component to allow for proper airflow and easy installation.
- Next, use a craft knife or scissors to carefully cut out the marked cardboard pieces. Take your time and ensure clean and precise cuts, as this will affect the overall appearance and functionality of the case.
- As you cut the pieces, keep in mind the overall design and layout of your case. You may need to cut additional pieces to create support structures or compartments for specific components.
- Once you have cut out all the necessary pieces, dry fit them together to ensure that everything aligns properly. Make any adjustments or additional cuts if needed.
Remember, accuracy is key during this step. Take your time to measure each component carefully and double-check your cuts before moving on. It’s better to spend a little extra time on this step to avoid any issues later on in the construction process.
With the cardboard pieces cut and ready to go, it’s time to move on to the next step: assembling the cardboard pieces to form the structure of your PC case.
Assembling the Cardboard Pieces
With the cardboard pieces measured and cut, it’s time to start assembling them to create the structure of your DIY cardboard PC case. Follow these steps to ensure a sturdy and secure assembly:
- Begin by laying out all the cardboard pieces in the desired configuration to get a clear idea of how they fit together.
- Apply adhesive to the edges and surfaces of the cardboard pieces that will be joined together. You can use hot glue, double-sided tape, or any other strong adhesive that you prefer.
- Align the edges of the cardboard pieces and press them together firmly to create a secure bond. Hold the pieces in place for a few moments to allow the adhesive to set.
- For additional reinforcement, consider using duct tape, wooden dowels, or metal brackets at the corners and joints of the cardboard pieces. This will add stability and durability to the case.
- Continue assembling the cardboard pieces according to your design plan, making sure to check for any gaps or misalignments along the way. Adjust and secure the pieces as needed.
As you assemble the cardboard pieces, keep in mind the overall structure and stability of the case. Pay close attention to the areas where heavier components will be mounted, such as the motherboard and power supply. Reinforce these areas with additional adhesive or reinforcement materials if necessary.
Once you have successfully assembled the cardboard pieces, take a step back and assess the overall structure. Make any final adjustments or reinforcements as needed to ensure that the case is stable and secure.
Now that the basic structure of your cardboard PC case is complete, it’s time to reinforce it further to ensure the durability of your creation.
Reinforcing the Structure
While cardboard can be surprisingly sturdy, reinforcing the structure of your DIY cardboard PC case is essential to ensure its long-lasting durability. By following these steps, you can strengthen the case and provide added support:
- Identify the areas of the case that may need reinforcement, such as the corners, edges, and areas where heavier components will be mounted.
- One effective method of reinforcement is using duct tape. Apply strips of duct tape along the corners of the case and any other weak points. This will provide added strength and stability.
- If you want to reinforce the edges of the case, you can glue or tape additional layers of cardboard to create thicker and sturdier edges. This will make the case more resistant to impact and damage.
- Consider using wooden dowels or metal brackets to secure the corners and joints of the case. These materials can be attached with adhesive or screws to provide extra reinforcement.
- Another option is to add interior support structures. Cut additional pieces of cardboard to create braces or dividers inside the case. These structures will further enhance the stability and rigidity of the case.
Remember to take your time during the reinforcement process, ensuring that the added materials are securely attached. Additionally, make sure that any reinforcement does not obstruct the installation of your computer components or impede airflow within the case.
By reinforcing the structure of your cardboard PC case, you will ensure that it can withstand the rigors of daily use without compromising its overall functionality and appearance. With a solid foundation, it’s time to move on to the next step: creating cutouts for ports and drives.
Creating Cutouts for Ports and Drives
As you continue the construction process of your DIY cardboard PC case, the next step involves creating cutouts to accommodate ports and drives. By carefully following these steps, you can ensure that your components fit seamlessly into the case:
- Start by identifying the locations where the ports and drives will be positioned on the case. This typically includes USB ports, audio jacks, power buttons, and optical drive bays.
- Place your motherboard and other components inside the case to determine their exact positions. Use a marker or pen to trace the outlines of the component connectors and ports onto the cardboard.
- Using a craft knife or scissors, carefully cut out the traced outlines on the cardboard. Take your time to ensure clean and precise cuts, as these cutouts will be visible on the final case.
- If needed, you can use sandpaper or a file to smooth the edges of the cutouts for a clean finish. This will help prevent any potential damage to cables or components during installation.
- For drives, such as hard disk drives or solid-state drives, create additional cutouts or slots in the cardboard. Ensure that the dimensions match the size of the drives to guarantee a snug fit.
When creating the cutouts, it’s important to maintain the structural integrity of the case. Avoid removing too much cardboard, as this can weaken the overall structure and compromise the stability of the case.
Once the cutouts are complete, double-check their alignment with the actual ports and drives. Make any necessary adjustments or modifications to ensure a perfect fit.
With the cutouts created, it’s time to move on to the exciting part – installing the components into your DIY cardboard PC case.
Installing Components into the Case
Now that you have prepared the cardboard case and created cutouts for ports and drives, it’s time to start installing your components. Follow these steps to ensure a smooth and successful installation process:
- Begin by placing your motherboard inside the case. Align it with the mounting holes on the cardboard and secure it using screws or standoffs. Ensure that the motherboard is level and properly positioned.
- Connect the necessary cables from the power supply to the motherboard, ensuring a secure and proper connection. This includes the main power connector, CPU power connector, and any additional peripheral power connectors.
- Carefully insert your CPU, ensuring proper alignment with the socket. Apply thermal paste if necessary, then attach the CPU cooler according to its instructions.
- Install your RAM modules into the appropriate slots on the motherboard. Make sure they are fully seated and locked in place.
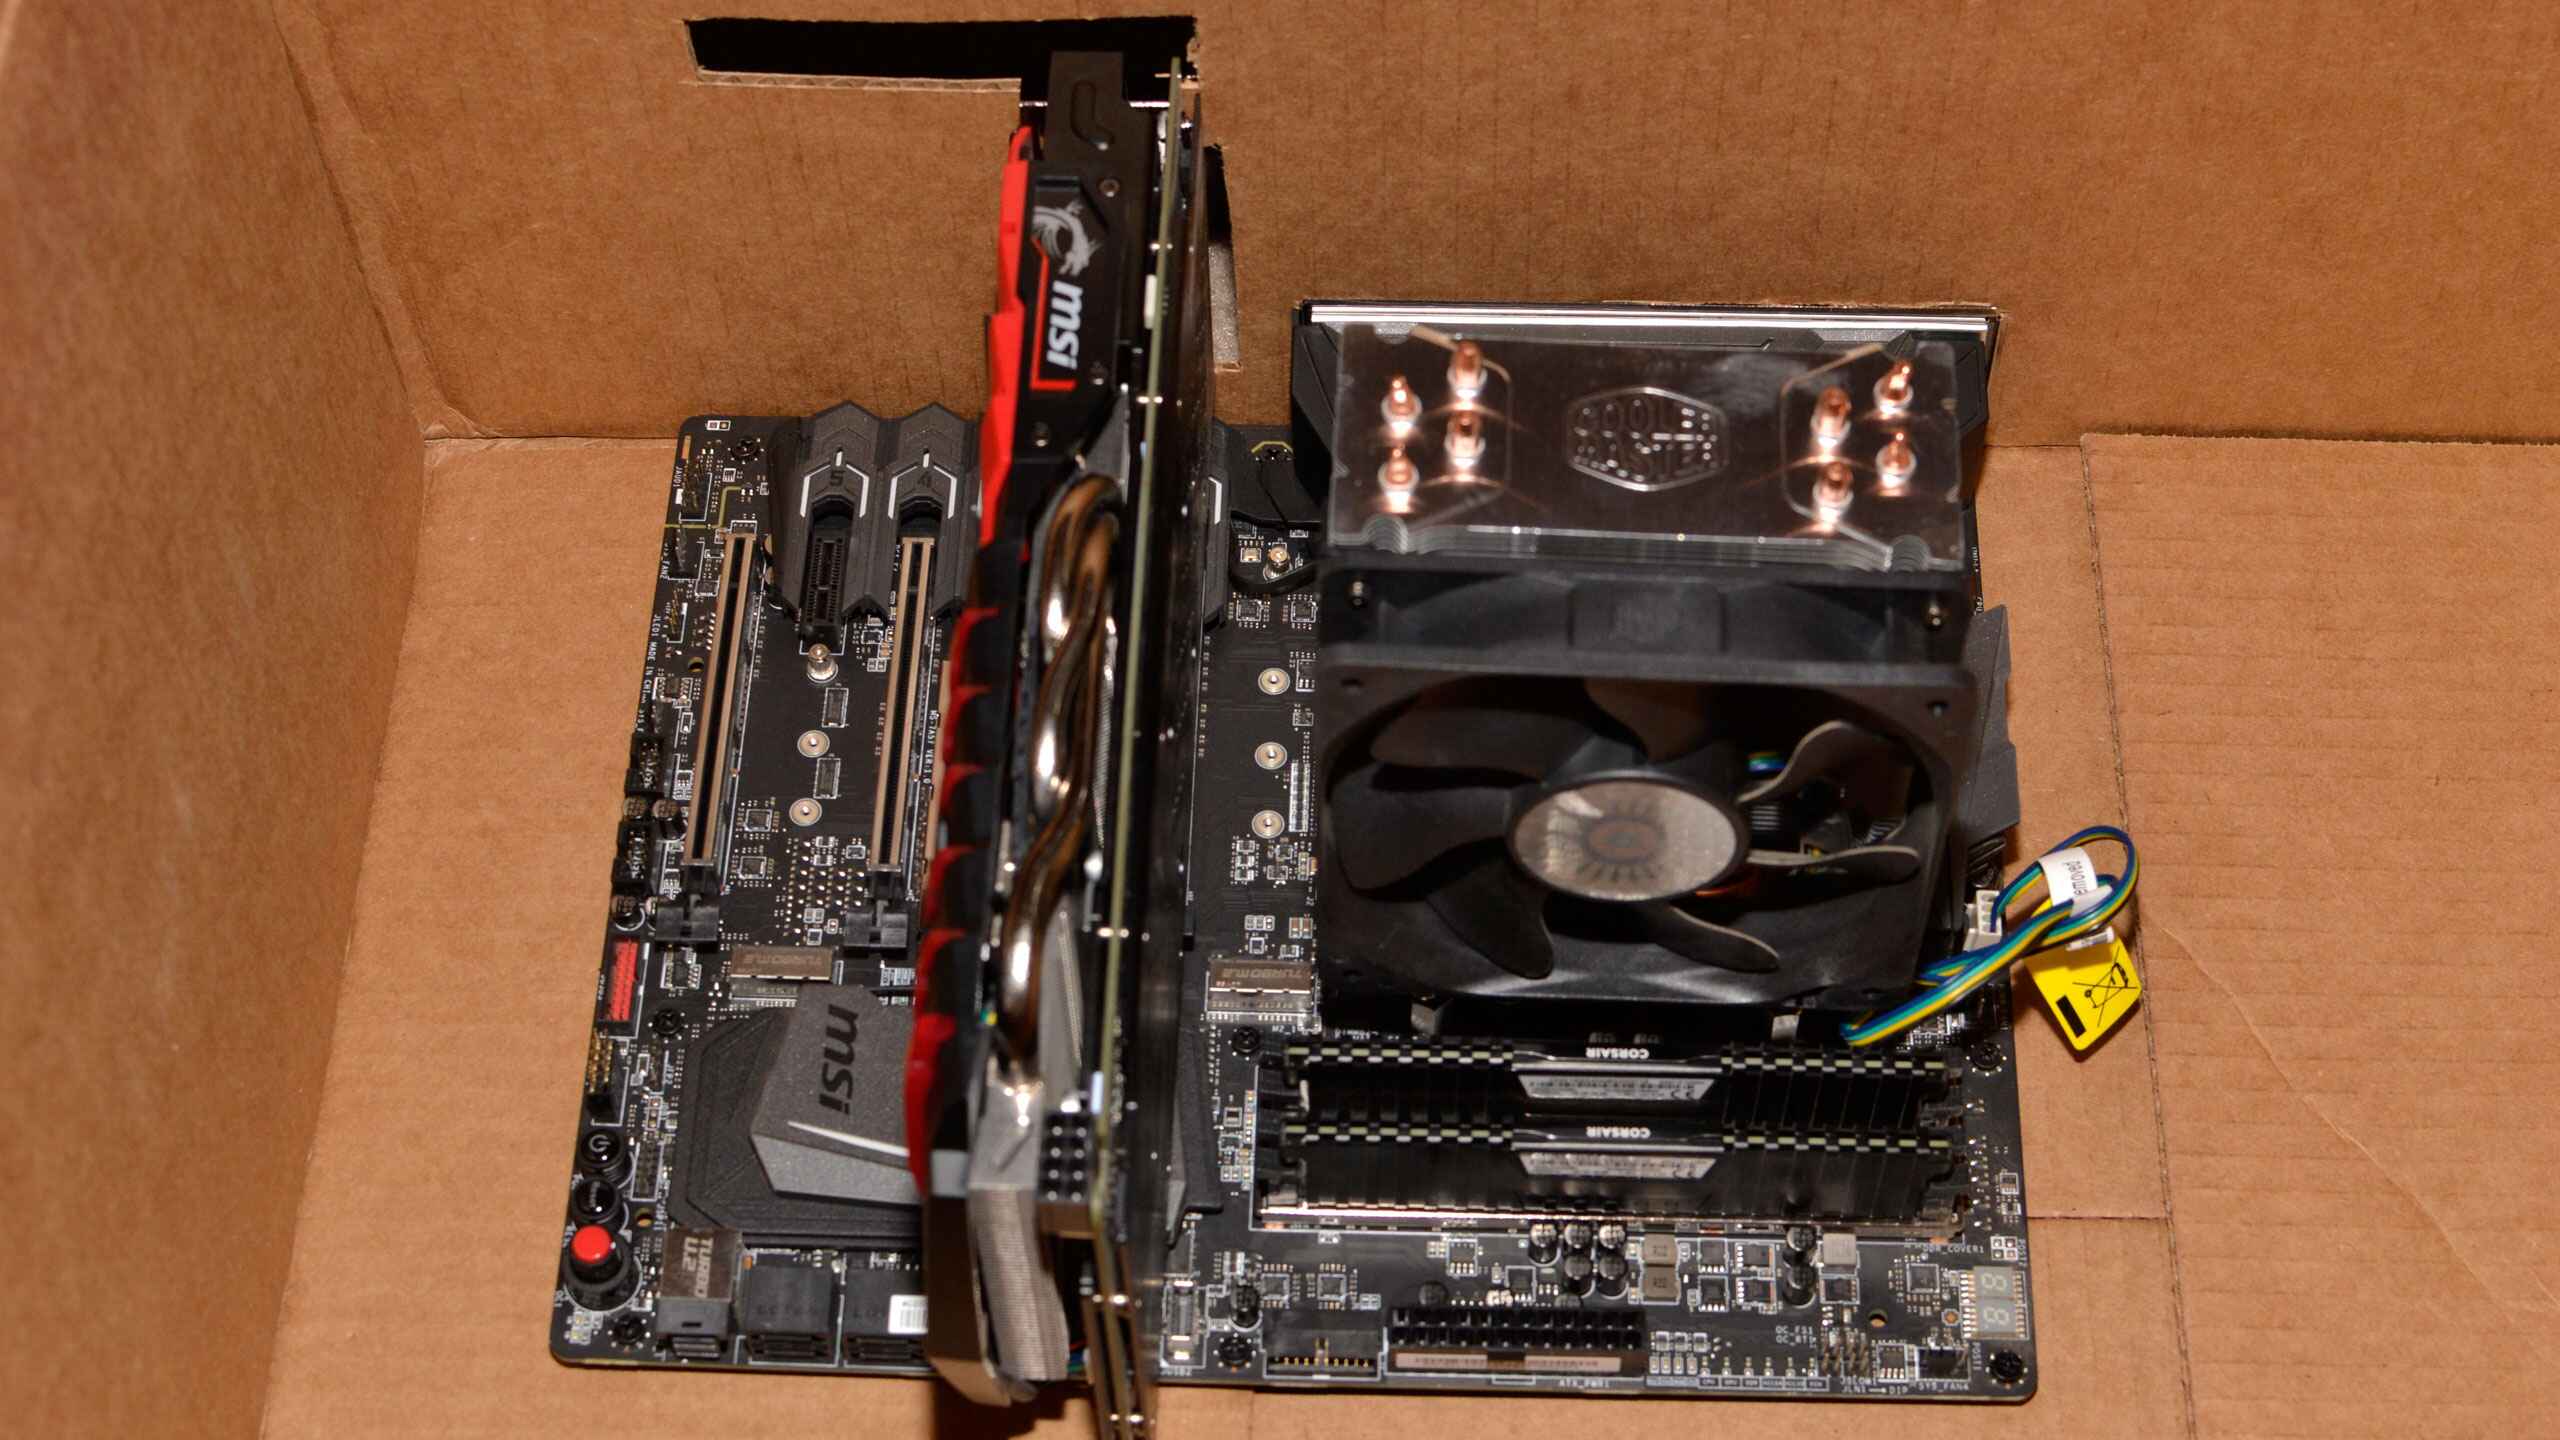
- If you have a dedicated graphics card, insert it into the compatible PCIe slot on the motherboard. Secure it with screws or the appropriate retention mechanism. Connect the necessary power cables from the power supply to the graphics card.
- Connect your storage devices, such as SSDs or HDDs, to the motherboard using the appropriate data cables. Secure them in the case using screws or brackets.
- Carefully route and organize your cables to ensure proper cable management and optimal airflow within the case. Use zip ties or cable ties to secure and bundle the cables neatly, avoiding any potential obstructions or tangles.
- Finally, install any additional components, such as expansion cards or cooling fans, according to their respective instructions. Ensure that everything is properly connected and secured.
Take your time during the installation process to avoid any accidental damage to the components or the case itself. Refer to the manuals or online resources for specific instructions related to your hardware.
Once all the components are securely installed and connected, it’s time to focus on cable management and tidying up the interior of your cardboard PC case.
Wiring and Cable Management
Proper wiring and cable management are crucial not only for maintaining a neat and organized appearance but also for optimizing airflow and preventing any potential overheating issues. Follow these steps to achieve an efficient and tidy setup:
- Start by identifying the necessary cables for each component, such as the power supply, motherboard, graphics card, and storage devices. Untangle and separate the cables to make them easier to work with.
- Route the cables strategically, taking into consideration the length and flexibility of each cable, as well as the locations of the connectors on your components. Aim for the shortest and most direct path possible.
- Use cable ties or zip ties to secure the cables together and to the interior of the case. This helps prevent them from cluttering the space and interfering with airflow. Be sure not to tie the cables too tightly to allow for flexibility and easy future upgrades or maintenance.
- Bundle and group cables that are going in the same direction or connecting to the same area. This makes it easier to identify and manage them, reducing the likelihood of accidentally disconnecting or damaging any cables.
- Consider using cable management accessories, such as adhesive cable clips or cable channels, to further organize and secure the cables. These accessories help keep the cables in place, preventing them from sagging or obstructing other components.
- Ensure that all cables are connected securely and properly, double-checking that they are inserted into the correct ports and connectors. Verify that the connections are tight and secure to avoid any potential interruptions or loose connections.
- Finally, take a moment to assess the overall cable management and tidy up any loose cables or excess lengths. This will not only improve the aesthetics but also make it easier to spot and troubleshoot any potential issues in the future.
By investing a little time and effort into proper wiring and cable management, you can achieve a clean and efficient setup for your DIY cardboard PC case. This will not only enhance the overall appearance but also contribute to optimal performance and longevity of your components.
Now that you have taken care of the wiring and cable management, it’s time to move on to the crucial step of testing the functionality of your newly constructed cardboard PC case.
Testing and Troubleshooting
Now that your DIY cardboard PC case is fully assembled and the cables are properly managed, it’s crucial to thoroughly test its functionality and address any potential issues. Follow these steps to ensure a successful testing process:
- Carefully double-check all the connections and make sure that every component is properly seated and secured. Verify that all cables are correctly plugged into the corresponding ports and connectors.
- Connect the power cable to the power supply and ensure it is securely plugged into a reliable power source.
- Press the power button and look for any signs of life. Check if the fans start spinning, lights turn on, and you hear any audible indications that your system is booting up.
- Monitor the screen to see if the BIOS or operating system loads successfully. Look for any error messages or abnormal behavior during startup.
- If your system fails to boot or encounters any issues, carefully check all connections and reseat any components that may have come loose. Verify that all cables are properly connected and that the power supply is functioning correctly.
- If the issue persists, consult the manuals or online resources for your specific components to troubleshoot further. There may be specific instructions or troubleshooting steps provided by the manufacturer.
- Consider testing each individual component separately to identify if any specific hardware is causing the issue. This can help isolate the problem and narrow down potential troubleshooting steps.
- Make note of any error messages or symptoms you encounter during the testing process. This information can be helpful if you need to seek assistance from forums or technical support.
- Continue troubleshooting until you have successfully resolved any issues, ensuring that your system is functioning as expected.
Remember, patience and a systematic approach are key when it comes to testing and troubleshooting. Don’t hesitate to seek help from online forums or reach out to technical support if you encounter any persistent problems that you are unable to resolve on your own.
Once you have thoroughly tested your DIY cardboard PC case and addressed any issues, you can enjoy the satisfaction of your successful build and begin using your unique and creative creation.
Conclusion
Congratulations! You have completed the process of building your own cardboard PC case. By following this guide, you have learned how to transform ordinary cardboard into a functional and visually appealing housing for your computer components.
Throughout this project, you have gathered materials, measured and cut the cardboard, assembled and reinforced the structure, created cutouts for ports and drives, installed components, managed wiring and cables, and thoroughly tested your setup. The result is a unique and cost-effective PC case that showcases your creativity and resourcefulness.
Remember, building a cardboard PC case is a fun and budget-friendly option, but it may not offer the same durability and longevity as traditional metal or plastic cases. It’s crucial to keep in mind the limitations of the cardboard material and take extra care to ensure the stability and protection of your components.
Now that you have successfully built your cardboard PC case, take a moment to appreciate your accomplishment. Share your creation with others, and inspire them with your innovative approach to DIY tech projects.
While building a cardboard PC case may not be for everyone, it provides an opportunity for those who enjoy hands-on projects to express their ingenuity and customization preferences. As you continue to explore the world of DIY PC building, you can apply the skills and knowledge gained from this experience to other projects and build upon your craftsmanship.
Remember, the possibilities are endless when it comes to unleashing your creativity in the world of computer technology. Whether it’s building a unique case, customizing your hardware, or optimizing your software, there is always something new to learn and discover.
Thank you for joining us on this journey of building a cardboard PC case. We hope you had a rewarding and enjoyable experience. Happy building!


