Introduction
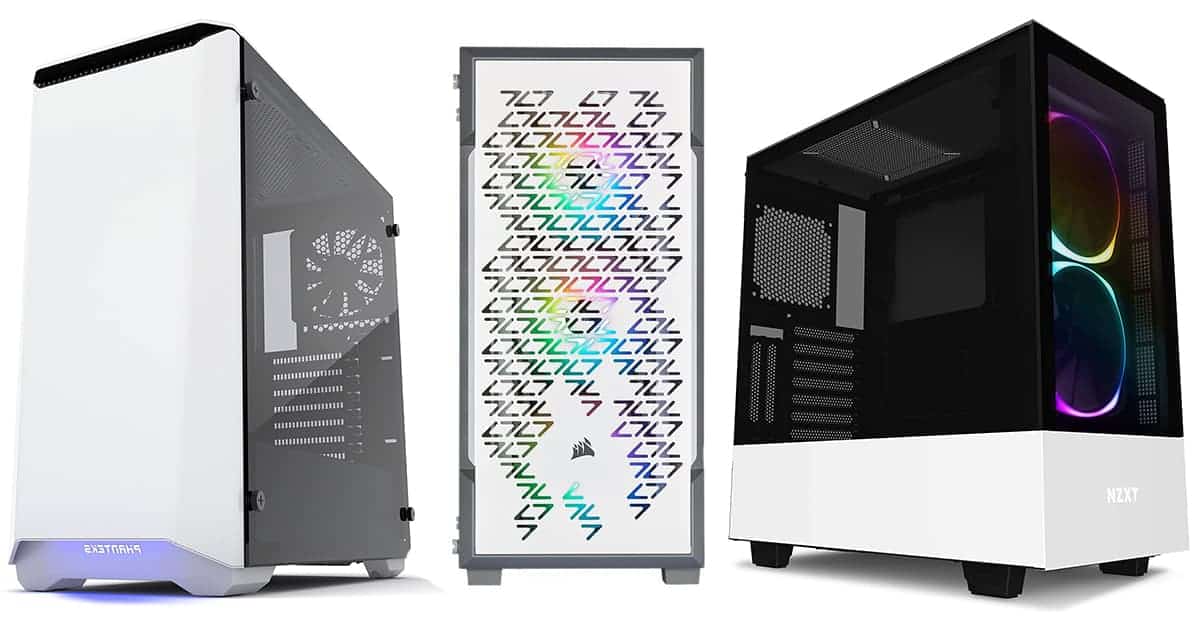
Have you ever looked at your PC case and thought that the manufacturer’s logo or computer case badges were ruining the sleek aesthetic? You’re not alone. Many PC enthusiasts and gamers prefer a clean and minimalist look for their computer setup. Fortunately, removing those unwanted PC case badges is a straightforward process that can give your computer a fresh and uncluttered appearance.
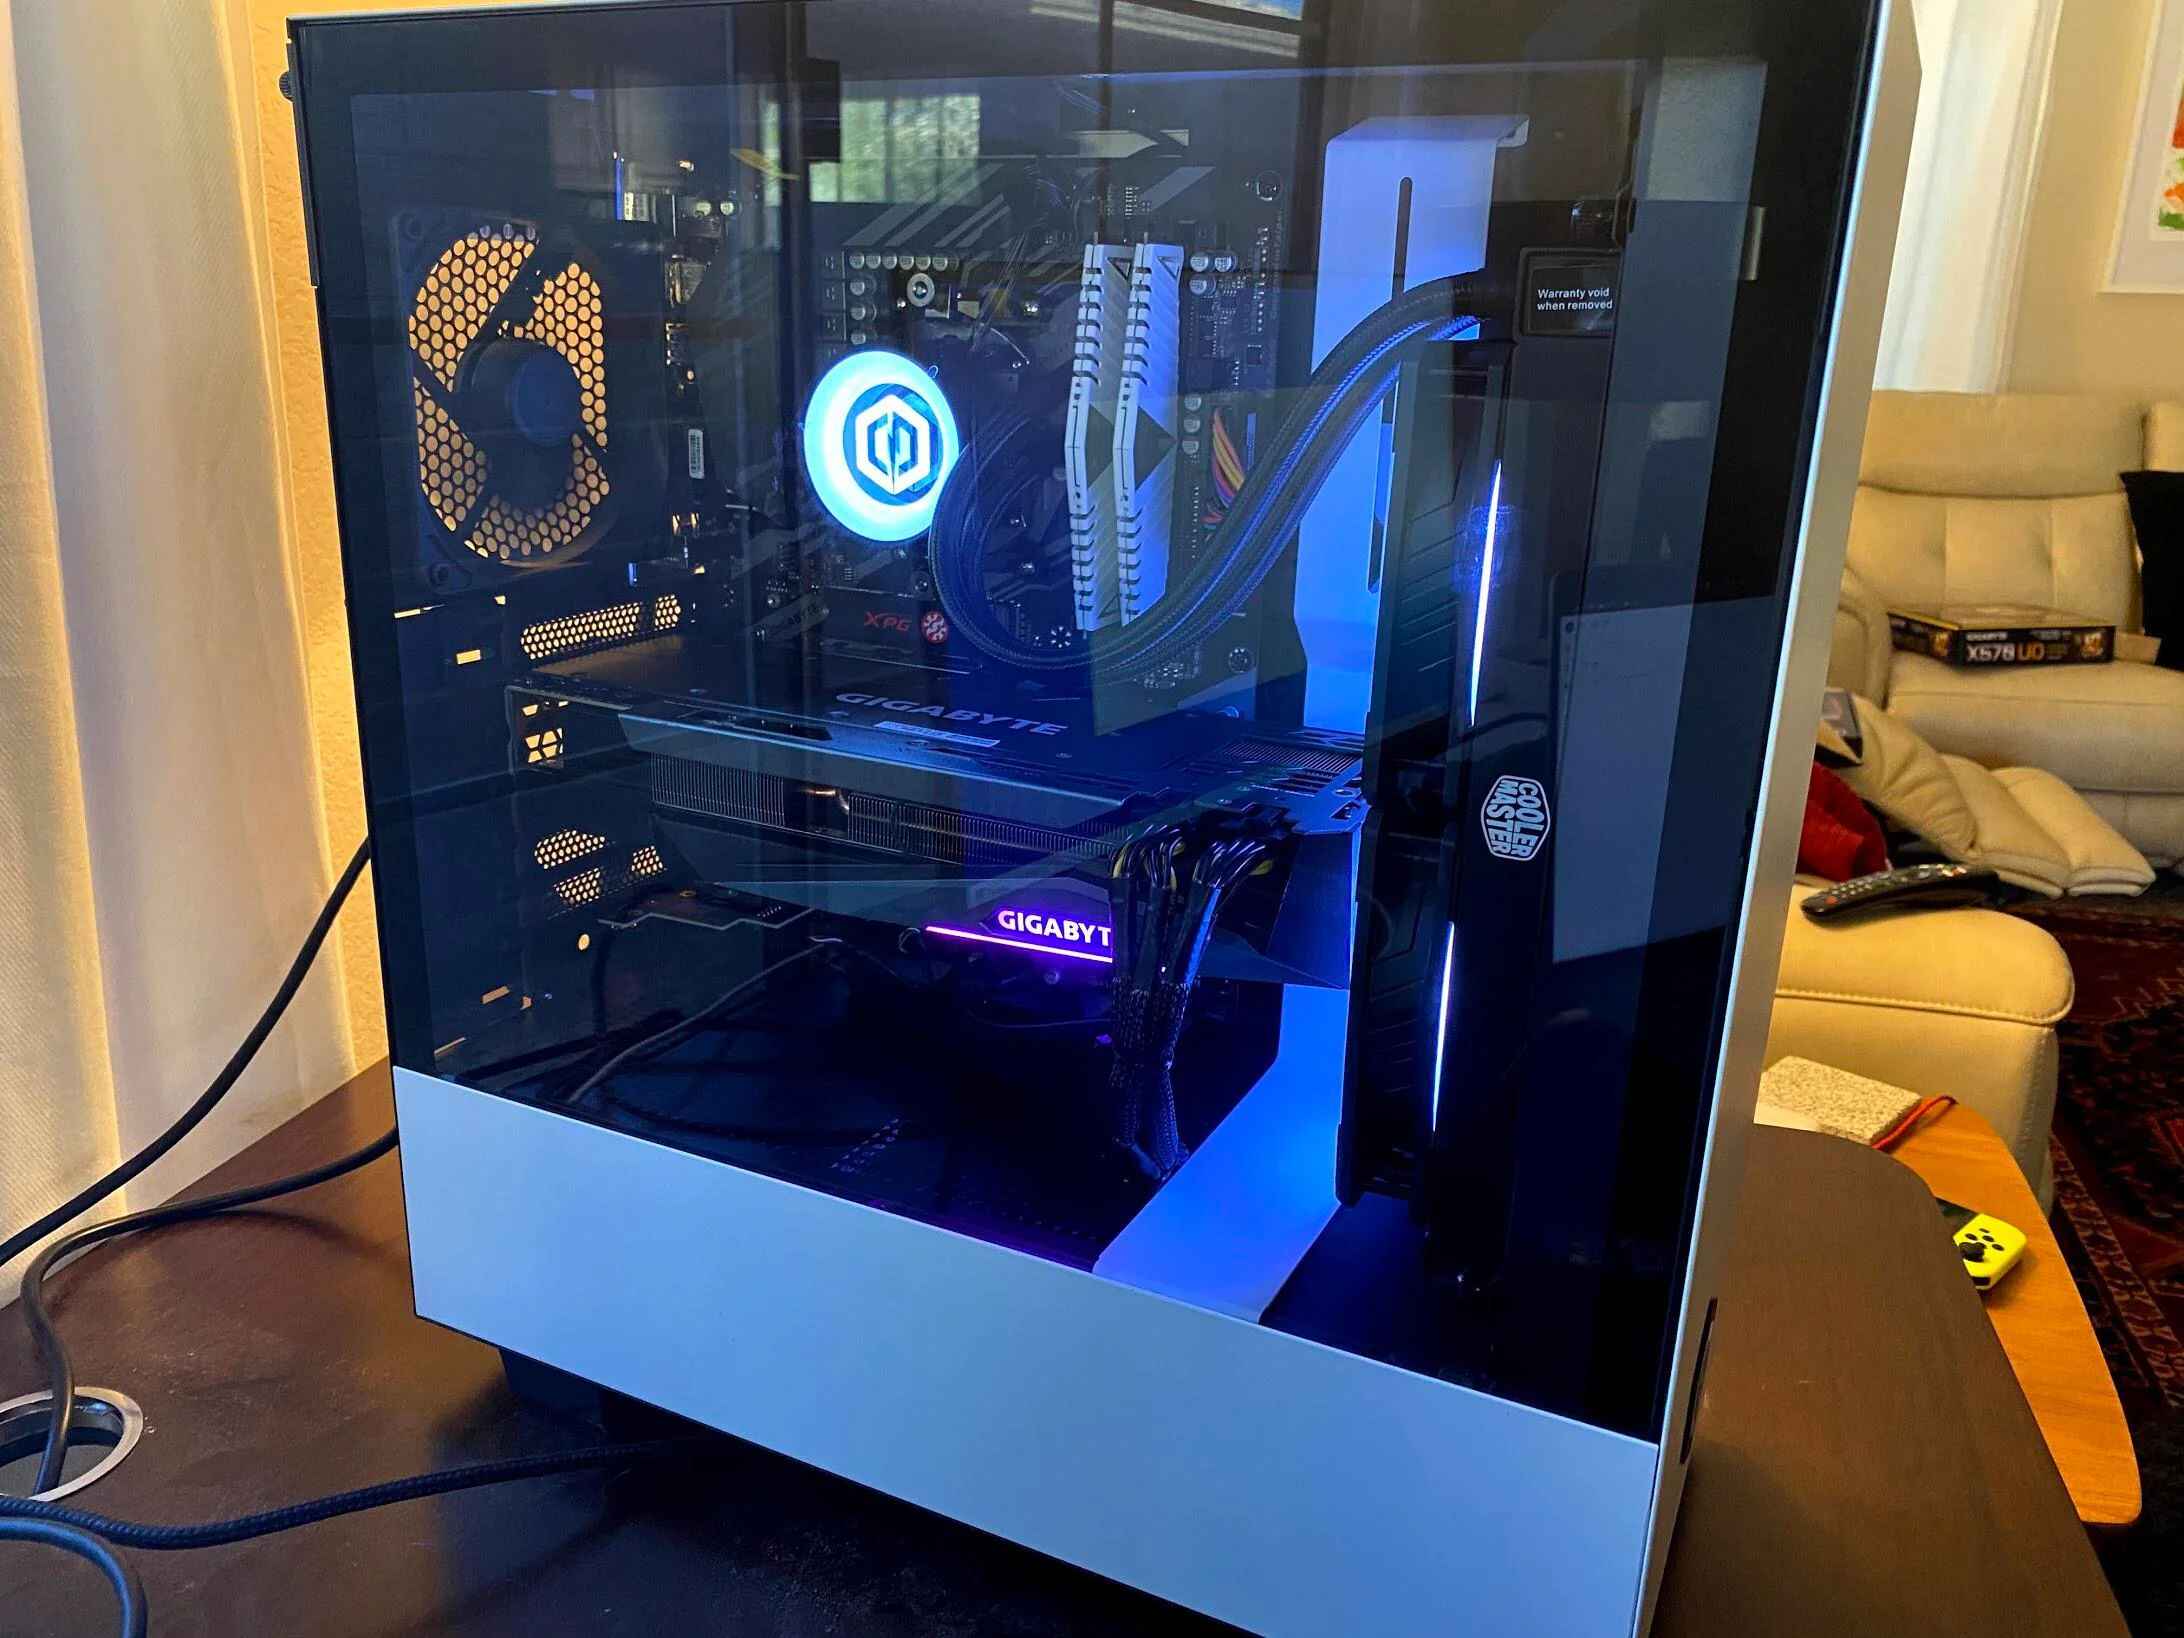
PC case badges are usually made of metal or plastic and are attached to the computer case using adhesive. They may feature the manufacturer’s logo, product branding, or other decorative designs. While some users may appreciate these badges as a way to showcase their computer components, others find them distracting or detracting from their desired PC appearance. Whether you’re looking to personalize your computer or just want a more streamlined look, removing the PC case badges can be a simple solution.
In this article, we will guide you through the process of removing PC case badges. We’ll explore various methods that you can use, depending on the materials you have on hand and your preferred approach. From using heat to adhesive removers, we’ll cover a range of techniques that are safe and effective for badge removal.
Before we dive into the step-by-step guide, it’s important to note that removing PC case badges may void any warranty you have with your computer case or components. If you are unsure or concerned about this, we recommend checking the manufacturer’s warranty before proceeding. Additionally, please exercise caution and be gentle when using tools to avoid damaging your PC case or components.
Now, let’s get started with the various methods you can use to remove those unwanted PC case badges and achieve the clean look you desire for your computer setup.
Why Remove PC Case Badges?
PC case badges serve as branding for the manufacturers and can add a unique touch to your computer. However, there are several reasons why you might want to remove them. Let’s explore the common motivations behind removing PC case badges:
1. Aesthetics: One of the main reasons people choose to remove PC case badges is to achieve a clean and minimalist look. Case badges can often clash with the overall design or color scheme of the PC case, causing visual distractions. Removing them allows you to create a more cohesive and visually appealing setup.
2. Customization: PC enthusiasts and gamers often enjoy personalizing their computer setups. By removing case badges, you have the flexibility to create a unique look that reflects your style and preferences. Whether you want a sleek and professional appearance or a bold and eye-catching design, removing PC case badges gives you the freedom to customize your PC case to your liking.
3. Upgrading or reselling: If you plan to upgrade your PC components or sell your computer in the future, removing case badges can be beneficial. Without the badges, potential buyers or other enthusiasts can focus on the actual components inside the PC case rather than being influenced by the manufacturer branding. This can increase the appeal and resale value of your computer.
4. Photography or video production: PC case badges can create reflections or shadows when capturing photos or videos of your computer setup. By removing them, you can achieve cleaner and more professional-looking shots without any unwanted distractions. This can be particularly important for content creators or those who share their PC setups on social media or websites.
5. Brand neutrality: Some individuals prefer to maintain brand neutrality and avoid promoting specific manufacturers. By removing case badges, your computer setup becomes neutral and free from any brand affiliations, allowing you to focus solely on the performance and functionality of the components.
By removing PC case badges, you have the opportunity to transform the appearance of your computer and create a setup that matches your personal style. Whether it’s for aesthetic reasons, customization, or practical considerations, removing these badges can provide a fresh and clean canvas for your PC configuration. Now that we understand the motivations behind removing PC case badges, let’s explore the tools and materials you’ll need for the badge removal process.
Tools and Materials Needed
Before you begin the process of removing PC case badges, it’s important to gather the necessary tools and materials. Here’s a list of what you’ll need:
1. Heat source: You’ll need a heat source to soften the adhesive that holds the PC case badges in place. This can be a heat gun, hairdryer, or even a household iron, as we’ll explore in the step-by-step guide.
2. Adhesive remover: In some cases, the adhesive used to attach the badges may leave residue behind. To effectively clean the residue, you’ll need an adhesive remover. Make sure to choose a remover that is safe for the surface of your PC case and does not cause any damage.
3. Isopropyl alcohol: Isopropyl alcohol is excellent for cleaning surfaces and removing any adhesive residue that may linger after badge removal. It evaporates quickly and leaves no residue behind.
4. Microfiber cloth: A soft microfiber cloth is ideal for cleaning the PC case and removing any dirt or residue. Avoid using abrasive materials that could scratch the surface.
5. Plastic scraper or credit card: A plastic scraper or an old credit card can be used to gently lift the edges of the badges and remove them without damaging the PC case.
6. Dental floss: Dental floss can be a handy tool for removing badges that are particularly stubborn. Its thin and flexible nature allows you to slide it under the badge and gently lift it off.
7. Cotton swabs: Cotton swabs can be used with isopropyl alcohol to target and clean small areas with adhesive residue.
8. Safety gloves: While not essential, wearing safety gloves can protect your hands from any potential heat or chemical contact during the badge removal process.
Remember to exercise caution when using any tools or chemicals to ensure your safety and prevent damage to your PC case. Now that you have gathered the necessary tools and materials, let’s proceed to the step-by-step guide on how to remove PC case badges.
Step-by-Step Guide
Now that you have your tools and materials ready, let’s dive into the step-by-step guide on how to remove PC case badges:
1. Assess the badges: Take a close look at the badges you want to remove and determine the type of adhesive used. This will help you choose the appropriate method for removal.
2. Method 1: Using heat – Start by heating the badges using a heat gun, hairdryer, or household iron. Hold the heat source a few inches away from the badges and move it in a circular motion to evenly distribute the heat. This will soften the adhesive underneath.
3. Method 2: Using a hairdryer – If you don’t have a heat gun or household iron, a hairdryer can also be used. Set it to a medium to high heat setting and direct the airflow towards the badges. Again, move the hairdryer in a circular motion to evenly heat the adhesive.
4. Method 3: Using a heat gun – If you have a heat gun, set it to a low to medium heat setting. Take caution not to overheat the area. Point the heat gun towards the badges and keep it moving to prevent any damage to the PC case.
5. Method 4: Using adhesive remover – Apply a small amount of adhesive remover to a microfiber cloth and gently rub it over the badges. Let the remover soak into the adhesive for a few minutes to loosen it. Then, use a plastic scraper or credit card to lift the edges of the badges and slowly peel them off.
6. Method 5: Using dental floss – For badges that are stubborn or have a strong adhesive, you can use dental floss. Slide a piece of dental floss under the badge and gently saw back and forth to separate it from the adhesive. Continue this motion until the badge loosens and can be lifted off.
7. Cleaning the residue – After removing the badges, you may find some adhesive residue left on the PC case. Dampen a cotton swab in isopropyl alcohol and gently rub it over the residue to dissolve and clean it. Use a clean microfiber cloth to wipe away any remaining residue.
8. Final cleaning – Once all the badges and adhesive residue are removed, use a microfiber cloth and isopropyl alcohol to clean the entire PC case surface. This will ensure a clean and polished finish.
By following these step-by-step instructions, you should be able to successfully remove PC case badges and achieve the desired clean and minimalist look for your computer setup. Remember to handle the tools and materials with care to avoid any damage to your PC case.
Method 1: Using Heat
Using heat is a common and effective method for removing PC case badges. The heat softens the adhesive, allowing you to gently peel off the badges without damaging the PC case. Here’s how to use this method:
1. Gather the necessary tools: For this method, you will need a heat gun, hairdryer, or household iron, as well as a microfiber cloth and a plastic scraper or credit card.
2. Prepare the heat source: If using a heat gun or hairdryer, set it to a medium heat setting. If using a household iron, set it to a low to medium heat setting without steam. Give the heat source a few minutes to warm up.
3. Heat the badges: Hold the heat source a few inches away from the badges and move it in a circular motion. Make sure to evenly distribute the heat over the surface of the badges. The goal is to soften the adhesive holding them in place.
4. Test the adhesive: After heating the badges for about 30 seconds, gently try to lift the edges of one badge using a plastic scraper or credit card. If the adhesive is still firm, continue heating for another 10-20 seconds and try again. Repeat this process until the adhesive softens and the badge can be easily lifted.
5. Peel off the badges: Once the adhesive is softened, use the plastic scraper or credit card to lift the edges of the badge. Slowly and carefully peel it off the PC case, applying gentle pressure to avoid any damage. If necessary, reapply heat to further soften the adhesive as you peel off the badges one by one.
6. Remove residue: After removing the badges, there might be some adhesive residue left on the PC case. Use a microfiber cloth dampened with isopropyl alcohol to gently rub the residue. The alcohol will help dissolve the adhesive, making it easier to remove. Use a clean part of the cloth to wipe away any residue.
7. Final cleaning: Once all the badges and adhesive residue are removed, use a clean microfiber cloth and isopropyl alcohol to thoroughly clean the entire PC case surface. This will ensure a polished finish, free from any remaining residue or smudges.
Remember to be careful when using heat sources to avoid overheating or causing damage to the PC case. Take your time and exercise patience during the badge removal process to achieve the best results.
Method 2: Using a Hairdryer
If you don’t have a heat gun or prefer a more accessible option, using a hairdryer is an effective alternative for removing PC case badges. The hot airflow from the hairdryer softens the adhesive, allowing you to easily peel off the badges. Here’s how to use this method:
1. Gather the necessary tools: For this method, you will need a hairdryer, a microfiber cloth, and a plastic scraper or credit card.
2. Set up the hairdryer: Plug in the hairdryer and set it to a medium heat setting. Ensure that the airflow is directed towards the badges.
3. Heat the badges: Hold the hairdryer a few inches away from the badges and move it in a circular motion to evenly distribute the hot airflow over the surface of the badges. Continue heating the badges for about 30 seconds to soften the adhesive.
4. Check the adhesive: After heating, gently try to lift the edges of one badge using a plastic scraper or credit card. If the adhesive is still firmly attached, continue heating for another 10-20 seconds and retest. Repeat this process until the adhesive is sufficiently softened, allowing for easy removal.
5. Peel off the badges: Once the adhesive is softened, use the plastic scraper or credit card to lift the edges of the badge. Slowly and carefully peel off the badge from the PC case, applying gentle pressure to avoid any damage. If necessary, continue heating specific areas to keep the adhesive soft as you remove each badge.
6. Remove adhesive residue: After removing the badges, there may be adhesive residue left on the PC case. Dampen a microfiber cloth with isopropyl alcohol and gently rub the residue to dissolve it. Use a clean part of the cloth to wipe away the dissolved adhesive.
7. Final cleaning: Once all the badges and adhesive residue are removed, use a clean microfiber cloth and isopropyl alcohol to thoroughly clean the entire PC case surface. This will ensure a polished finish, free from any remaining residue or smudges.
Remember to maintain a safe distance between the hairdryer and the badges to avoid overheating or damaging the PC case. Take your time and be cautious when peeling off the badges to prevent any scratches or marks. With the heat from the hairdryer, you’ll be able to easily remove the PC case badges and achieve your desired clean look for your computer setup.
Method 3: Using a Heat Gun
Using a heat gun is another effective method for removing PC case badges. The controlled heat from a heat gun softens the adhesive, making it easier to peel off the badges without damaging the PC case. Here’s how to use this method:
1. Gather the necessary tools: For this method, you will need a heat gun, a microfiber cloth, and a plastic scraper or credit card.
2. Set up the heat gun: Plug in the heat gun and set it to a low to medium heat setting. Take care not to set it too high to avoid overheating the PC case.
3. Heat the badges: Hold the heat gun a few inches away from the badges and move it in a circular motion to evenly distribute the heat. Ensure that you cover the entire surface area of the badges. Continue heating the badges for about 30 seconds to soften the adhesive.
4. Check the adhesive: After heating, gently try to lift the edges of one badge using a plastic scraper or credit card. If the adhesive is still firmly attached, continue heating for another 10-20 seconds and retest. Repeat this process until the adhesive is sufficiently softened for easy removal.
5. Peel off the badges: Once the adhesive is softened, use the plastic scraper or credit card to lift the edges of the badge. Slowly and carefully peel off the badge from the PC case, applying gentle pressure to avoid any damage. If needed, continue heating specific areas to maintain the adhesive’s softness while removing each badge.
6. Remove adhesive residue: After removing the badges, there may be adhesive residue left on the PC case. Dampen a microfiber cloth with isopropyl alcohol and gently rub the residue to dissolve it. Use a clean part of the cloth to wipe away the dissolved adhesive.
7. Final cleaning: Once all the badges and adhesive residue are removed, use a clean microfiber cloth and isopropyl alcohol to thoroughly clean the entire PC case surface. This will ensure a polished finish, free from any remaining residue or smudges.
Remember to keep the heat gun at a safe distance from the badges and the PC case to avoid overheating or causing any damage. Take your time and exercise caution when peeling off the badges to prevent any scratches or marks. With the controlled heat from the heat gun, you’ll be able to successfully remove the PC case badges and achieve a clean and sleek look for your computer setup.
Method 4: Using Adhesive Remover
If you’re dealing with stubborn adhesive residue after removing PC case badges, using an adhesive remover can be an effective solution. Adhesive removers are specially formulated to dissolve sticky residue and make it easier to clean. Here’s how to use this method:
1. Gather the necessary tools: For this method, you will need an adhesive remover, a microfiber cloth, and a plastic scraper or credit card.
2. Choose an adhesive remover: Select an adhesive remover that is safe for use on the surface of your PC case. Read the instructions and warnings on the remover’s packaging to ensure proper usage.
3. Apply the adhesive remover: Apply a small amount of the adhesive remover to a clean microfiber cloth. Use just enough to dampen the cloth, without saturating it.
4. Rub the adhesive residue: Gently rub the dampened cloth over the adhesive residue, targeting the affected areas. The adhesive remover will begin to dissolve the adhesive, making it easier to remove.
5. Lift the residue: Use a plastic scraper or credit card to gently lift the edges of the residue from the PC case. Apply gentle pressure and take care not to scratch the surface. Continue lifting and removing the residue until the area is clean.
6. Clean the surface: Once the adhesive residue is removed, use a clean part of the microfiber cloth to wipe away any remaining residue and clean the surface of the PC case. This will ensure a smooth and polished finish.
7. Final cleaning: After removing the adhesive residue, use a separate clean microfiber cloth dampened with isopropyl alcohol to wipe the area where the adhesive remover was used. This will help remove any residue from the adhesive remover itself.
Remember to follow the instructions and precautions provided by the adhesive remover manufacturer. If you encounter particularly stubborn residue, you may need to repeat the process or try a different adhesive remover. With the right adhesive remover and careful cleaning, you’ll be able to effectively remove adhesive residue and achieve a clean and pristine look for your PC case.
Method 5: Using Dental Floss
For particularly stubborn PC case badges, using dental floss can be an effective method to remove them. The thin and flexible nature of dental floss allows you to easily slide it under the badge and gently lift it off. Here’s how to use this method:
1. Gather the necessary tools: For this method, you will need dental floss, a plastic scraper or credit card, and a microfiber cloth.
2. Prepare the dental floss: Take a length of dental floss, approximately 12-18 inches long. Ensure that the dental floss is unwaxed and unflavored, as these variations tend to work best.
3. Slide the dental floss under the badge: Hold one end of the dental floss and slide the other end under the badge, positioning it as close to the adhesive as possible. Move the dental floss back and forth gently, like a sawing motion, to separate the badge from the adhesive.
4. Lift the badge off: Once the dental floss is positioned underneath the badge, use it to lift the badge upward. Apply gentle and even pressure to avoid any damage to the PC case. If necessary, reposition the dental floss and continue lifting sections of the badge until it is completely removed.
5. Remove any remaining residue: After removing the badge, there may still be adhesive residue left on the PC case. Use a plastic scraper or credit card to gently scrape off any remaining residue. Be cautious not to damage the PC case surface while doing this.
6. Clean the surface: Use a microfiber cloth dampened with isopropyl alcohol to gently clean the area where the badge was located. This will help remove any residual adhesive or residue and leave the surface clean and smooth.
7. Final cleaning: After removing the adhesive residue, use a separate clean microfiber cloth to wipe the entire PC case surface, ensuring a polished and residue-free finish.
Remember to be gentle when using dental floss to avoid scratching the PC case. Take your time and be patient during the process, especially when dealing with stubborn badges. With the help of dental floss, you can successfully remove badges and achieve a clean and pristine look for your PC case.
Cleaning the Residue
After removing PC case badges, it is common to encounter adhesive residue on the surface of the PC case. It is important to properly clean this residue to achieve a polished and pristine look. Here’s how to effectively clean the residue:
1. Gather the necessary tools: For cleaning the residue, you will need isopropyl alcohol, cotton swabs, a microfiber cloth, and a plastic scraper or credit card.
2. Apply isopropyl alcohol: Dampen a cotton swab with isopropyl alcohol. Gently rub the cotton swab directly onto the residue. The alcohol helps dissolve the adhesive residue and make it easier to remove.
3. Rub the residue: Use the dampened cotton swab to rub the residue in a circular motion. Apply gentle pressure to help break down the residue. Continue this process until the residue starts to lift and dissolve.
4. Scraper or credit card: For more stubborn residue, use a plastic scraper or credit card to gently scrape it off. Be careful not to apply too much pressure or scratch the PC case. Continue scraping until the residue is fully removed.
5. Wipe with a microfiber cloth: Once the residue is removed, use a clean microfiber cloth to wipe away any leftover residue or cleaning solution. The microfiber cloth will help ensure a streak-free and polished finish.
6. Check for any remaining residue: Inspect the PC case surface for any remaining residue. If you notice any stubborn residue spots, repeat the process of applying isopropyl alcohol and gently rubbing or scraping until the surface is clean.
7. Final cleaning: After removing the residue, use a separate clean microfiber cloth lightly dampened with isopropyl alcohol to wipe the entire PC case surface. This final cleaning step ensures that all traces of residue are thoroughly removed, leaving a pristine finish.
Remember to exercise caution when using a scraper or credit card to avoid scratching the PC case. Be gentle yet persistent during the cleaning process to ensure the best results. With the proper cleaning techniques, you can eliminate adhesive residue and achieve a clean and polished look for your PC case.
Conclusion
Removing PC case badges can be a simple and satisfying process that allows you to customize the appearance of your computer setup. Whether you’re aiming for a clean and minimalist look, personalizing your PC case, or preparing for an upgrade or resale, removing these badges is a great way to achieve your desired aesthetic.
Throughout this article, we have explored various methods for removing PC case badges. Using heat, such as a heat gun or hairdryer, can soften the adhesive, making it easier to peel off the badges. Adhesive removers and dental floss are effective alternatives for dealing with stubborn adhesive residue. Whichever method you choose, it is important to approach the process with caution, using the appropriate tools and materials.
Additionally, we discussed the importance of gathering the necessary tools and materials before starting the badge removal process. Ensuring you have a heat source, adhesive remover, isopropyl alcohol, microfiber cloths, and plastic scrapers or credit cards will provide you with everything needed for a successful badge removal.
Cleaning the residue left behind after removing the badges is an essential step to achieve a polished finish. By applying isopropyl alcohol and gently rubbing or scraping the residue, you can effectively clean the PC case surface.
Remember, while removing PC case badges can enhance the aesthetics of your computer setup, it may void any warranty associated with the PC case or components. It is important to check the manufacturer’s warranty information before proceeding.
By following the step-by-step guides and using the appropriate tools and materials, you can successfully remove PC case badges and achieve the desired clean and customized look for your computer setup. With some patience and attention to detail, you’ll be well on your way to a sleek and personalized PC case.