Introduction
Lanyards are versatile and practical accessories that have become an essential part of our daily lives. From holding identification badges and keys to securing electronic devices and small tools, lanyards serve a variety of purposes in different settings. However, there are instances when you may need to open a lanyard to replace a damaged component, adjust its length, or simply explore its inner workings. Understanding the proper techniques for opening lanyards is crucial for maintaining their functionality and prolonging their lifespan.
In this comprehensive guide, we will delve into the intricacies of unlocking the secrets behind lanyards. Whether you are a professional in need of accessing the internal mechanisms of a lanyard for repair or a curious individual seeking to understand the construction of this ubiquitous accessory, this article will equip you with the knowledge and skills required to safely and effectively open various types of lanyards.
By exploring the different types of lanyards and the specific tools and equipment needed for this task, we will lay the groundwork for a thorough understanding of the process. Additionally, a step-by-step guide will walk you through the intricacies of opening lanyards, ensuring that you are well-prepared to tackle this task with confidence and precision. Moreover, we will provide valuable tips and tricks to ensure the safety of both the lanyard and the individual performing the operation.
Join us on this enlightening journey as we unravel the mysteries of lanyards and empower you with the expertise to unlock their secrets. Whether you are a novice or an experienced professional, this guide will serve as your indispensable companion in mastering the proper techniques for opening lanyards. Let's embark on this enlightening adventure and discover the inner workings of these indispensable accessories!
Understanding Different Types of Lanyards
Lanyards come in a diverse range of styles, materials, and designs, each tailored to specific functions and preferences. Understanding the different types of lanyards is essential for identifying the specific mechanisms and components that may need to be accessed when opening them. Here are some common types of lanyards:
-
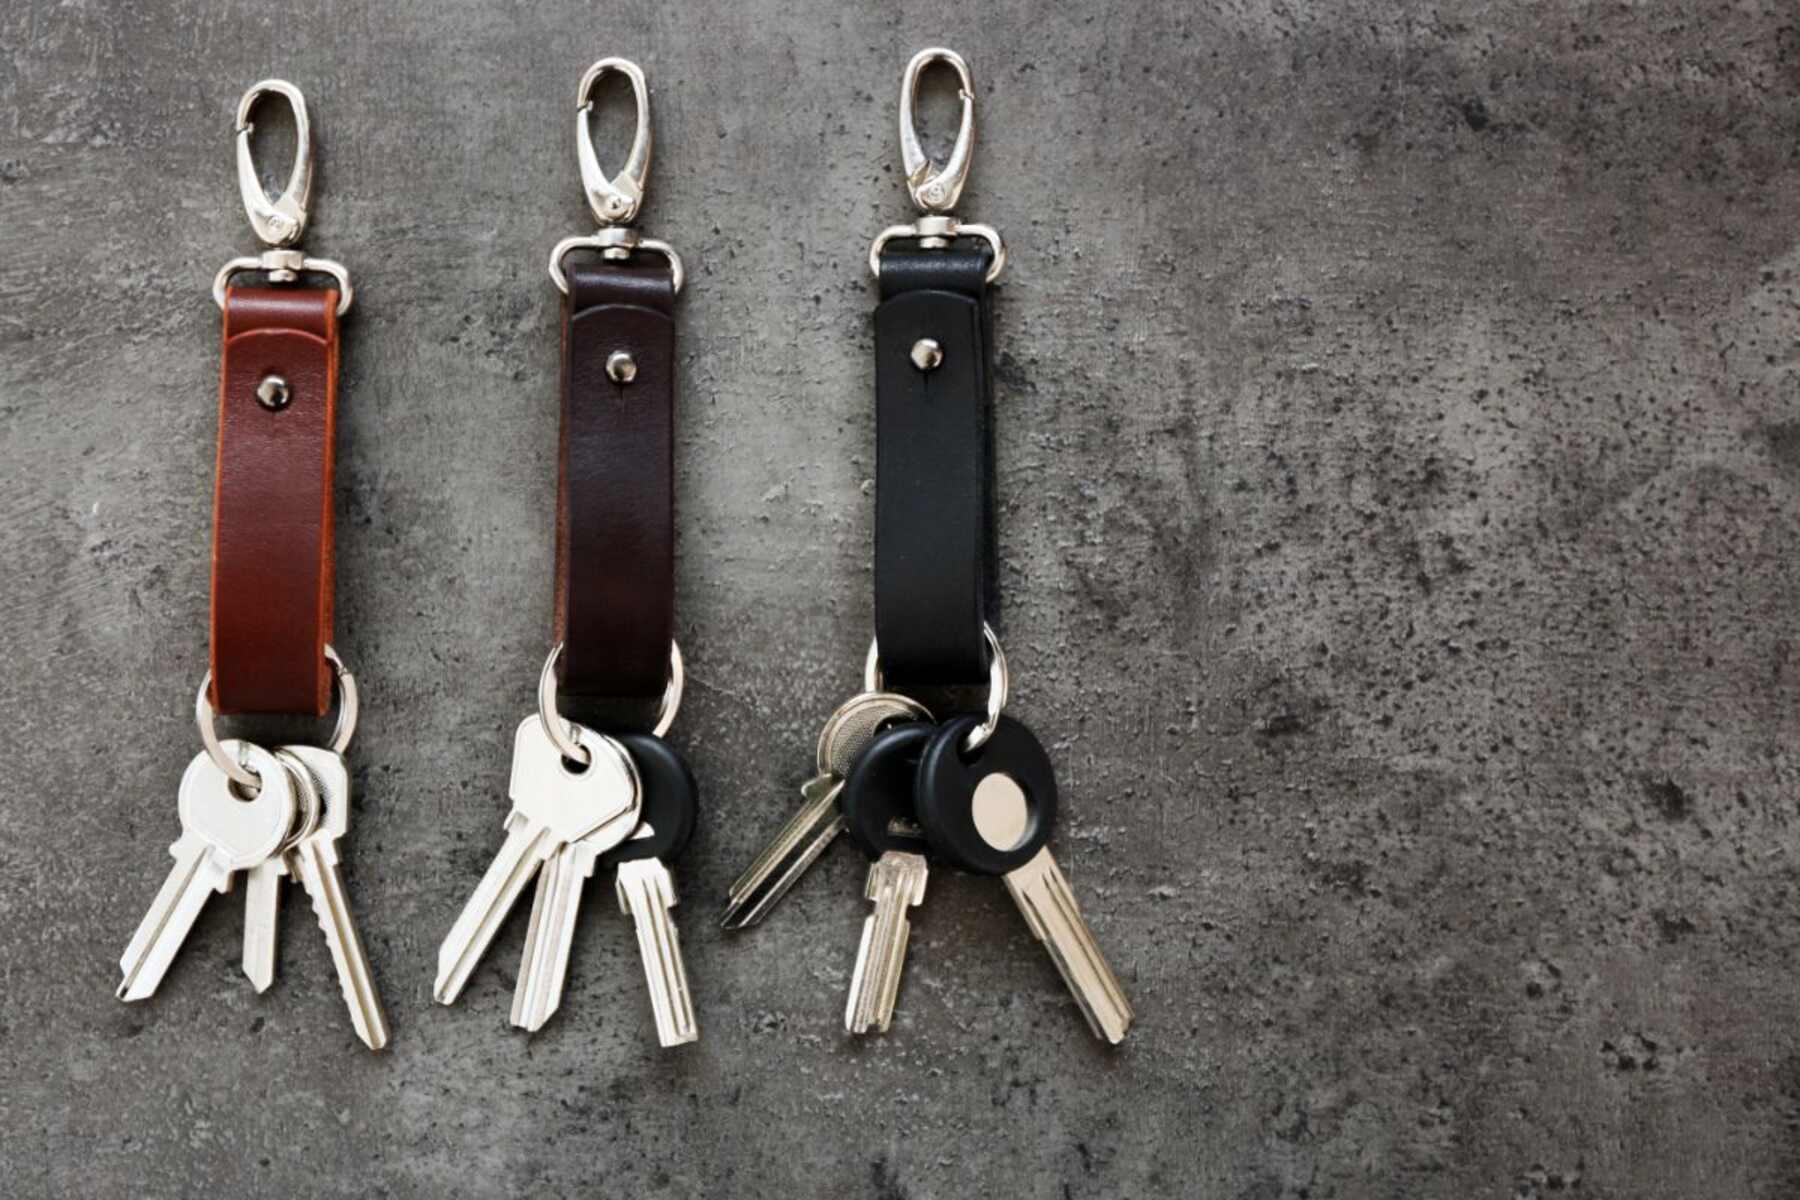
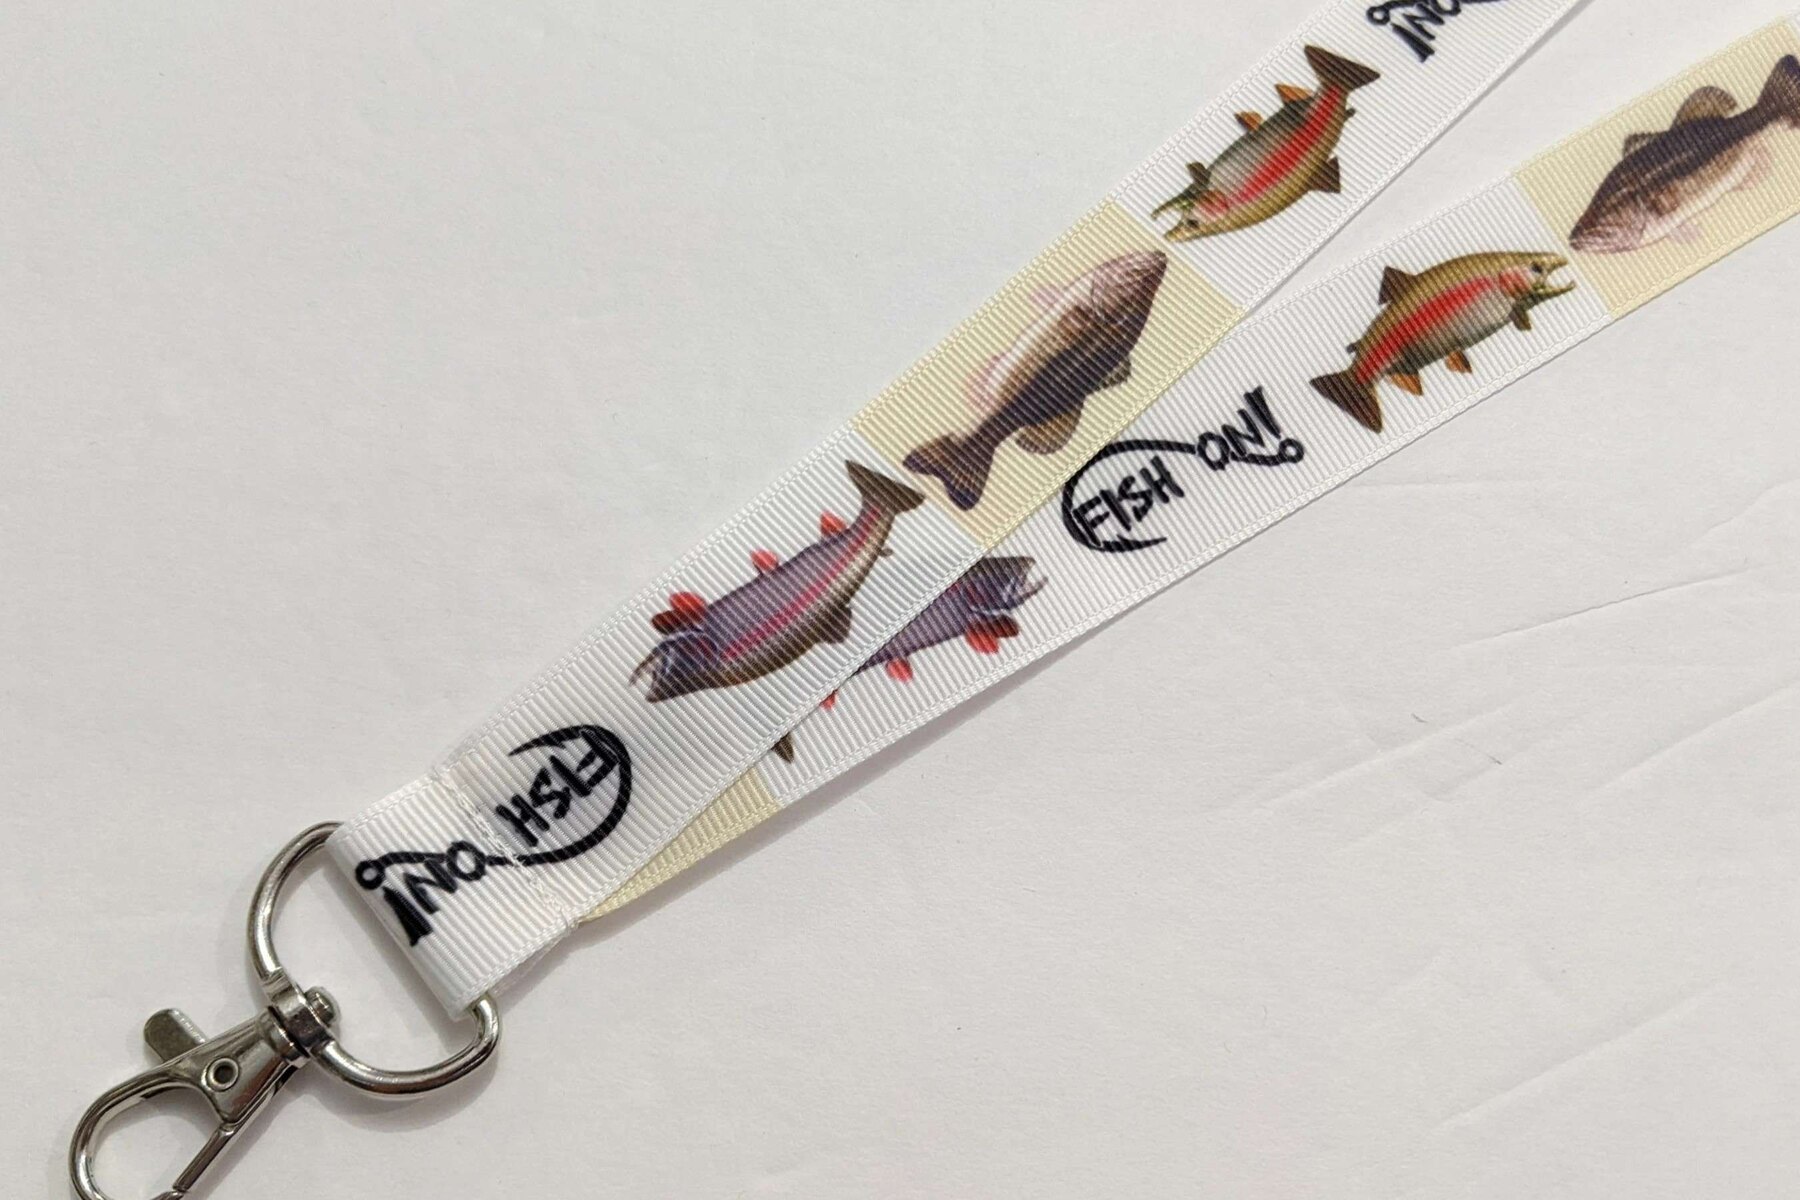
Flat Polyester Lanyards: These are the most widely used lanyards, known for their durability and versatility. Flat polyester lanyards offer a smooth surface for custom printing, making them ideal for displaying logos, slogans, or designs. They often feature a metal or plastic hook attachment for securing items.
-
Nylon Lanyards: Nylon lanyards are favored for their soft texture and high strength. They are commonly used in settings where comfort and durability are paramount, such as trade shows, conferences, or sporting events. The smooth, shiny surface of nylon lanyards provides an excellent canvas for vibrant and intricate designs.
-
Woven Lanyards: Woven lanyards are crafted using a weaving technique that integrates the design directly into the lanyard fabric. This results in a professional and long-lasting appearance, making them popular for corporate and promotional purposes.
-
Beaded Lanyards: These unique lanyards feature decorative beads interspersed along the length, adding a touch of elegance and individuality. Beaded lanyards are often favored as fashion accessories or as a stylish alternative to traditional lanyards in social settings.
-
Retractable Lanyards: Retractable lanyards, also known as badge reels, feature a retractable cord mechanism housed within a compact casing. They are commonly used for ID badges, access cards, or keys, allowing for convenient extension and retraction of the attached items.
-
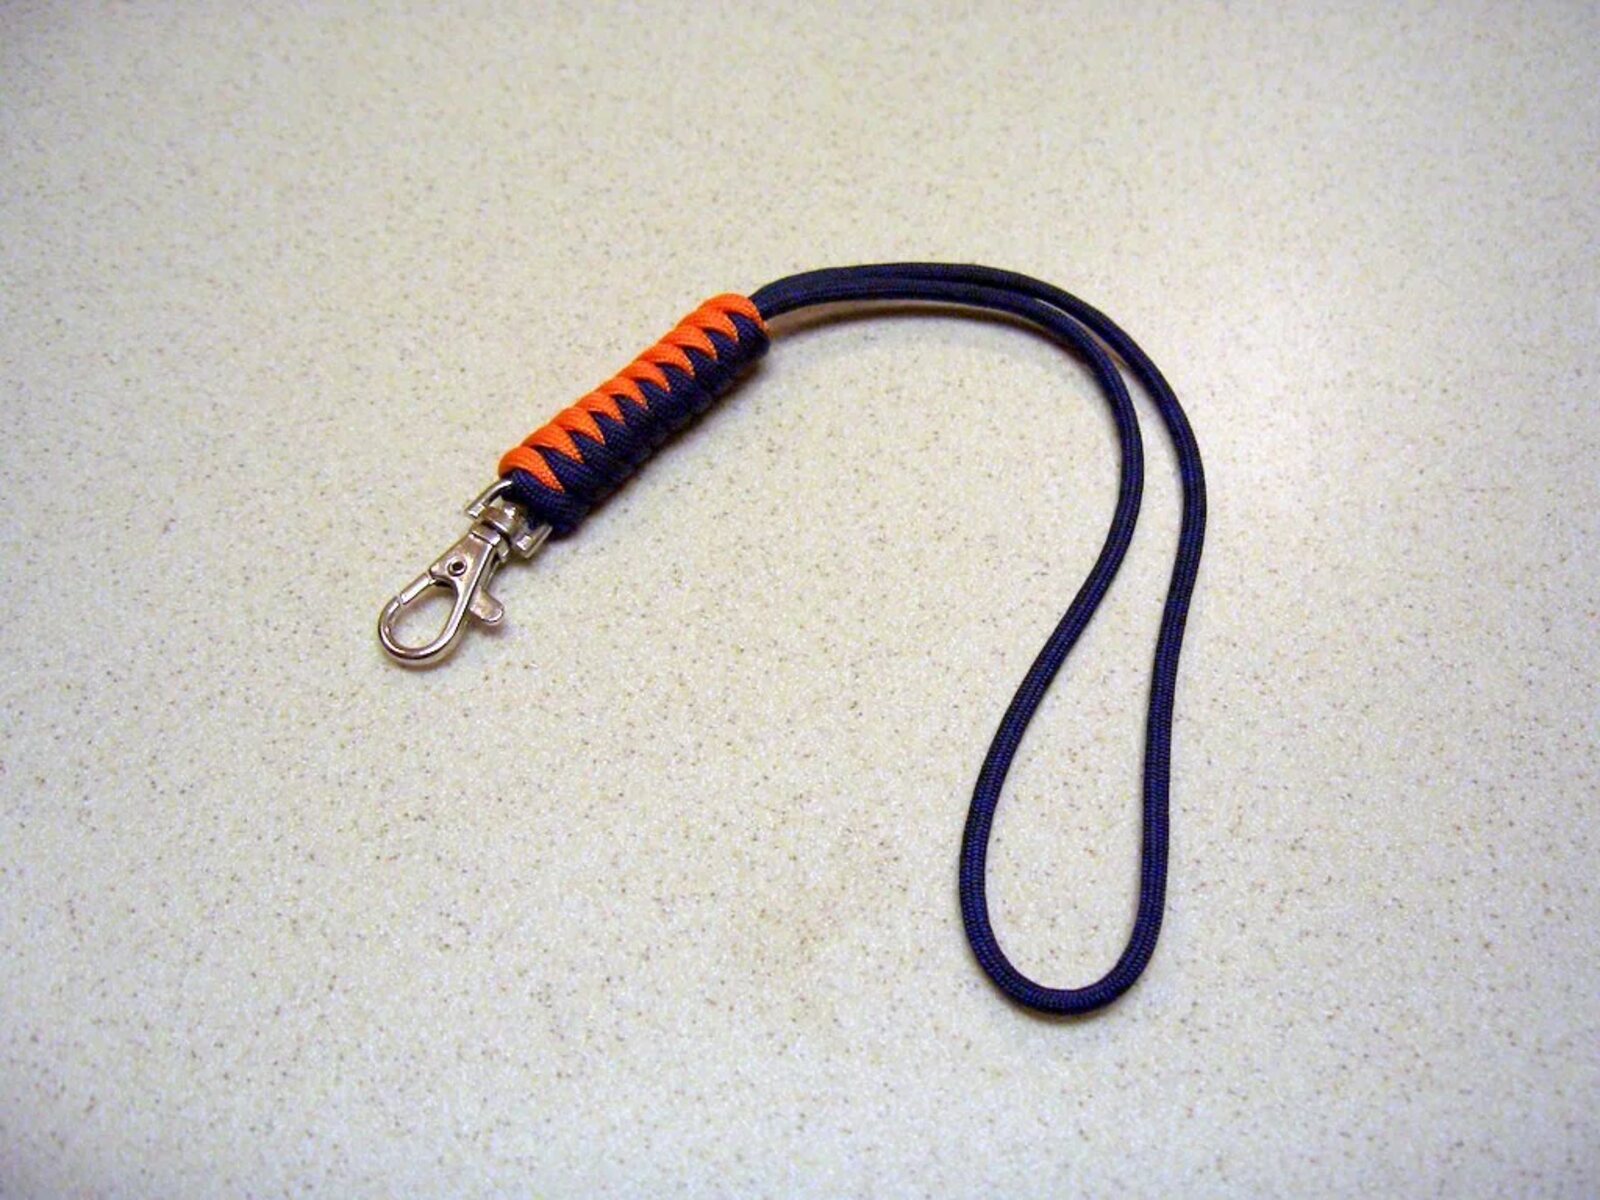
Breakaway Lanyards: Designed with safety in mind, breakaway lanyards feature a safety clasp that releases when pulled with force, reducing the risk of injury or strangulation. These lanyards are commonly used in environments where the lanyard may become entangled or caught in machinery.
Understanding the unique characteristics and functionalities of each lanyard type is crucial for determining the appropriate approach to opening them. Whether you are dealing with a standard flat polyester lanyard or a specialized retractable or breakaway lanyard, being well-versed in the distinct features of each type will enable you to navigate the opening process with confidence and precision.
Tools and Equipment Needed for Opening Lanyards
When it comes to opening lanyards, having the right tools and equipment at your disposal is essential for ensuring a smooth and successful process. The specific tools required may vary depending on the type of lanyard and the nature of the task at hand. Here's a comprehensive list of tools and equipment needed for opening lanyards:
-
Small Screwdriver Set: A set of precision screwdrivers with various head sizes is indispensable for accessing the internal components of lanyards. Whether you need to remove screws to access the attachment mechanism or disassemble a retractable reel, having a reliable set of small screwdrivers will enable you to tackle the intricacies of lanyard disassembly with precision.
-
Needle-Nose Pliers: Needle-nose pliers are invaluable for manipulating small components within the lanyard, such as adjusting or reattaching the attachment hook or repairing damaged sections. Their slim, elongated jaws provide the dexterity and grip needed to handle delicate tasks without causing damage to the lanyard.
-
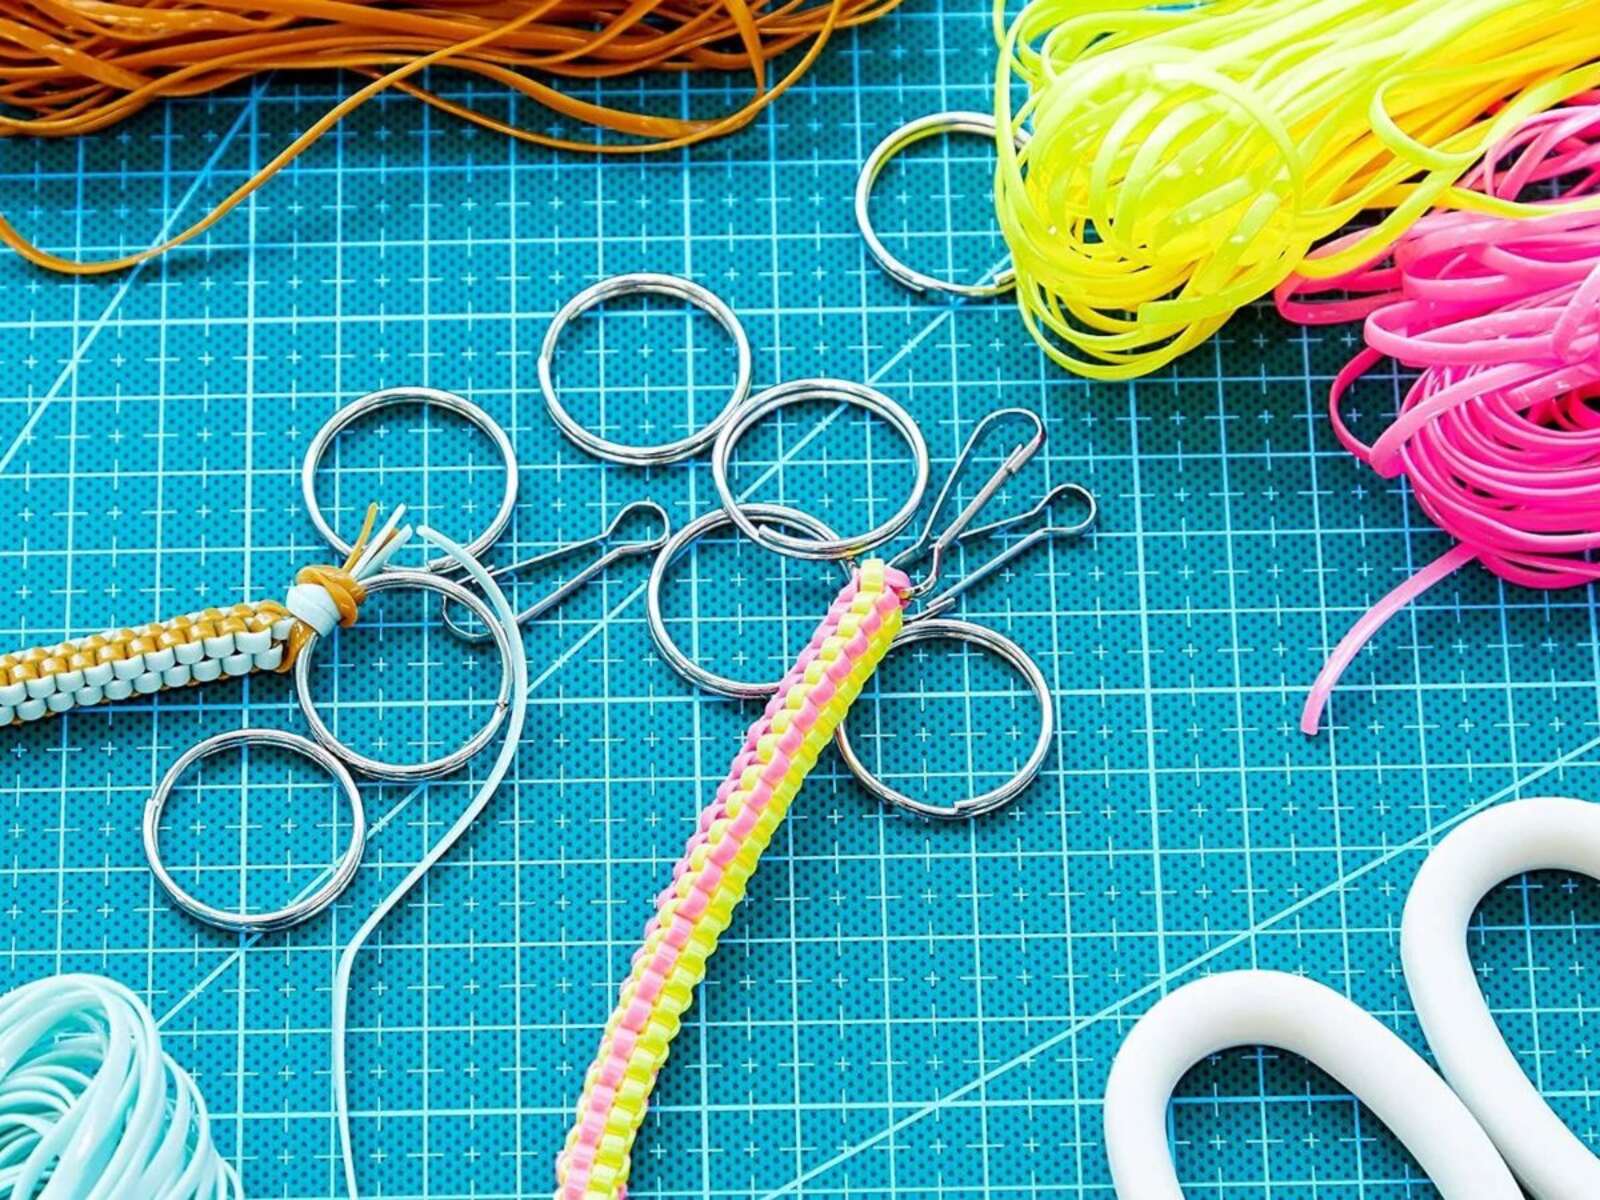
Scissors or Wire Cutters: Depending on the lanyard's construction, scissors or wire cutters may be necessary for cutting and removing damaged or frayed sections of the lanyard. This is particularly relevant for woven or beaded lanyards, where precise cutting is essential for disassembly and repair.
-
Tweezers: Fine-tipped tweezers are useful for handling small and intricate components within the lanyard, such as detangling woven threads or repositioning tiny parts during the opening process. Their precision and control make them indispensable for delicate maneuvers.
-
Replacement Components: In certain cases, opening a lanyard may involve replacing specific components, such as a damaged hook or a worn-out retractable reel. Having replacement parts on hand, tailored to the specific type of lanyard, ensures that you can seamlessly address any issues encountered during the opening process.
-
Work Surface or Mat: A designated work surface or mat provides a stable and organized environment for opening lanyards. It helps prevent small components from rolling away and offers a cushioned area for delicate maneuvers, reducing the risk of damage to the lanyard or its components.
By assembling these essential tools and equipment, you'll be well-prepared to embark on the journey of opening lanyards with confidence and precision. Whether you're a professional seeking to perform repairs or an enthusiast exploring the inner workings of lanyards, having the right tools at your disposal is the first step toward mastering the art of lanyard disassembly and maintenance.
Step-by-Step Guide for Opening Lanyards
Opening a lanyard requires a methodical approach and a keen understanding of its construction. Whether you are aiming to replace a damaged component, adjust its length, or simply satisfy your curiosity, following a step-by-step guide will ensure a smooth and successful process. Here's a comprehensive walkthrough to help you navigate the intricacies of opening lanyards:
-
Assess the Lanyard Type: Begin by identifying the specific type of lanyard you are dealing with. Whether it's a flat polyester lanyard, a woven lanyard, or a retractable lanyard, understanding its unique features and construction will guide your approach.
-
Gather the Necessary Tools: Ensure that you have the essential tools and equipment at hand, including small screwdrivers, needle-nose pliers, scissors or wire cutters, tweezers, and any replacement components that may be required.
-
Prepare the Work Surface: Select a clean and stable work surface or mat to serve as your workspace. This will provide a secure and organized environment for the disassembly process, minimizing the risk of losing small components.
-
Identify Access Points: Examine the lanyard to identify potential access points for opening it. This may involve locating screws, clasps, or other fastening mechanisms that secure the components together.
-
Remove External Attachments: If the lanyard is attached to any items such as ID badges, keys, or electronic devices, detach them to ensure unobstructed access to the lanyard itself.
-
Disassemble the Components: Using the appropriate tools, carefully remove any screws, clasps, or fasteners that secure the components of the lanyard. Exercise caution to avoid damaging the lanyard or its internal mechanisms.
-
Inspect the Interior: Once the lanyard is opened, take the opportunity to inspect its interior components. This may involve examining the attachment mechanism, the stitching or weaving, and any additional features specific to the lanyard type.
-
Address the Purpose: Depending on your objective for opening the lanyard, such as repair, modification, or exploration, proceed to address the specific task at hand. This may involve replacing a damaged hook, adjusting the length, or simply gaining a deeper understanding of the lanyard's construction.
-
Reassemble the Lanyard: After completing the necessary tasks, carefully reassemble the lanyard components, ensuring that all parts are securely fastened and aligned. Exercise precision to maintain the lanyard's functionality and aesthetics.
By following this step-by-step guide, you will be well-equipped to open lanyards with confidence and precision. Whether you are a professional seeking to perform repairs or an enthusiast exploring the inner workings of lanyards, mastering the art of lanyard disassembly will empower you to address various lanyard-related tasks with ease and expertise.
Tips and Tricks for Safely Opening Lanyards
Opening lanyards requires a delicate touch and meticulous attention to detail to ensure the safety of both the lanyard and the individual performing the operation. Here are essential tips and tricks to facilitate a safe and successful lanyard disassembly process:
-
Exercise Patience and Precision: When opening a lanyard, patience and precision are paramount. Rushing through the process can lead to accidental damage to the lanyard or its components. Take your time to carefully disassemble the lanyard, ensuring that each step is executed with precision and care.
-
Organize and Label Components: As you disassemble the lanyard, organize and label the components to keep track of their placement and orientation. This will streamline the reassembly process and minimize the risk of misplacing or misaligning crucial parts.
-
Mindful Handling of Small Parts: Lanyards often contain small screws, clasps, and other intricate components. Handle these small parts with care to prevent loss or damage. Using a designated tray or container to hold these components during disassembly can prevent them from rolling away or getting misplaced.
-
Protective Eyewear: When working with lanyards that may contain small springs or other potential projectiles, wearing protective eyewear is advisable. This precaution can safeguard your eyes from any unexpected ejection of components during the disassembly process.
-
Gentle Maneuvers: Whether using tools or handling the lanyard components directly, employ gentle maneuvers to avoid unnecessary strain or stress on the lanyard. This is particularly important when dealing with delicate materials or intricate attachment mechanisms.
-
Refer to Manufacturer Guidelines: If the lanyard is part of specialized equipment or carries specific safety considerations, refer to the manufacturer's guidelines before attempting to open it. Following manufacturer recommendations ensures that the lanyard is handled in accordance with its intended usage and maintenance protocols.
-
Seek Professional Assistance if Unsure: If you encounter complexities or uncertainties during the lanyard opening process, consider seeking professional assistance. Professional repair services or guidance from experienced individuals can provide valuable insights and ensure the safe and effective handling of the lanyard.
-
Test Functionality After Reassembly: Once the lanyard has been opened, addressed, and reassembled, test its functionality to ensure that all components are securely fastened and that the lanyard operates as intended. This step validates the success of the opening process and confirms the lanyard's continued reliability.
By adhering to these tips and tricks, you can navigate the process of opening lanyards with confidence and safety. Whether you are performing repairs, modifications, or simply exploring the inner workings of lanyards, prioritizing safety and precision will enhance the overall experience and ensure the longevity of the lanyard.
Conclusion
In conclusion, mastering the proper techniques for opening lanyards is an invaluable skill that empowers individuals to address various lanyard-related tasks with confidence and precision. Through our exploration of the different types of lanyards, the essential tools and equipment needed for lanyard disassembly, a step-by-step guide for opening lanyards, and crucial tips and tricks for safe handling, we have unraveled the mysteries of lanyards and provided a comprehensive framework for navigating the opening process.
Understanding the diverse landscape of lanyard types, including flat polyester, nylon, woven, beaded, retractable, and breakaway lanyards, equips individuals with the knowledge to approach each type with tailored strategies. Whether it's the durability of flat polyester lanyards, the elegance of woven lanyards, or the functionality of retractable lanyards, comprehending the unique features of each type lays the groundwork for successful lanyard disassembly.
Furthermore, the emphasis on gathering the necessary tools and equipment, such as small screwdriver sets, needle-nose pliers, and tweezers, ensures that individuals are well-prepared to embark on the journey of opening lanyards. The inclusion of a step-by-step guide provides a structured approach to the disassembly process, guiding individuals through the assessment, preparation, disassembly, inspection, and reassembly stages with clarity and confidence.
Moreover, the tips and tricks for safely opening lanyards underscore the importance of patience, precision, and mindful handling, promoting a safe and successful lanyard disassembly experience. By incorporating protective eyewear, organizing and labeling components, and exercising gentle maneuvers, individuals can navigate the intricacies of lanyard disassembly while prioritizing safety and meticulous attention to detail.
In essence, the art of opening lanyards transcends mere mechanical disassembly; it embodies a journey of exploration, skill-building, and an appreciation for the intricate design and functionality of these ubiquitous accessories. Whether it's performing repairs, modifications, or simply satisfying one's curiosity, the knowledge and expertise gained from this guide will undoubtedly serve as a valuable asset in the realm of lanyard maintenance and customization.
As we conclude this enlightening journey, we encourage individuals to embrace the art of lanyard disassembly with confidence, creativity, and a commitment to safety. By unlocking the secrets of lanyards, we pave the way for a deeper understanding of these indispensable accessories and the empowerment to address lanyard-related tasks with proficiency and finesse.