Introduction
Welcome to this guide on how to boot your Samsung Ultrabook from a USB drive. Sometimes, you may need to boot your Ultrabook from a USB device to perform a system restore, install a new operating system, or run diagnostics. Whether you’re a tech-savvy user or a beginner, this step-by-step tutorial will help you navigate the process smoothly.
Booting from a USB drive allows you to access additional functionality and bypass the regular boot process of your Ultrabook’s internal hard drive. It gives you the flexibility to work with different operating systems and troubleshoot potential issues. However, the process may vary slightly depending on the model and firmware version of your Samsung Ultrabook, so be sure to consult your user manual or the Samsung support website if you encounter any discrepancies.
In this guide, we will walk you through the necessary steps to prepare your USB drive, access the BIOS settings, change the boot order, and successfully boot your Samsung Ultrabook from the USB drive. By following these instructions, you’ll be able to seamlessly perform tasks that require booting from a USB device, enabling you to take full control over your Ultrabook’s functionality.
Before we dive into the specific steps, it’s important to note that performing any changes to your BIOS or boot settings can have an impact on the overall functionality of your system. Therefore, it is highly recommended to create a backup of any important data before proceeding. Additionally, it’s always a good practice to use a reputable USB drive and ensure it’s properly formatted.
Now that we have covered the basic information, let’s move on to the first step: preparing the USB drive.
Getting Started
Before proceeding with the booting process, there are a few things you’ll need to gather to ensure a smooth experience. Here’s what you should have at hand:
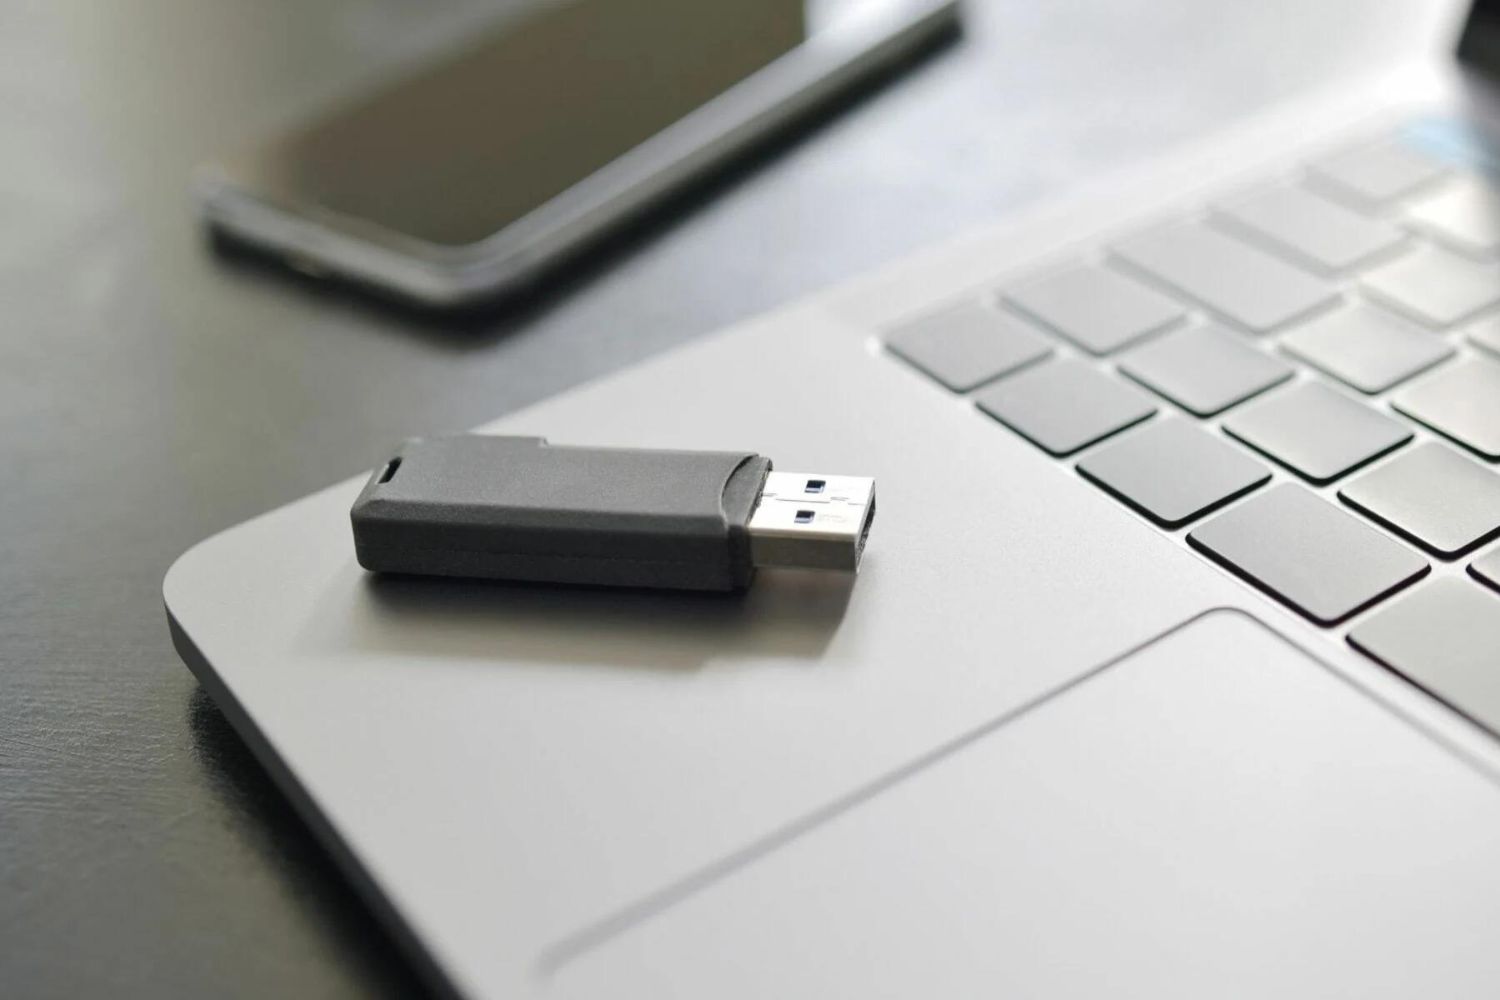
- A USB drive: Make sure you have a reliable USB drive with sufficient storage capacity. It’s recommended to use a USB 3.0 drive for faster data transfer speeds.
- A bootable USB image: You’ll need to have a bootable image or software that you want to use. This could be a system restore image, an operating system installation image, or a diagnostic tool.
- Your Samsung Ultrabook: Of course, you’ll need your Samsung Ultrabook, fully charged or connected to a power source, to perform the booting process.
Once you have these essentials ready, you can move on to the next steps. It’s important to note that different Samsung Ultrabook models may have slightly different procedures for booting from a USB drive. Therefore, it’s always a good idea to consult the user manual or the Samsung support website specific to your Ultrabook model to ensure you are following the correct steps.
Additionally, it’s a good practice to close all unnecessary applications and save any ongoing work before initiating the booting process. This ensures that your system resources are available for the booting procedure and reduces the risk of data loss or system instability.
Now that you have the necessary items and preparations in place, it’s time to move on to the step-by-step instructions. The following sections will guide you through each stage of the process, from preparing the USB drive to successfully booting your Samsung Ultrabook.
Step 1: Prepare the USB drive
To boot your Samsung Ultrabook from a USB drive, you first need to ensure that the USB drive is properly prepared. Here are the steps to follow:
- Connect the USB drive to an available USB port on your Samsung Ultrabook.
- Open the file explorer on your Ultrabook and navigate to the USB drive.
- If there are any important files or data on the USB drive, make sure to back them up before proceeding, as the preparation process may involve formatting the drive.
- Format the USB drive if necessary. Right-click on the USB drive and select the “Format” option. Choose the desired file system format (usually FAT32 or NTFS) and click “Start” to initiate the formatting process. Note that formatting the drive will erase all data stored on it.
- If you have a bootable image or software that you want to use, copy the necessary files to the USB drive. This could be an ISO image, an installation package, or a bootable utility.
- Make sure all the files have been successfully copied to the USB drive and safely eject it.
By following these steps, you have now prepared your USB drive for the booting process. It’s essential to ensure that the USB drive is properly formatted and contains the necessary files for booting your Samsung Ultrabook. This will ensure a successful and smooth booting experience.
Now that you have prepared the USB drive, it’s time to move on to the next step: entering the BIOS settings on your Samsung Ultrabook.
Step 2: Enter BIOS settings
In order to boot your Samsung Ultrabook from a USB drive, you will need to enter the BIOS settings. The BIOS (Basic Input/Output System) is a firmware that allows you to configure various hardware settings on your Ultrabook. Here’s how you can access the BIOS settings:
- Ensure that your Samsung Ultrabook is turned off completely.
- Press the power button to turn on your Ultrabook.
- Immediately start pressing the appropriate key to enter BIOS settings. The key to access the BIOS may vary depending on your Samsung Ultrabook model, but common keys include F2, F10, or DEL. Refer to your user manual or the Samsung support website to find the correct key for your model.
- Continue pressing the key until you are successfully taken to the BIOS setup screen. Be aware that the screen may flash quickly before displaying the BIOS settings, so be attentive.
Once you have successfully entered the BIOS settings, you are ready to proceed with the next step. The ability to navigate and access the BIOS settings may differ slightly depending on your Samsung Ultrabook model and firmware version. Take your time to familiarize yourself with the layout and options available in the BIOS setup screen.
It’s worth noting that the BIOS settings control various aspects of your Ultrabook’s hardware and system configurations. It’s recommended to exercise caution and avoid making any unnecessary changes unless you are familiar with their implications. Altering critical settings in the BIOS can potentially lead to system instability or other complications.
Now that you have successfully accessed the BIOS settings, let’s move on to the next step: changing the boot order to prioritize the USB drive.
Step 3: Change boot order
Changing the boot order in the BIOS settings is crucial to ensure your Samsung Ultrabook recognizes and prioritizes the USB drive for booting. Here’s how you can modify the boot order:
- Within the BIOS setup screen, navigate to the “Boot” or “Boot Options” tab. The exact location and naming of this tab may vary depending on your Ultrabook model.
- Locate the “Boot Order” or “Boot Priority” option. This will display the current boot order sequence.
- Move the USB drive to the top of the boot order list by using the designated keys or options provided. This ensures that the Ultrabook attempts to boot from the USB drive before other devices.
- If necessary, adjust the boot order of other devices listed according to your preference. For example, you may want to prioritize the USB drive over the internal hard drive or other external devices.
- Once you have modified the boot order to your satisfaction, save the changes. Look for an option such as “Save and Exit,” “Save Changes,” or “Exit and Save.” Your Ultrabook may prompt you to confirm your actions before proceeding.
It’s important to note that the exact steps for changing the boot order may differ based on your Samsung Ultrabook model and BIOS version. Ensure that you carefully follow the on-screen instructions and refer to your user manual or the Samsung support website for any specific guidelines.
After saving the changes to the boot order, your Ultrabook is now configured to boot from the USB drive. This allows you to proceed with the booting process and access the content stored on the USB drive, whether it’s an operating system installation, a system restore image, or a diagnostic tool.
Now that you have successfully modified the boot order, it’s time to move on to the next step: saving and exiting the BIOS settings.
Step 4: Save and exit BIOS
Once you have made the necessary changes to the boot order in the BIOS settings, it’s important to save your modifications and exit the BIOS setup screen. Here’s what you need to do:
- Double-check that you have correctly modified the boot order to prioritize the USB drive. Ensure that the USB drive is at the top of the list.
- Look for the option to save your changes and exit the BIOS setup screen. This is typically labeled as “Save and Exit,” “Exit Saving Changes,” or a similar variation.
- If prompted, confirm your decision to save the changes and exit the BIOS.
- Your Samsung Ultrabook will then proceed to restart.
During the restart process, your Ultrabook will now attempt to boot from the USB drive as it has been prioritized in the boot order. Depending on the content stored on the USB drive, you may see a different boot screen or a prompt asking you to press a specific key to boot from the USB drive. Follow the on-screen instructions accordingly.
If everything has been set up correctly, your Samsung Ultrabook should begin the booting process from the USB drive, enabling you to access the desired software, system restore image, or diagnostic tool.
In the event that your Ultrabook does not boot from the USB drive or you encounter any issues, it’s advisable to revisit the BIOS settings and ensure that the boot order is correctly configured. Additionally, make sure that the USB drive is properly formatted and contains the necessary files for booting your Ultrabook.
Congratulations! You have successfully saved the changes in the BIOS settings and are now ready to boot from the USB drive. Now, let’s move on to the final step: restarting your Samsung Ultrabook and booting from the USB drive.
Step 5: Restart and Boot from USB
After saving the changes in the BIOS settings, it’s time to restart your Samsung Ultrabook and initiate the booting process from the USB drive. Here’s what you need to do:
- Ensure that all unsaved work is closed and any necessary backups have been made.
- Click on the “Restart” option or choose to shut down your Ultrabook and then power it back on.
- As your Ultrabook starts up, pay attention to the screen for any prompts indicating which key to press to boot from the USB drive.
- If prompted, press the specified key quickly to boot from the USB drive. You may need to press the key repeatedly until the boot process begins.
- Your Samsung Ultrabook will then initiate the booting process from the USB drive. Depending on the content stored on the drive, you may see a loading screen or a menu with various options.
- Follow the on-screen instructions to proceed with the desired actions, such as installing an operating system, restoring your system, or running diagnostics.
It’s important to remember that the booting process may take some time, depending on the speed of the USB drive and the size of the bootable image or software. Be patient and allow the process to run its course.
If your Ultrabook doesn’t boot from the USB drive or you encounter any issues, double-check that the boot order in the BIOS settings is correctly configured and that the USB drive is properly prepared.
Once you have successfully booted from the USB drive, you can proceed with the tasks you wanted to perform, such as installing a new operating system, restoring your system to a previous state, or running necessary diagnostics to troubleshoot issues.
That concludes our step-by-step guide on how to boot your Samsung Ultrabook from a USB drive. By following these instructions, you can harness the flexibility and functionality provided by booting from a USB device.
Enjoy exploring new operating systems, performing system maintenance, or troubleshooting with ease!
Conclusion
Booting your Samsung Ultrabook from a USB drive opens up a world of possibilities, from installing new operating systems to running diagnostics and restoring your system. Throughout this guide, we have provided a step-by-step approach to help you successfully boot your Ultrabook from a USB drive.
From preparing the USB drive to accessing the BIOS settings, changing the boot order, and finally restarting your Ultrabook to boot from the USB drive, each step is essential in ensuring a smooth and successful booting process.
Remember to consult your user manual or the Samsung support website specific to your Ultrabook model if you encounter any discrepancies or have model-specific questions. These resources can provide additional guidance and instructions tailored to your device.
It’s important to exercise caution when making changes to the BIOS settings and to ensure that you have a backup of important data before proceeding. Mistakes or unintended changes in the BIOS can result in system instability or other complications.
By following this guide, you now have the knowledge and confidence to take control of your Samsung Ultrabook’s booting process. Whether you need to perform system maintenance, install a new operating system, or troubleshoot issues, booting from a USB drive gives you the flexibility and functionality you need.
Enjoy exploring new software, performing system restores, and running diagnostics with ease. Take advantage of the power and possibilities that booting from a USB drive provides, and make the most out of your Samsung Ultrabook.