Introduction
Backing up your hard drive is crucial for preserving your important files and data. Whether you’re a student with years of research papers, a professional with critical work documents, or simply someone with cherished photos and memories, losing all that data can be devastating.
An external hard drive is the ideal solution for creating backups. It provides a secure and convenient way to store your data separately from your computer, protecting it from accidental deletion, system failures, or other unforeseen events. In this guide, we will take you through the steps of backing up your hard drive to an external hard drive.
Before we get started, it’s important to understand why backing up your hard drive is necessary. Computers are susceptible to hardware failures, viruses, malware, and other threats that can lead to data loss. Additionally, accidents like spills or the accidental deletion of files can also result in the permanent loss of important data. By having a backup stored on an external hard drive, you can easily restore your files and ensure that your data remains safe.
In this step-by-step guide, we will cover everything you need to know to backup your hard drive to an external hard drive.
Why Should You Backup Your Hard Drive?
Backing up your hard drive is not something you should overlook. It is an essential task that can save you from the potential devastation of data loss. Let’s take a closer look at some of the key reasons why you should backup your hard drive:
- Data Protection: Your computer’s hard drive is prone to failure, and when that happens, you risk losing all your valuable files and data. By regularly backing up your hard drive, you create a safety net to protect your important files in case of hardware malfunctions or other unexpected incidents.
- Accidental Deletion: We’ve all experienced that sinking feeling when we accidentally delete an important file or folder. With proper backups, you can easily restore the deleted files without any hassle or stress. It acts as an insurance policy, giving you peace of mind knowing that you have a copy of your files stored securely.
- System Crashes and Viruses: Computers are not invincible. System crashes and virus attacks can cause significant damage to your computer’s files and make it impossible to access or recover them. Having a backup allows you to restore your system to its previous state or retrieve individual files, ensuring the continuity of your work or personal data.
- Data Migration and Upgrades: If you’re planning to upgrade your computer, whether it’s getting a new machine or switching to a different operating system, a backup of your hard drive will be instrumental in seamlessly transferring your files and settings to the new system.
- Protection Against Theft and Disasters: Unfortunately, thefts or natural disasters like fires or floods can happen, resulting in the loss of your computer and all the data stored within it. By keeping a backup of your hard drive in a separate location, such as an external hard drive, you ensure that even if your computer is stolen or destroyed, your important files are safe and can be easily recovered.
It’s essential to remember that data loss can have profound consequences, both personally and professionally. Creating regular backups allows you to safeguard your files and data, giving you the ability to recover and restore them whenever needed. Don’t underestimate the importance of backing up your hard drive – it’s a small investment of time and effort that can prevent a major loss in the future.
What Is an External Hard Drive?
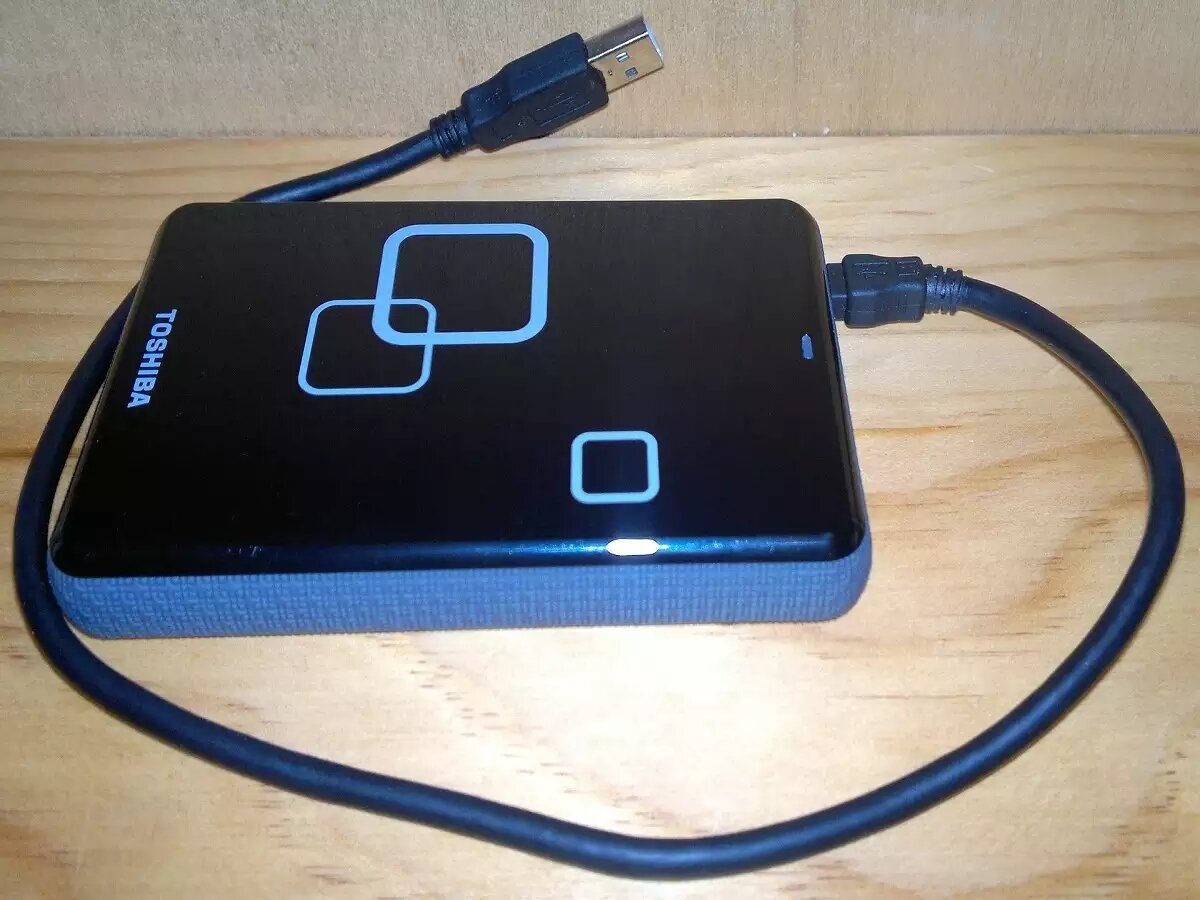
An external hard drive is a portable storage device that connects to your computer or other devices via USB, Thunderbolt, or other similar interfaces. It serves as an additional storage option to supplement your computer’s built-in hard drive. Unlike internal hard drives that are housed inside your computer, an external hard drive is designed to be easily connected and disconnected, making it convenient for backup purposes.
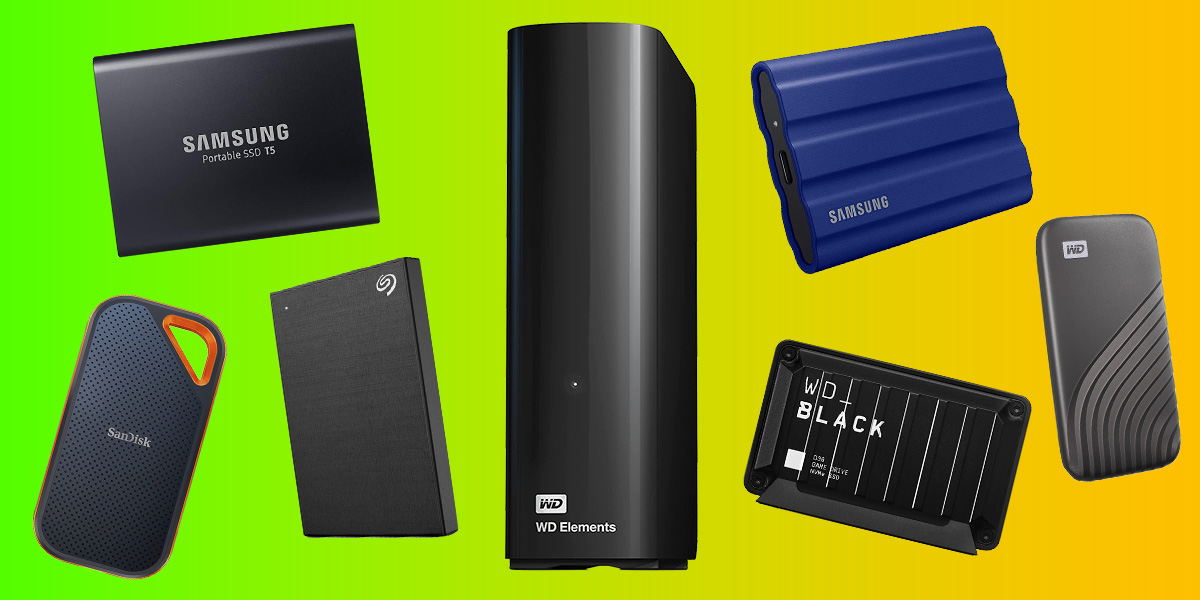
External hard drives come in various sizes and capacities, typically ranging from a few hundred gigabytes to multiple terabytes. They are available as traditional hard disk drives (HDD) or solid-state drives (SSD), each with its own advantages. HDDs tend to be more affordable and offer larger storage capacities, while SSDs provide faster data transfer speeds and enhanced durability due to their lack of moving parts.
One of the main advantages of using an external hard drive for backup is that it allows you to keep your data separate from your computer. By storing your backups on an external device, you create an additional layer of protection against data loss. If your computer’s internal hard drive fails or becomes corrupted, you can still access and restore your files from the external hard drive.
External hard drives are plug-and-play devices, meaning they require minimal setup. Once connected to your computer, they are recognized as an additional storage source, and you can easily transfer files to and from the external hard drive using your operating system’s file management tools.
Additionally, many external hard drives come with software that simplifies the backup process. These software solutions often offer features like automatic backups, file synchronization, and even encryption to enhance data security. They make it more convenient for users to schedule regular backups or create incremental backups that only save changes made since the last backup.
Furthermore, external hard drives can be used beyond just backups. They are versatile storage devices that can be used to store and transport large files, multimedia content, and even run applications or operating systems directly from the drive.
Overall, external hard drives offer a practical and flexible solution for backing up your data. With their affordability, ease of use, and portability, they are a reliable choice for anyone looking to safeguard their important files and have the peace of mind that their data is secure.
Step 1: Choose the Right External Hard Drive
When it comes to selecting the right external hard drive for your backup needs, there are several factors to consider. Below are some key points to keep in mind:
- Storage Capacity: Determine how much storage space you require for your backups. Consider the size of your current hard drive and the amount of data you want to back up, as well as any future data growth. It’s better to choose an external hard drive with more capacity than you currently need to accommodate future needs.
- Drive Type: Decide between a traditional HDD or an SSD based on your specific requirements. HDDs tend to offer greater storage capacities at a lower cost, while SSDs provide faster data transfer speeds and improved durability due to their lack of moving parts.
- Interface: Ensure that the external hard drive you choose is compatible with your computer or device’s available ports. Common interfaces include USB 3.0, USB-C, Thunderbolt, and eSATA. Consider the maximum data transfer rate and choose an interface that offers sufficient speed for your backup needs.
- Size and Portability: Consider the physical size and weight of the external hard drive, especially if you plan to carry it with you frequently. Smaller, lightweight models are more convenient for portable use, while larger models may offer higher storage capacities.
- Brand and Reliability: Opt for well-known and reputable brands that have a track record of reliability and quality. Reading reviews and checking customer feedback can help you assess the reliability and performance of different external hard drive models.
- Additional Features: Some external hard drives offer additional features like hardware encryption, password protection, or built-in backup software. Consider these features based on your security and convenience preferences.
Once you have determined your requirements and preferences, do some research and compare different models to find the one that best suits your needs. Take into account factors such as pricing, warranty, and customer support provided by the manufacturer.
It’s essential to choose a reliable external hard drive that will effectively serve as your backup solution. Investing in a high-quality drive will ensure the security of your data and provide peace of mind knowing that your important files are protected.
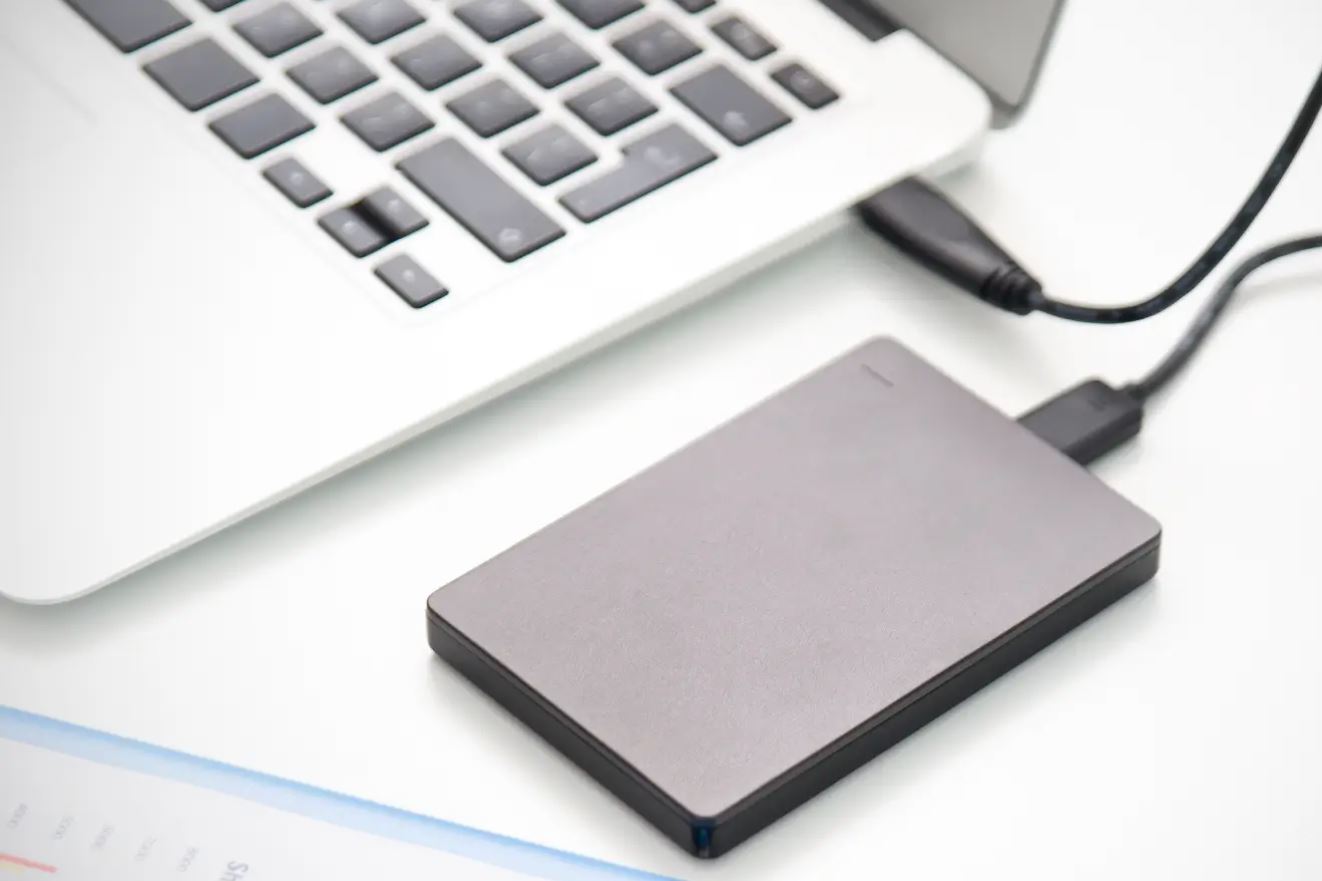
Step 2: Connect the External Hard Drive to Your Computer
Once you have chosen the right external hard drive for your backup needs, the next step is to connect it to your computer. Follow these simple steps to establish a connection:
- Gather the necessary cables: Depending on the type of external hard drive and your computer, you may need a USB, Thunderbolt, or other compatible cable to connect the two devices. Ensure you have the correct cables to establish a secure connection.
- Locate the USB or other connection ports: Identify the USB ports or other relevant connection ports on your computer. These ports are usually located on the sides or back of the computer tower, laptop, or monitor. Refer to your computer’s user manual if you are unsure where the ports are located.
- Connect the cable to the external hard drive: Plug one end of the cable into the appropriate port on the external hard drive. Make sure the cable is securely connected to the drive to ensure a stable connection.
- Connect the other end of the cable to your computer: Plug the other end of the cable into the corresponding USB or Thunderbolt port on your computer. Again, ensure the connection is secure.
- Power on the external hard drive: If your external hard drive requires external power, connect the power adapter to the drive and then plug it into a power outlet. Some drives draw power directly from the USB port and do not require additional power sources.
- Turn on your computer: Start your computer or ensure it is already powered on. Wait for the operating system to load and detect the external hard drive. You may receive a notification or see a new drive appear in your file explorer.
Once you have successfully connected the external hard drive to your computer, it should be ready to use for backing up your files. However, before proceeding with the backup process, it’s crucial to format the external hard drive to ensure compatibility and optimize its performance.
Note: If you are using a Mac computer, you may need to format the external hard drive to a compatible file system such as macOS Extended (Journaled) or APFS. Check the manufacturer’s instructions or consult the appropriate documentation for guidance on formatting the drive for Mac compatibility.
In the next step, we will walk you through the process of formatting the external hard drive to prepare it for data backup.
Step 3: Format the External Hard Drive
After connecting the external hard drive to your computer, the next step is to format it. Formatting prepares the drive for use by creating a file system that is compatible with your operating system. Follow these steps to format your external hard drive:
- Backup any existing data: Before formatting the external hard drive, ensure that you have backed up any important data stored on it. Formatting will erase all data on the drive, so making a backup is crucial to avoid permanent loss.
- Open the Disk Management utility (Windows) or Disk Utility (Mac): On a Windows computer, you can access the Disk Management tool by right-clicking on the Start menu and selecting “Disk Management” from the context menu. On a Mac computer, open “Disk Utility” from the Applications folder or by searching for it in Spotlight.
- Select the external hard drive: In the Disk Management or Disk Utility window, locate the external hard drive. It should be listed along with other connected drives. Take note of the drive’s label or assigned disk number.
- Initialize the drive: On Windows, right-click on the external hard drive and select “Initialize Disk” from the context menu. On Mac, click on the external hard drive and then click on the “Erase” icon. Follow the prompts to initialize the drive.
- Choose the file system and name: When prompted, select the appropriate file system for your operating system. For Windows, NTFS is typically the best choice, while Mac users should select macOS Extended (Journaled) or APFS. Assign a name to the drive to make it easily identifiable.
- Start the formatting process: Confirm your settings and then click on the “Format” or “Erase” button to begin the formatting process. Depending on the size of the drive, this process may take several minutes.
- Wait for the formatting to complete: Once the formatting process is finished, you will receive a notification indicating the successful completion. Your external hard drive is now ready to be used for data backup.
Formatting your external hard drive ensures compatibility with your computer and optimizes its performance for data storage. Remember that formatting erases all existing data on the drive, so it’s crucial to back up any important files beforehand to avoid permanent loss.
Now that your external hard drive is formatted, we can move on to the next step – selecting the specific files and folders you want to include in the backup.
Step 4: Select the Files and Folders You Want to Backup
Now that your external hard drive is formatted and ready for use, it’s time to choose the files and folders that you want to include in your backup. Follow these steps to select the specific items for backup:
- Identify critical files and folders: Determine which files and folders are crucial and irreplaceable. These may include important documents, projects, photos, videos, and any other files that you consider valuable or cannot afford to lose.
- Organize your data: Take some time to organize your data into logical folders and subfolders. This will make it easier to select and locate specific files during the backup process.
- Consider file size and storage capacity: Take into account the size of the files and folders you want to back up, as well as the available storage capacity on your external hard drive. Ensure that the selected files will fit within the storage space without exceeding its limit.
- Use a backup software (optional): Depending on your preferences and requirements, you may choose to use backup software to automate the file selection process. Backup software can scan your computer and suggest files and folders for backup based on criteria such as file type, file size, or modification date.
- Manually select the files and folders: If you prefer a more hands-on approach, you can manually select the files and folders for backup. Open your file explorer or Finder and navigate to the location of your files. Use the Ctrl key (Windows) or Command key (Mac) to select multiple files or folders at once.
- Copy or drag files to the external hard drive: Once you have selected the files and folders, right-click on them and choose the “Copy” option. Then, navigate to your external hard drive in the file explorer or Finder and paste the files into the desired location. Alternatively, you can simply drag and drop the selected files directly to the external hard drive.
- Verify the file transfer: After the copying process is complete, double-check that the files and folders have been successfully transferred to the external hard drive. You can do this by opening the drive and confirming that all the selected items are present.
By carefully selecting and organizing your files and folders, you can ensure that your most important data is safely backed up on your external hard drive. Regularly reviewing and updating your backup selection will help you stay organized and protect your data effectively.
In the next step, we will cover the process of copying the selected files and folders to the external hard drive for backup.
Step 5: Copy the Selected Files and Folders to the External Hard Drive
Now that you have selected the specific files and folders you want to backup, it’s time to copy them to your external hard drive. Follow these steps to complete the file transfer process:
- Open your file explorer or Finder: Navigate to the location where you have selected the files and folders for backup.
- Connect the external hard drive: Ensure that your external hard drive is connected and recognized by your computer. If necessary, refer back to step 2 to establish a connection.
- Select the files and folders: Use the Ctrl key (Windows) or Command key (Mac) to select multiple files or folders at once. You can also choose to copy an entire folder along with its contents.
- Copy the selected files and folders: Right-click on the selected files and folders and choose the “Copy” option. Alternatively, you can use the shortcut keys Ctrl+C (Windows) or Command+C (Mac) to copy the files.
- Navigate to the external hard drive: Open your file explorer or Finder again and navigate to the location of your external hard drive. This will typically be labeled with the name you assigned to it during the formatting step.
- Paste the files and folders: Right-click in the desired location on the external hard drive and choose the “Paste” option. Alternatively, you can use the shortcut keys Ctrl+V (Windows) or Command+V (Mac) to paste the files.
- Monitor the file transfer: Depending on the size of the files and folders being transferred, the process may take some time. Monitor the progress bar or file transfer dialogue box to ensure that the copying process is completed successfully.
- Verify the backup: Once the copying process is finished, open your external hard drive and navigate to the location where you pasted the files. Verify that all the selected files and folders are present and appear to be intact.
By following these steps, you will successfully copy your selected files and folders to the external hard drive for backup. It’s important to note that depending on the size of the files and the speed of your computer’s USB ports, the process may take some time. Ensure that your computer remains powered on and connected until the file transfer is complete.
In the next step, we will cover the process of safely ejecting the external hard drive from your computer to ensure the integrity of your data.
Step 6: Safely Eject the External Hard Drive
Once you have successfully copied the selected files and folders to your external hard drive, it’s important to follow the proper process for safely ejecting the drive from your computer. This helps ensure the integrity of your data and prevents any potential data loss or corruption. Follow these steps to safely eject your external hard drive:
- Save any open files: Make sure that you have saved and closed any files or applications that may be accessing the external hard drive. This ensures that there are no active read/write operations being performed on the drive.
- Locate the system tray icon or external hard drive icon: On Windows, look for the “Safely Remove Hardware and Eject Media” icon in the system tray, typically located on the bottom-right corner of the screen. On Mac, you can find the external hard drive icon on the desktop or in the Finder sidebar.
- Click on the eject option: In the system tray (Windows) or on the external hard drive icon (Mac), right-click or control-click on the icon to display the available options. Select the option that says “Eject,” “Safely Remove,” or a similar term specific to your operating system.
- Wait for the confirmation message: Once you have initiated the eject process, wait for a confirmation message that it is safe to disconnect the external hard drive. This message may appear as a notification, or you may see the external hard drive icon disappear from the desktop or system tray.
- Physically disconnect the external hard drive: When you receive the confirmation that it is safe to do so, unplug the USB or Thunderbolt cable from your computer. Gently remove the cable from both the computer and the external hard drive to avoid any damage.
- Store the external hard drive safely: After ejecting the external hard drive, store it in a safe and secure location. Ideally, keep it in a cool, dry place away from direct sunlight, dust, and excessive heat. Consider using a protective case or sleeve for added protection when transporting or storing the drive.
Following these steps ensures that your files and data are safely transferred and prevents any potential damage or corruption to the external hard drive. It’s important to note that prematurely disconnecting the drive without safely ejecting it may result in data loss or other issues.
In the final step, we will cover how to verify the success of your backup to ensure the completeness and accuracy of the copied files and folders.
Step 7: Verify Your Backup
After completing the backup process, it’s essential to verify the success of your backup to ensure that all the files and folders have been accurately copied to the external hard drive. Follow these steps to verify your backup:
- Open the external hard drive: Connect your external hard drive to your computer again and navigate to the location where you copied the files and folders during the backup process.
- Compare the files: Manually compare the files and folders on your computer with the copies on the external hard drive. Check the file names, sizes, and properties to ensure they match. You can also open a few files to confirm their contents.
- Perform random checks: Select a few random files and open them to ensure they are accessible and intact. Pay attention to any error messages or signs of corruption.
- Verify folder structure: Make sure the folders and subfolders maintained their structure during the backup process. Check that all files are in the correct locations and organized as intended.
- Run a file comparison tool (optional): If you have a large number of files or want to perform a more systematic verification, you can use a file comparison tool. These tools compare the files on your computer with those on the external hard drive, highlighting any discrepancies or missing files.
- Check file sizes and totals: Compare the total size of the files and folders on your computer with the size of the copied files on the external hard drive. They should be relatively similar, considering any differences due to formatting or file system variances.
- Note any discrepancies: If you come across any missing files or folders, or notice any issues or discrepancies during the verification process, take note of them. This will help you identify any potential areas for reevaluation or re-copying.
By following these steps, you will have a greater assurance that your backup has been successfully completed. Verifying your backup ensures that your files and folders are accurately and completely copied to the external hard drive, providing you with peace of mind that your data is safely stored in a secondary location.
If you encounter any issues or discrepancies during the verification process, it may be necessary to repeat certain steps, such as re-copying specific files or even formatting and reconfiguring the external hard drive. Regularly checking and verifying your backup can help you proactively address any potential problems and maintain the integrity of your data.
Conclusion
Backing up your hard drive to an external hard drive is a crucial step in safeguarding your important files and data. By following the steps outlined in this guide, you can ensure that your data is protected and easily recoverable in the event of unexpected hardware failures, computer crashes, accidental deletions, or other unforeseen incidents.
We covered the importance of backing up your hard drive and the benefits of using an external hard drive for this purpose. We discussed how to choose the right external hard drive based on storage capacity, drive type, interface, size, and additional features.
We guided you through the process of connecting the external hard drive to your computer, formatting the drive to ensure compatibility, and selecting the specific files and folders you want to include in your backup. We also highlighted the significance of safely ejecting the external hard drive to prevent data corruption.
To complete the backup process, we emphasized the importance of verifying your backup by comparing file names, sizes, and contents, as well as checking the overall folder structure and using file comparison tools if necessary. This step ensures the completeness and accuracy of your backup.
Remember to regularly update and review your backup selections, especially as your data evolves and grows. A routine backup schedule and diligent maintenance will help you maintain the integrity of your files and data.
By following these steps and implementing a reliable backup system, you can have the peace of mind knowing that your important files and data are protected. A little effort in setting up and maintaining backups can save you from the devastating consequences of data loss, providing you with a safety net and a way to restore your files whenever needed.