Introduction
Discord is a popular communication platform widely used by communities, gamers, and professionals alike. It offers several features, including the ability to create roles to categorize users and manage permissions. Manually assigning roles to members of a Discord server can be time-consuming, especially in large communities. Fortunately, there’s a way to automate the process using a bot.
Automatically giving roles in Discord not only saves time but also allows for a seamless membership management experience. With roles, you can assign specific permissions and control what members can see and do within your server. Whether you’re running a gaming community and want to assign different roles for various games, or managing a professional server where different departments require different access levels, automating role assignment can make your life easier.
In this guide, we’ll walk you through the steps of setting up a bot in Discord and configuring it to automatically assign roles to members. This will enable you to streamline your server management and ensure that members are automatically assigned the appropriate roles upon joining or meeting specific criteria.
By the end of this tutorial, you’ll have a fully functional role assignment bot that can automatically grant roles based on configurable rules. So, let’s dive in and automate the process of role assignment in Discord!
Step 1: Setting Up a Bot in Discord
The first step in automating role assignment in Discord is to set up a bot. A bot is a special account that can perform automated tasks on Discord servers. To create a bot, you’ll need to have the necessary permissions on the server or be the server owner. Here’s how you can set up a bot in Discord:
1. Sign in to your Discord account and navigate to the Discord Developer Portal.
2. Click on the New Application button and give your bot a name. You can also set an avatar for your bot if you wish.
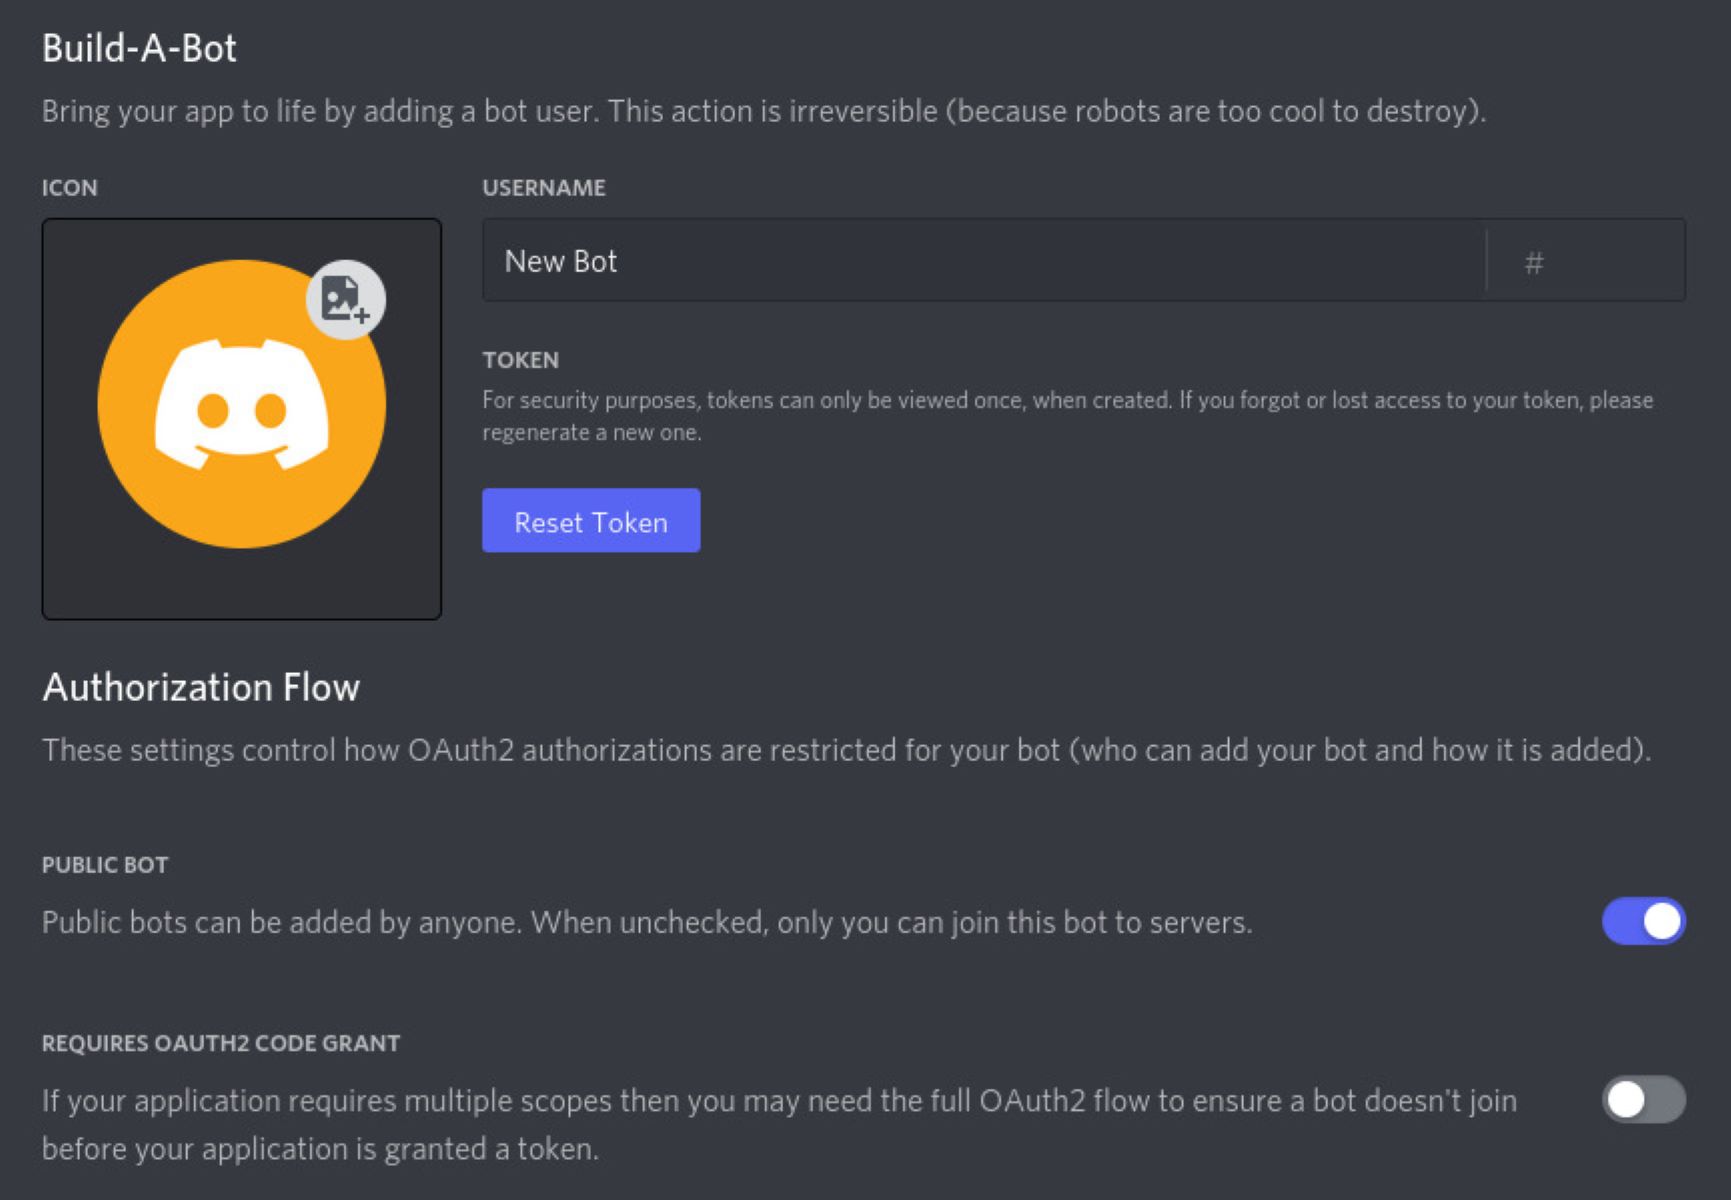
3. Go to the Bot section in the left sidebar and click on the Add Bot button.
4. Customize your bot’s settings, such as username and profile picture, if desired. You can also enable or disable certain permissions depending on the tasks you want your bot to perform.
5. Once you’ve configured the bot to your liking, scroll down to the Token section and click on the Copy button to save the bot’s token to your clipboard. This token is like a secret password that grants your bot access to your Discord server.
6. Keep the bot token safe and secure. Do not share it with anyone, as they can use it to control your bot.
That’s it! You’ve successfully set up a bot in Discord. The next step is to add the bot to your server, which we’ll cover in the next section. Using a bot for role assignment allows you to automate this task and have more control over who gets assigned specific roles based on predefined rules.
Step 2: Adding the Bot to Your Server
After creating a bot in the Discord Developer Portal, the next step is to add the bot to your server. By adding the bot, you give it the necessary access and permissions to perform automated tasks within your server. Follow these steps to add the bot to your Discord server:
1. Go back to the Discord Developer Portal and navigate to your bot’s settings.
2. In the left sidebar, click on the OAuth2 section.
3. Scroll down to the Scopes section and check the bot checkbox. This will generate a URL with the necessary permissions for your bot.
4. In the Bot Permissions section, select the permissions your bot requires to perform its role assignment tasks. For example, if you want your bot to manage roles, make sure to enable the Manage Roles permission.
5. Once you’ve selected the desired permissions, the generated URL above will update with the necessary OAuth2 code.
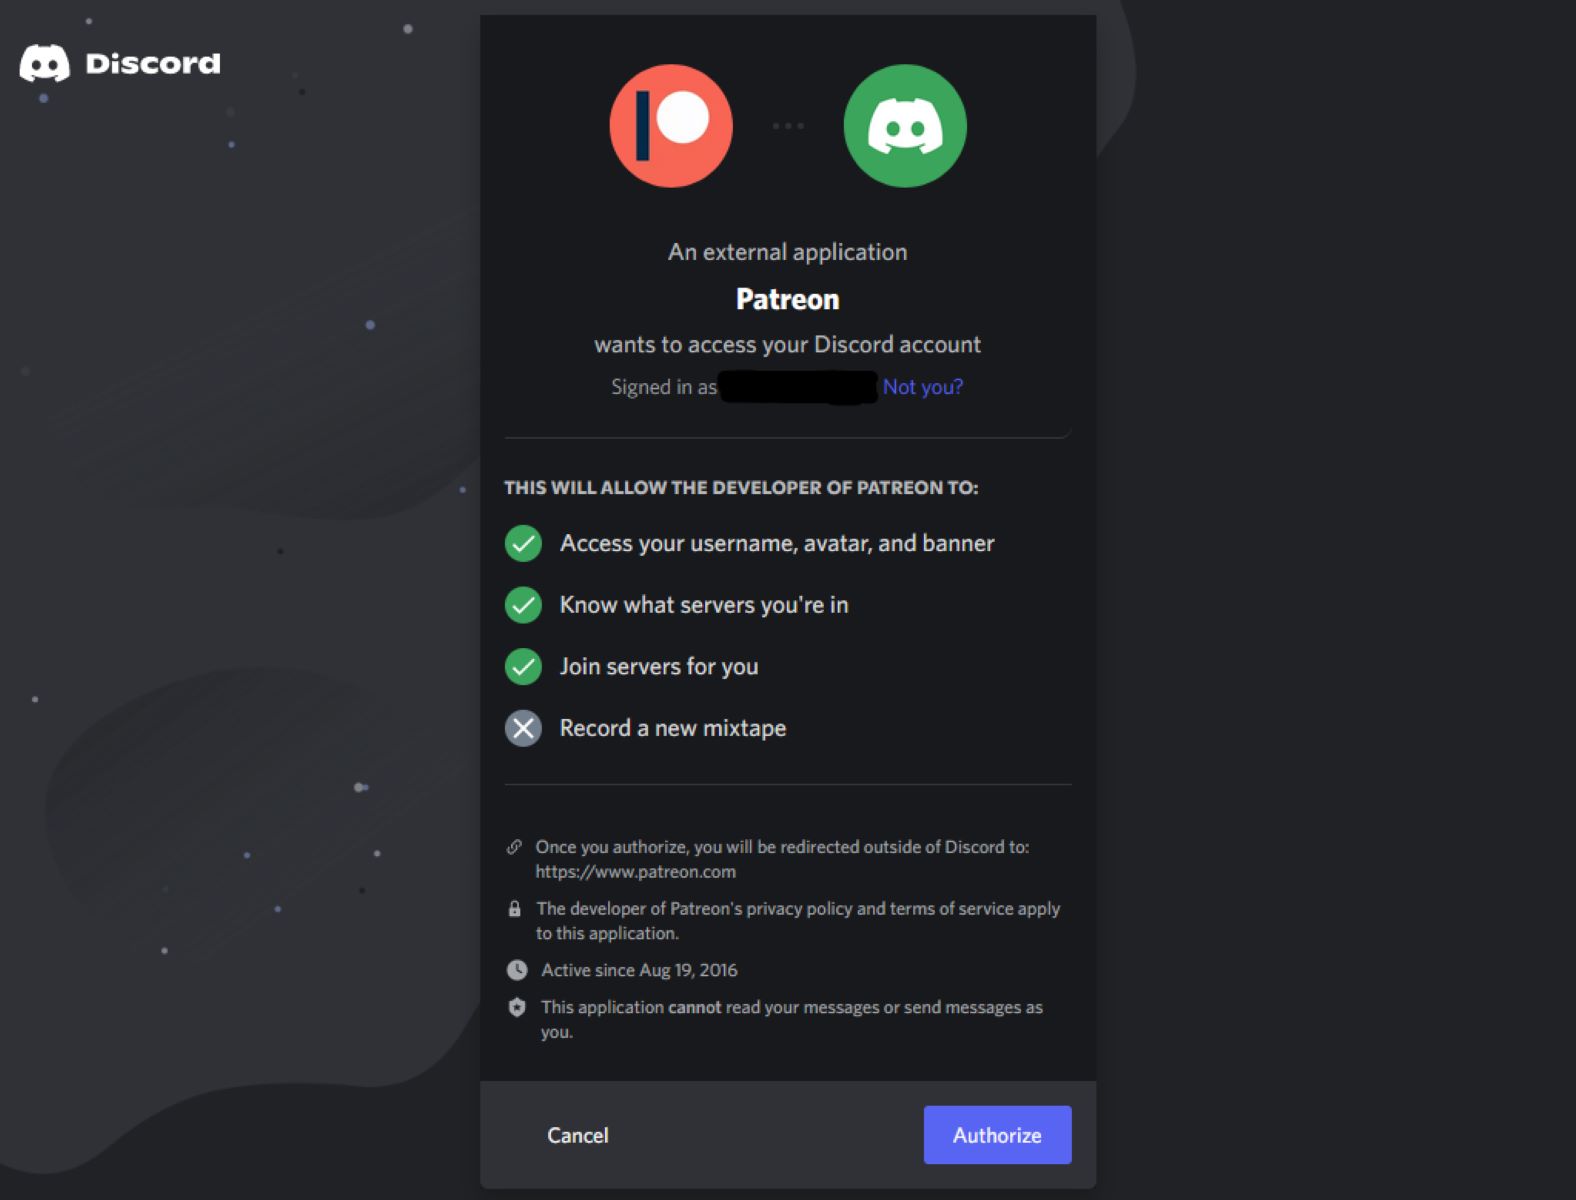
6. Copy the updated URL and open it in your web browser. This will take you to a Discord page where you can authorize the bot to join your server.
7. Select the server you want to add the bot to from the drop-down list and click on the Authorize button.
8. Complete the verification process by solving any CAPTCHA challenges if prompted.
Congratulations! You’ve now successfully added the bot to your Discord server. The bot will now appear in your server’s member list, and you’ll see it with the username and profile picture you set during the bot setup process. The next step is to grant the bot the necessary permissions to perform its role assignment tasks, which we’ll cover in the next section.
Step 3: Granting the Bot Necessary Permissions
Now that you have added the bot to your Discord server, it’s important to grant it the necessary permissions to ensure it can perform its role assignment tasks effectively. By granting the bot the required permissions, you give it the ability to manage roles and assign them to users automatically. Follow the steps below to grant the bot the necessary permissions:
1. Open your Discord server and navigate to the Server Settings.
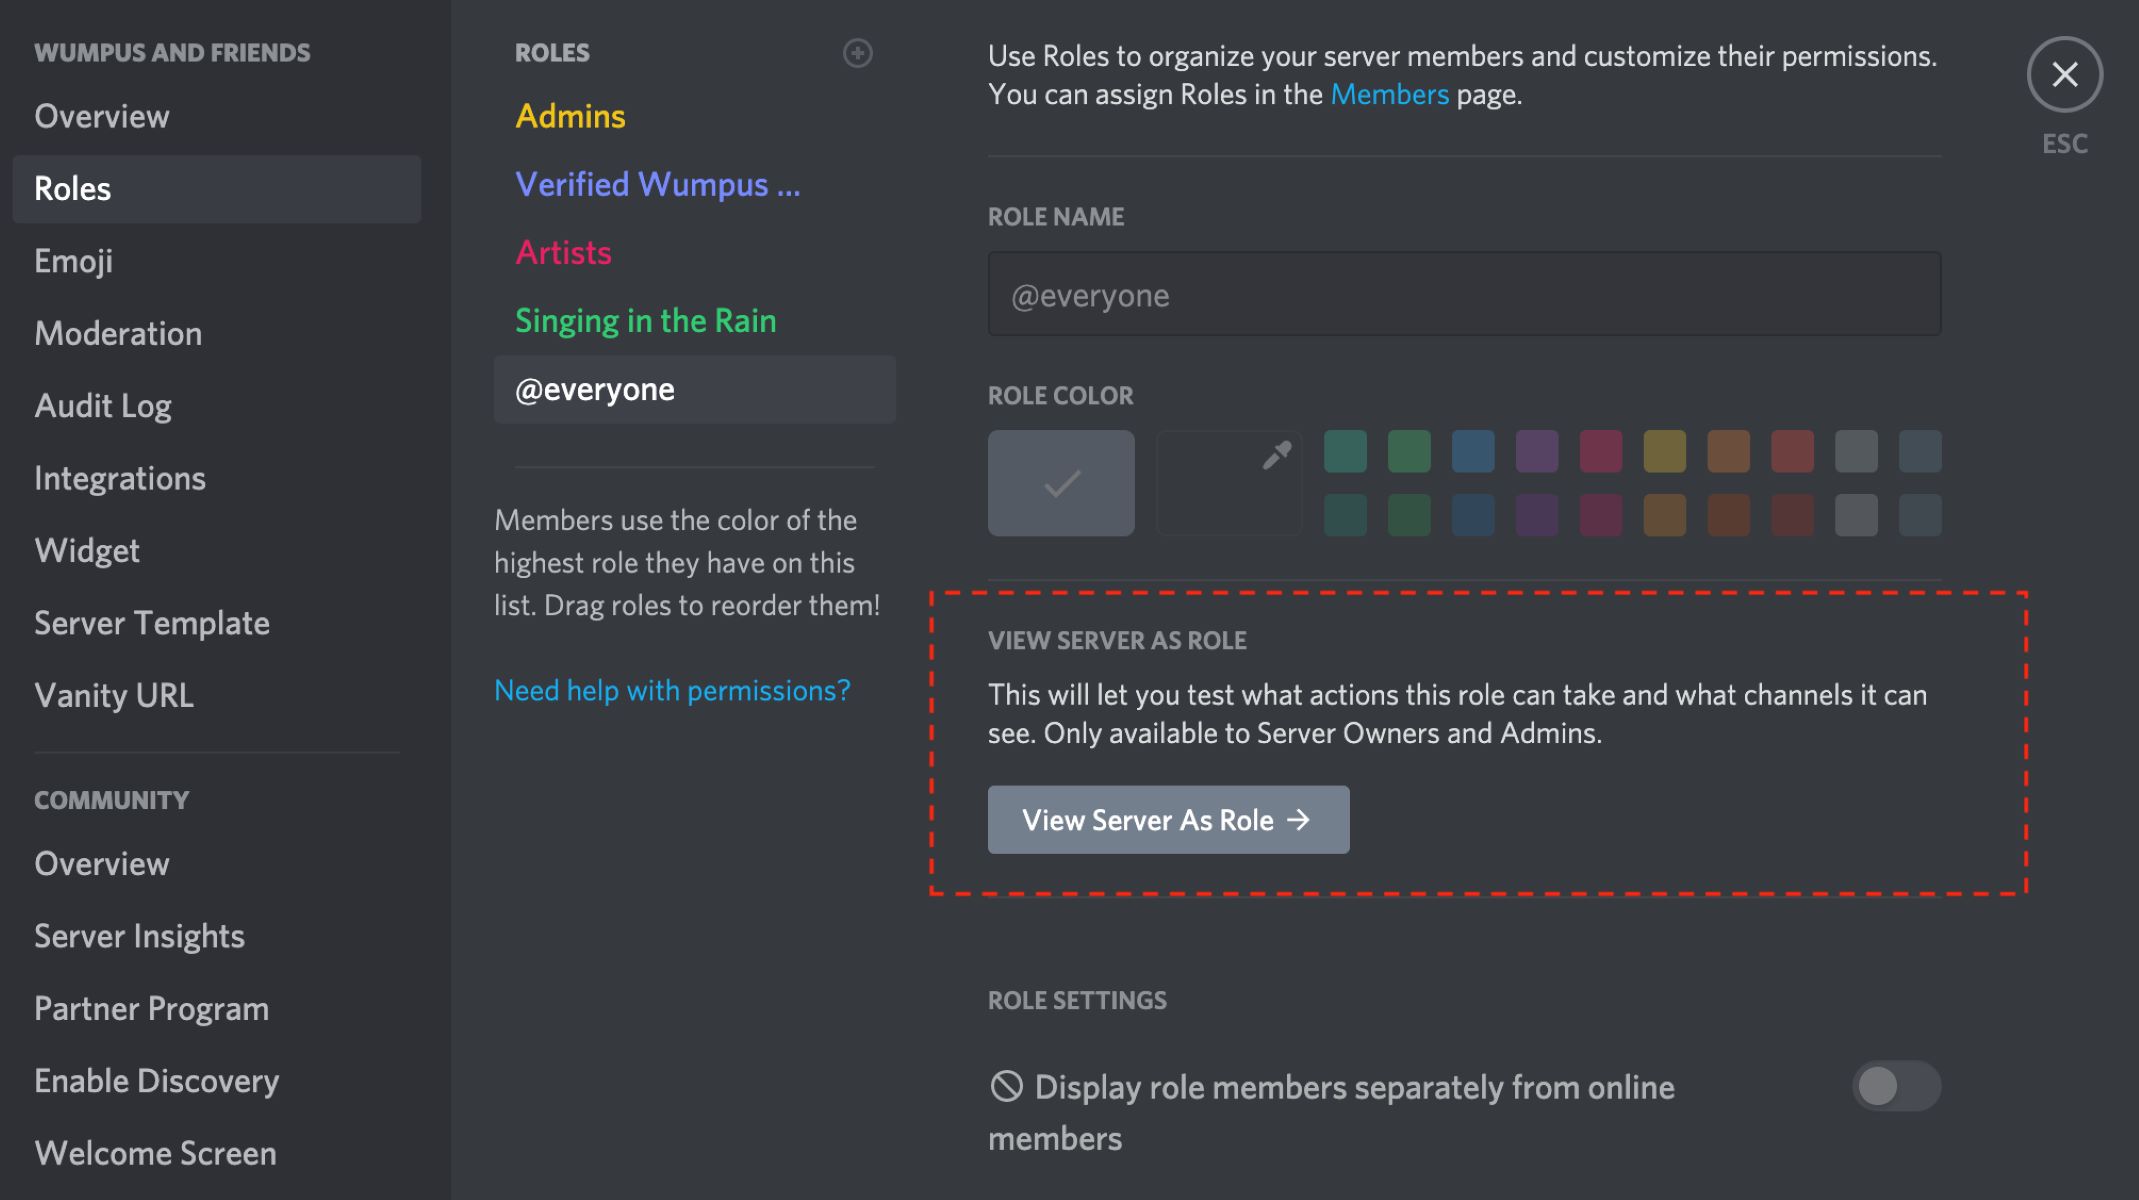
2. In the left sidebar, click on the Roles section.
3. Scroll down to the Roles list and find the bot’s role. It should have the same name as the bot itself.
4. Click on the bot’s role to open its settings.
5. In the permissions settings, make sure the bot has the necessary permissions such as Manage Roles and View Channels. You may also want to grant additional permissions depending on the specific tasks your bot will perform.
6. Save the changes to apply the updated permissions to the bot’s role.
Granting the bot the required permissions ensures that it has the necessary authority to manage roles and assign them automatically. It’s important to review and adjust the bot’s permissions periodically based on your server’s needs and the tasks you want the bot to perform. With the permissions in place, you’re ready to create the role system and configure the bot for automatic role assignment, which we’ll cover in the next steps.
Step 4: Creating the Role System
Before we can configure the bot for automatic role assignment, we need to set up the role system in your Discord server. The role system allows you to categorize users and assign specific permissions based on their roles. Follow these steps to create the role system in your Discord server:
1. Open your Discord server and navigate to the Server Settings.
2. In the left sidebar, click on the Roles section.
3. Click on the Create Role button to add a new role.
4. Give the role a name that reflects its purpose or the criteria for receiving the role. For example, if you want to assign a role for senior members, you could name it “Senior Member”.
5. Customize the role’s color, permissions, and other settings as needed.
6. Repeat steps 3-5 to create additional roles based on your requirements.
By creating different roles with distinct permissions and assigning them to users, you establish a hierarchy within your server and give members access to specific features or channels. This structure forms the basis for automatic role assignment by the bot. Once you have set up the role system, you’re ready to proceed with configuring the bot for automatic role assignment in the next step.
Step 5: Setting Up the Role Assignment Bot
Now that we have created the role system in your Discord server, it’s time to set up the role assignment bot. The role assignment bot will be responsible for automatically assigning roles to users based on predefined rules and conditions. Follow these steps to set up the role assignment bot:
1. Determine the platform or programming language you will use to create the bot. Popular choices include Node.js, Python, and Java.
2. Set up the development environment for your chosen programming language and create a new project.
3. Install the necessary libraries or dependencies for interacting with the Discord API and creating a bot.
4. Generate a bot token from the Discord Developer Portal, as we did in the earlier steps.
5. Use the bot token to authenticate your bot and establish a connection with the Discord server.
6. Configure the bot to listen for specific events, such as when a new member joins the server or when certain criteria are met.
7. Implement the logic for role assignment based on the defined rules and conditions. This can involve checking user attributes, server settings, or external data sources.
8. Test the bot’s role assignment functionality to ensure it is working as expected.
Setting up the role assignment bot requires programming knowledge and familiarity with the chosen programming language and Discord API. If you’re not comfortable with coding, you can utilize existing bot frameworks or seek assistance from a developer experienced in Discord bot creation. Once the role assignment bot is set up and functional, we can proceed to the next step of writing the code for automatic role assignment.
Step 6: Writing the Code for Automatic Role Assignment
In this step, we’ll dive into the details of writing the code for automatic role assignment in your Discord bot. The code you write will determine the conditions and rules that the bot will follow when assigning roles to users. Follow these guidelines to write the code for automatic role assignment:
1. Begin by importing the necessary libraries and modules for interacting with the Discord API and managing roles.
2. Establish a connection with the Discord server using the bot token obtained earlier.
3. Listen for relevant events, such as when a new member joins the server or when specific conditions are met.
4. Implement conditional statements and logic to determine which role(s) to assign based on the predefined rules. For example, you might assign a “Member” role to every new member, or assign different roles based on the user’s email domain or other attributes.
5. Use the appropriate methods and functions provided by the Discord API to assign roles to users. These methods typically involve specifying the user and the role to assign.
6. Test the code thoroughly to ensure it functions as expected. Consider edge cases and potential errors that may occur during role assignment.
Writing the code for automatic role assignment requires programming proficiency and a solid understanding of the Discord API. Be sure to follow best coding practices, such as modularizing your code and adding error handling, to ensure your bot performs reliably. Test your code extensively to ensure it assigns roles accurately and efficiently.
Step 7: Testing the Role Assignment Bot
Now that you have written the code for automatic role assignment, it’s crucial to thoroughly test the role assignment bot to ensure it functions correctly. Testing helps identify bugs, edge cases, or any areas of improvement in your code. Follow these steps to effectively test your role assignment bot:
1. Create a test environment where you can simulate the events and conditions that trigger role assignment. This can include inviting a test account or using a separate testing server.
2. Set up the test scenarios by configuring the necessary conditions for role assignment, such as a new member joining the server or meeting specific criteria. Ensure these scenarios cover a range of possible scenarios and edge cases.
3. Execute the test scenarios by running your bot in the test environment. Monitor the bot’s activity and log any errors or unexpected behavior.
4. Verify that the bot correctly assigns roles to users based on the defined rules and conditions. Check that the assigned roles match the expected outcomes for each test scenario.
5. Test the bot with a variety of input data, including different user attributes, server settings, and triggering events, to ensure its flexibility and accuracy in role assignment.
6. Fix any identified issues or bugs in your code based on the testing results. Make necessary adjustments to the logic, error handling, or any other areas that need improvement.
Testing your role assignment bot thoroughly is crucial to ensure its reliability and accuracy in assigning roles. By simulating different scenarios and input data, you can identify and address any potential issues before deploying the bot to your actual Discord server. Once you are confident in the bot’s performance, you can proceed to deploy it on your live server for automatic role assignment.
Conclusion
Automatically assigning roles in Discord can greatly streamline the management of your server and enhance the user experience. By following the steps outlined in this guide, you have learned how to set up a bot in Discord, add it to your server, grant it permissions, create a role system, and write code for automatic role assignment.
Automating role assignment allows you to easily categorize users, manage permissions, and ensure that members receive the appropriate roles based on predefined criteria. This eliminates the need for manual role assignment and saves valuable time, especially in larger communities.
During the setup process, you learned how to create a bot in the Discord Developer Portal, add it to your server, and grant it the necessary permissions. You also created a role system to categorize and assign roles to users. With the role assignment bot set up, you wrote code to automatically assign roles based on predefined rules and conditions.
However, it is important to note that the role assignment bot and its code may require maintenance and updates as your server evolves. Regular testing and troubleshooting are essential to ensure the bot performs reliably and accurately assigns roles.
With automatic role assignment, you can enhance the organization and management of your Discord server while providing a seamless experience for your members. Take advantage of this powerful feature to create a thriving community and optimize your server’s functionality.
Now that you have completed the steps outlined in this guide, you are well-equipped to automate role assignment in Discord. By implementing automatic role assignment, you can maintain an organized, efficient, and user-friendly server environment.


