Introduction
Welcome to the world of video conferencing, where virtual meetings have become the norm. One popular tool that has gained immense popularity is Zoom. Whether you are using Zoom for professional meetings, online classes, or virtual get-togethers with loved ones, you might be wondering how to add a picture on Zoom to customize your background.
Adding a picture on Zoom can help you transform your mundane video calls into an engaging and visually appealing experience. Whether you want to spice up your meetings with a stunning landscape, showcase your brand logo during professional meetings, or simply hide your messy background, Zoom’s virtual background feature allows you to do just that.
In this guide, we will walk you through the step-by-step process of adding a picture on Zoom and setting it as your virtual background. You don’t need to be a tech expert or spend hours figuring it out – we’ve got you covered with simple instructions to make your virtual background stand out!
So, without further ado, let’s dive into the wonderful world of Zoom backgrounds and transform your video calls into a creative space that reflects your style and personality.
Step 1: Sign in to Zoom
Before you can start customizing your virtual background, you will need to sign in to your Zoom account. If you don’t have an account yet, don’t worry! You can easily create one by visiting the Zoom website and following the simple registration process.
Once you have your Zoom account, here’s how you can sign in:
- Open your preferred web browser and go to the Zoom website.
- Click on the “Sign In” button located at the top right corner of the homepage.
- Enter your account credentials, including your email address and password.
- Click on the “Sign In” button to access your Zoom account.
Alternatively, if you prefer using the Zoom desktop application, you can sign in by following these steps:
- Open the Zoom application on your computer.
- Click on the “Sign In” button located at the bottom right corner of the application.
- Enter your email address and password associated with your Zoom account.
- Click on the “Sign In” button to log in to your Zoom account.
Once you have successfully signed in, you are ready to explore and customize the various features offered by Zoom, including the ability to add a picture as your virtual background.
Step 2: Join or Start a Meeting
After signing in to your Zoom account, you can now join an existing meeting or start a new one. Depending on your requirements, you can choose to join an ongoing meeting or initiate a new video conference.
If you want to join an existing meeting, here’s what you need to do:
- Open the Zoom application on your computer or mobile device.
- Click on the “Join” button on the home screen.
- Enter the Meeting ID provided by the meeting host.
- Input your display name to be used during the meeting.
- Choose whether to enable or disable your video and audio before joining the meeting.
- Click on the “Join” button to enter the meeting.
If you prefer to start a new meeting, follow these steps:
- Open the Zoom application on your computer or mobile device.
- Click on the “New Meeting” button on the home screen.
- Customize your video and audio settings, including whether to enable or disable your camera and microphone.
- Click on the “Start with Video” or “Start without Video” button to initiate the meeting.
- Share the Meeting ID or invite participants by email using the provided options.
Once you have joined or started a meeting, you can proceed to the next step to access the Zoom settings and customize your virtual background.
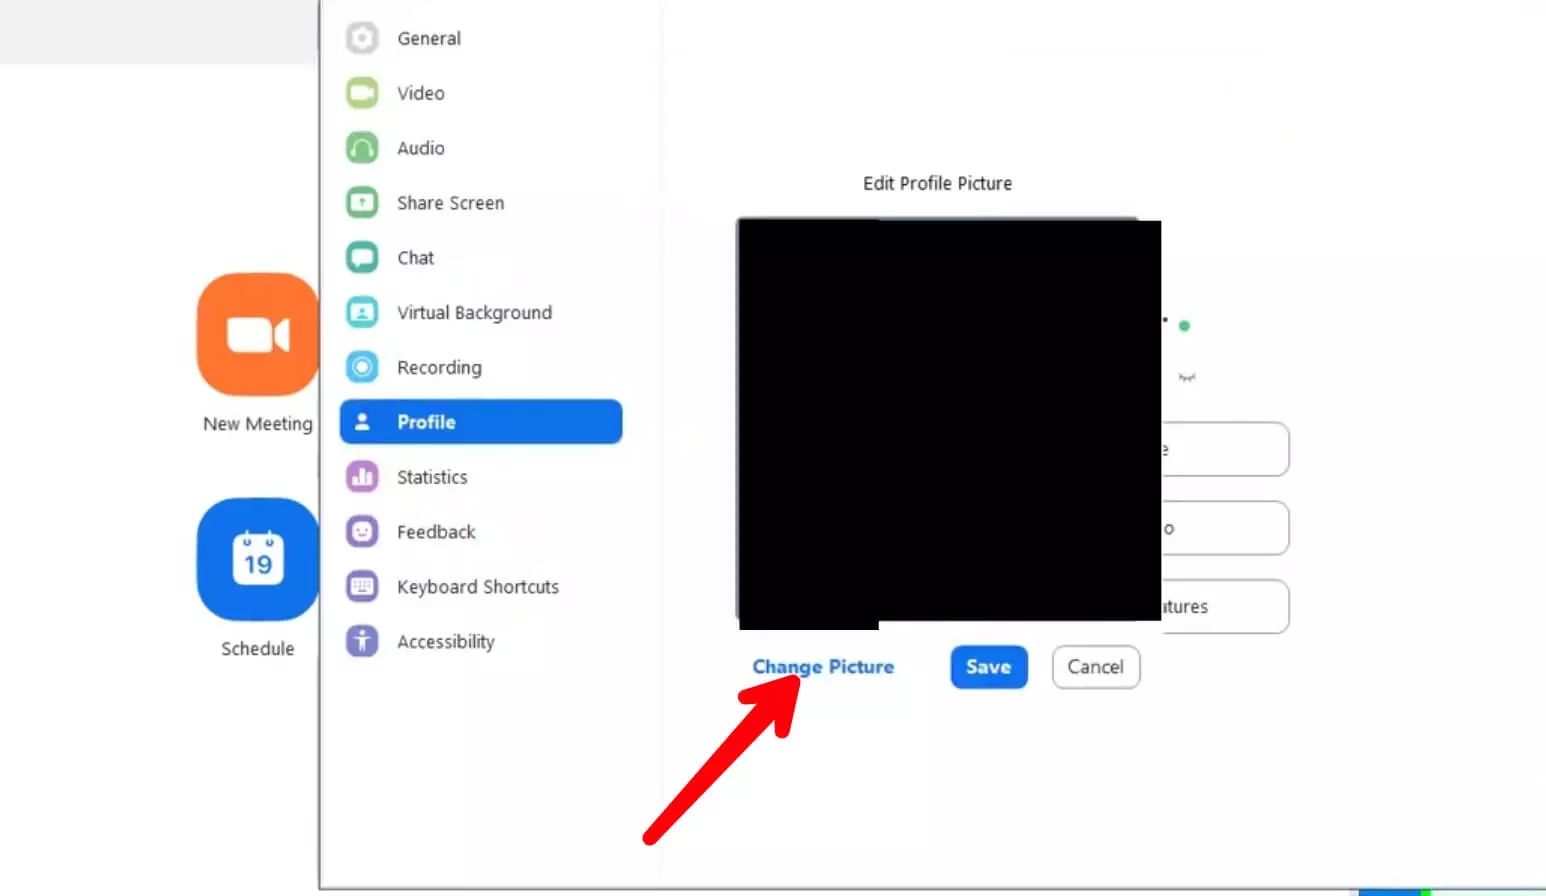
Step 3: Navigate to the Zoom Settings
Once you have joined or started a meeting, you can access the Zoom settings to make adjustments and customize your virtual background. The Zoom settings menu allows you to modify various aspects of your meeting, including audio, video, and virtual background settings.
Here’s how you can navigate to the Zoom settings:
- While in a meeting, locate the toolbar at the bottom of the Zoom window.
- Click on the “^” caret icon to reveal additional options.
- Click on the “…” ellipsis icon to open the Zoom settings menu.
- A pop-up window will appear, displaying various settings you can modify.
Alternatively, if you are using the Zoom desktop application, you can access the settings by following these steps:
- Open the Zoom application on your computer.
- Click on the “Settings” gear icon located in the top right corner of the application.
- A settings window will appear, providing you with several customization options.
Once you have successfully accessed the Zoom settings, you are one step closer to adding a picture as your virtual background. In the next step, we will specifically focus on accessing the virtual background settings.
Step 4: Access the Virtual Background Settings
After navigating to the Zoom settings, you can proceed to access the virtual background settings. These settings allow you to upload and set your desired picture as your virtual background during a meeting.
Follow these steps to access the virtual background settings:
- In the Zoom settings menu or window, look for the “Virtual Background” tab.
- Click on the “Virtual Background” tab to access the virtual background settings.
- A new window will appear, displaying various options and settings related to virtual backgrounds.
If you are using the Zoom desktop application, you might be able to access the virtual background settings directly from the toolbar in a meeting. Look for the “Virtual Background” button, which is typically represented by an icon of a camera or person with a plus sign.
Note that not all versions of Zoom may support the virtual background feature. Ensure you are using an updated version of the Zoom application to access this functionality.
Once you have successfully accessed the virtual background settings, you can proceed to the next step of uploading your desired picture to be used as your virtual background. Let’s move on to the exciting part!
Step 5: Upload Your Picture
Now that you have accessed the virtual background settings in Zoom, it’s time to upload the picture you want to use as your virtual background. Whether it’s a professional image, a scenic view, or a fun and creative picture, you can make your video calls more personalized and engaging.
Follow these steps to upload your picture:
- In the virtual background settings window, click on the “+” button or the “Add Image” option.
- A file explorer or browser window will appear.
- Navigate to the location where your desired picture is saved.
- Select the picture file, and click on the “Open” or “Choose” button.
- The picture will now be uploaded and added to your virtual background options.
Ensure that you choose a picture with suitable dimensions and file format for the best results. Zoom recommends using images in JPG or PNG format and suggests an aspect ratio of 16:9 for optimal compatibility.
Once your picture is successfully uploaded, you can proceed to the next step to set it as your virtual background and bring your video calls to life.
Step 6: Choose Your Picture as the Virtual Background
Now that you have uploaded your picture in the virtual background settings, it’s time to select it as your virtual background during a meeting. This step will allow you to replace your real background with the image you have chosen, instantly transforming the look and feel of your video calls.
Follow these steps to choose your picture as the virtual background:
- While in a Zoom meeting, locate the toolbar at the bottom of the window.
- Click on the “^” caret icon to reveal additional options.
- Click on the “Choose Virtual Background” option.
- A sidebar will appear, displaying the available virtual backgrounds.
- Find the thumbnail of your uploaded picture and click on it.
Once you have selected your picture, Zoom will automatically replace your background with the chosen image. You will now appear in front of the virtual background during the meeting.
It’s important to note that the effectiveness of the virtual background depends on factors such as lighting and the quality of your camera. Make sure you have adequate lighting to create a smooth and realistic virtual background effect.
Now that you have successfully chosen your picture as the virtual background, it’s time to move on to the next step and make any necessary adjustments or optimizations to ensure the best visual experience.
Step 7: Adjust and Optimize Your Picture
Once you have set your picture as the virtual background, you may need to make some adjustments or optimizations to ensure it looks its best during your Zoom meetings. These adjustments can help enhance the overall visual experience and ensure that the virtual background seamlessly integrates into your video calls.
Here are a few tips to adjust and optimize your picture:
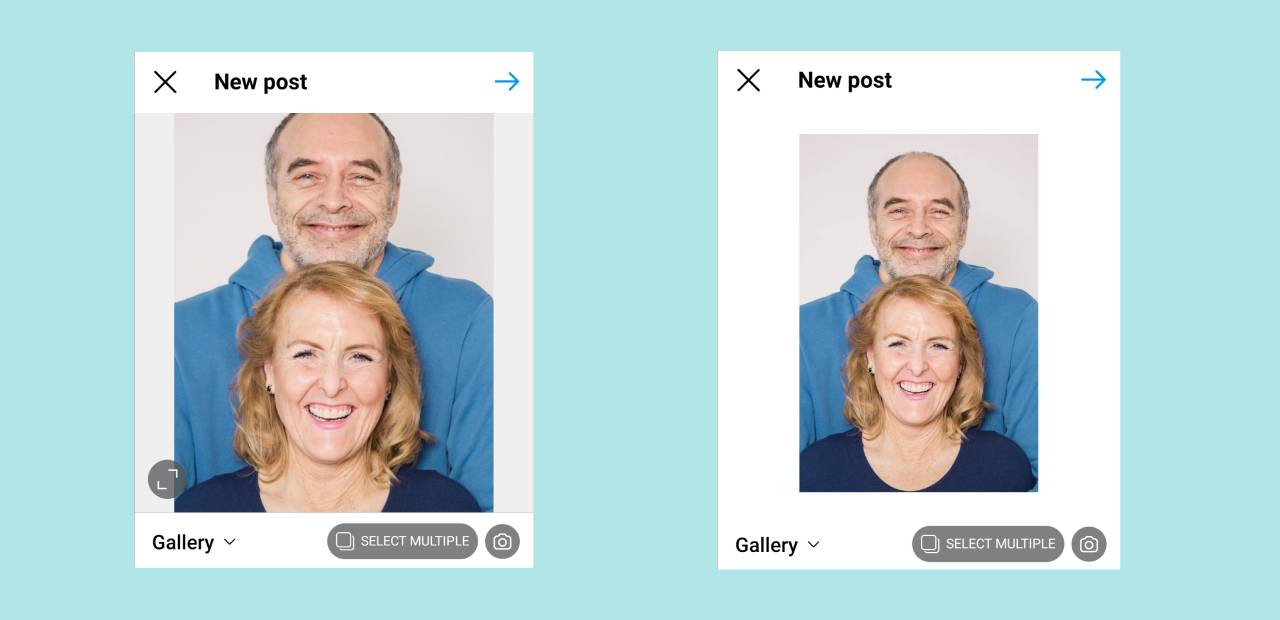
- Positioning: In the virtual background settings, you can adjust the positioning of your picture to ensure it aligns properly. Zoom allows you to center, scale, or crop the image for the desired effect.
- Lighting: Pay attention to the lighting in your environment to create a natural blend between your real self and the virtual background. Avoid excessive backlighting or shadows that can make the virtual background look unnatural.
- Contrast: Experiment with the contrast settings to make the virtual background stand out while maintaining a cohesive look. Adjusting the contrast can help ensure that your image doesn’t blend too much with your real surroundings.
- Preview: Take advantage of the preview feature in the virtual background settings to see how your chosen picture looks before joining a meeting. This allows you to make any necessary adjustments in real-time.
By carefully adjusting and optimizing your picture, you can create a seamless and visually stunning virtual background that adds depth and personality to your Zoom meetings.
Remember that the virtual background feature might perform differently based on factors like the quality of your camera and internet connection. Consider experimenting with different settings and pictures to achieve the desired effect.
Now that you have adjusted and optimized your picture, it’s time to test your new virtual background and see how it looks in action.
Step 8: Test Your New Virtual Background
Before you start your actual Zoom meeting, it is essential to test your new virtual background to ensure that everything is working as intended. This step allows you to see how your chosen picture will appear to others during the meeting.
Follow these steps to test your new virtual background:
- Join a Zoom meeting or start a new one.
- Ensure that your video is enabled, and your camera is functioning properly.
- Click on the “^” caret icon in the toolbar to access additional options.
- Select the “Choose Virtual Background” option.
- In the sidebar, locate and select your uploaded picture as the virtual background.
- Observe how the virtual background appears in the preview window.
During the testing phase, pay attention to the following aspects:
- Quality: Check if the picture appears clear and the colors are accurate.
- Compatibility: Ensure that the virtual background works well with your camera and lighting conditions.
- Smoothness: Look for any glitches or artifacts that may affect the overall appearance of the virtual background.
By thoroughly testing your new virtual background, you can make any necessary adjustments or choose a different picture if needed. It’s important to ensure that the virtual background enhances your video calls and creates a professional or engaging atmosphere.
Once you are satisfied with the results of the testing, you are ready to confidently use your new virtual background in your upcoming Zoom meetings.
Conclusion
Now that you have learned how to add a picture as your virtual background in Zoom, you can unleash your creativity and personalize your video calls like never before. By following the step-by-step process outlined in this guide, you can easily customize your background with any image you desire.
Adding a picture as your virtual background allows you to transform your video calls and create a more engaging and professional atmosphere. Whether you want to showcase your brand, express your personality, or simply hide a cluttered background, the virtual background feature in Zoom provides a versatile solution.
Remember to choose high-quality pictures with the appropriate aspect ratio and format for the best results. Take advantage of the settings and adjustments available to fine-tune your virtual background and create a seamless integration with your real environment.
Whether you are using Zoom for work meetings, online classes, or virtual social gatherings, adding a picture as your virtual background can elevate your video calling experience and captivate your audience.
So, go ahead and explore the possibilities. Find that perfect picture, upload it as your virtual background, and make your Zoom meetings truly stand out. Let your creativity shine and make a lasting impression with a personalized virtual background.
Get ready to make your video calls more visually appealing, professional, and engaging – all with just a few simple steps to add a picture on Zoom.