Introduction
Welcome to our guide on how to add more RAM to your MacBook Pro! If you’re experiencing sluggish performance, lagging applications, or frequent crashes, it might be time to upgrade your device’s memory. Adding more RAM can significantly improve your MacBook Pro’s speed and overall performance, allowing you to multitask effortlessly and enjoy a smooth user experience.
RAM, or Random Access Memory, is a crucial component of your computer that affects its ability to run multiple programs and handle data efficiently. By increasing the amount of RAM, you provide your MacBook Pro with more space to store and access data, resulting in faster processing speeds and improved system performance.
While the process of upgrading your MacBook Pro’s RAM may seem daunting, fear not! In this guide, we will walk you through the necessary steps to ensure a successful RAM upgrade. We will cover everything from checking compatibility to choosing the right RAM upgrade, as well as preparing your MacBook Pro and troubleshooting common issues along the way.
Whether you are a professional content creator, a student, or simply a MacBook Pro user who wants to maximize productivity, this guide is for you. By increasing your MacBook Pro’s RAM, you can unleash its true potential and optimize its performance for your specific needs.
Before we dive into the technical details, it’s important to note that adding more RAM to your MacBook Pro is not possible on all models. So, let’s first check the compatibility of your device to ensure that it can be upgraded. If your MacBook Pro is compatible, then let’s proceed with the steps necessary to add more RAM and supercharge your device!
Why Should You Add More RAM to Your MacBook Pro?
Adding more RAM to your MacBook Pro can have a significant impact on its overall performance. Here are a few reasons why you should consider upgrading your device’s memory:
- Improved multitasking: If you find your MacBook Pro struggling to handle multiple applications simultaneously, a RAM upgrade can help. With more RAM, your device can efficiently handle numerous tasks, such as running demanding software, editing videos, or working with large files, without experiencing a drop in performance.
- Enhanced speed and responsiveness: Insufficient RAM can cause your MacBook Pro to slow down, leading to frustrating delays and lagging applications. By adding more RAM, you provide your device with the necessary resources to speedily access and process data, resulting in a more responsive and efficient user experience.
- Better performance for resource-intensive tasks: Whether you’re a graphic designer working with high-resolution images, a video editor editing 4K videos, or a gamer enjoying the latest titles, resource-intensive tasks demand a significant amount of RAM. By upgrading your MacBook Pro’s memory, you ensure that it can handle these tasks smoothly, without compromising on performance or quality.
- Future-proof your device: Technology is constantly evolving, and software applications are becoming more resource-hungry with each update. By adding more RAM to your MacBook Pro now, you ensure that your device remains capable of handling future software requirements and updates, prolonging its usefulness and saving you from having to purchase a new device in the near future.
- Cost-effective upgrade: Upgrading the RAM in your MacBook Pro is generally more cost-effective than purchasing a brand-new device. By investing in a RAM upgrade, you can breathe new life into your existing MacBook Pro and enjoy improved performance without breaking the bank.
By adding more RAM to your MacBook Pro, you can unlock its full potential and optimize its performance for your specific needs. Whether you’re a casual user looking for a smoother experience or a power user demanding top-notch performance, a RAM upgrade is a worthwhile investment that can significantly enhance your overall computing experience.
Checking Your MacBook Pro’s Compatibility
Before proceeding with a RAM upgrade, it is essential to ensure that your MacBook Pro is compatible with the upgrade. Not all MacBook Pro models allow for RAM upgrades, so it’s important to check your device’s compatibility before making any purchase. Here’s how you can do it:
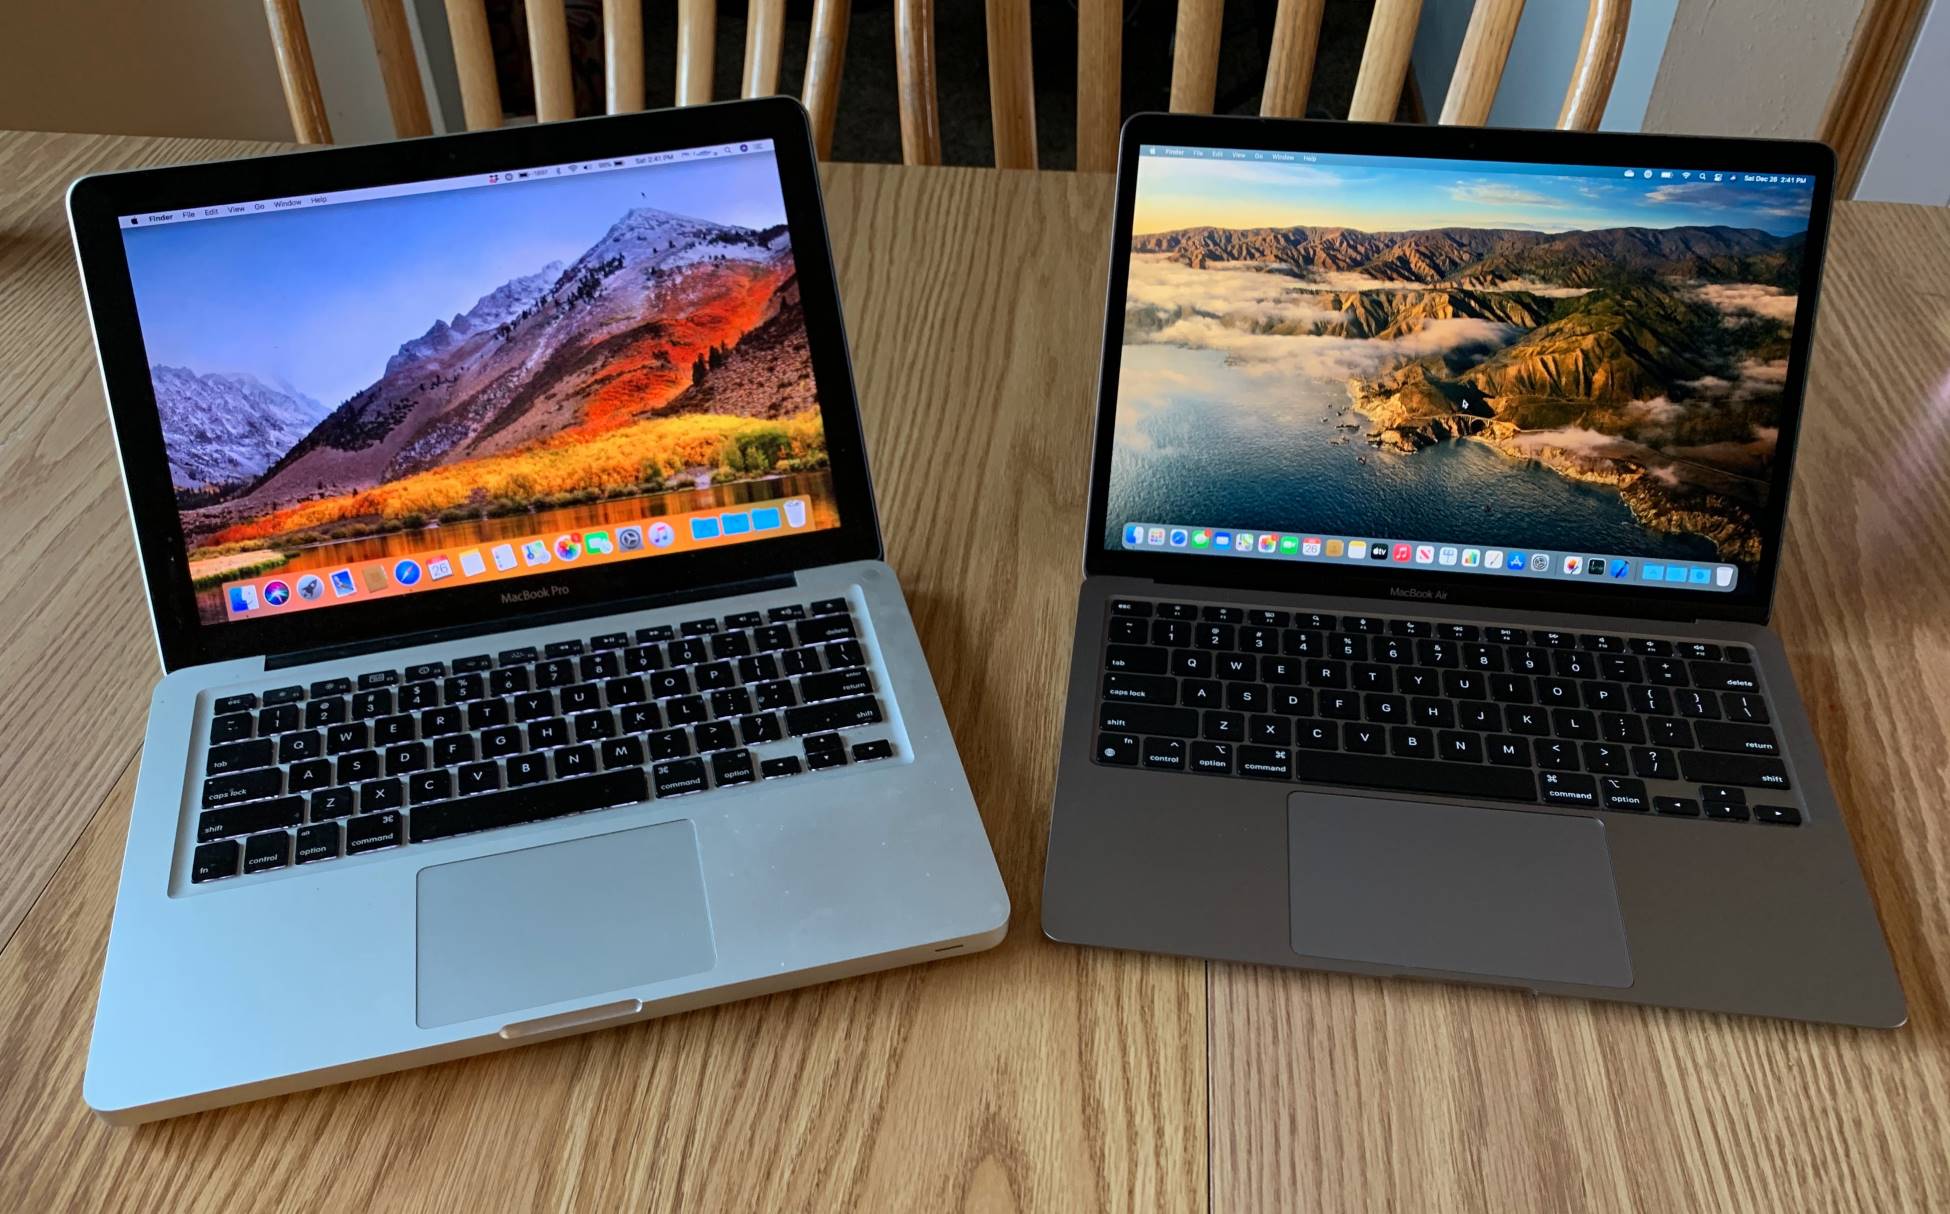
- Identify your MacBook Pro model: Start by knowing the exact model of your MacBook Pro. You can find this information by clicking on the Apple logo in the top-left corner of your screen, selecting “About This Mac,” and noting down the model name and year.
- Search for your MacBook Pro’s specifications: Once you have identified your MacBook Pro model, search for its specifications on the Apple website or other reliable sources. Look for information on the maximum amount of RAM and the type of RAM supported by your specific model.
- Check for RAM upgrade options: After finding your MacBook Pro’s specifications, determine if there are any RAM upgrade options available for your model. Some older MacBook Pro models have soldered RAM and cannot be upgraded, while newer models may allow for certain configurations of RAM upgrades.
- Consult the manufacturer’s website: If you’re uncertain about your MacBook Pro’s upgrade options, visit the official Apple website or contact their support team for more information. They will provide you with accurate details regarding your MacBook Pro’s compatibility with RAM upgrades.
- Seek professional assistance: If you’re still unsure about your MacBook Pro’s compatibility or finding it challenging to determine the upgrade options, consider seeking guidance from a professional. Apple authorized service providers or technicians with expertise in MacBook Pro upgrades can assist in identifying compatibility and recommending the appropriate RAM upgrade for your device.
Checking your MacBook Pro’s compatibility is a critical step in the RAM upgrade process. By ensuring that your MacBook Pro can support a RAM upgrade, you can proceed confidently with the next steps and choose the right upgrade for your device.
Remember, not all MacBook Pro models are upgradeable, so it’s important to do your research and obtain accurate information regarding your specific model’s compatibility with RAM upgrades. Taking the time to check compatibility will ensure that you make an informed decision and avoid any unnecessary purchases or complications in the RAM upgrade process.
Choosing the Right RAM Upgrade for Your MacBook Pro
Once you have confirmed that your MacBook Pro is compatible with a RAM upgrade, it’s time to select the right RAM module for your device. Choosing the correct RAM is crucial to ensure optimal compatibility and performance. Here are some factors to consider when selecting a RAM upgrade:
- Capacity: Determine the amount of RAM you need based on your usage requirements. If you frequently work with memory-intensive tasks like video editing or 3D rendering, consider opting for a higher capacity to handle the workload. However, keep in mind that more RAM might not always translate to improved performance if the software or tasks you regularly use don’t require it.
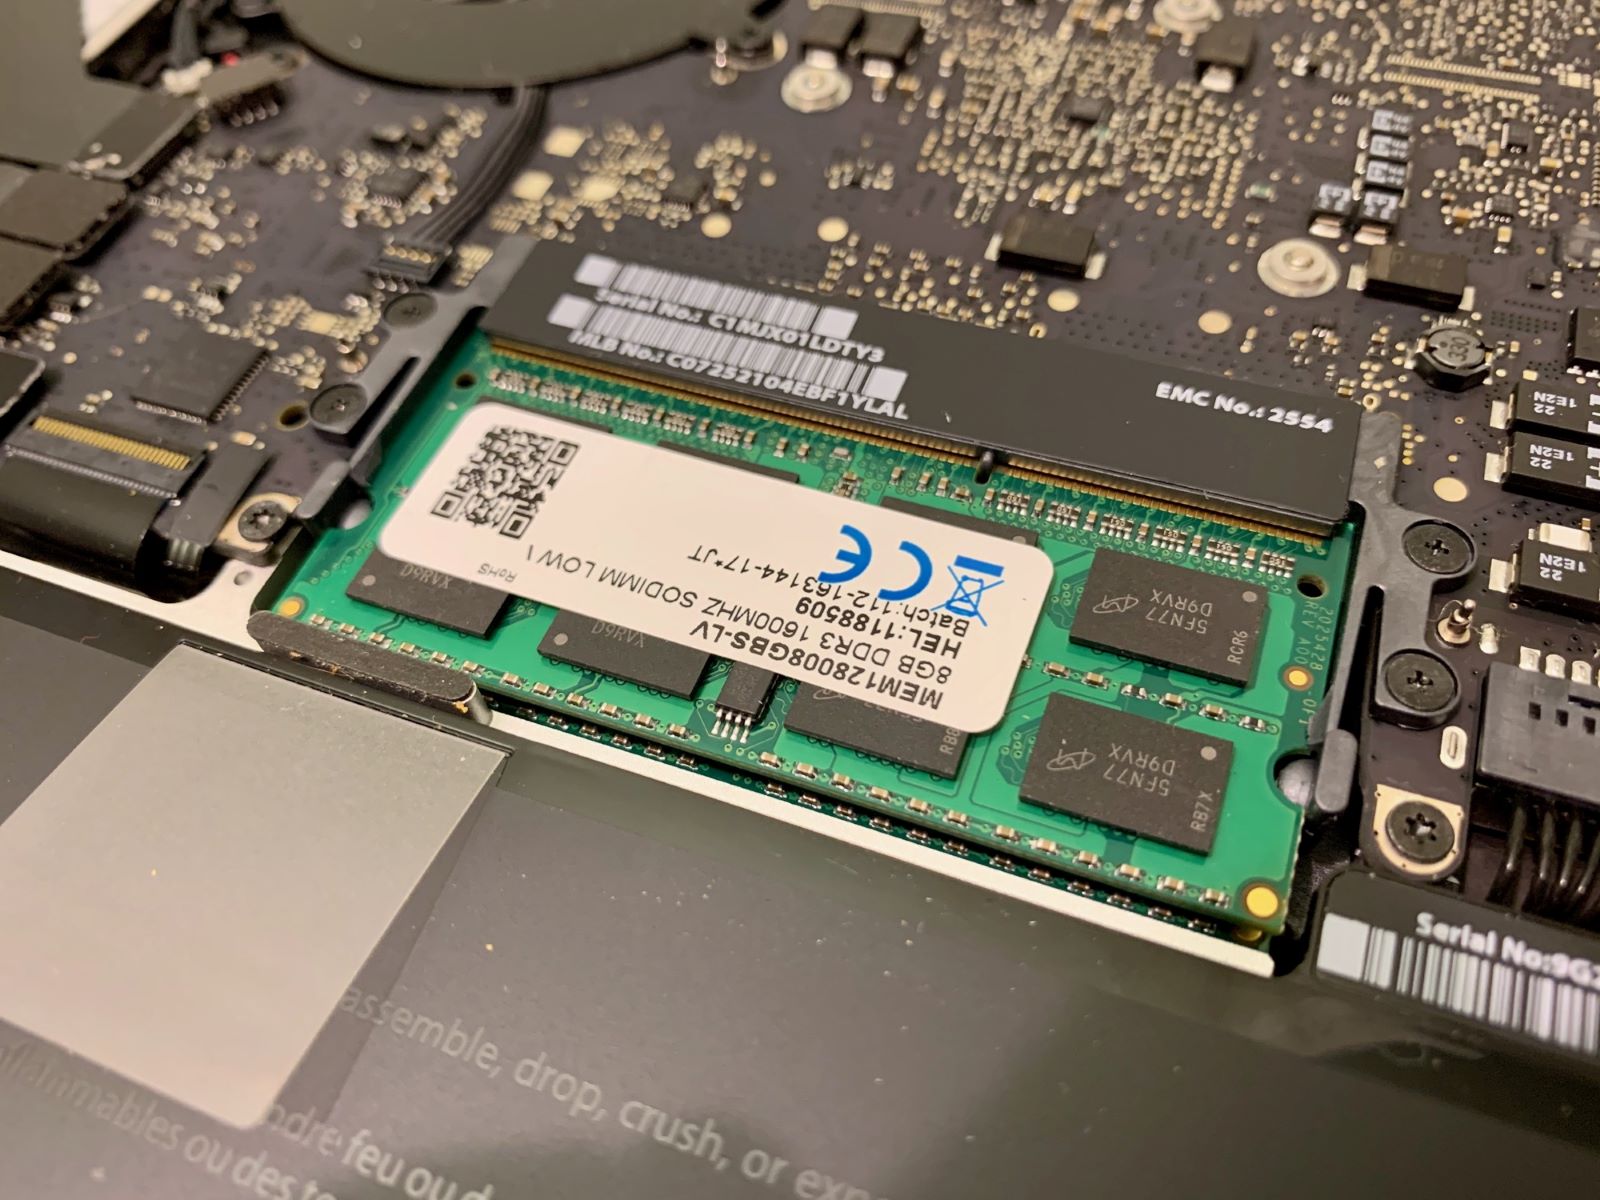
- Type of RAM: MacBook Pros typically use DDR3 or DDR4 RAM modules. Check your MacBook Pro’s specifications to determine the type of RAM it supports. Make sure to choose RAM that matches the type specified by your device to ensure compatibility.
- Speed: RAM modules come in different speeds, typically measured in MHz. While higher-speed RAM can offer better performance, it’s vital to consider your MacBook Pro’s maximum supported RAM speed. Opting for RAM with a high speed that exceeds your device’s limit may result in downclocking, where the RAM operates at a lower speed to match your MacBook Pro’s capabilities.
- Brand and Quality: Stick to reputable and reliable RAM brands to ensure quality and compatibility. Brands such as Crucial, Corsair, Kingston, and Samsung are known for producing reliable RAM modules that work well with MacBook Pro models.
- User reviews and recommendations: Before making a purchase, read user reviews and recommendations about specific RAM modules. These reviews can provide insights into real-world performance, compatibility, and reliability. Consider checking Apple user forums or technology review websites to gather more information.
- Warranty and Support: Look for RAM modules that come with a warranty and reliable customer support. This can provide assurance in case you encounter any issues during or after the installation process.
Take your time to research various RAM options and compare their specifications, prices, and user reviews. By choosing the right RAM upgrade for your MacBook Pro, you can ensure compatibility, maximize performance, and get the most value out of your investment.
Once you have selected the appropriate RAM module, you’re ready to move on to the next step: preparing your MacBook Pro for the RAM upgrade.
Preparing Your MacBook Pro for RAM Upgrade
Before you dive into the RAM upgrade process, there are a few important steps you should follow to prepare your MacBook Pro for the upgrade. These steps will help ensure a smooth installation process and minimize the risk of any damage to your device. Here’s what you need to do:
- Back up your data: Before making any changes to your MacBook Pro’s hardware, it’s crucial to back up all your important data. This step ensures that you won’t lose any critical files in case something goes wrong during the upgrade process. You can back up your data using Time Machine, external hard drives, or cloud storage solutions.
- Shut down your MacBook Pro: Turn off your MacBook Pro and unplug it from the power source. This step is essential to prevent any power surges or electrical mishaps during the upgrade process.
- Ground yourself: Static electricity can damage computer components. To prevent this, make sure to ground yourself by touching a metal object or using an anti-static wristband. This ensures that any built-up static charge is safely discharged before you handle the internal components of your MacBook Pro.
- Gather the necessary tools: You’ll need a few tools to open your MacBook Pro and access the RAM slots. These tools may include a small screwdriver, a spudger, or a plastic opening tool. Ensure you have the right tools on hand before you start the upgrade process.
- Refer to the official Apple documentation: Apple provides detailed documentation and guides for specific MacBook Pro models. Refer to their official website or consult the user manual for your MacBook Pro model to understand the proper procedure for opening the device and accessing the RAM slots. Following the official instructions can help you avoid damaging your MacBook Pro’s internal components.
- Work in a clean and well-lit environment: Find a clean, well-lit workspace where you can comfortably work on your MacBook Pro. Ensure that you have enough space to lay out the necessary tools and components without the risk of losing or damaging them.
By following these preparation steps, you’ll be ready to move on to the next section: the step-by-step guide to adding RAM to your MacBook Pro. Taking the time to prepare adequately will help ensure a successful and hassle-free RAM upgrade process.
Step-by-Step Guide to Adding RAM to MacBook Pro
Now that you have prepared your MacBook Pro for the RAM upgrade, it’s time to dive into the step-by-step process of adding the RAM module. Follow these instructions carefully to ensure a successful installation:
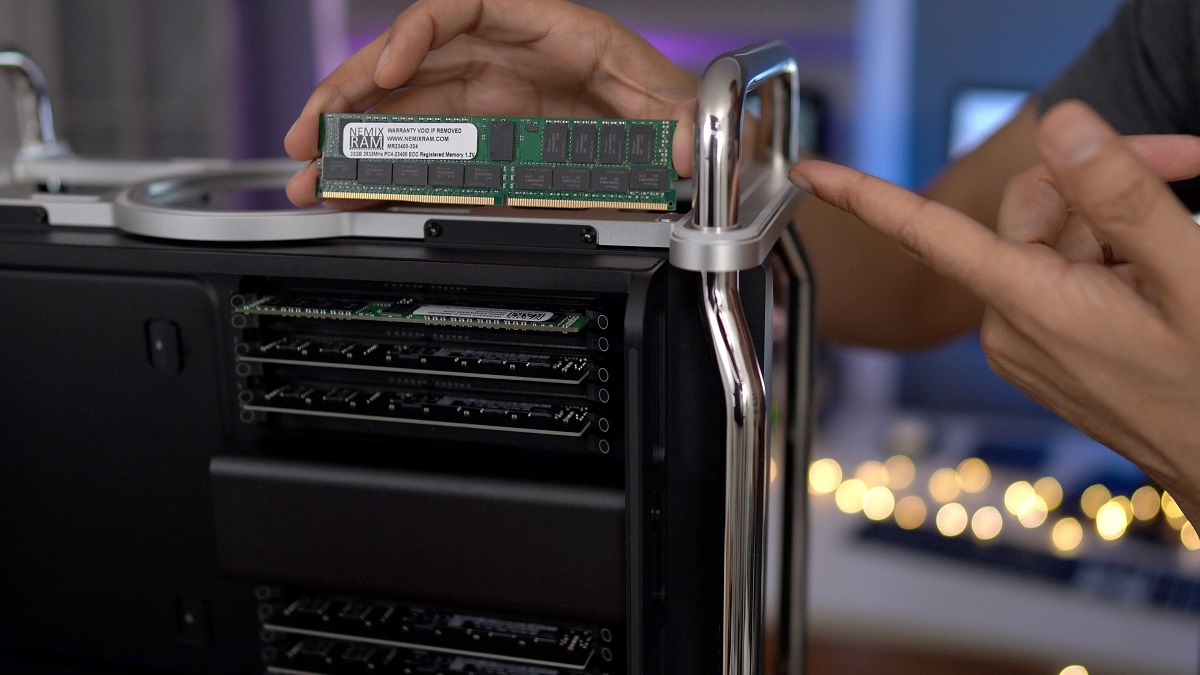
- Locate the RAM slots: Depending on your MacBook Pro model, the RAM slots may be located underneath the back panel or beneath the keyboard. Refer to the official Apple documentation or user manual for your specific model to pinpoint the location of the RAM slots.
- Remove the back panel or keyboard: Use the appropriate tools to carefully open the MacBook Pro and gain access to the RAM slots. Follow the instructions provided by Apple or refer to third-party tutorials for your specific model to ensure that you open the device correctly.
- Ground yourself and handle the RAM module: Before touching the RAM module, ground yourself by touching a metal object or using an anti-static wristband. This prevents any static electricity from damaging the RAM or your MacBook Pro. Handle the RAM module by holding it on the sides and avoid touching the gold contacts.
- Remove the existing RAM (if applicable): If your MacBook Pro already has RAM installed, carefully remove it by releasing the clips or brackets that secure it in place. Gently slide the RAM module out of the slot.
- Insert the new RAM: Take the new RAM module and align it correctly with the slot. Insert the RAM module at a slight angle and then press it down firmly but gently until it clicks into place. Ensure that the module is properly seated and the clips or brackets lock into position.
- Replace the back panel or keyboard: Once the new RAM module is securely in place, carefully reattach the back panel or keyboard by following the reverse steps of the disassembly process. Make sure everything is aligned correctly and that all screws or clips are tightened.
- Power on your MacBook Pro: Once you have reassembled your MacBook Pro, plug it back into the power source and power it on. Your MacBook Pro should recognize the new RAM module automatically.
- Verify the RAM upgrade: To confirm that the RAM upgrade was successful, go to “About This Mac” and navigate to the “Memory” tab. Here, you should see the new RAM capacity reflected. You can also open resource-intensive applications or run benchmark tests to experience the improved performance.
Remember to take your time, follow the instructions carefully, and be gentle when handling the RAM module and other internal components. If you encounter any difficulties or have concerns, consult the official Apple documentation or seek professional assistance from Apple authorized service providers or technicians experienced in MacBook Pro upgrades.
Now that you have successfully added more RAM to your MacBook Pro, you can enjoy the enhanced performance and improved multitasking capabilities that come with the increased memory!
Troubleshooting Common Issues during RAM Upgrade
During the RAM upgrade process, you may encounter some common issues that can be easily resolved. Here are a few troubleshooting tips to help you address these issues:
- RAM not recognized: If your MacBook Pro does not recognize the new RAM module, double-check that the module is properly seated in the slot and that the clips or brackets are securely fastened. You can also try reinserting the RAM module to ensure a good connection. If the issue persists, make sure that the RAM module is compatible with your MacBook Pro model.
- Computer won’t turn on: If your MacBook Pro fails to turn on after the RAM upgrade, check that all cables and connections are secure. Ensure that the RAM module is correctly installed and that you’ve followed the proper steps during the upgrade process. If the issue persists, try reinserting the original RAM module (if you still have it) to see if the computer powers on. If it does, the new RAM module may be faulty, and you should consider replacing it.
- Strange noises or system instability: If you experience strange noises or system instability after the RAM upgrade, it could be an indication of incompatible or faulty RAM. Check the specifications and compatibility of your RAM module with your MacBook Pro model. If the RAM is not the correct type or speed, it may cause these issues. Consider replacing the RAM module with a compatible one if necessary.
- Kernel panics or frequent crashes: If your MacBook Pro experiences frequent crashes or kernel panics after the RAM upgrade, it could be due to faulty RAM or an improper installation. Try removing and reinserting the RAM module to ensure it is securely seated in the slot. If the problem persists, consider running a memory diagnostic test or consult a professional to determine if the RAM module is defective.
- Overheating or high fan speeds: In some cases, a RAM upgrade can cause increased heat dissipation and lead to higher fan speeds. Ensure that the new RAM module is compatible with your MacBook Pro model and that it meets the thermal specifications. If overheating or high fan speeds persist, you might need to adjust fan settings using third-party software or consult an Apple technician to evaluate the issue.
If you encounter any of these issues or other unexpected problems during the RAM upgrade, it’s important to remain calm and follow troubleshooting steps. Don’t hesitate to consult the official Apple support website, user forums, or seek assistance from Apple authorized service providers or knowledgeable technicians if needed. They can help diagnose and resolve any specific issues that you may encounter during the RAM upgrade process.
Remember, conducting the RAM upgrade process carefully and double-checking compatibility and installation steps can minimize the possibility of encountering these issues. With a bit of troubleshooting and patience, you can successfully address any challenges that may arise and enjoy the benefits of your upgraded MacBook Pro with more RAM!
Benefits of Adding More RAM to Your MacBook Pro
Adding more RAM to your MacBook Pro offers a range of benefits that can greatly enhance your computing experience. Here are some key advantages of upgrading your device’s memory:
- Improved performance: One of the primary benefits of adding more RAM is improved overall performance. With more memory available, your MacBook Pro can handle resource-intensive tasks more efficiently, resulting in faster application launching, smoother multitasking, and reduced loading times.
- Enhanced multitasking capabilities: Upgrading your MacBook Pro’s RAM allows you to run multiple applications simultaneously without experiencing performance lags. Whether you’re working on complex projects, running virtual machines, or using memory-intensive software, having more RAM enables smoother transitions and better overall responsiveness.
- Seamless handling of large files: If you regularly work with large files, such as high-resolution images or 4K videos, more RAM ensures smoother editing, rendering, and processing. The additional memory provides ample space for your MacBook Pro to store and access these files quickly, resulting in a more efficient workflow.
- Improved gaming experience: Gamers can benefit greatly from a RAM upgrade as it allows for smoother gameplay, reduced lag, and improved overall performance. More RAM enables your MacBook Pro to handle the demands of modern games, providing a seamless and immersive gaming experience.
- Better productivity: Adding more RAM to your MacBook Pro can significantly boost productivity. With faster response times and the ability to handle more tasks simultaneously, you can work more efficiently, switch between applications seamlessly, and complete projects in less time.
- Future-proofing your device: As software applications continue to evolve and become more demanding, having more RAM ensures that your MacBook Pro can handle future updates and software requirements. By upgrading your device’s memory, you extend its usefulness for years to come, reducing the need for frequent hardware upgrades.
Investing in a RAM upgrade for your MacBook Pro is a cost-effective way to optimize its performance and enhance your overall computing experience. With improved speed, seamless multitasking, and the ability to handle memory-intensive tasks, you can unlock the full potential of your device and accomplish tasks more efficiently.
Consider your specific needs and usage patterns when deciding on the amount of RAM to upgrade. Whether you’re a professional tackling complex projects or a casual user looking for a smoother experience, adding more RAM to your MacBook Pro is a worthwhile investment that can deliver noticeable improvements in performance and productivity.
Conclusion
Upgrading the RAM in your MacBook Pro can be a game-changer, bringing significant improvements in performance, multitasking capabilities, and overall productivity. By adding more memory to your device, you can unlock its true potential and optimize it for your specific needs.
In this guide, we’ve covered various aspects of upgrading your MacBook Pro’s RAM, including checking compatibility, choosing the right RAM module, preparing your device, and troubleshooting common issues. Following the step-by-step instructions and considering the benefits of upgrading, you can successfully add more RAM to your MacBook Pro and enjoy a smoother and more efficient computing experience.
Remember to research and verify that your MacBook Pro is compatible before purchasing a RAM upgrade. Take your time to select the right RAM capacity, type, and speed that aligns with your usage requirements. Prepare your MacBook Pro by backing up data, grounding yourself, and working in a clean and well-lit environment.
During the RAM upgrade process, be mindful of potential issues and troubleshoot accordingly. If you encounter any difficulties, consult the official Apple documentation, reach out to Apple authorized service providers, or seek assistance from knowledgeable technicians to ensure a successful upgrade.
With the added RAM, you can expect improved performance, enhanced multitasking capabilities, seamless handling of large files, and better gaming experiences. Your MacBook Pro will be future-proofed to handle upcoming software requirements, saving you from the need for frequent hardware upgrades.
So go ahead and unleash the full potential of your MacBook Pro by upgrading its RAM. Enjoy faster speeds, increased productivity, and a smoother user experience as you tackle your tasks with ease and efficiency!