Introduction
Welcome to our guide on adding LED lights to your case fan! If you’re looking to jazz up your computer’s appearance or create a unique lighting effect, adding LEDs to your case fans is a fantastic way to do it. Not only will it enhance the overall aesthetic appeal, but it can also help to improve airflow and cooling performance.
Whether you’re a seasoned computer enthusiast or a beginner just getting started with modding, this step-by-step tutorial will walk you through the process of adding LED lights to your case fan. We’ll cover everything from choosing the right LED to soldering and installing it into the fan, ensuring that you have a hassle-free experience.
But first, let’s talk about the tools and materials you’ll need to complete this project. Don’t worry, you won’t need any advanced technical skills or expensive equipment. With just a few basic tools and some inexpensive materials, you’ll be well on your way to transforming your case fan into a stunning LED masterpiece.
Tools and Materials Needed
Before you begin adding LED lights to your case fan, make sure you have the following tools and materials on hand:
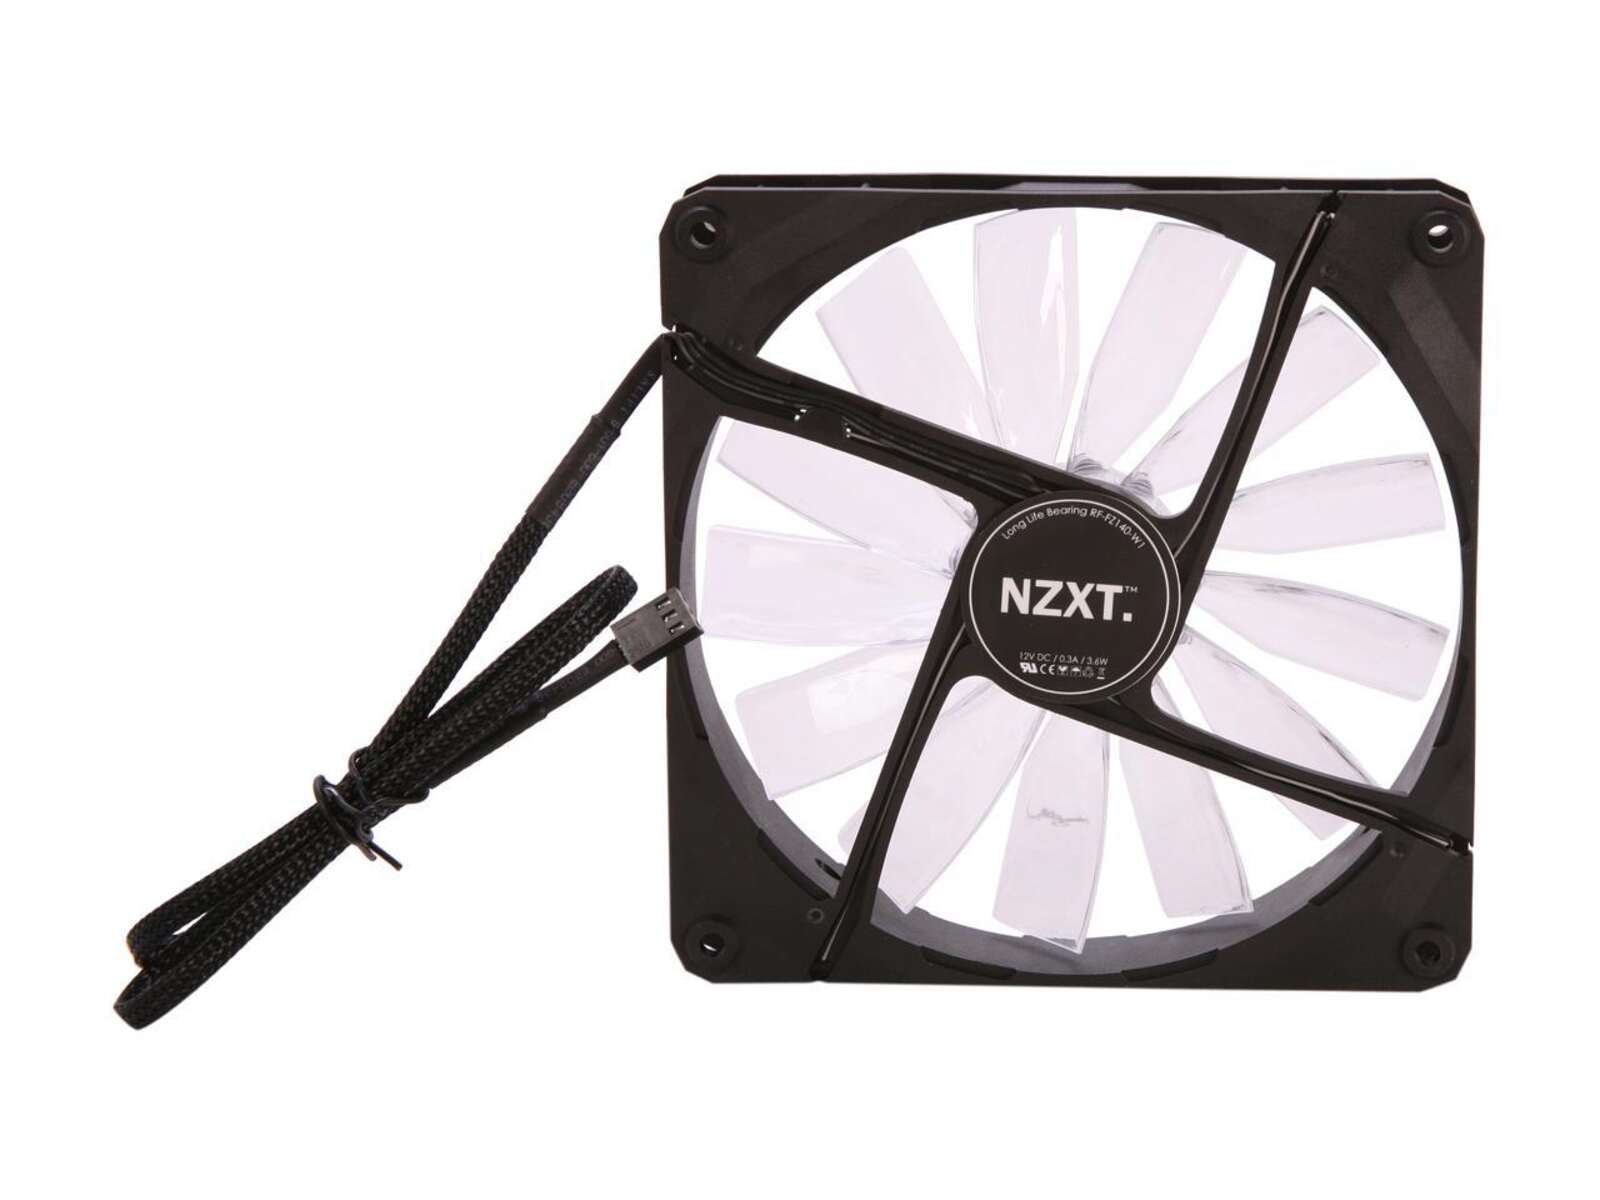
- Case Fan: Choose a case fan that fits your specific computer case. Ensure that it is compatible with LED installation and has enough space to accommodate the LED module.
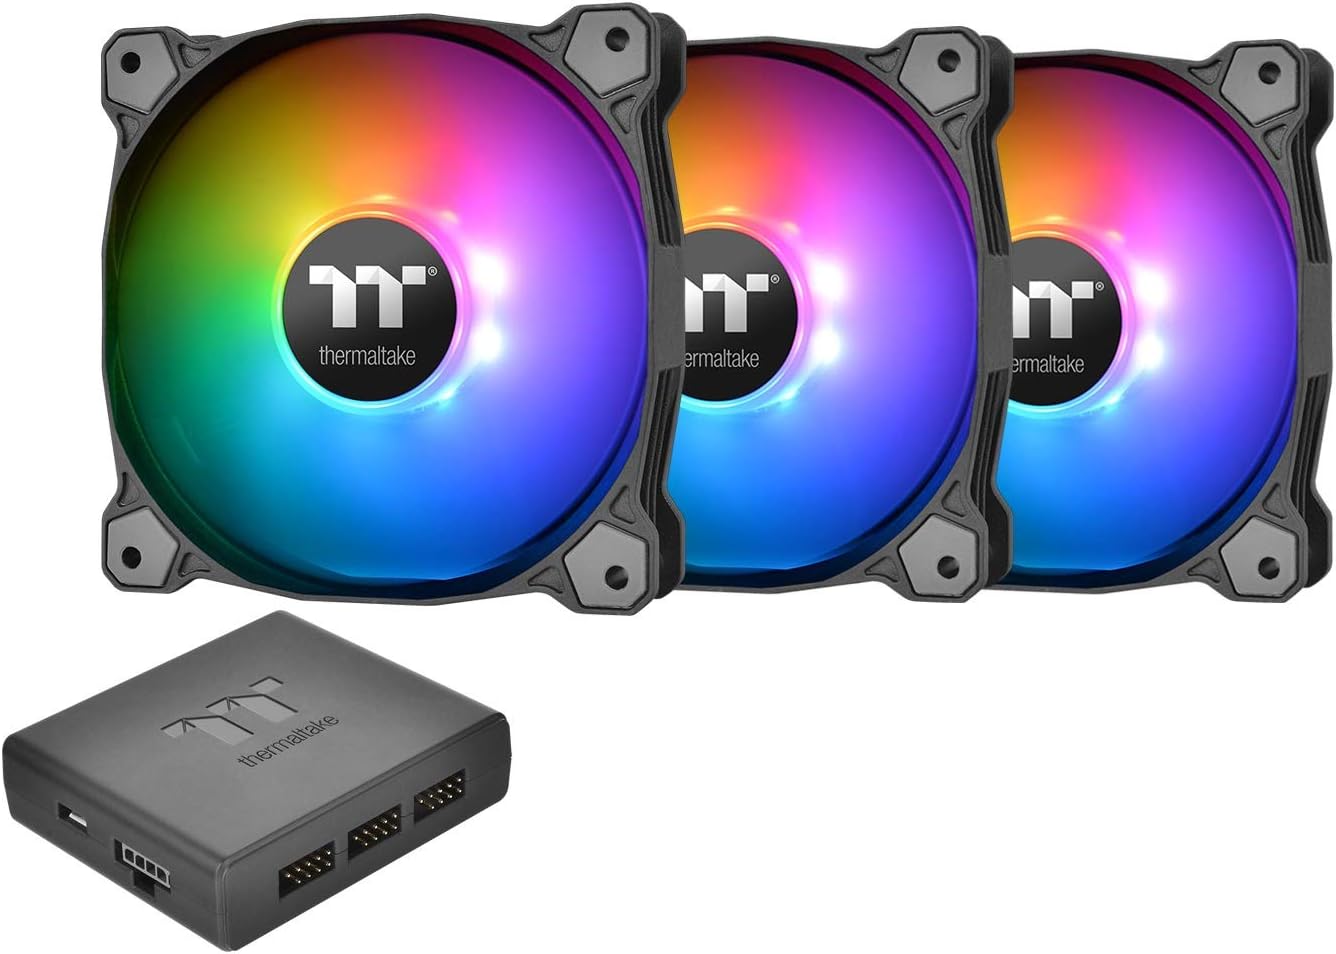
- LED Module: Select an LED module with your desired color and brightness. Make sure it comes with the appropriate voltage requirement to match your case fan.
- Soldering Iron: A soldering iron is necessary to connect the LED to the case fan. Ensure you have a soldering iron suitable for electronic components and a stand for safe use.
- Soldering Wire: Use soldering wire with a flux core for a reliable and solid connection between the LED and the fan wires.
- Heat Shrink Tubing: Heat shrink tubing protects the soldered connections from damage and provides a clean and professional finish. Choose a size that fits snugly over the soldered joints.
- Heat Gun or Lighter: You’ll need a heat gun or a lighter to shrink the heat shrink tubing and create a tight seal around the soldered connections.
- Wire Strippers: Wire strippers are essential for removing insulation from the fan wires and the LED wires. Ensure you choose a size that matches the thickness of the wires.
- Electrical Tape: Electrical tape can be used as an alternative to heat shrink tubing to insulate the soldered connections. It provides added protection against short circuits.
- Small Zip Ties: Use small zip ties to secure the LED and fan cables together neatly. This helps to prevent any loose wires from obstructing the fan blades or causing damage.
- Small Phillips Screwdriver: You may need a small Phillips screwdriver to remove the case fan from your computer case, depending on your specific setup.
By ensuring you have all the necessary tools and materials before you start the project, you’ll be well-prepared to complete the process smoothly and efficiently.
Step 1: Choosing the LED
The first step in adding LED lights to your case fan is to choose the right LED module. When selecting an LED, consider the following factors:
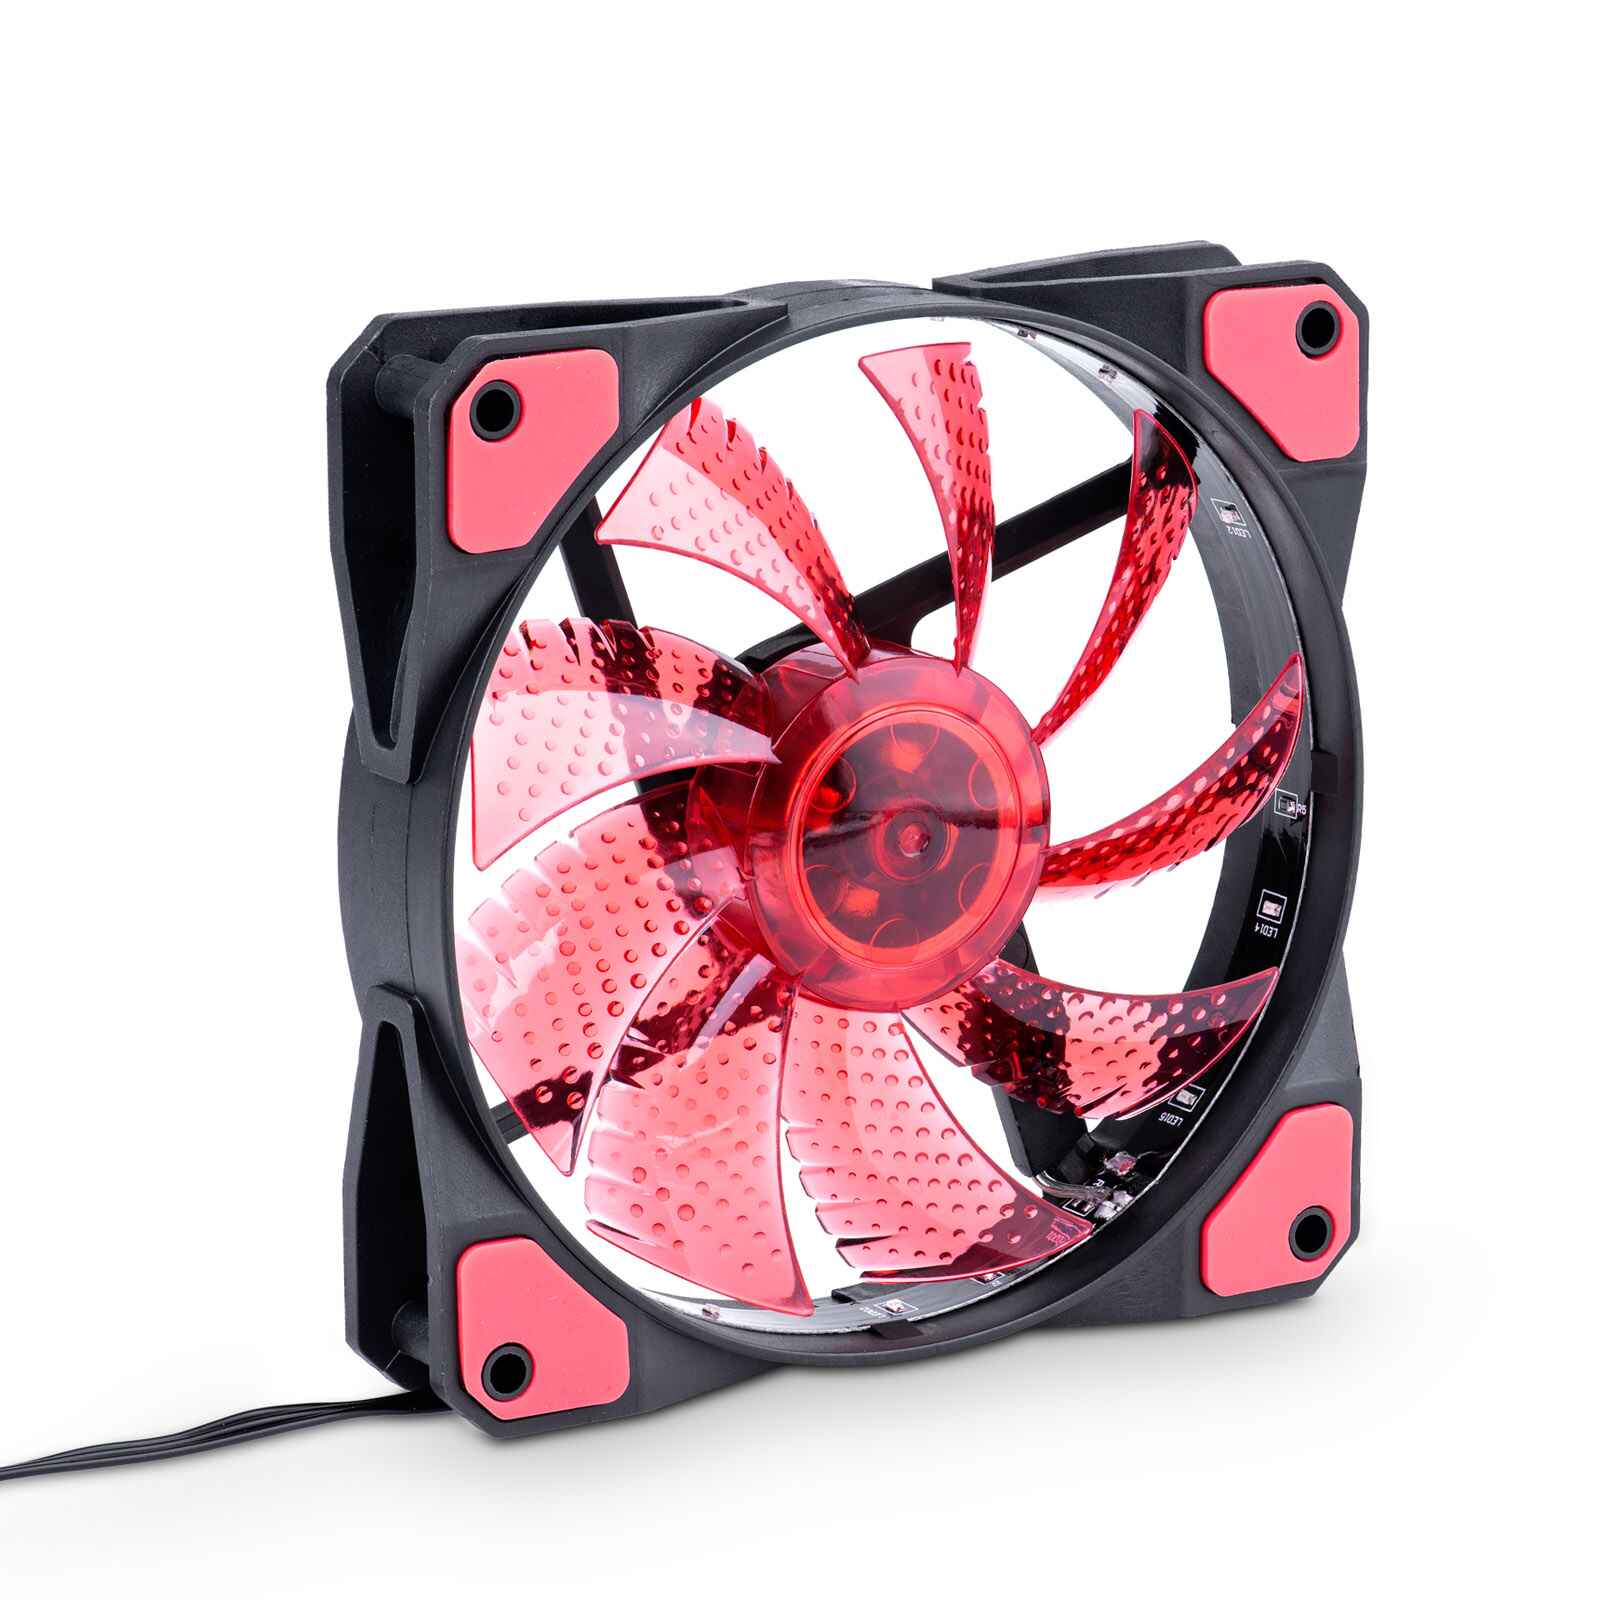
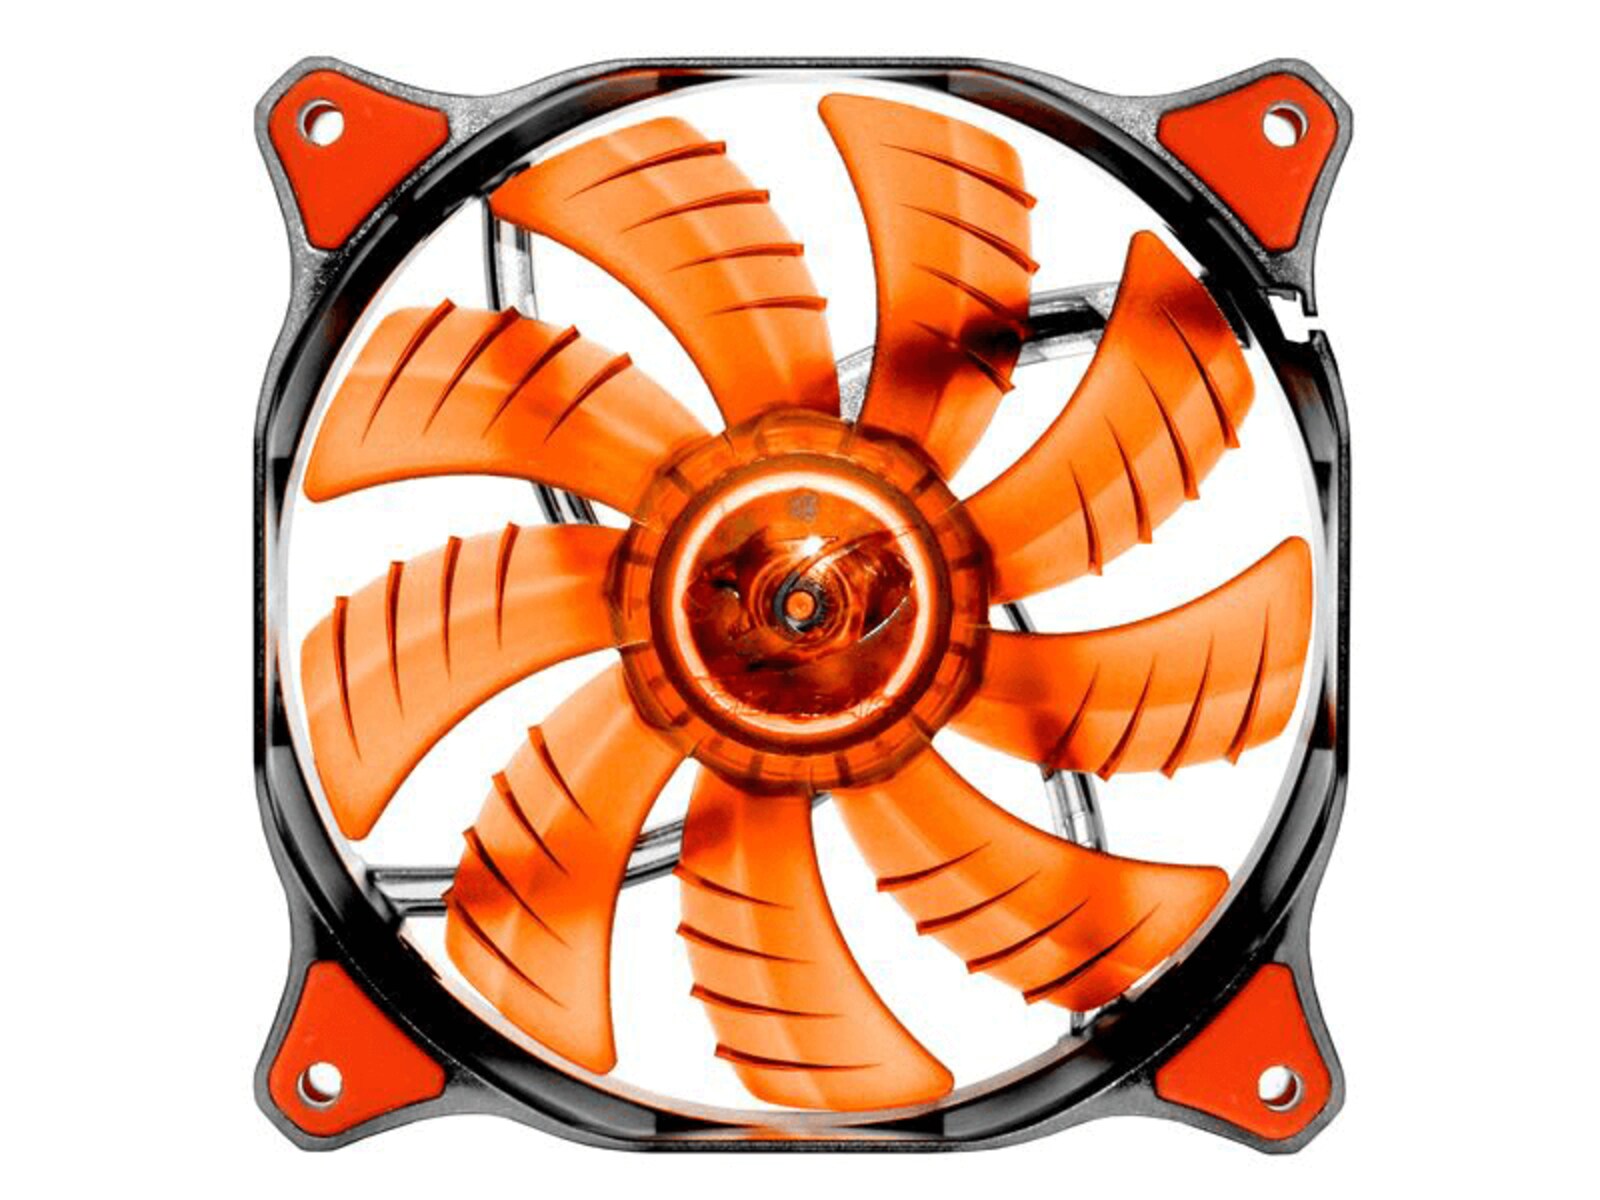
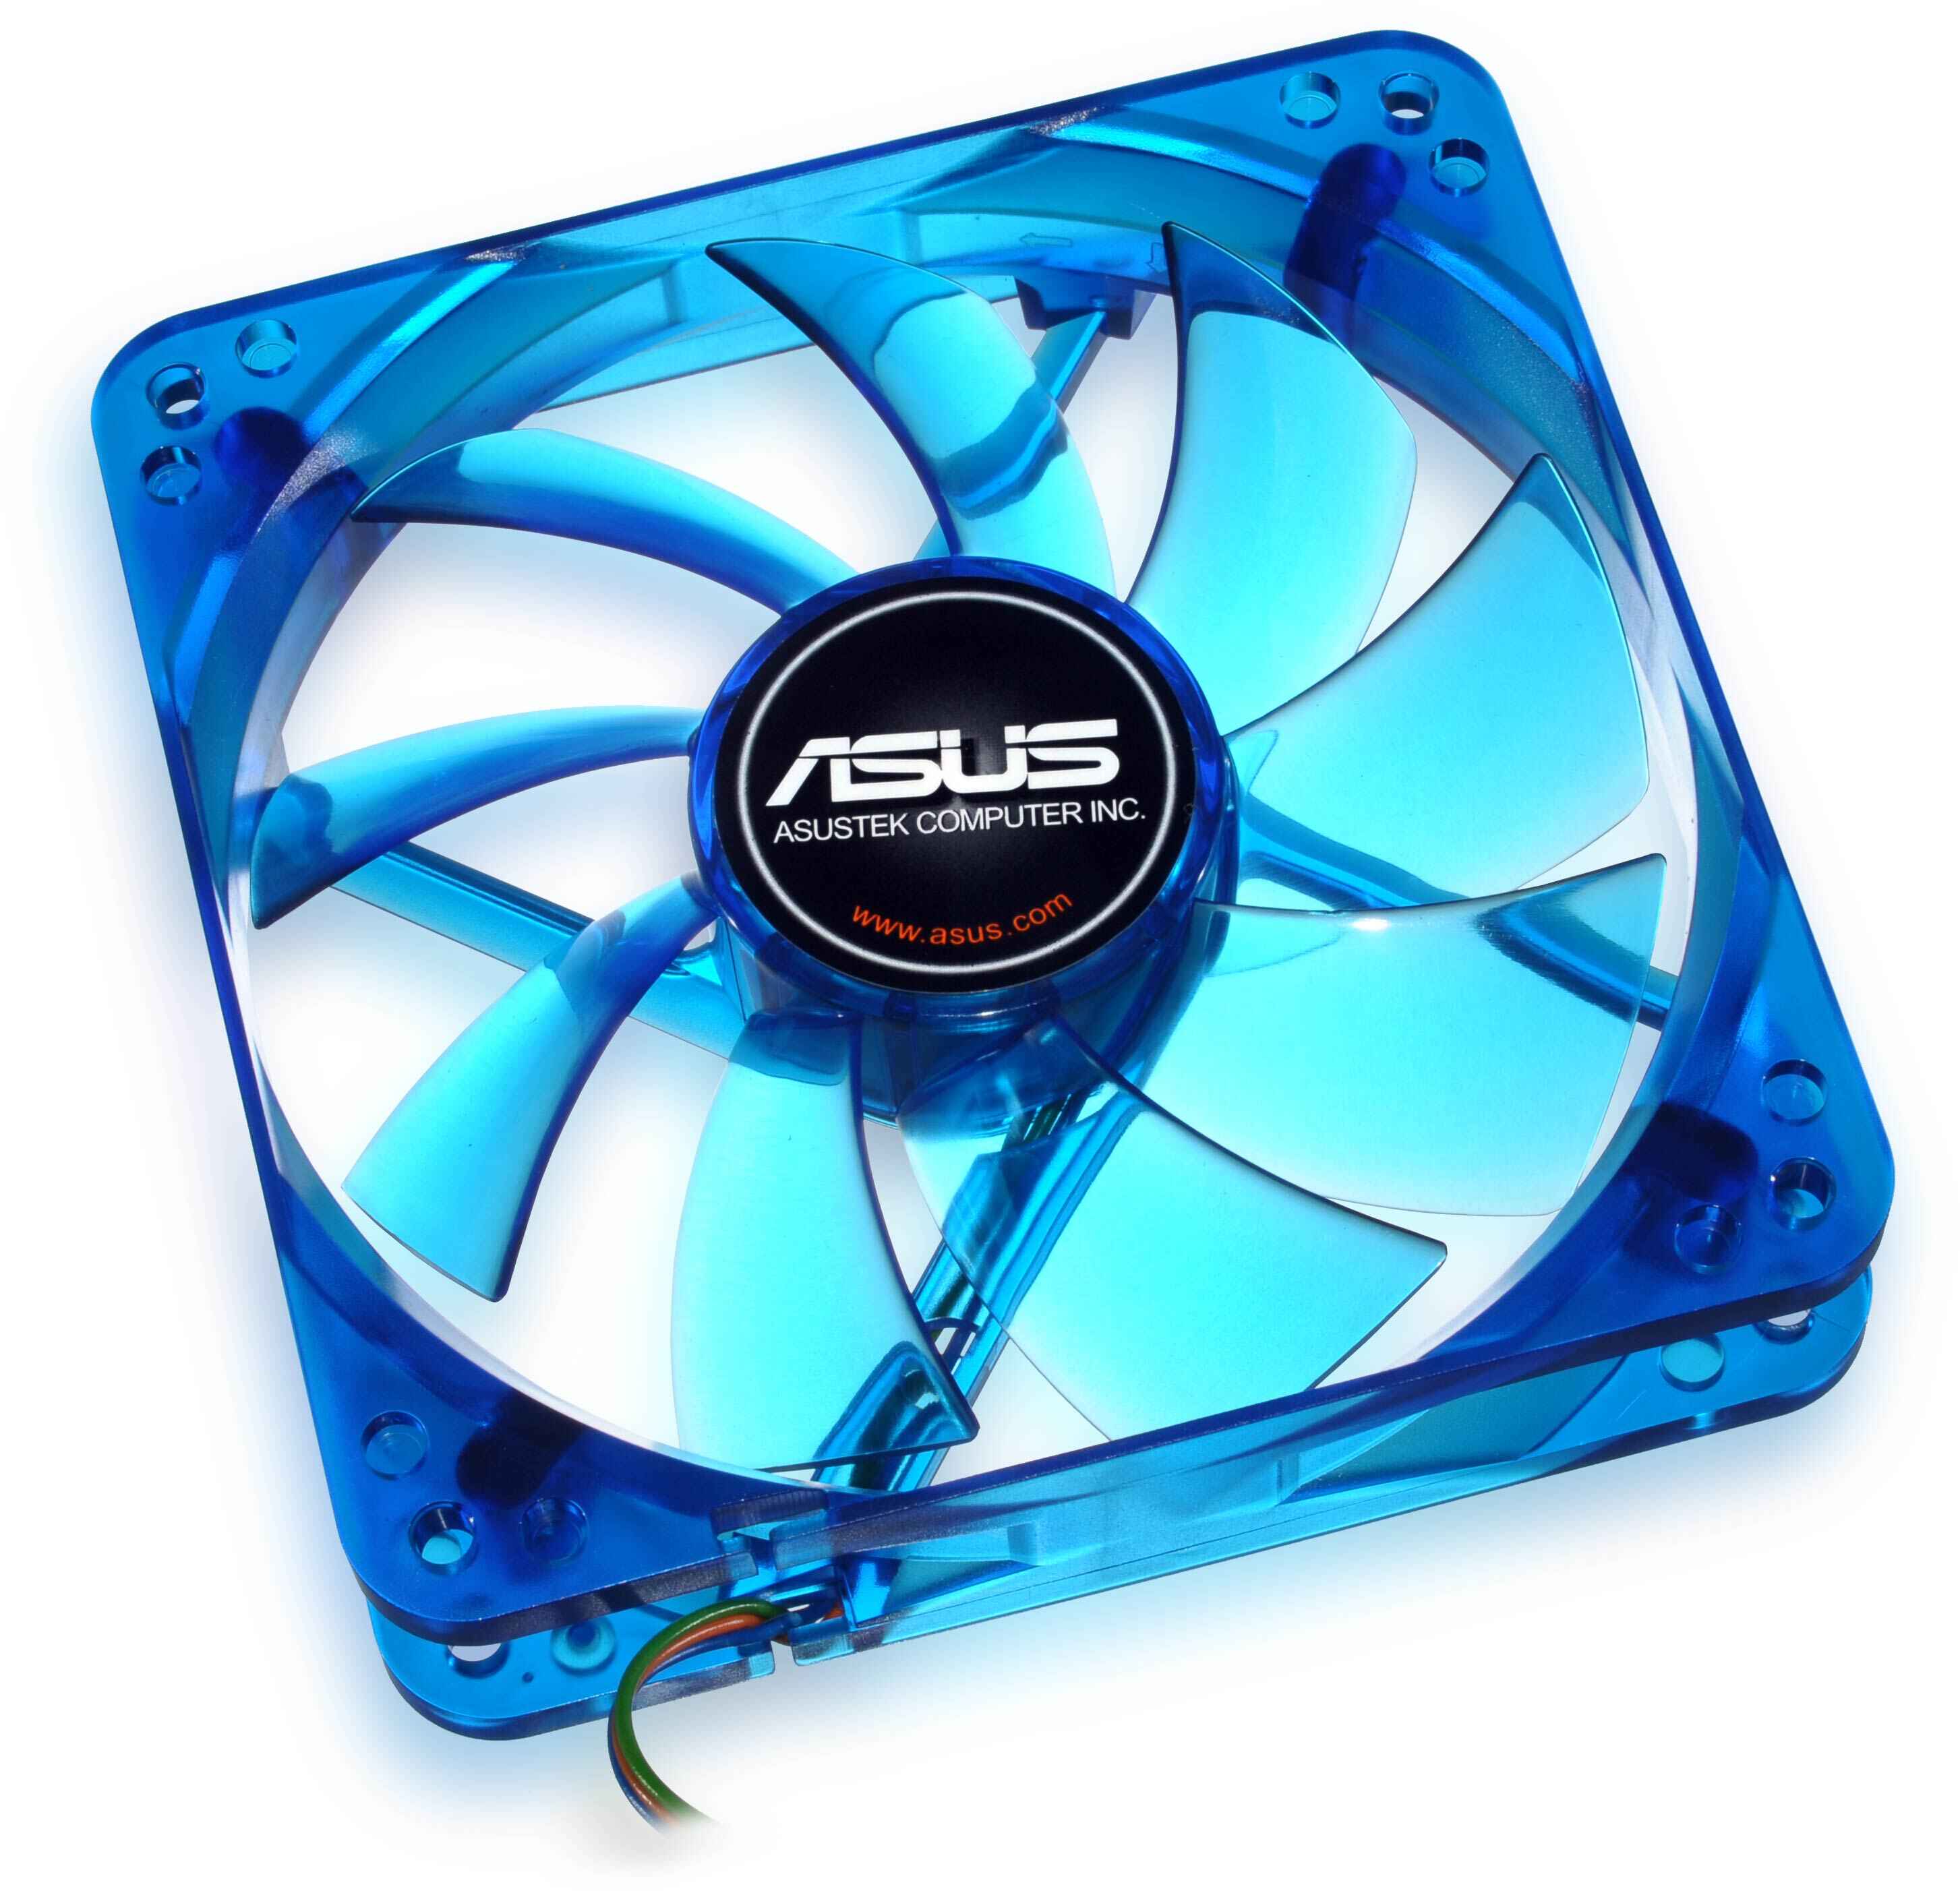
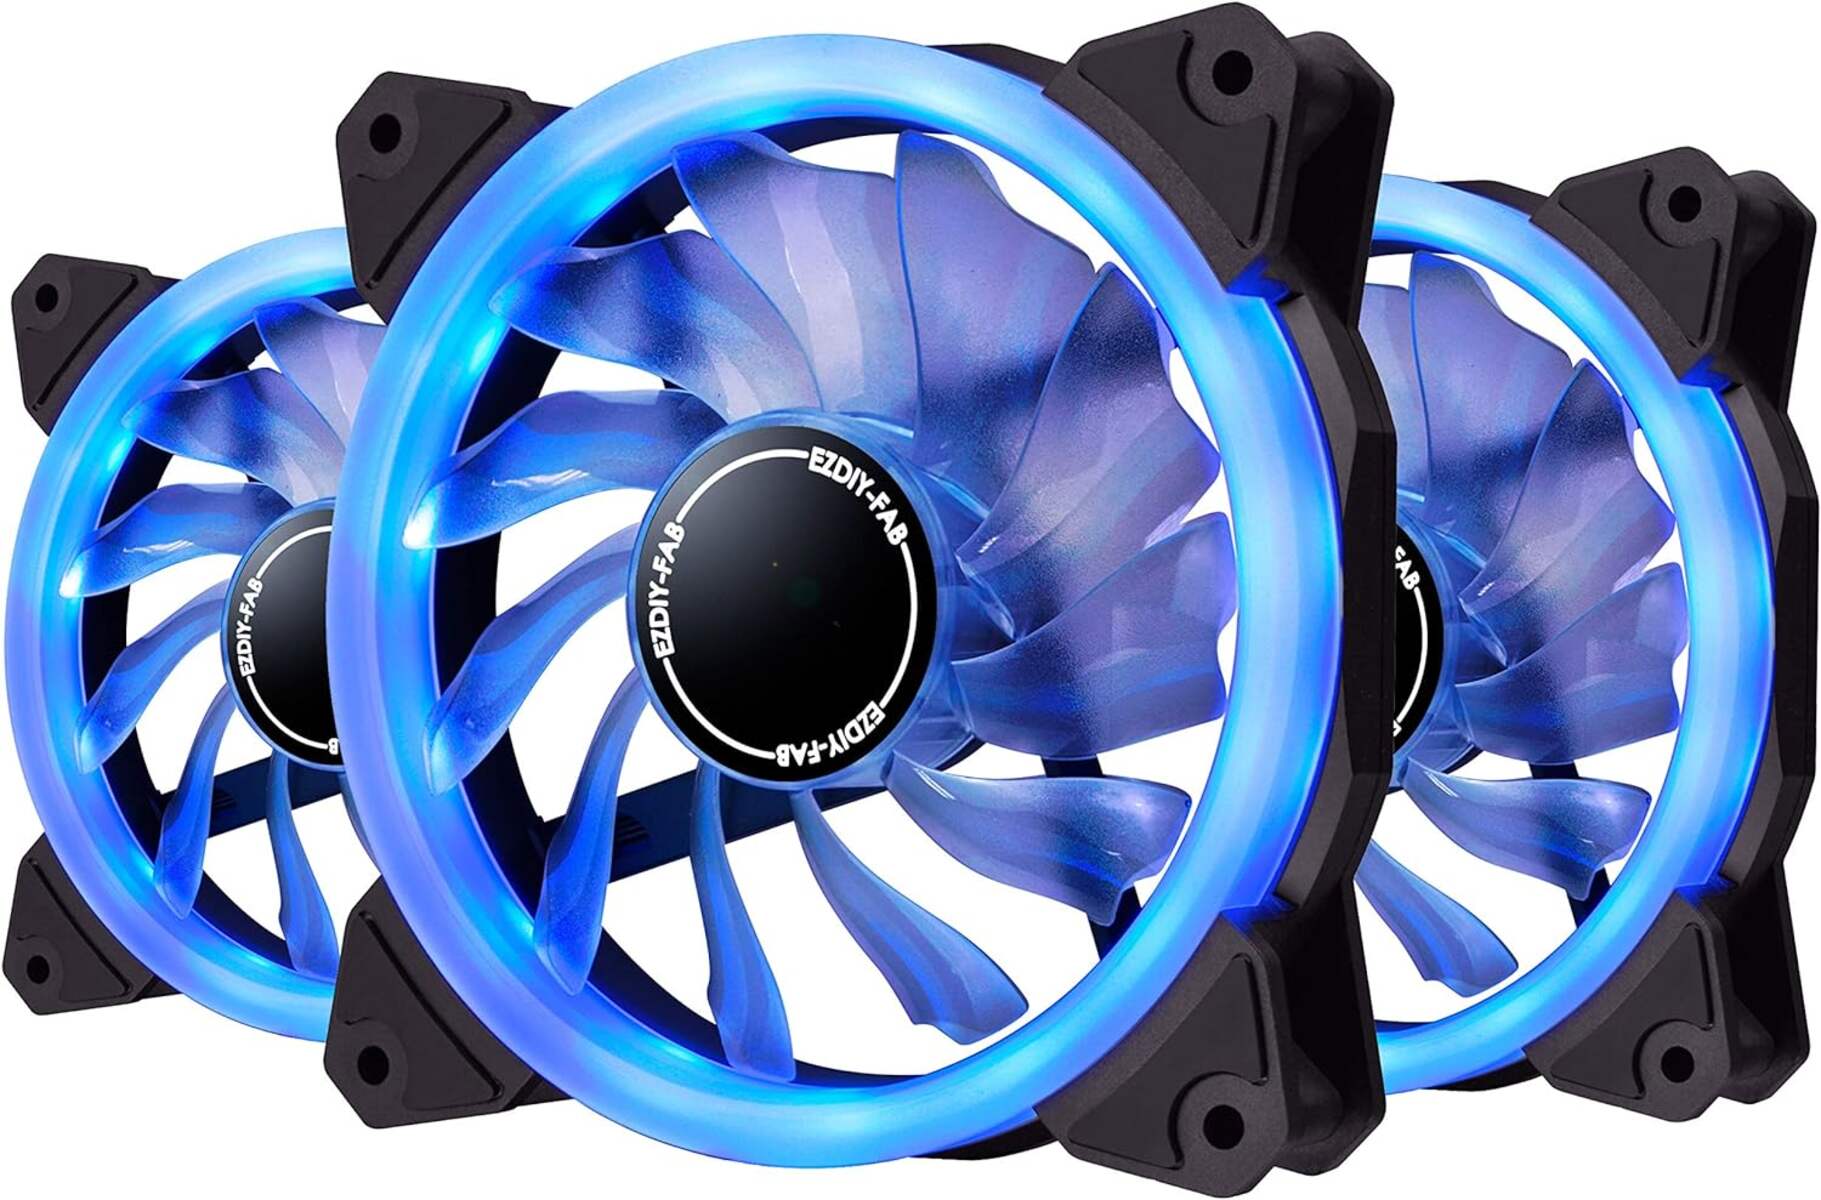
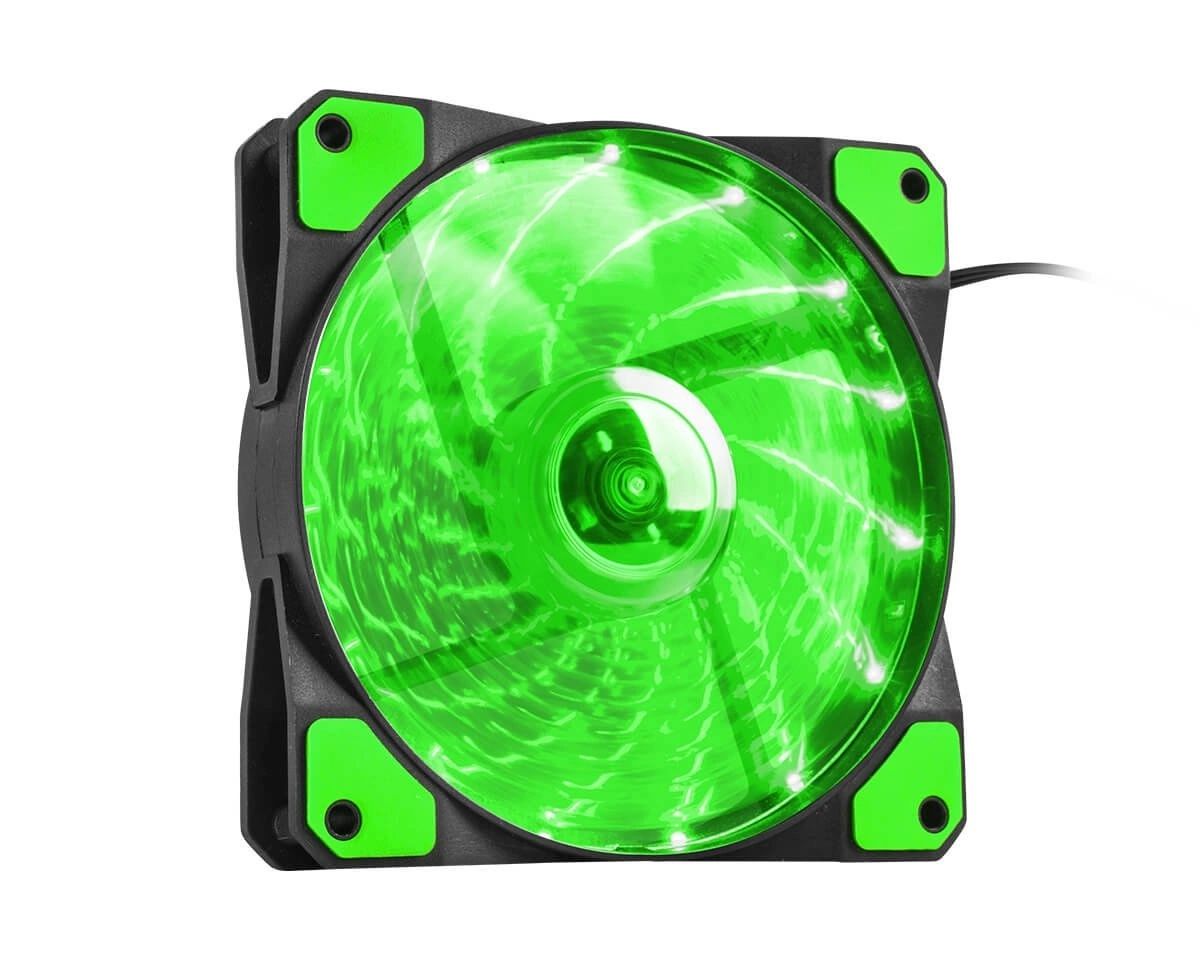
- Color: Decide on the color of the LED that best suits your preferences and the overall theme of your computer setup. Popular choices include red, blue, green, and RGB LEDs that can cycle through different colors.
- Brightness: Consider the desired brightness level for your LED. LEDs are available in various brightness ratings, typically measured in lumens. Keep in mind that overly bright LEDs may cause distractions or glare, while dim LEDs may not provide enough visibility.
- Voltage: Ensure that the LED module you choose operates at the same voltage as your case fan. Most case fans operate on either 12V or 5V, so make sure the LED module matches this requirement to prevent any compatibility issues.
- Size and Shape: Check the dimensions of the LED module to ensure it fits within the available space in your case fan. LED modules come in various shapes, such as circular, rectangular, or flexible strips. Choose a design that suits your fan and allows for easy installation.
Additionally, you may want to consider LED modules with additional features, such as customizable lighting effects, remote control, or compatibility with RGB lighting software. These options can provide a more personalized and dynamic lighting experience.
Once you have determined your LED requirements, you can purchase the LED module from an electronics store, online retailer, or computer modding specialty shop. It’s always a good idea to read reviews and check the specifications to ensure you’re getting a reliable and high-quality LED module.
By carefully considering these factors and choosing the right LED module, you’ll be one step closer to transforming your case fan into a vibrant and eye-catching component of your computer setup.
Step 2: Preparing the Case Fan
Before you can add LED lights to your case fan, you’ll need to prepare the fan for installation. Follow these steps to ensure a smooth and successful installation:
- Disconnect the Case Fan: Start by safely disconnecting the case fan from your computer. If your case fan is connected to a fan controller or motherboard, carefully unplug the power connector.
- Remove the Fan Blades (Optional): Depending on the type of fan you have, you may need to remove the fan blades to gain access to the fan frame. In most cases, you can gently pull or push the blades off the spindle. If your fan has a removable fan center hub, unscrew or unclip it to detach the blades.
- Inspect the Fan Frame: Take a close look at the fan frame to identify any obstructions or obstacles that may interfere with the installation of the LED module. Trim or remove any excess plastic or protruding components using a small hand saw or a sharp utility knife.
- Clean the Fan Frame: Use a soft cloth or compressed air to remove any dust or debris from the fan frame. Ensuring a clean surface will help with the adhesion and placement of the LED module.
- Identify the Wires: Locate the two wires connected to the fan. Typically, one wire is black (ground) and the other is red or yellow (power). Take note of their positions and ensure you can identify them correctly during the installation process.
By properly preparing the case fan, you’ll have a clear and accessible workspace to install the LED module. It’s important to ensure that the fan frame is free from any obstructions and that the fan wires are easily identifiable for the subsequent steps of the installation process.
Step 3: Soldering the LED
Once you have prepared the case fan, it’s time to proceed with soldering the LED to the fan wires. Follow these steps carefully to ensure a secure and reliable connection:
- Prepare the LED Wires: If your LED module has pre-attached wires, strip the insulation from the ends using wire strippers. Leave about 1/4 inch (6mm) of exposed wire.
- Prepare the Fan Wires: Similarly, use wire strippers to remove the insulation from the fan wires. Strip approximately the same length of insulation from the fan wires as you did for the LED wires.
- Match the Wires: Align the corresponding wires of the LED module and the fan. Connect the positive (power) wire of the LED to the positive wire of the fan and the negative (ground) wire of the LED to the negative wire of the fan.
- Solder the Connections: Using a soldering iron, heat the soldering wire and apply it to the exposed wires. Ensure the solder flows evenly and forms a solid connection. Be careful not to apply too much heat or keep the iron on the wires for too long to avoid damaging the LED or the fan. Allow the soldered connections to cool before proceeding.
- Insulate the Connections: Slide a small piece of heat shrink tubing over each soldered connection. Use a heat gun or lighter to heat the tubing, causing it to shrink and tightly encase the soldered joints. Alternatively, you can use electrical tape to insulate the connections if you don’t have access to heat shrink tubing.
It’s important to take your time and be careful when soldering the LED to the fan wires. Ensure that the wires are correctly matched and that the soldered connections are secure and properly insulated. This will prevent any loose or exposed connections that may lead to a short circuit or damage to your LED or fan.
Step 4: Installing the LED into the Case Fan
With the LED soldered to the fan wires, it’s time to install the LED module into the case fan. Follow these steps to ensure a proper and secure installation:
- Position the LED: Decide where you want to place the LED module within the fan frame. You can position it along the center hub, near the outer edges, or create a pattern depending on your desired lighting effect.
- Secure the LED: Use a small amount of adhesive, such as hot glue or double-sided tape, to secure the LED module to the chosen location on the fan frame. Apply the adhesive carefully, ensuring it doesn’t obstruct the rotation of the fan blades.
- Align the LED: Make sure the LED module is aligned properly, ensuring that the light emitted from the LED is visible and not blocked by any obstructions within the case fan. Adjust the positioning if necessary.
- Connect the Fan Wires: Reconnect the fan wires to their respective power source. Ensure the positive wire is connected to the positive terminal and the negative wire is connected to the negative terminal. Double-check the connections before proceeding.
- Test the LED: Power on your computer to test the LED installation. If the LED doesn’t light up, double-check the connections and ensure the LED module is receiving the correct power supply.
When installing the LED into the case fan, it’s crucial to secure it firmly in place without obstructing the rotation of the fan blades. Take care to align the LED properly and confirm that the connections are correct before testing the lighting effect.
Keep in mind that the LED placement can affect the overall lighting effect, so feel free to experiment with different positions and configurations to achieve the desired look for your case fan.
Step 5: Testing the LED
After installing the LED module into the case fan, it’s essential to test the LED to ensure it is functioning correctly. Follow these steps to test the LED:
- Power on the Computer: Start by powering on your computer and allowing it to boot up properly. Make sure all the necessary connections are secure.
- Observe the LED: Look closely at the installed LED module within the case fan. Ensure it is receiving power and emitting light. Check for any issues such as flickering, inconsistent brightness, or no illumination.
- Check the Color and Intensity: Verify whether the LED module is producing the desired color and intensity. Assess whether it matches your expectations and complements your computer setup.
- Adjustments if Necessary: If you notice any issues with the LED, such as improper lighting or inconsistencies, double-check the connections and make any necessary adjustments. Ensure the LED module is receiving the correct voltage and power supply.
- Benchmark Performance: Observe the performance of the case fan with the LED installed. Monitor the airflow and temperature levels to ensure the LED modification does not negatively impact the fan’s cooling capabilities.
Testing the LED is crucial to ensure that it is functioning properly and providing the desired lighting effect. If any issues arise during testing, carefully troubleshoot the connections and make any necessary adjustments or repairs.
Remember, the goal of testing is to confirm that the LED is working correctly and enhancing the appearance of your case fan without compromising its performance or creating any potential risks.
Step 6: Securing the LED and Fan Cables
With the LED installed and tested, it’s important to secure both the LED module and the fan cables properly. Follow these steps to ensure a neat and tidy setup:
- Secure the LED Module: Use small zip ties or adhesive pads to secure the LED module in place. Make sure it is firmly attached to prevent any movement or dislodging during normal operation.
- Tidy the Fan Cables: Gather the fan cables and the LED wires together. Use small zip ties or cable management clips to secure them and keep them organized. This will prevent loose cables from obstructing the fan blades or interfering with other components.
- Leave Room for Cable Flexibility: Ensure that the cables have enough slack to allow for the fan’s movement and flexing without pulling on the LED module or creating tension on the connections.
- Position the Cables: Arrange the fan cables and LED wires in a way that they are not visible from the front or side of the case. Tuck them behind other components or along cable management channels to maintain a clean and clutter-free appearance.
- Recheck Connections: Double-check all the connections, including the LED module, fan cables, and power supply. Confirm that everything is securely connected and properly insulated to prevent any issues.
By securing the LED module and organizing the fan cables, you will not only ensure the aesthetics of your case fan but also prevent any potential damage or interference caused by loose or dangling wires. Additionally, it will make future maintenance or modifications easier if needed.
Take the time to position the cables neatly and tuck them away for a professional and clean-looking installation. This will help improve the overall appearance of your computer case and create a visually pleasing setup.
Step 7: Reassembling the Case Fan
After securing the LED and the fan cables, it’s time to reassemble the case fan. Follow these steps to put everything back together:
- Reattach the Fan Blades (if removed): If you removed the fan blades during the installation process, carefully place them back onto the spindle or reattach them to the center hub. Ensure they are properly aligned and securely fastened.
- Position the Fan: Place the case fan back into its original position within your computer case. Align the screw holes on the fan frame with the corresponding mounting points in the case.
- Screw in the Fan: Using a small Phillips screwdriver, insert and tighten the screws to secure the fan in place. Make sure not to overtighten to avoid damaging the fan or the case.
- Connect the Fan Power: Reconnect the power connector of the case fan to its respective power source, whether it’s a fan controller or motherboard header. Ensure it is securely plugged in for proper functionality.
- Replace the Computer Case Cover: Put the computer case cover back on and secure it with the appropriate screws or fasteners. Ensure it is aligned properly and fully closed to maintain proper airflow and protection.
- Power on the Computer: Finally, power on your computer and verify that the case fan is functioning correctly. Check that the LED is lit up and producing the desired lighting effect.
By carefully reassembling the case fan, you ensure that it is securely mounted and ready to provide effective cooling while showcasing the LED modification. Take your time during this step to ensure proper alignment and connection of the fan, as well as the overall functionality of your computer.
With the case fan reassembled and powered on, enjoy the enhanced aesthetics and improved cooling performance provided by the LED modification. Sit back and admire your handiwork!
Conclusion
Congratulations! You have successfully added LED lights to your case fan, transforming it into a standout component of your computer setup. By following the step-by-step process outlined in this guide, you’ve learned how to choose the right LED, prepare the case fan, solder the LED, install it into the fan, test the LED, secure the LED and fan cables, and reassemble the case fan.
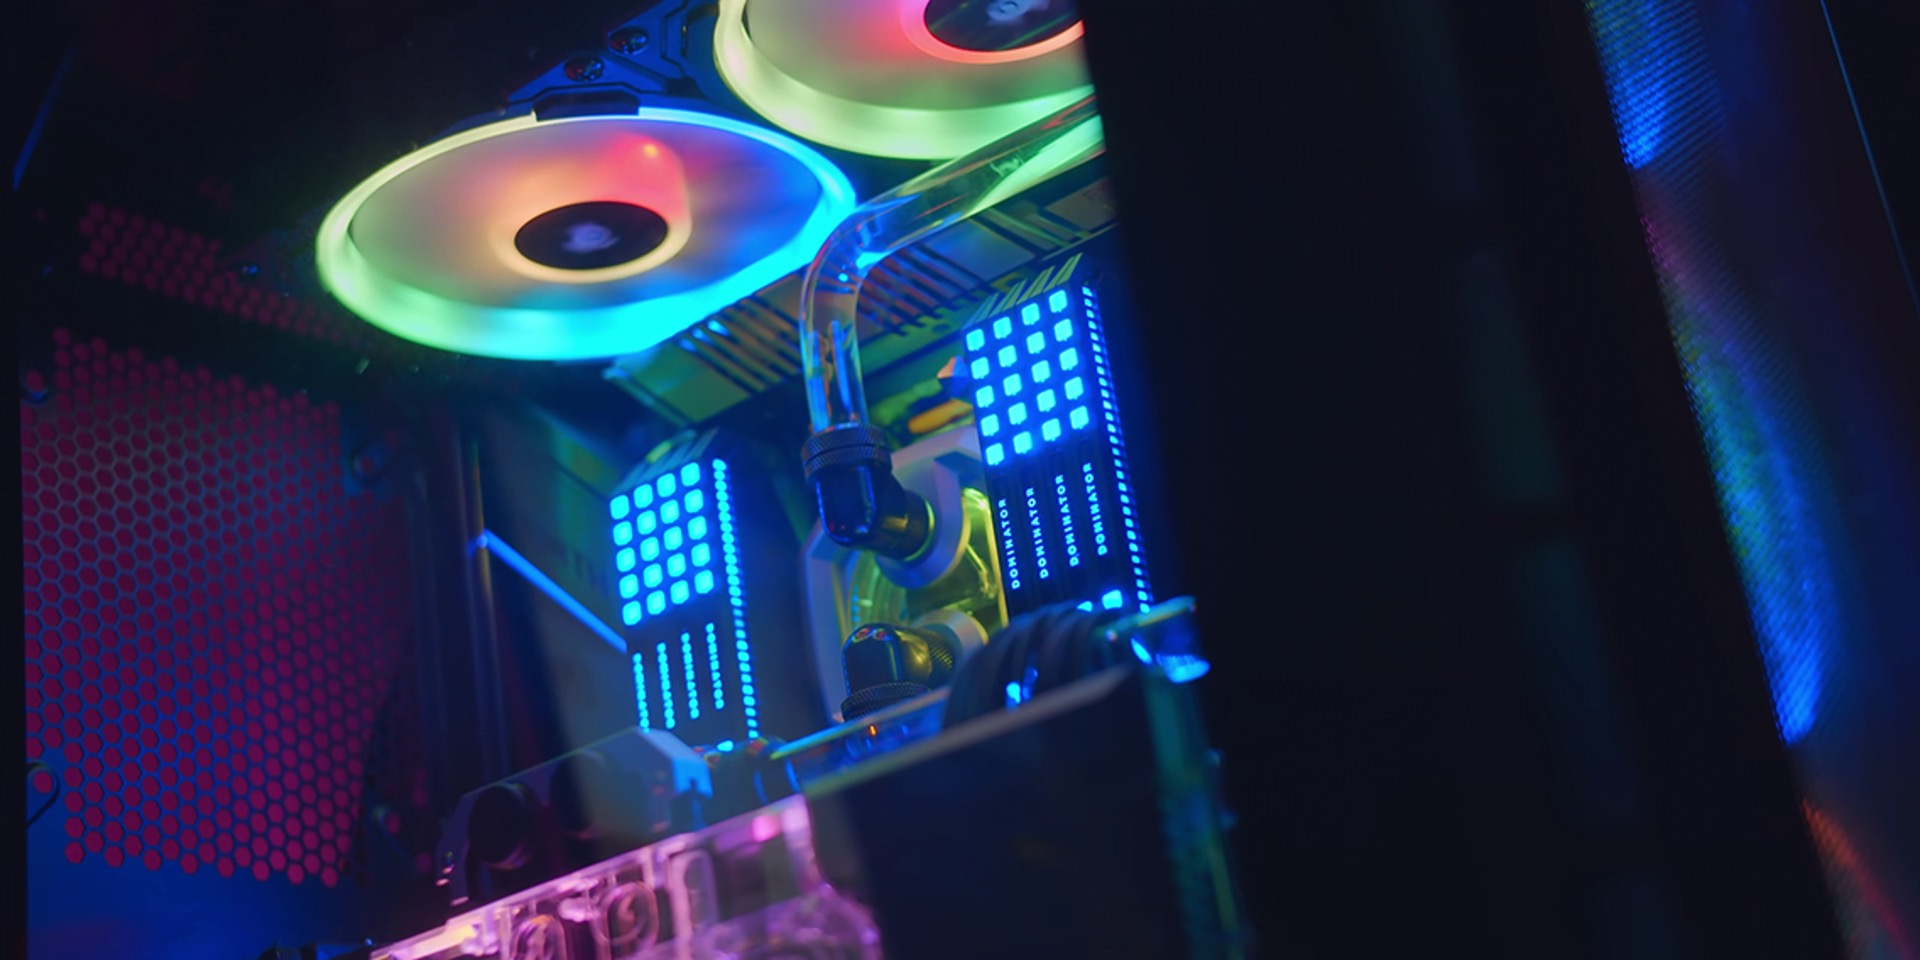
Adding LED lights to your case fan not only enhances the visual appeal of your computer but also provides a unique lighting effect that can be customized to suit your preferences. The vibrant glow emitted by the LED creates a captivating atmosphere and can even improve the overall aesthetics of your computer setup.
Remember, safety is essential when undertaking any modifications to your computer components. Ensure you follow proper soldering techniques, use appropriate tools, and take necessary precautions to avoid any damage to your computer’s hardware or electrical components.
Whether you’re a seasoned computer enthusiast or a beginner exploring the world of modding, the ability to add LED lights to your case fan gives you more control over the customization and personalization of your computer setup. Let your creativity shine and experiment with different colors, orientations, and patterns to create a truly unique and eye-catching display.
We hope this guide has been helpful in guiding you through the process of adding LED lights to your case fan. Enjoy the visually stunning and personalized illumination that your modified case fan now offers!