Introduction
Gmail is one of the most popular email providers, offering a wide range of features and a user-friendly interface. However, Amazon Fire Tablets do not come pre-installed with the Gmail app. This can be inconvenient for those who rely on Gmail for their email communications.
Fortunately, it is still possible to add Gmail to your Amazon Fire Tablet and enjoy all the benefits of the Gmail app. In this article, we will guide you through the process of adding Gmail to your Amazon Fire Tablet, so you can access your Gmail account directly from your device.
By following the steps outlined in this guide, you will be able to install the Gmail APK on your Amazon Fire Tablet and configure it to sync your Gmail account, allowing you to send, receive, and manage your emails with ease. Additionally, we’ll show you how to add a Gmail shortcut to your home screen for quick and convenient access.
Whether you use Gmail for personal or professional purposes, having it on your Amazon Fire Tablet can greatly enhance your productivity and communication capabilities. So, let’s get started and bring Gmail to your Amazon Fire Tablet!
Prerequisites
Before you can add Gmail to your Amazon Fire Tablet, there are a few prerequisites that you need to have in place. Here are the things you’ll need:
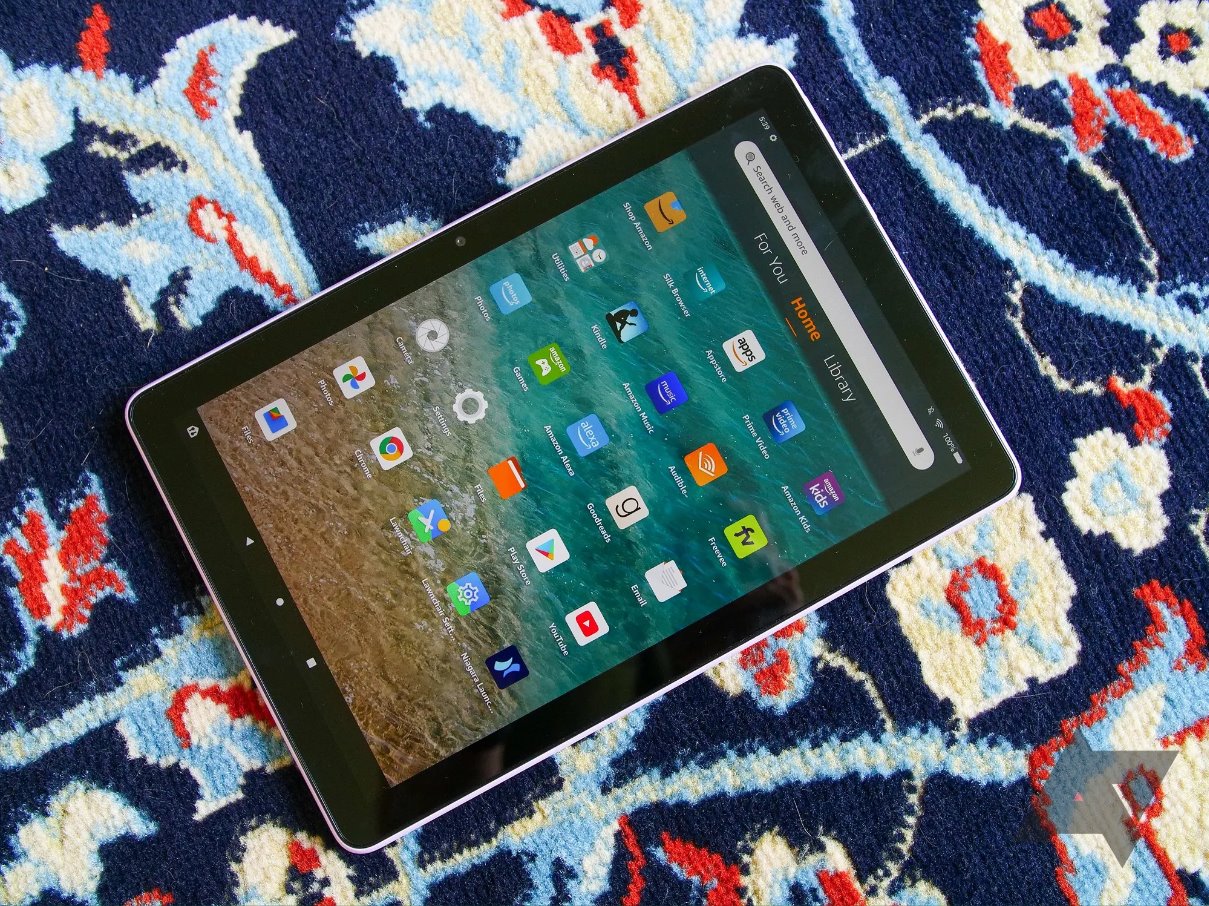
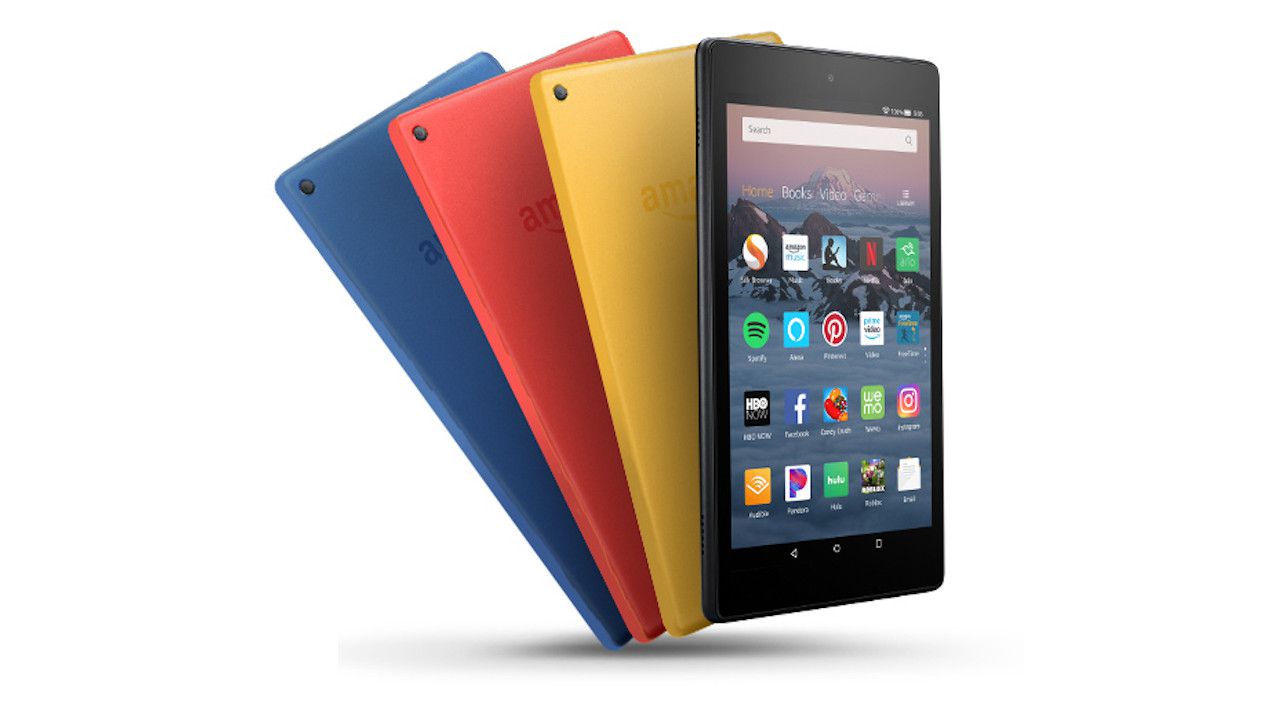
- An Amazon Fire Tablet: You will need to have an Amazon Fire Tablet with you. This can be any model, such as Fire 7, Fire HD 8, or Fire HD 10.
- Internet Connection: Make sure that your Amazon Fire Tablet is connected to the internet. You will need an active internet connection to download the Gmail APK and configure your Gmail account.
- Allow Apps from Unknown Sources: By default, Amazon Fire Tablets only allow app installations from the Amazon Appstore. To install Gmail, you will need to enable the installation of apps from unknown sources.
- A Gmail Account: In order to use the Gmail app, you will need to have a Gmail account. If you don’t have one, you can easily create a new Gmail account for free.
- Basic Technical Knowledge: While the process of adding Gmail to your Amazon Fire Tablet is relatively straightforward, having basic technical knowledge will be helpful. This includes knowing how to navigate through the settings menu and install apps on your device.
Once you have these prerequisites in place, you are ready to proceed with adding Gmail to your Amazon Fire Tablet. Make sure to follow the steps carefully to ensure a successful installation and configuration of the Gmail app.
Step 1: Enabling Apps from Unknown Sources
In order to install the Gmail app on your Amazon Fire Tablet, you’ll need to enable the installation of apps from unknown sources. Follow these steps to do so:
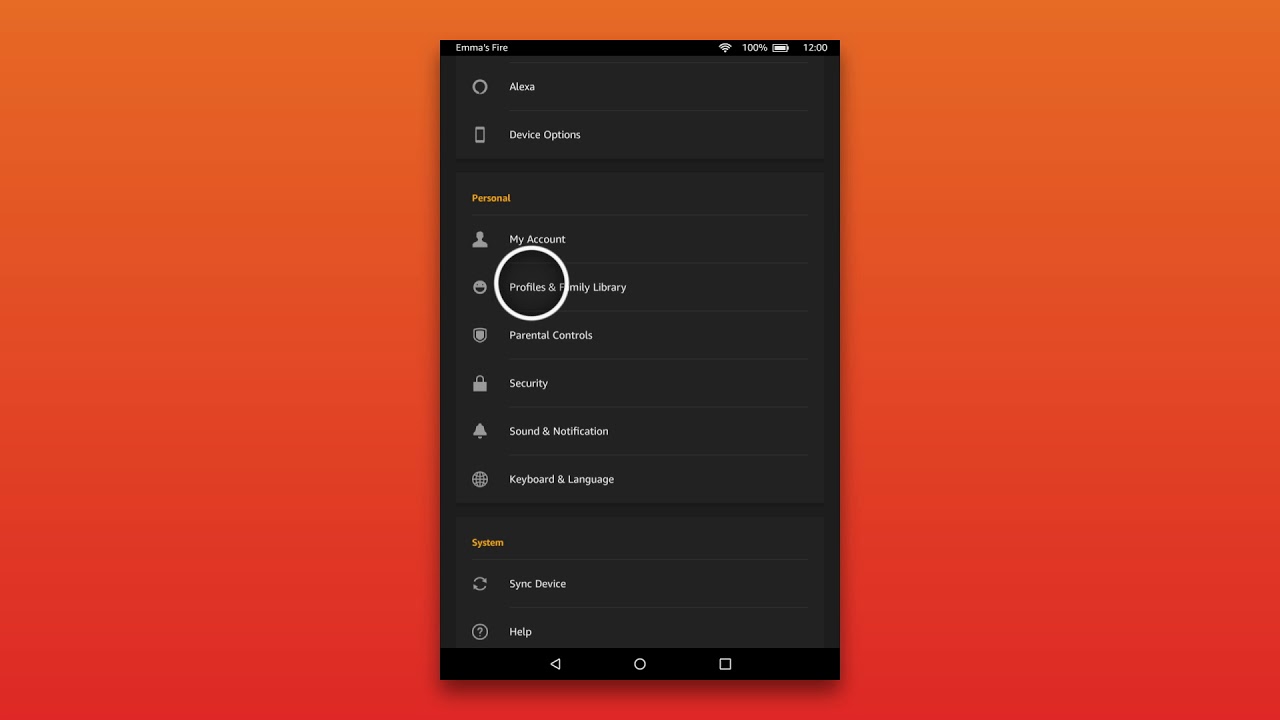
- Go to the Settings on your Amazon Fire Tablet. You can find the Settings app in the Apps section or by swiping down from the top of the screen and tapping on the gear icon in the notification panel.
- Scroll down and select “Security & Privacy.”
- Under the “Advanced” section, tap on “Apps from Unknown Sources.”
- A warning message will appear informing you about the potential risks of installing apps from unknown sources. Read the message and, if you agree, tap on “OK” to enable the installation of apps from unknown sources.
With this option enabled, you can now proceed to download and install the Gmail APK on your Amazon Fire Tablet.
Please note that enabling the installation of apps from unknown sources can pose security risks, as it allows the installation of apps that have not been verified by Amazon. It is important to exercise caution and only download apps from trusted sources.
Step 2: Downloading and Installing the Gmail APK
Now that you have enabled the installation of apps from unknown sources, you can proceed with downloading and installing the Gmail APK on your Amazon Fire Tablet. Follow these steps:
- Open the web browser on your Amazon Fire Tablet.
- Visit the official APKMirror website or another trusted source to download the Gmail APK. APKMirror is a reliable platform for downloading APK files.
- Search for Gmail in the search bar on the APKMirror website.
- Select the latest version of the Gmail app that is compatible with your Amazon Fire Tablet’s operating system. Make sure to check the version compatibility to ensure successful installation.
- Download the Gmail APK to your Amazon Fire Tablet by tapping on the Download button.
- Once the download is complete, open the notifications panel by swiping down from the top of the screen.
- Tap on the downloaded Gmail APK file to start the installation process.
- Follow the on-screen instructions to install the Gmail app on your Amazon Fire Tablet.
After the installation is complete, you will now have the Gmail app installed on your Amazon Fire Tablet. However, we still need to configure the app to sync with your Gmail account.
Note: It is important to only download APK files from trusted sources to ensure the security and integrity of your device.
Step 3: Configuring Gmail on your Amazon Fire Tablet
Now that you have successfully installed the Gmail app on your Amazon Fire Tablet, it’s time to configure it to sync with your Gmail account. Follow these steps to set up Gmail on your device:
- Open the Gmail app on your Amazon Fire Tablet. You can find it in the Apps section or by swiping up from the home screen and searching for “Gmail”.
- On the welcome screen, tap on “Sign in”. If you have multiple Gmail accounts, select the account you want to add or tap on “Add another account” to enter a new Gmail account.
- Enter your Gmail email address and tap “Next”.
- Enter your Gmail account password and tap “Next” to continue.
- Review and accept the Gmail terms of service and privacy policy by tapping on “I Agree”.
- You will be given an option to choose your account preferences, such as syncing contacts, calendar, and other Google services. Make your selections and tap “Next”.
- Wait for Gmail to sync your email and other content associated with your account. This might take a few moments depending on the size of your mailbox and your internet connection speed.
- Once the sync is complete, you will be taken to the inbox of your Gmail account. You can now start using Gmail on your Amazon Fire Tablet.
By configuring Gmail on your Amazon Fire Tablet, you can easily access and manage your emails on the go. The Gmail app provides a seamless experience with features like push notifications, threaded conversations, and powerful search functionality.
Now that you have successfully configured Gmail, let’s move on to the next step of adding a Gmail shortcut to your home screen for quick access.
Step 4: Adding a Gmail Shortcut to your Home Screen
Adding a Gmail shortcut to your Amazon Fire Tablet’s home screen allows you to quickly access your emails without navigating through the app menu. Here’s how you can do it:
- Return to the home screen of your Amazon Fire Tablet by pressing the home button.
- Open the Apps section by swiping up from the bottom of the screen or tapping on the Apps icon.
- Find the Gmail app icon and press and hold it.
- Drag the Gmail app icon to the home screen and release it to create a shortcut.
- You can now see the Gmail shortcut on your home screen.
- To customize the shortcut, press and hold the Gmail shortcut until a menu appears.
- Tap on “Edit” to change the name or icon of the Gmail shortcut.
- Make your desired changes and tap “Done” to save.
- You can now tap on the Gmail shortcut on your home screen to directly open the Gmail app and access your emails.
Having a Gmail shortcut on your home screen provides quick and convenient access to your emails, saving you time and effort.
With the Gmail app installed, configured, and a shortcut added to your home screen, you can now enjoy the full functionality of Gmail on your Amazon Fire Tablet.
Congratulations! You have successfully added Gmail to your Amazon Fire Tablet and can now stay connected with your emails wherever you go.
Conclusion
Adding Gmail to your Amazon Fire Tablet is a great way to enhance your email experience and stay connected on the go. By following the steps outlined in this guide, you can easily install and configure the Gmail app, as well as add a shortcut to your home screen for quick access.
With Gmail on your Amazon Fire Tablet, you can enjoy features like push notifications, threaded conversations, and powerful search capabilities. Stay organized and manage your emails with ease, whether for personal or professional use.
Remember to exercise caution when enabling the installation of apps from unknown sources and only download APK files from trusted sources to ensure the security of your device.
By having Gmail on your Amazon Fire Tablet, you can streamline your communication and improve productivity. Access your emails anytime, anywhere, and enjoy the convenience of having your Gmail account integrated into your device.
We hope this guide has been helpful in adding Gmail to your Amazon Fire Tablet. Stay connected, stay organized, and make the most out of your device with Gmail!