Introduction
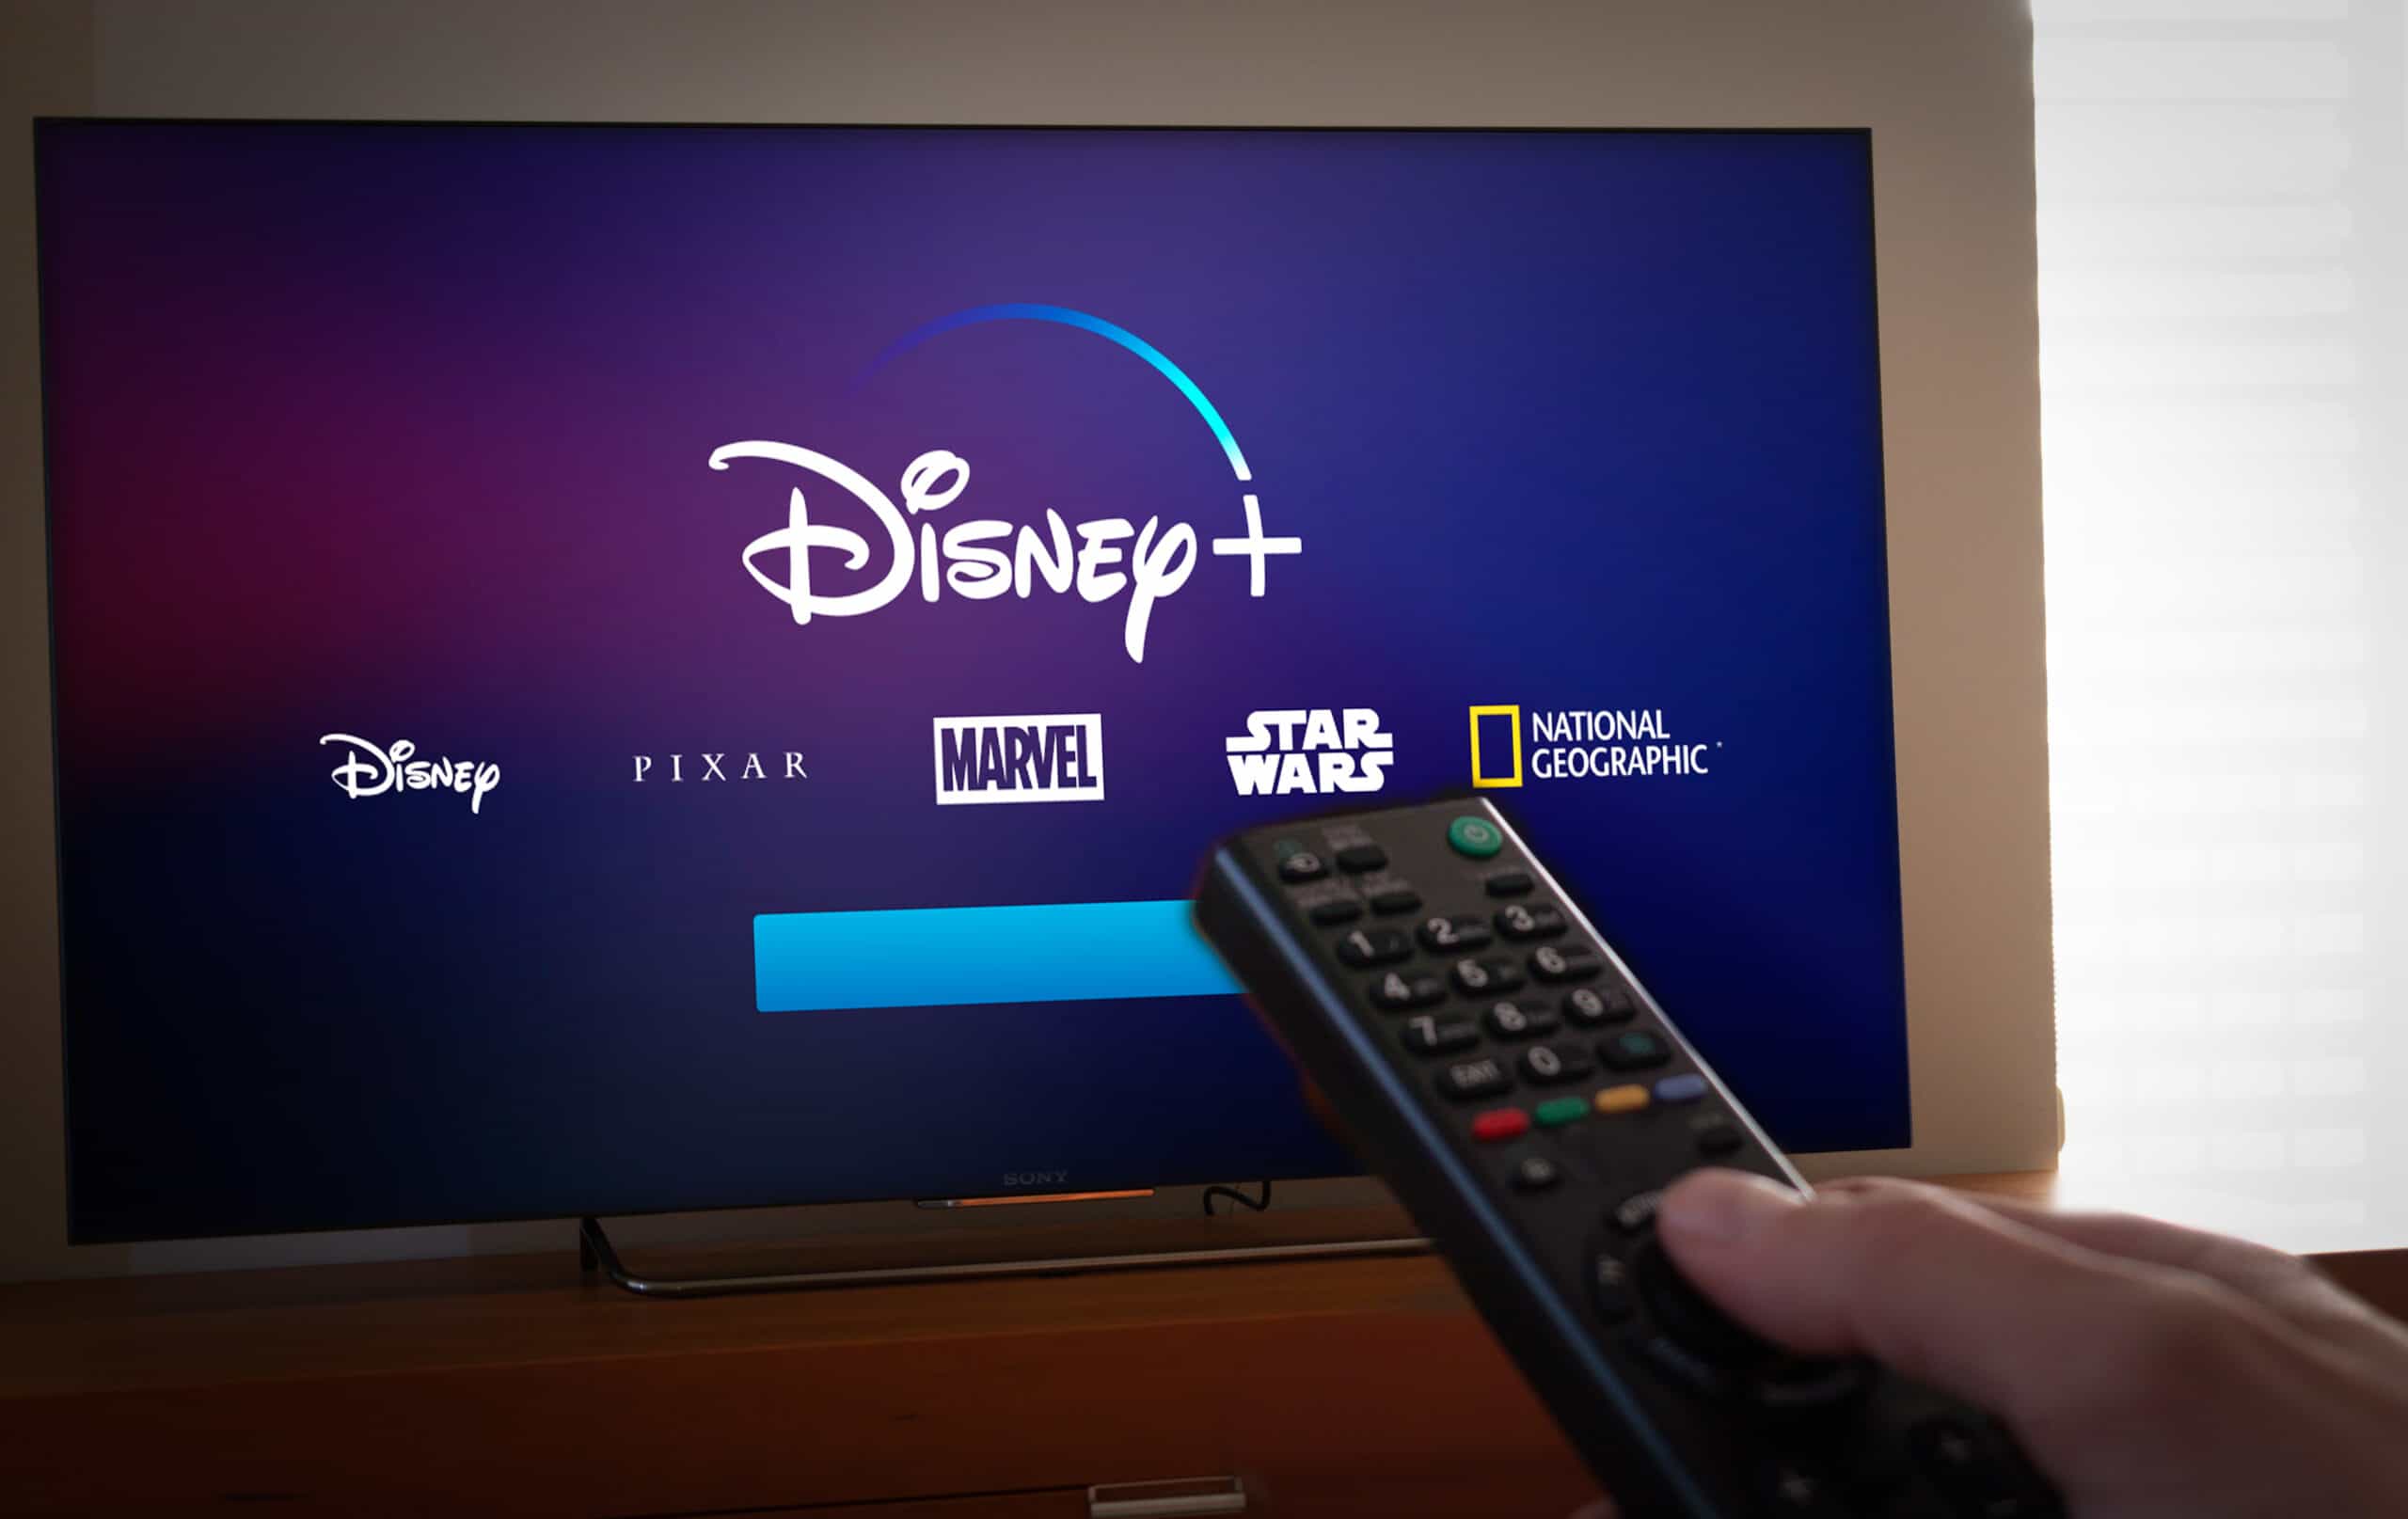
Welcome to the magical world of Disney Plus! If you’re a Disney fan and own a Samsung Smart TV, you’re in luck – you can now bring the enchantment of Disney’s extensive content library right into your living room. With Disney Plus, you can stream your favorite movies, TV shows, and exclusive original content from Disney, Pixar, Marvel, Star Wars, and more.
In this guide, we’ll walk you through the simple steps to add Disney Plus to your Samsung Smart TV. Whether you’re a tech-savvy individual or just getting started with streaming services, fret not! We’ve got you covered with easy-to-follow instructions that will have you enjoying Disney magic in no time.
Before we begin, please ensure that you have an active Disney Plus subscription. If you haven’t signed up yet, head over to the official Disney Plus website to create an account. Once you’re all set, let’s dive into the process of adding Disney Plus to your Samsung Smart TV.
Step 1: Check Compatibility
The first thing you need to do is make sure that your Samsung Smart TV is compatible with Disney Plus. Most Samsung Smart TVs released in 2016 or later come pre-installed with the Tizen operating system, which supports the Disney Plus app.
To check the compatibility of your Samsung Smart TV, you can follow these steps:
- Turn on your TV and navigate to the home screen.
- Using your remote control, go to the Settings menu.
- Look for the “Support” or “About This TV” option and select it.
- Find the “Model Number” or “Software Version” information.
- Verify that your TV model number or software version is compatible with Disney Plus. You can check the official Disney Plus website for a list of supported Samsung Smart TV models.
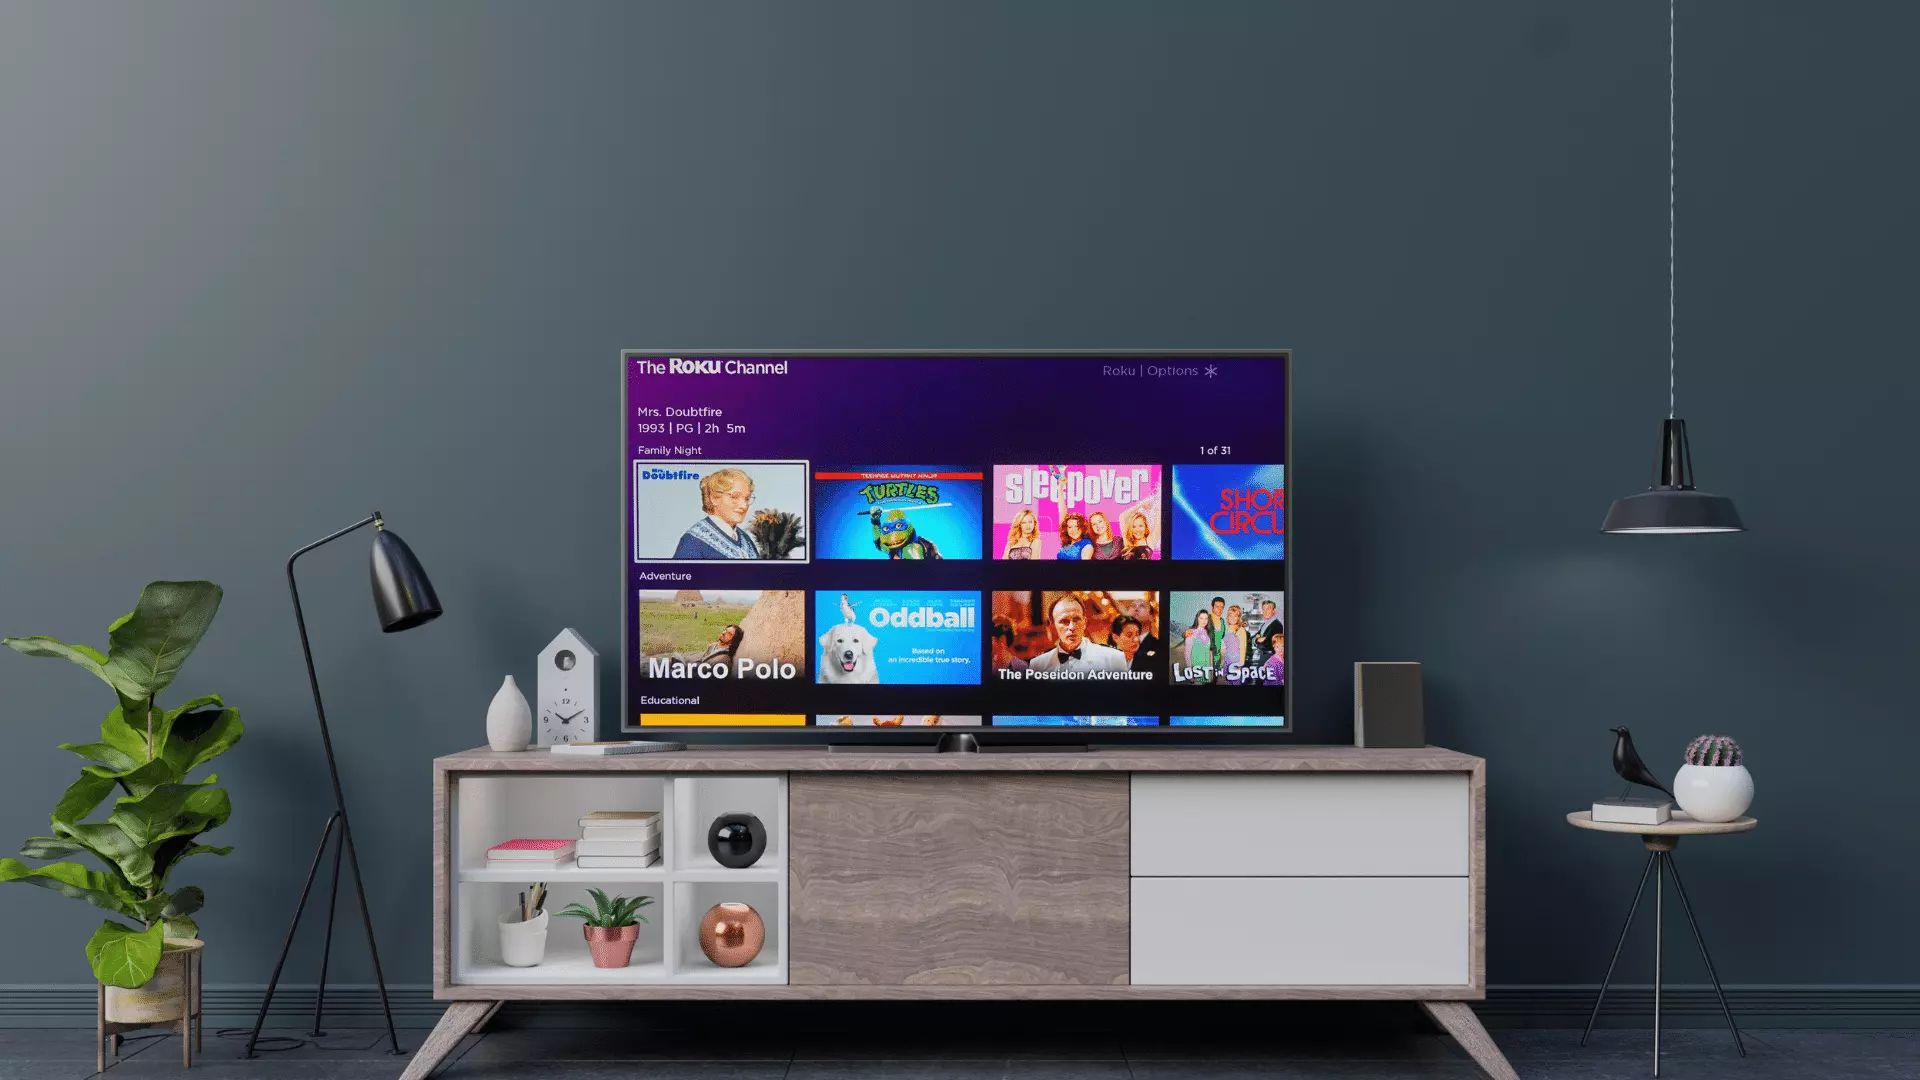
If your TV is compatible, you’re ready to move on to the next step. However, if your TV model is not supported, don’t worry! You can still enjoy Disney Plus by using an external streaming device, such as a Roku, Apple TV, or Amazon Fire TV Stick, connected to your Samsung Smart TV.
Now that you’ve confirmed the compatibility of your Samsung Smart TV, let’s proceed to the next step: connecting to the internet.
Step 2: Connect to the Internet
In order to stream Disney Plus on your Samsung Smart TV, you’ll need to ensure that your TV is connected to the internet. Here’s how you can connect your TV to the internet:
- Using your TV remote control, navigate to the Settings menu.
- Select the Network option and choose “Network Settings.”
- From the available options, select Wi-Fi (if your TV supports Wi-Fi) or Ethernet (if you have a wired connection).
- If you selected Wi-Fi, your TV will display a list of available networks. Choose your home Wi-Fi network from the list and enter your network password.
- If you selected Ethernet, connect one end of an Ethernet cable to your TV and the other end to your router or modem.
- Once connected, your TV will attempt to establish a network connection. Wait for a few moments until the connection is successful.
- Once connected to the internet, navigate back to the home screen and proceed to the next step.
It’s important to ensure a stable and reliable internet connection for uninterrupted streaming on Disney Plus. If you encounter any issues with your network connection, make sure to troubleshoot your Wi-Fi or Ethernet settings or contact your internet service provider for assistance.
Now that your Samsung Smart TV is connected to the internet, it’s time to access the app store and search for Disney Plus.
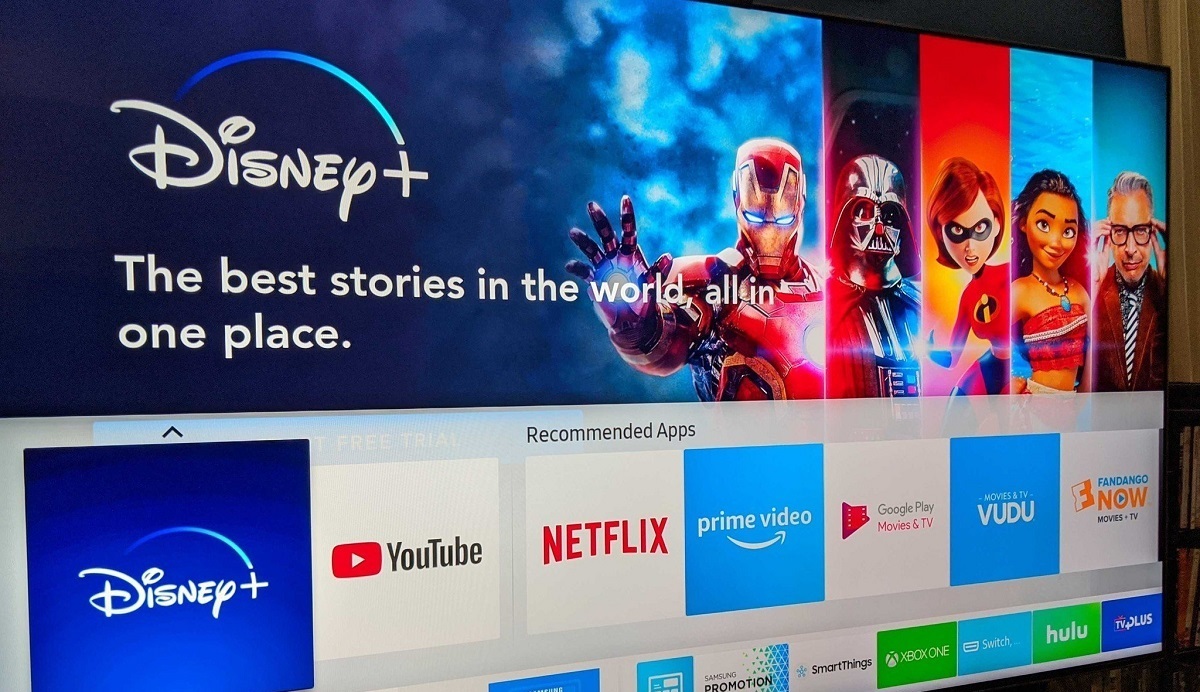
Step 3: Open the App Store
Once your Samsung Smart TV is connected to the internet, the next step is to access the app store, where you can find and download the Disney Plus app. The exact steps may vary slightly depending on your TV model, but generally, you can follow these instructions:
- Using your TV remote control, navigate to the home screen.
- Look for the “Apps” or “App Store” icon and select it.
- In the app store, you will find a variety of apps available for download.
- Search for the Disney Plus app by using the on-screen keyboard or voice command feature. You can also look for it in the “Entertainment” or “Video” category.
- Select the Disney Plus app from the search results or browse through the available options.
If the Disney Plus app is already installed on your TV, you can skip to the next step. If not, proceed to download the app by following the prompts on the screen.
Once the download is complete, you’re almost there! Now, it’s time to install the Disney Plus app on your Samsung Smart TV.
Step 4: Search for Disney Plus
With the app store open on your Samsung Smart TV, it’s time to search for the Disney Plus app and prepare it for installation. Follow these steps to locate the Disney Plus app:
- Using your TV remote control, navigate to the app store on your Samsung Smart TV.
- Look for the search bar, usually located at the top or bottom of the screen.
- Using the on-screen keyboard, enter “Disney Plus” and press Enter or select the search icon.
- A list of search results will appear, displaying the Disney Plus app along with other related apps.
- Select the Disney Plus app from the search results to access its details and installation options.
Take a moment to review the app’s information, including its features and any user reviews available. This will give you a better idea of what to expect from the Disney Plus app.
Once you’re ready to proceed, it’s time to install Disney Plus on your Samsung Smart TV. Follow the instructions in the next step to successfully install the app and prepare for streaming.
Step 5: Install Disney Plus
Now that you’ve located the Disney Plus app in the app store on your Samsung Smart TV, it’s time to install it and get ready for the magical streaming experience. Follow these steps to install Disney Plus:
- On the app details page, you will see a button labeled “Install” or “Download.” Select this button to start the installation process.
- Wait for the app to download and install on your Samsung Smart TV. This may take a few moments, depending on your internet connection speed.
- Once the installation is complete, a confirmation message will appear, indicating that Disney Plus is now installed on your TV.
- Navigate back to the home screen of your Samsung Smart TV.
Congratulations! You have successfully installed Disney Plus on your Samsung Smart TV. Now, let’s move on to the final step – logging in to your Disney Plus account.
Before you can start streaming and enjoying all the amazing content Disney Plus has to offer, make sure you have your Disney Plus account credentials handy. These include your email address and password used during the sign-up process.
Once you have your account information ready, proceed to the next step to log in to Disney Plus and begin your magical adventure.
Step 6: Log in to Disney Plus
Now that you have successfully installed the Disney Plus app on your Samsung Smart TV, it’s time to log in to your Disney Plus account and start exploring the wide range of magical content. Follow these steps to log in:
- From the home screen of your Samsung Smart TV, navigate to the Disney Plus app.
- Select the app to open it.
- You will be presented with the Disney Plus login screen.
- Using your TV remote control, enter your Disney Plus account email address and password.
- Take a moment to ensure that the login credentials are entered correctly to avoid any login errors.
- After entering your login information, select the “Log In” or “Sign In” button.
Once successfully logged in, you will be granted access to the full Disney Plus library, including movies, TV shows, and exclusive content from Disney, Pixar, Marvel, Star Wars, and more.
From here, you can navigate through the different sections of the Disney Plus app, browse your favorite shows and movies, and start streaming your desired content.
Enjoy the magical world of Disney Plus right from the comfort of your Samsung Smart TV!
Remember, you can always log out of your Disney Plus account when you are finished watching. To log out, simply navigate to the account settings within the Disney Plus app and select the “Log Out” option.
Now that you’ve successfully logged in to Disney Plus on your Samsung Smart TV, get ready to immerse yourself in the captivating stories and timeless characters that Disney has to offer!
Conclusion
Congratulations! You have successfully added Disney Plus to your Samsung Smart TV and are now ready to embark on a magical streaming journey filled with your favorite Disney movies, TV shows, and exclusive content. By following the simple and straightforward steps outlined in this guide, you have brought the enchanting world of Disney right into your living room.
Remember to check the compatibility of your Samsung Smart TV, connect to the internet, and access the app store to download and install the Disney Plus app. Once installed, you can log in to your Disney Plus account and start exploring an extensive selection of content from Disney, Pixar, Marvel, Star Wars, and more.
If your Samsung Smart TV model is not compatible with Disney Plus, don’t worry! You can still enjoy the magic by connecting an external streaming device to your TV. Devices such as Roku, Apple TV, or Amazon Fire TV Stick provide alternative ways to stream Disney Plus content.
Now, sit back, relax, and immerse yourself in the captivating stories and timeless characters that Disney has to offer. From animated classics to the latest blockbusters and binge-worthy TV series, Disney Plus provides endless hours of entertainment for every member of the family.
If you encounter any issues during the setup process or have any questions about using Disney Plus on your Samsung Smart TV, be sure to consult the official Disney Plus support documentation or reach out to their customer support for assistance.
Thank you for choosing Disney Plus and Samsung as your partners in entertainment. Enjoy the magic of Disney right in the comfort of your own home!